The Covered Chipboard

Crochet, Crafts & Miniatures with Teri Hanson

  • Peep The Blog
  • Papercrafting
    • My Supply List
    • Cutting Files
    • Cricut Made Miniatures
    • Machine Crafting
  • Miniatures
    • Full Scale Projects 1:12
    • Half Scale Projects 1:24
    • Other Half Scale Minis
    • Dollhouse Furniture Projects
    • Tiny Scale Projects 1:48
    • Petite Properties Kits
    • Project Series
  • Shop
    • My Account
    • Cart
    • Checkout
    • Orders
    • Wishlist
  • Diamond Painting
    • DP How To
    • DP Unboxings
    • DP Reviews
    • DP Chat & Create
  • Tutorials
    • Cricut Design Space Tutorials
    • Product PDF Tutorials
    • Free Tutorials
    • Facebook
    • Pinterest
    • YouTube
You are here: Home » Miniature Schoolhouse

Miniature Schoolhouse

by Teri Hanson for The Covered Chipboard

PURCHASE HERE

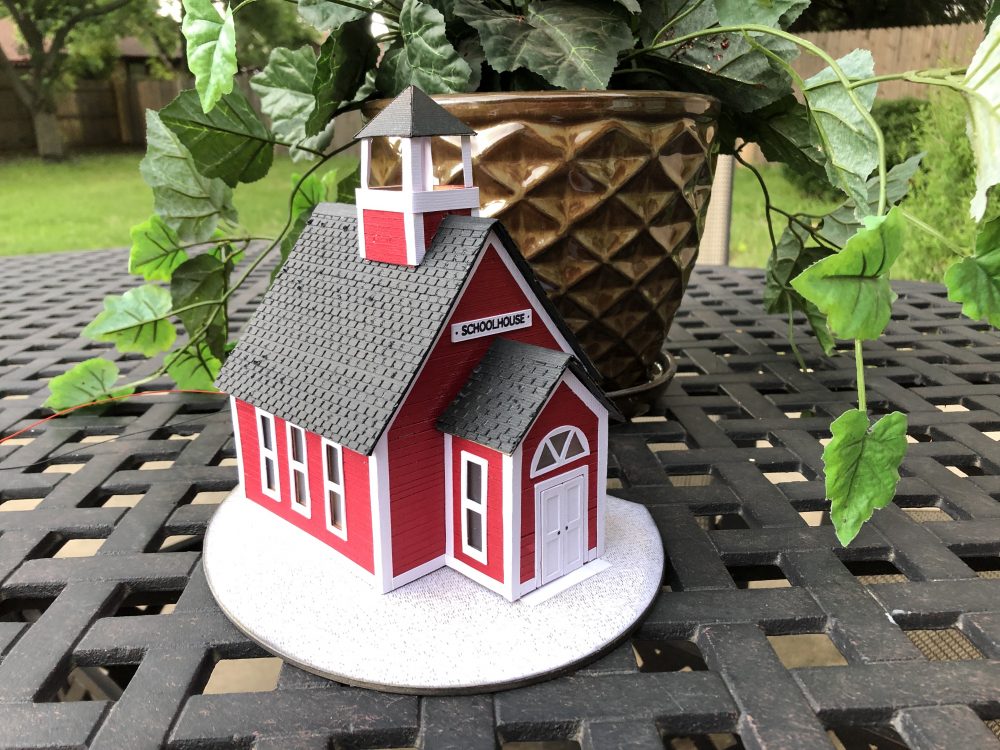
Every tiny village needs a Schoolhouse just like this one. With your Cricut or Silhouette cutting machines you will find construction easy and fairly quick depending on the options you choose.

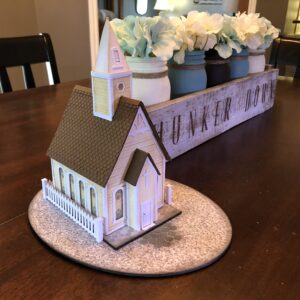
The Schoolhouse was created to compliment the tiny Church with a finished size of 4.5″ by 6″ by 7″ and the option of using mini LED lighting or a tea light. There is also an option for drawn lines on cardstock for the appearance of siding or cut cardstock strips for creating siding. It’s up to you to choose the options that suit you best as either will be lovely when finished.

If you are unsure how to use SVG files in Cricut Design Space, please visit our Website and look for the post “How to use SVG files in CDS”

Materials list . . .

  • Cardstock – AC or Cricut – Red, White and Black or Grey
  • Frosted plastic for windows – can use clear plastic and sand it
  • Cricut Wine color marker
  • Cricut Heavy Chipboard for base
  • Cricut Brown Kraft Board
  • Cricut Black 4.0 pen for sign
  • Optional white or grey distressing ink
  • Quick dry glue or scor-tape (double sided tape)

Cutting Guide . . .

When you purchase the SVG files you will find a PDF file that includes a cutting guide. Use this to understand what shapes are cut from what materials.

Note about Heavy Chipboard Base . . .

Please note that if you choose to use the oval shaped base, created from Cricut Heavy Chipboard – you will need to use the Cricut Maker machine with the Cricut Knife Blade. For other materials or machines, use thinner cardboard and cut as you normally would. I do suggest stacking several pieces of thinner cardboard together to make the base thicker and stronger.

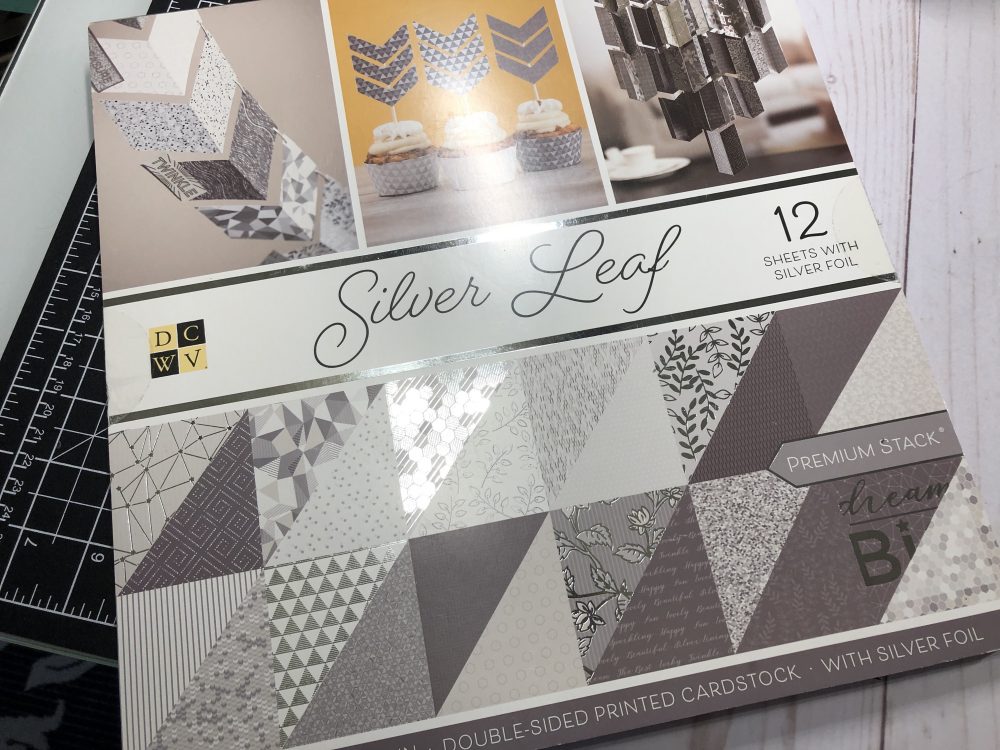
Here’s a look at the cardstock pack I’ve used on the base . . .

Available from Amazon

Materials for Lighting …

My Church video shows you how to install the lights but you can also use the link below for further videos.

Lighting supplies are from: modeltrainsoftware.com

  • 3V DC Regulated 1A with Switch
  • 6 LED 3V Lights – 3mm with extra long wires
  • Shrink Tube package
  • 3mm light mounting clips

Additional videos on how to use lights can be found here

How to construct the Miniature Schoolhouse

Videos can be seen on my YouTube Channel

One last thing ….

When you finish the tower section, you will notice that you can see the brown kraft board inside. I took some black acrylic paint and easily painted the inside area. This gave it a more finished look.

PURCHASE HERE

Thanks so much to those who purchase this project!! Please feel free to contact me should you have questions.

Happy Crafting,

Teri

Get the News!

Older
Newer

Leave a Reply Cancel reply

You must be logged in to post a comment.

Search this website:

Explore More Areas

  • Blogings
  • Crafting With Machines
    • Cricut Maker
    • Cutting Files
    • Dreaming Tree Crafts
    • Other Machines
    • SVGCuts
  • Diamond Painting
    • DP Chat & Create
    • DP How To
    • DP Reviews
  • Miniature Projects
    • Cricut Made Miniatures
    • Dollhouse Furniture Projects
    • Full Scale Projects 1:12
      • RGT Lighthouse
    • Half Scale Projects 1:24
      • Craftsman Roombox
      • Jasmine Victorian
      • Other Half Scale Minis
    • Tiny Scale Projects 1:48
      • Dead End Series
      • Havisham Hall
      • LOTR The Inn of the Prancing Pony
      • Petite Properties Kits
      • Raven's Perch Haunted House
  • Project Series
    • Cabinet Miniatures Series
    • Halloweenie Town
    • Hanson Village Series
    • Home for the Holiday
    • North Pole Village Series
    • Teri's Tiny Village
  • TCC Freebies
  • Tutorials
    • Cricut Design Space Tutorials
    • Free Tutorials

Get your AC Cardstock here!

Get your AC Cardstock here!

Pin It If You Like It!

Visit Pinterest's profile on Pinterest.

Older Posts

VISIT OUR OTHER SITES!

  • Facebook
  • Pinterest
  • YouTube

Register/Login

  • Reigister
  • Login
  • Logout

Quick Links

  • Home
  • Terms of Use
  • TCC Privacy Policy
  • Contact Me

Other Site Links

  • Facebook Home
  • Facebook Group
  • YouTube
  • Pinterest
  • My Etsy Shop
  • My Supply List

Amazon Associates Disclosure

Teri Hanson is a participant in the Amazon Services LLC Associates Program, an affiliate advertising program designed to provide a means for sites to earn advertising fees by advertising and linking to Amazon.com.

Copyright Notice

Copyright 2004-2020 Teri Hanson/The Covered Chipboard – All rights reserved. My products and tutorials are for PERSONAL USE ONLY. Republishing any media from this site in any format is prohibited. Thank you for your respect and cooperation.

Copyright © 2021 · The Covered Chipboard · .Papercrafts & More.All Rights Reserved