The Covered Chipboard

Paperrafts, Miniatures, Diamond Painting with Teri Hanson

  • Peep The Blog
  • The Bookshelf
  • CRAFTS
    • Crafting With Machines
    • Miniature Projects
    • Project Series
  • Shop
    • My Account
    • Cart
    • Checkout
    • Orders
    • Wishlist
  • Diamond Painting
    • DP How To
    • DP Unboxings
    • DD Freestyle
    • DP Reviews
    • DP Chat & Create
  • Tutorials
    • Cricut Design Space Tutorials
    • Product PDF Tutorials
    • Free Tutorials
    • Facebook
    • Pinterest
    • YouTube
You are here: Home » Tiny Church Finishing

Tiny Church Finishing

by Teri Hanson for The Covered Chipboard

At your request I’ve taken the full size Church and sized it to a Tiny Church! I’ve also added a single Church window to the existing download files that you can use as a print and cut in Cricut Design Space. If you have previously purchased the Church, please log back into your account and look for the added folder: “TinyChurchFiles” . Download that file for all of the tiny church files.

If you have not purchase the Church SVG files you can visit THIS POST to see videos of how it’s put together. The tiny version is constructed in mainly the same way.

If you run into any issues just get in touch with me and I’ll help you out.

Below is a little video showing you how to create the print and cut file from the single church window jpg file.

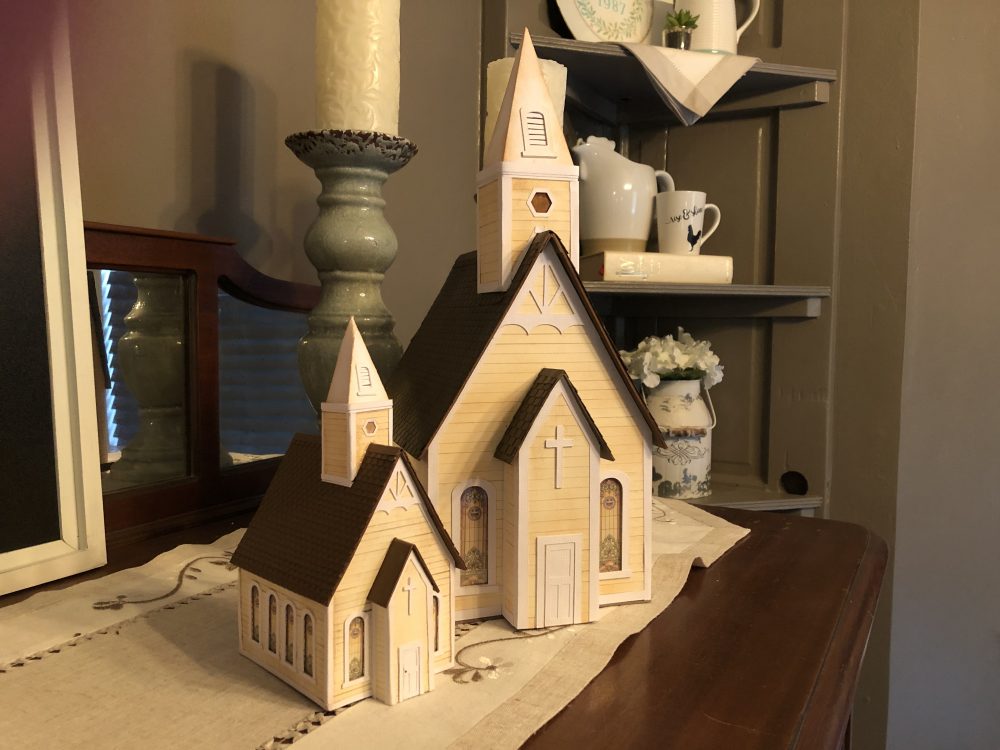
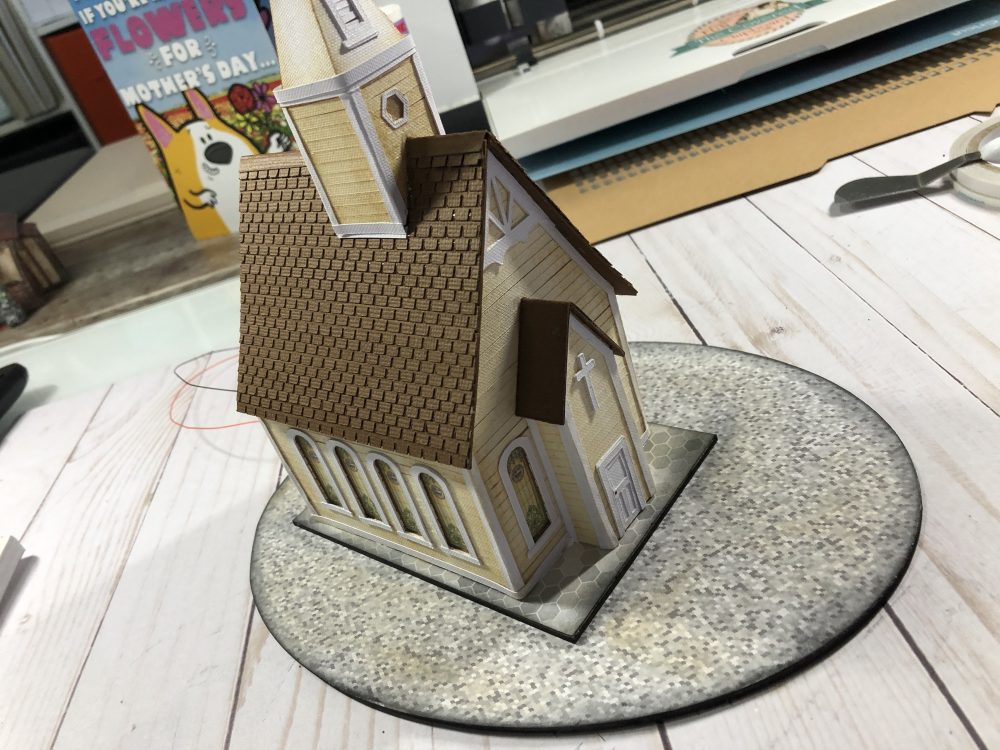
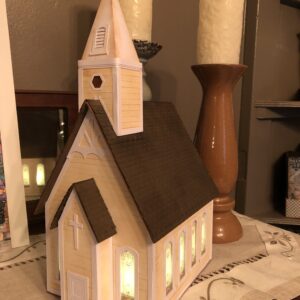
Here’s a look at both Churches together for size comparison.

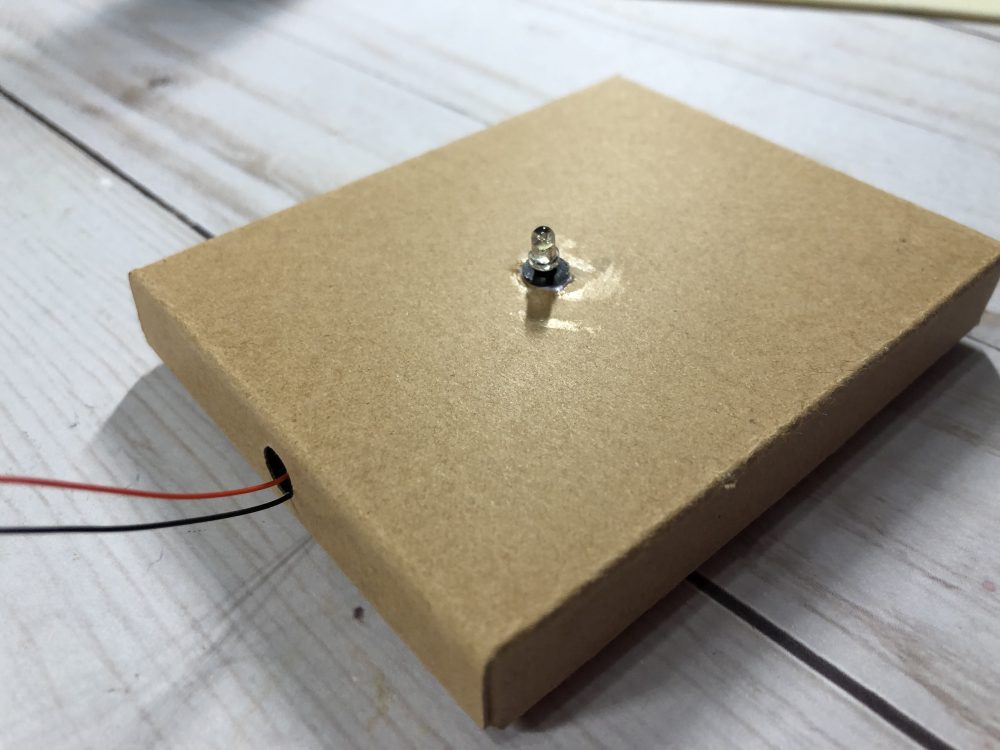
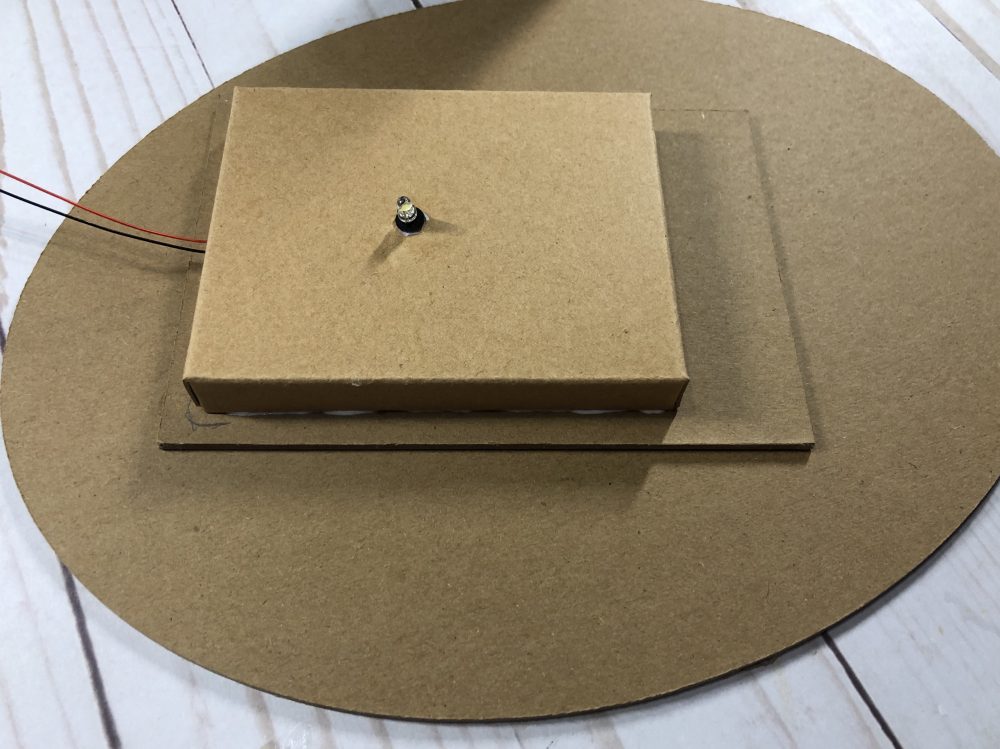
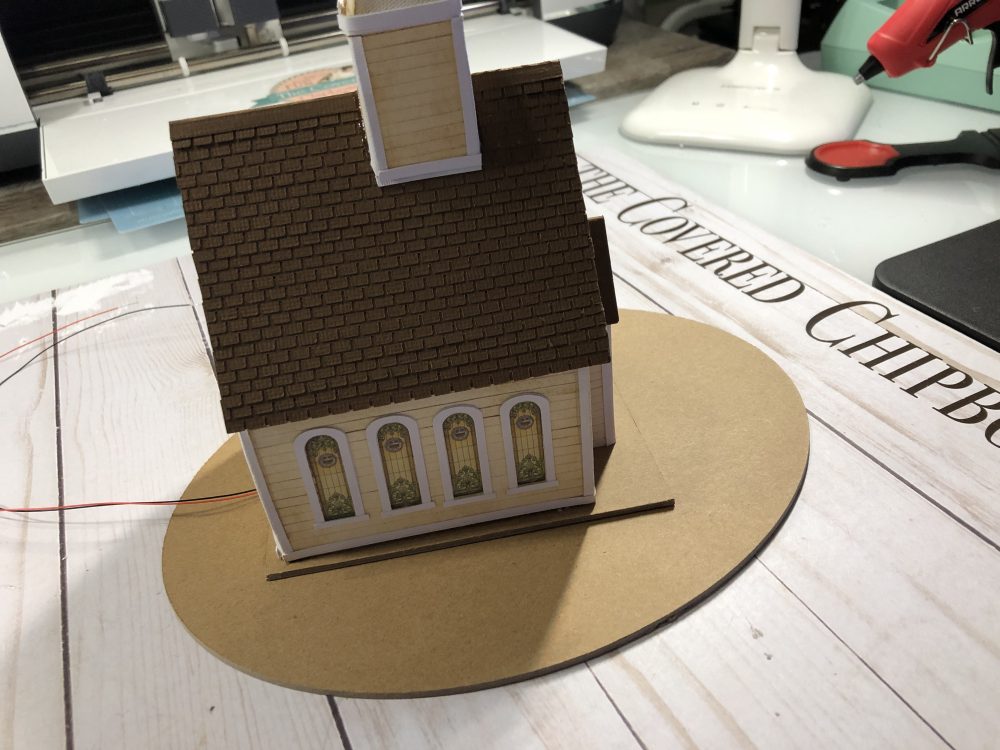
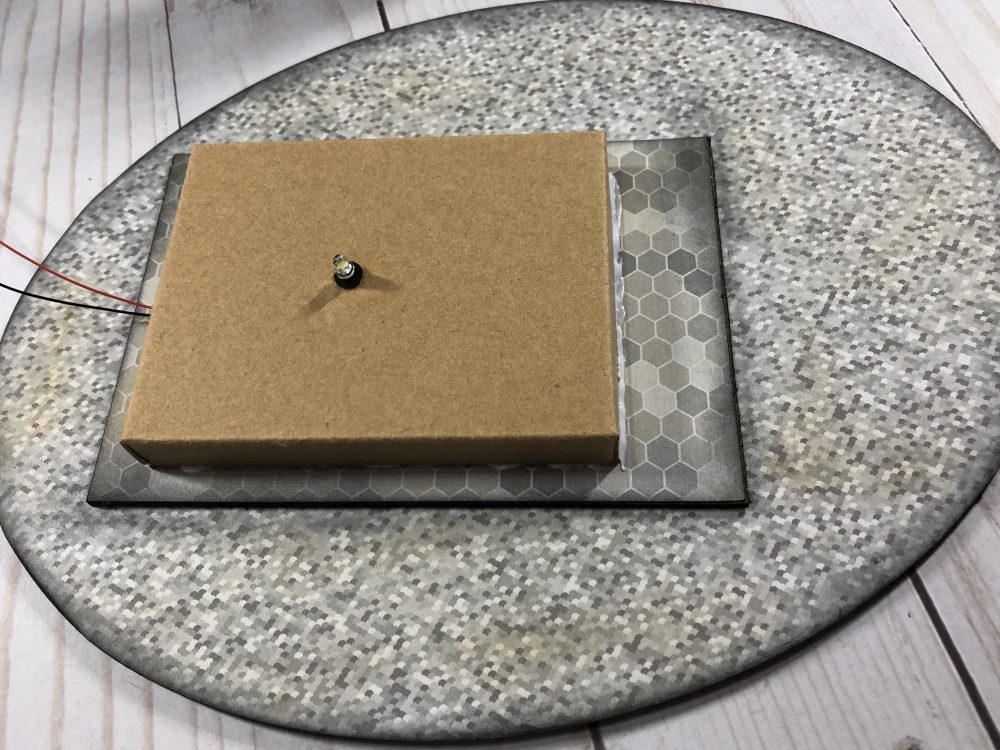
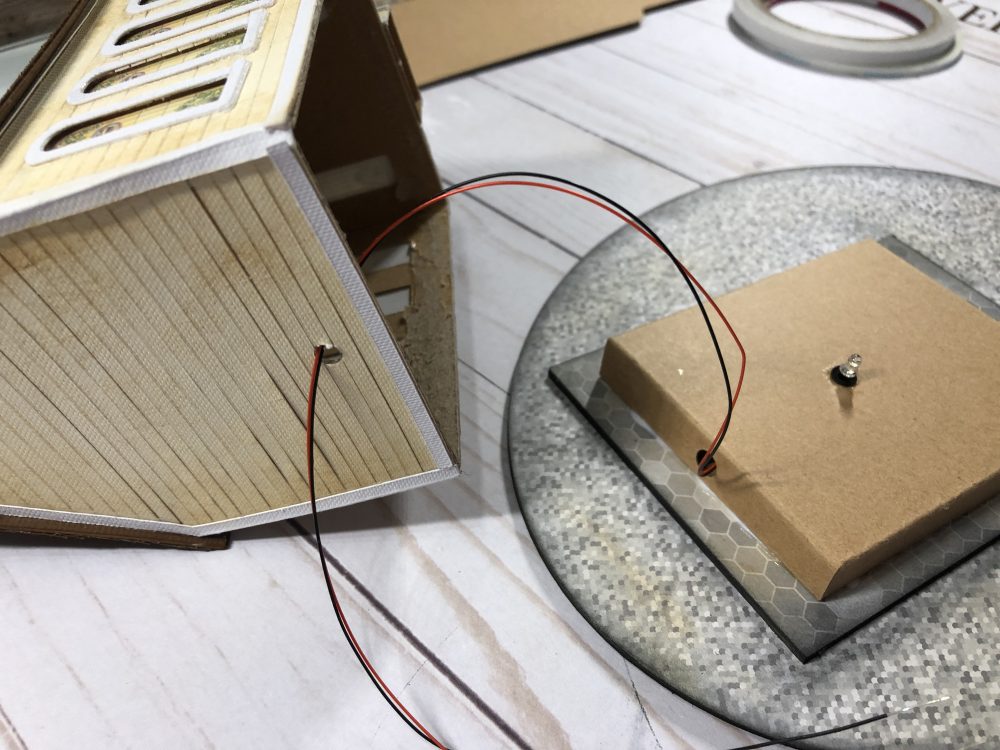
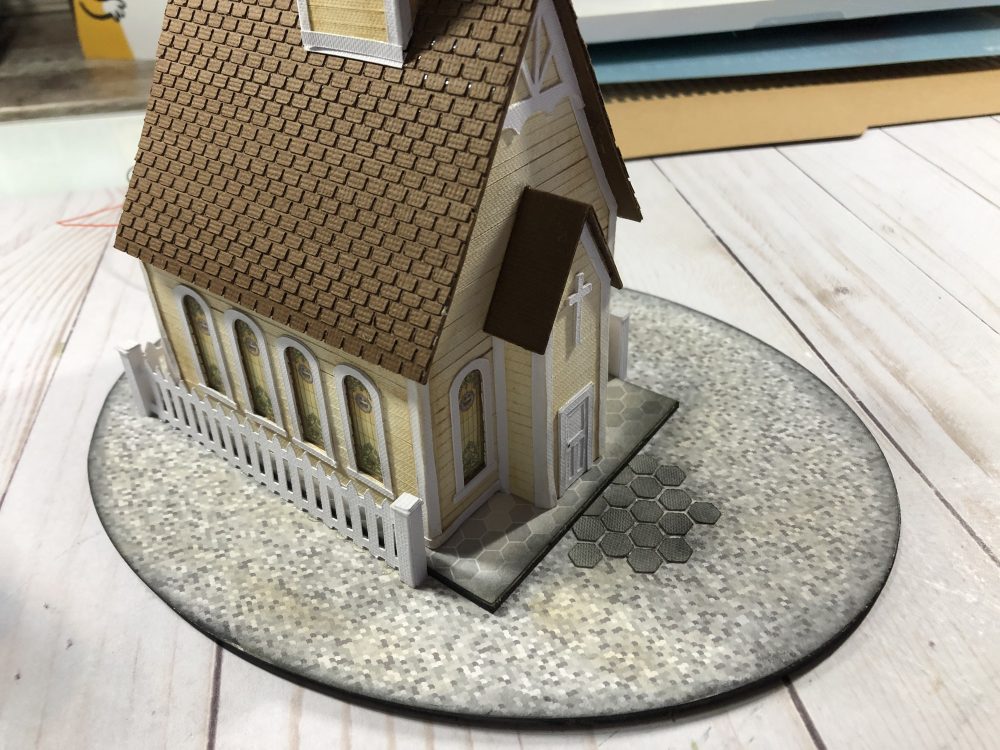
Within the new files for the tiny version, I’ve added a new style of base. Here’s a look at it and how you put it together.

I’ll be creating more of these little structures and will be using this same style of base. What you see above is the section that fits up inside the Church structure. You can choose to use the LED mini lights as seen, place a tea light inside, or no light at all. Videos for the larger version will show you how to use the LED mini lights if you want to use that style.
The tiny Church has two base pieces. The rectangle is glued onto the oval base. The section that holds the light is then glued on top of the rectangle section. I’ll be creating a new post showing how I decorate the base and grounds of the Church very soon. Sign up for my newsletter to get new posts or watch my facebook groups.
Here you can see the tiny Church sitting on top of the base. It’s not attached so you can easily change the tea light or add one at any time.
I’ll be covering the two base pieces with paper from the above paper pad – found on Amazon.
Above you can see both bases covered with paper. Use a distressing ink all around the edges of both bases as well as the edges of the papers then attach papers with score tape or glue.
If you are using the LED lights, punch a small hole in the backside of the church and thread the wires through the hole. Glue the kraft board light base onto the rectangle base, let dry then place the church on top.
At this point you can leave the base as is or add additional materials to it such as bushes, walkways, a park bench or whatever you like. Below is a final image of mine.

DOWNLOAD THE TINY CHURCH BASE BELOW

TCCTinyChurchBaseDownload

Get the News!

Older
Newer

Leave a Reply Cancel reply

You must be logged in to post a comment.

Explore More Areas

  • Blogings
  • Crafts
    • Crafting With Machines
      • Cricut Maker
      • Cutting Files
      • Dreaming Tree Crafts
      • Other Machines
      • SVGCuts
    • Miniature Projects
      • Cricut Made Miniatures
      • Dollhouse Furniture Projects
      • Full Scale Projects 1:12
        • RGT Lighthouse
      • Half Scale Projects 1:24
        • Craftsman Roombox
        • Jasmine Victorian
        • Other Half Scale Minis
      • Tiny Scale Projects 1:48
        • Dead End Series
        • Havisham Hall
        • LOTR The Inn of the Prancing Pony
        • Petite Properties Kits
        • Raven's Perch Haunted House
    • Project Series
      • Cabinet Miniatures Series
      • Halloweenie Town
      • Hanson Village Series
      • Home for the Holiday
      • North Pole Village Series
      • Teri's Tiny Village
  • Diamond Painting
    • DP Chat & Create
    • DP How To
    • DP Reviews
    • DP Unboxings
  • TCC Freebies
  • The Bookshelf
    • Book Box Unboxings
  • Tutorials
    • Cricut Design Space Tutorials
    • Free Tutorials

Need Supplies?

  • 1/2" Score Tape
  • 1/4" Score Tape – 5 Roll Pack
  • Acrylic For Windows – Thick .020
  • Acrylic For Windows – Thin .007
  • American Crafts Cardstock
  • Canvas Textured Cardstock White 80 lb
  • CARL Heavy Duty Rotary Paper Trimmer 15inc
  • Cricut Heavy Chipboard
  • Cricut Maker
  • Cricut Rotary Cutting Kit
  • Cricut True Control Knife Blade
  • Distress Ink Vintage Photo
  • Georgia Pacific White 110 Cardstock
  • Grafix Medium Weight Chipboard
  • Kaisercraft Drawer Pulls
  • KRAFT SPECKLETONE Recycled Cardstock 12" x 12"
  • Liquid Glass
  • Mayas Road Bakers Twine
  • Miniature Lighting
  • Petite Properties
  • Polymer Clay Molds
  • Sparkle Texture Effect
  • SPC Light Weight Chipboard
  • Stamplistic Stamps & Dies
  • SVG Cuts
  • Tim Holtz Idea-Ology Curio Knobs
  • Tim Holtz Idea-Ology Metal Box Feet

My favorite shop for AC Cardstock!

My favorite shop for AC Cardstock!

Search by Theme

BloggingsBooksBookshelfBoxesCabinetsCardsChallengesChipboard ProjectsChristmasCraft RoomCricut CraftCricut Design SpaceCricut FunCricut MakerDiamond PaintingDreaming TreeExplosion BoxFallFile UpdatesFinishing IdeasFreebiefree patternsFree ProjectsGiftsHalf Scale MiniHalloweenHaunted LighthouseHolidayHousesLaser DollhouseMini AlbumsMiniature ChurchMiniaturesPapercraftPaper HousePaper HousesPaper StructuresPetite PropertiesPrintableKitsPumpkinQuick ProjectsSVGCuts ProjectsSVG FilesTiny VillageTry ThisunboxingValentineVideosVinylWeddingWinter

Recent Comments

  • Shirl on The Jolly Farmhouse
  • thanson on Haunted House Pt 1
  • joymar on Haunted House Pt 1
  • thanson on Mini Haunted House
  • Bilodeau on Mini Haunted House

VISIT OUR OTHER SITES!

  • Facebook
  • Pinterest
  • YouTube

Register/Login

  • Reigister
  • Login
  • Logout

Quick Links

  • Home
  • Terms of Use
  • TCC Privacy Policy
  • Contact Me
  • Diamond Paint FB Group

Other Site Links

  • Facebook Home
  • Facebook Group
  • YouTube
  • Pinterest
  • My Etsy Shop
  • My Supply List

Amazon Associates Disclosure

Teri Hanson is a participant in the Amazon Services LLC Associates Program, an affiliate advertising program designed to provide a means for sites to earn advertising fees by advertising and linking to Amazon.com.

Copyright Notice

Copyright 2004-2020 Teri Hanson/The Covered Chipboard – All rights reserved. My products and tutorials are for PERSONAL USE ONLY. Republishing any media from this site in any format is prohibited. Thank you for your respect and cooperation.

terihanstcc

March TBR EXCITING! March TBR  EXCITING!
A chill day for me. What’s better than listening A chill day for me. What’s better than listening to a good thriller while Diamond Painting?  Almost done with “Time” from Diamond Art Club. #diamondartclub, #audible
March Putz “Bay House” was so much fun to make March Putz “Bay House” was so much fun to make!  #putzhousemonthly, #putzhouse
2020 Gingerbread House. #thecoveredchipboard #putz 2020 Gingerbread House. #thecoveredchipboard #putzhouse #papercraft
This years Putz Houses. This years Putz Houses.
LOVED IT! LOVED IT!
Follow on Instagram

Copyright © 2021 · The Covered Chipboard · .Papercrafts & More.All Rights Reserved