For Personal Use Only © 09/2020 Teri Hanson
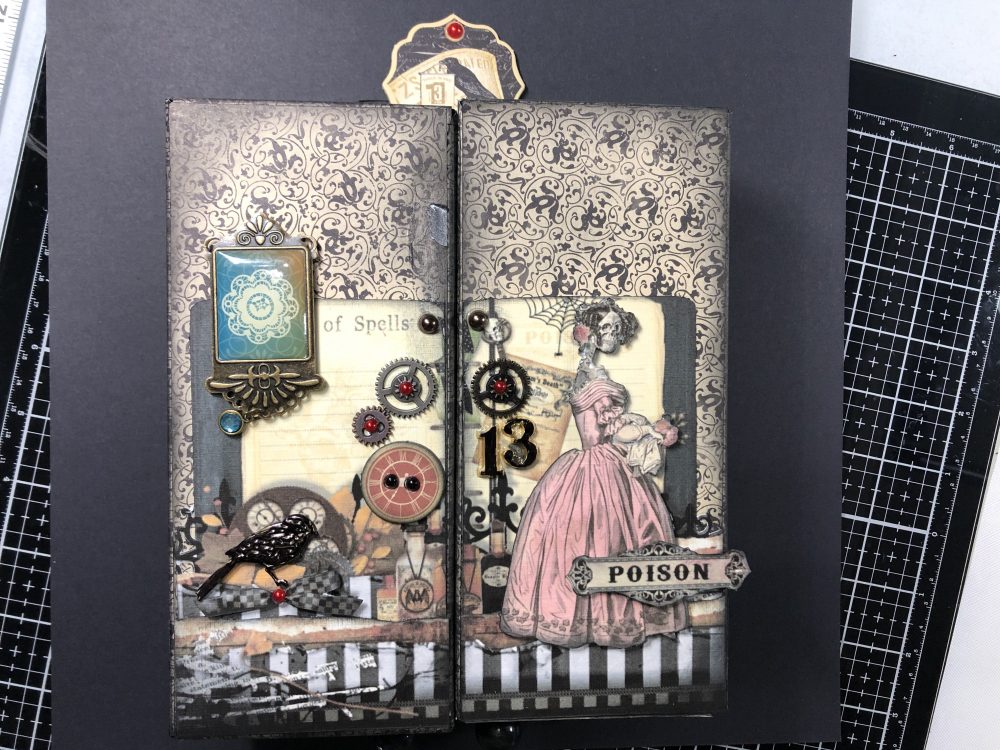
Join me and create your own spooky curio cabinet! Easy project using chipboard, kraft board and patterned paper. Afterwards have some fun creating trinkets to fill the cabinet!
Finished size: 8.5″ tall (without feet), 6.5″ wide closed, 13.5″ wide open, 1.25″ deep open, 3″ deep closed.
Here is a PDF Instruction file you can download and work offline. Please note that none of the videos are included in the PDF!!
Preperations . . .
You can find the SVG and DXF files available here in my shop. Download then upload the files into your cutting machine. Note that you will need to have the Cricut Knife Blade and housing to cut the chipboard. My preperations below are only for the Cricut Maker.
VIP: on down the page you will find a cutting guide. Use this to size your files once you have imported them into the cutting machine software.
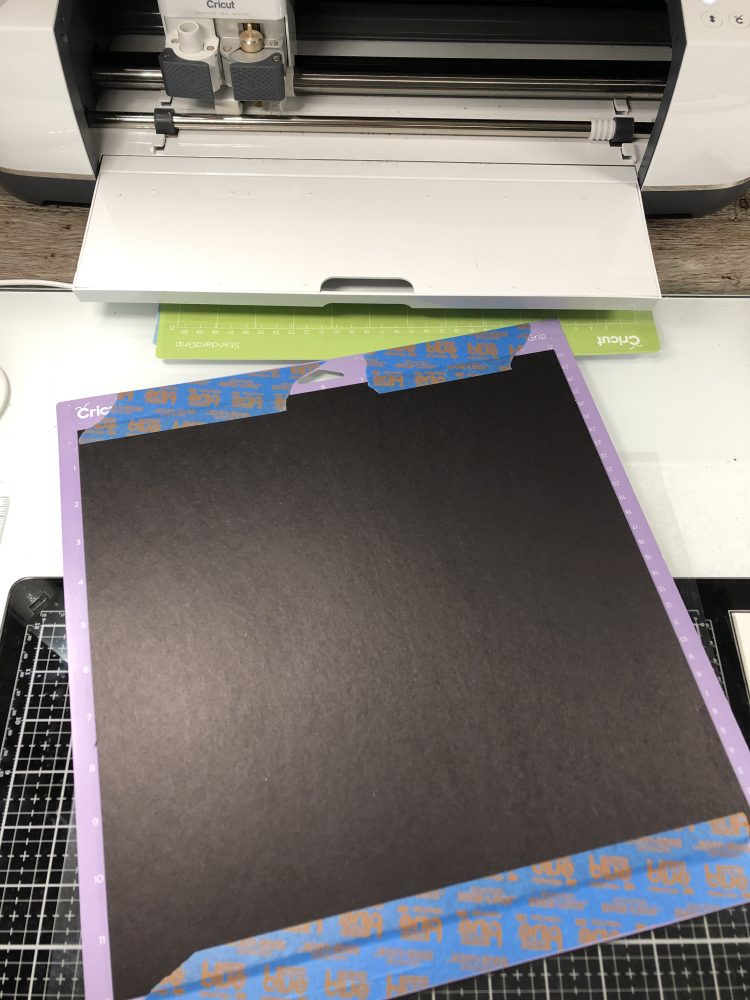
Anytime you cut chipboard on the Cricut Maker you need to first slide all of the white rings on the silver bar over to the right side of the bar. Attach chipboard to the cutting mat with tape as seen below. Now you are ready to cut!
Materials . . .
- Graffix medium weight chipboard – black (3 sheets of 12×12)
- AC Cardstock – black
- Cricut Kraft Board – black
- Patterned Paper for outside and inside areas
- Scor-Tape – 1/4″
- Scotch Quick Dry Tacky Glue – or other white glue
- Strong grip (purple) Cricut cuttin mat
- Cricut Maker and knife blade – Download contains both SVG and DXF files for various cutting machines
Cutting Guide . . . Cabinet Sections
TIP: Label pieces as you remove them from the cutting mat. Files are set up in groups. Be sure to size the group as specified in the PDF file inclduded for each group image after uploading the file!!
Construction Strips: There is a single strip svg in the file. Upload it and duplicate it so you have about 12 strips. Group and attach them then cut a single sheet of these from black cardstock.
These will also be used as hinges on the cabinet doors. Once cut simple fold on the score lines and place scor-tape on either side of the fold. You can see this in the construction video below if unclear. You will also see in the video how I’ve used these to strengthen the cabinet.
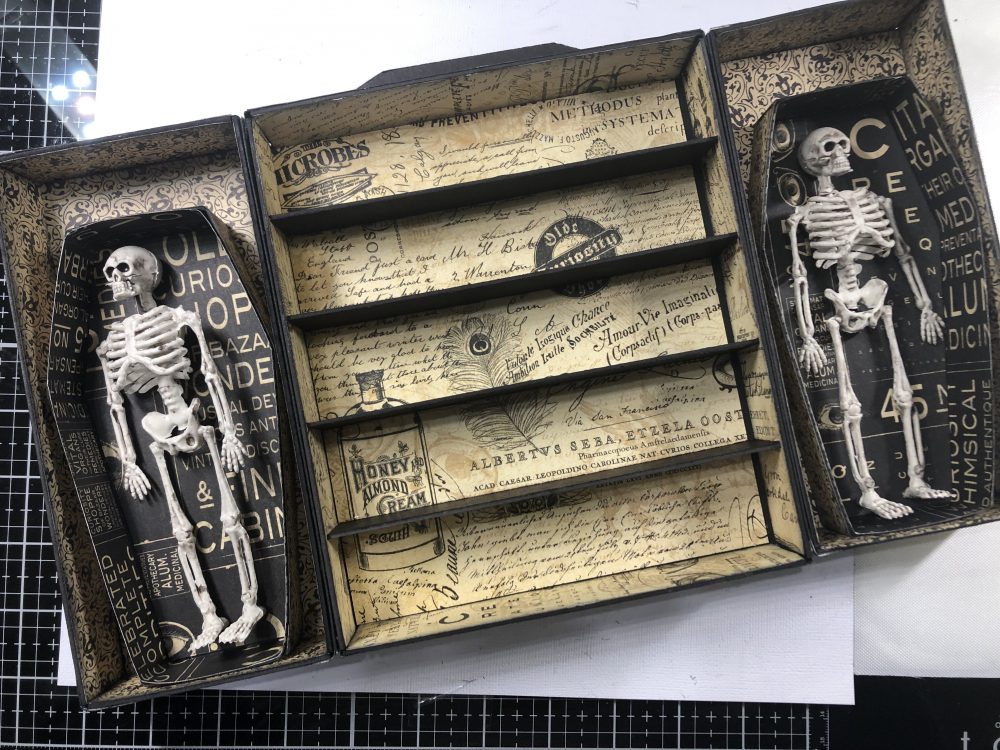
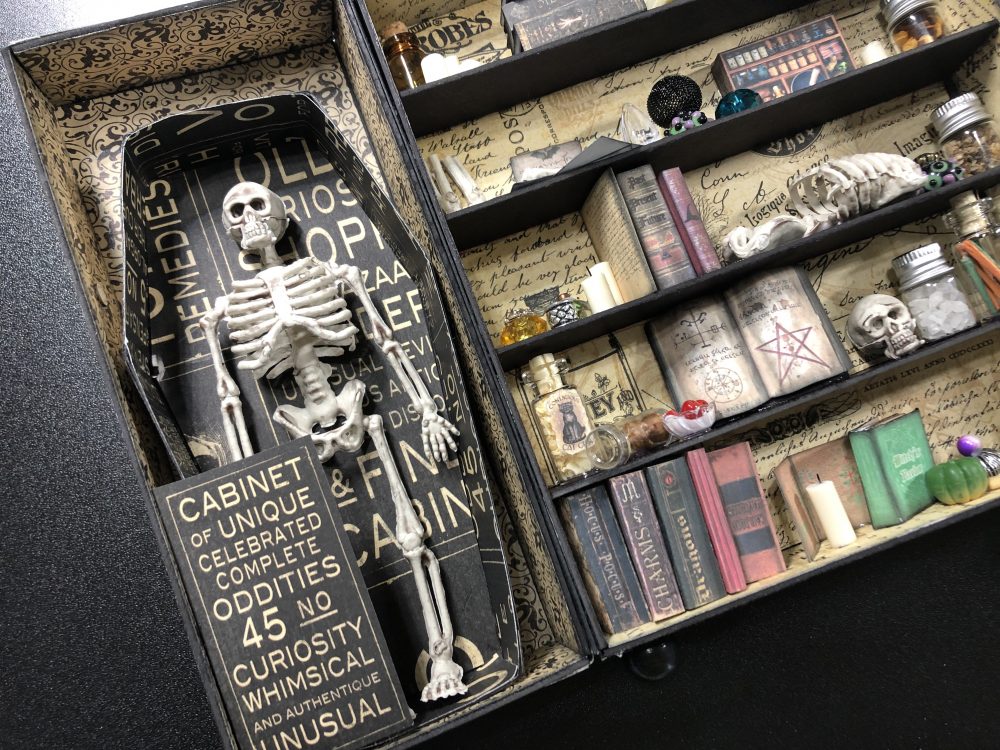
Here’s a look at the inside of the finished cabinet.
Decorations . . .
The following decorations come from one of my digital kits called Potions. You will find both the png files and a printable sheet included in the project download. PNG files that can be uploaded into your machine as print and cut files. The JPG printable sheet is for those who want to cut by hand. Use the following sizes once you have added them to the design canvas.
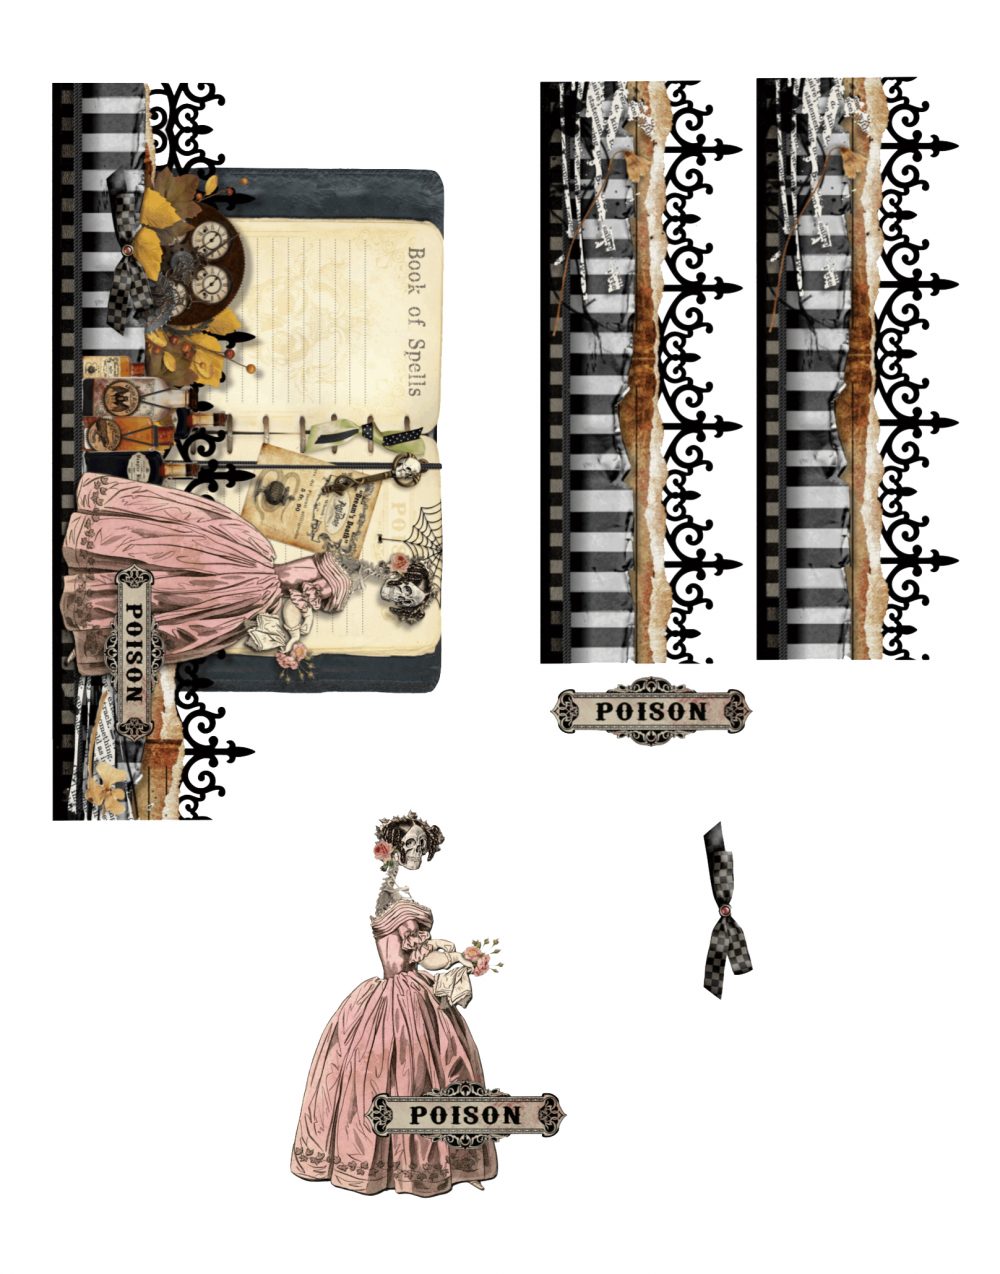
- Book – 4.41 by 8.279
- Gate – 4.717 by 7.525
- Lady – 3.113 by 4.374
- Bow – 0.566 by 2.023
Here is how I’ve used these images.
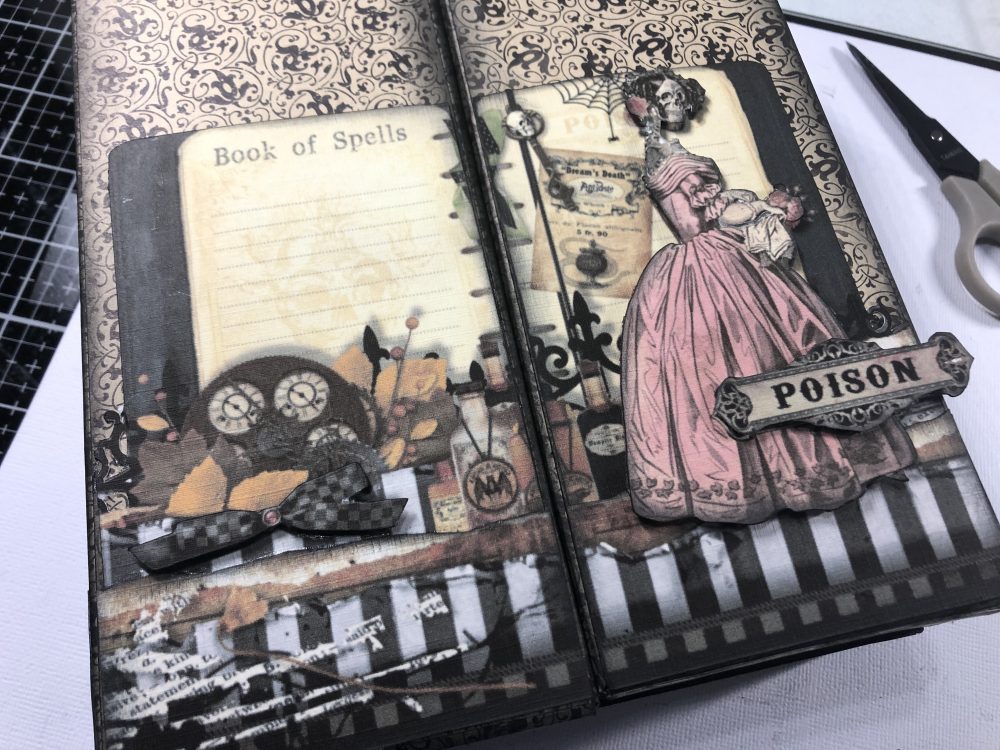
You can see in the image below that I’ve cut extra shapes and used pop dots or foam squares on the back for dimension. Extra bottom portions of the gate images were cut without the gate to add to the bottom of the front and around the side. The back has been left plain for now.
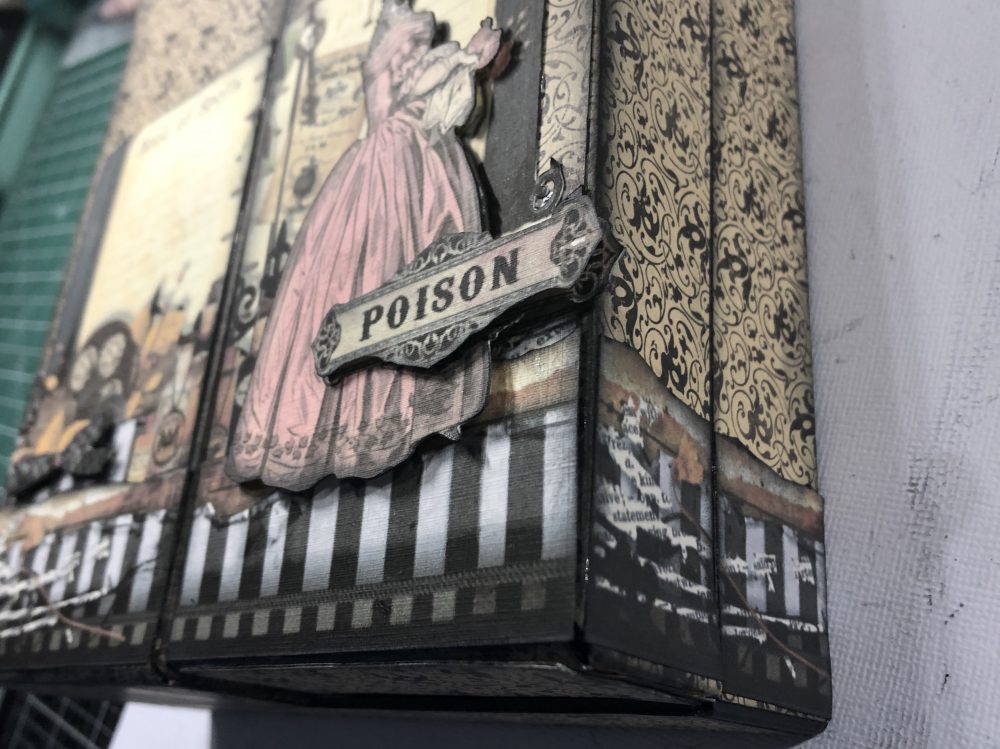
Next I’ll be adding some jewels and other embellishments. Just some bits and bobbles from my stash and a die cut from a paper pack on top.

And here’s a look at the finished inside!
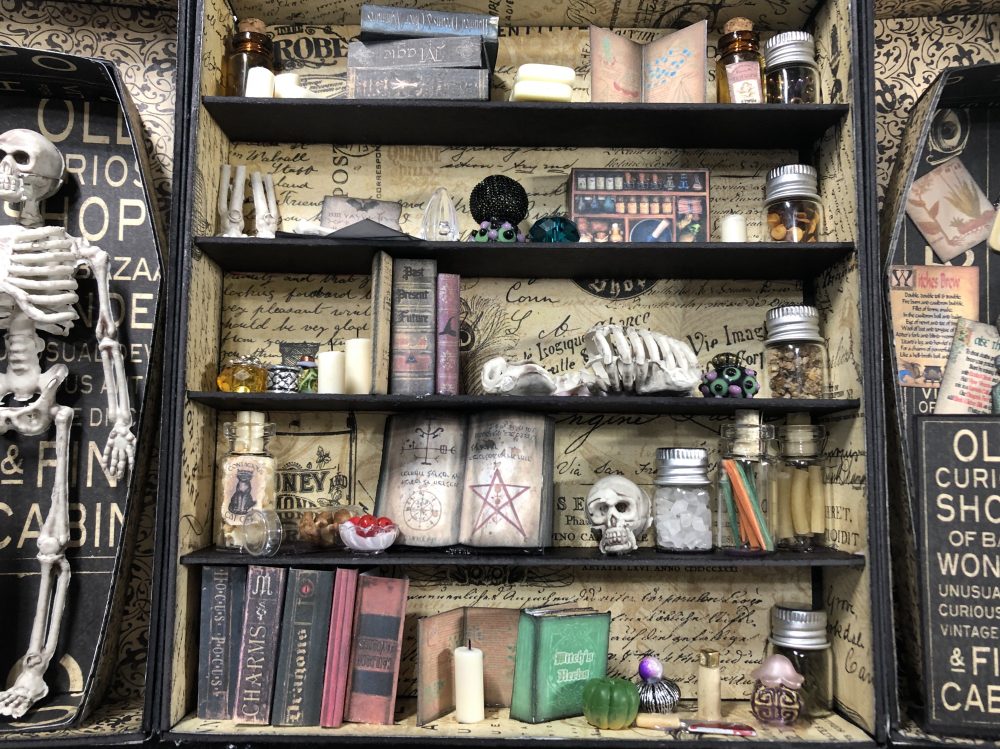
Remember that I mention the skeletons in my video? Well I took one apart and added the parts to the shelves! Printable books were found on Etsy, various jars filled with household spices and such.
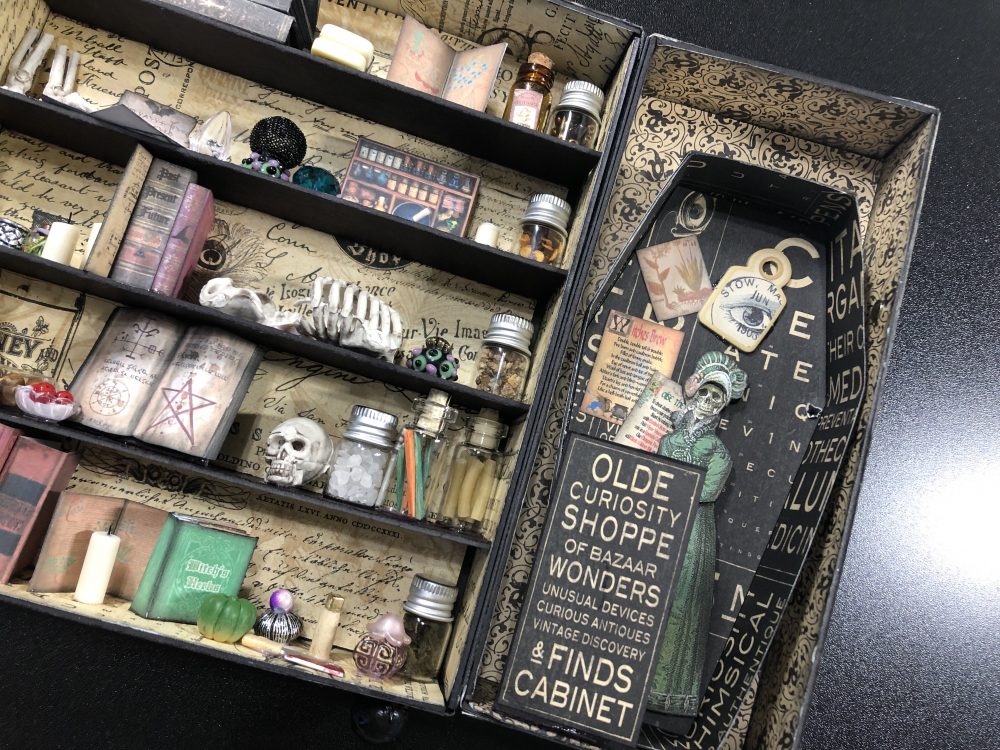
Various beads and gems make nice jars. A cut out from a paper pack serves as signs on the sides. More printables for signs and a paper doll skeleton.
I hope that you have enjoyed this project and that you will share pics of your own spooky cabinets!! Just add an image in the comments below or post on the Covered Chipboard FaceBook group!
And remember . . . the files should be up in this home shop Oct. 1st!
Happy Halloween . . . .



Leave a Reply
You must be logged in to post a comment.