Halloweenie Town #1 © 2020 Teri Hanson
FOR PERSONAL USE ONLY
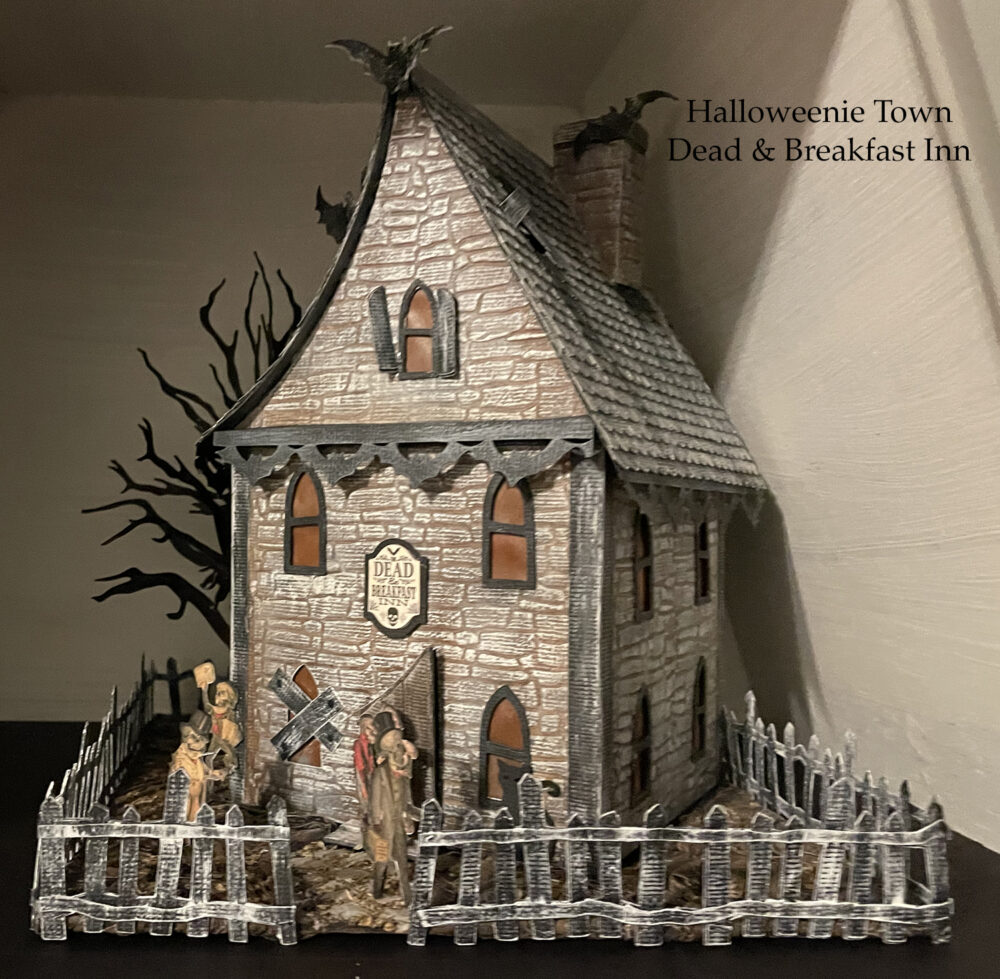
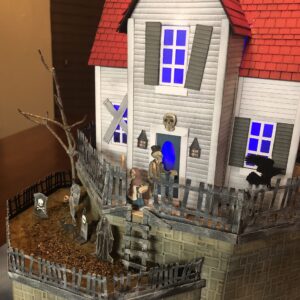
This year I joined a new Facebook group which inspired me to create a mini haunted house using cardboard and paper. I had so much fun that I’ve decided to make an entire series of these houses and share them with you!
There will be six houses in the series as I can find time to design them all. Once each building is finished the SVG files will be uploaded to both my home and Etsy shops.
NEW . . . I will be adding a PRE-CUT KIT to my shops for Dead Inn soon!
VISIT OUR SHOP (LINK ABOVE) TO GRAB THE PROJECT!
WATCH THE VIDEO BEFORE YOU BEGIN THE PROJECT! Compare with instructions below as there have been some changes to the files since the video was made!!!
There are no written instructions for this house but feel free to contact me should you get stuck. On down the page I’ve listed some tips and my process for building.
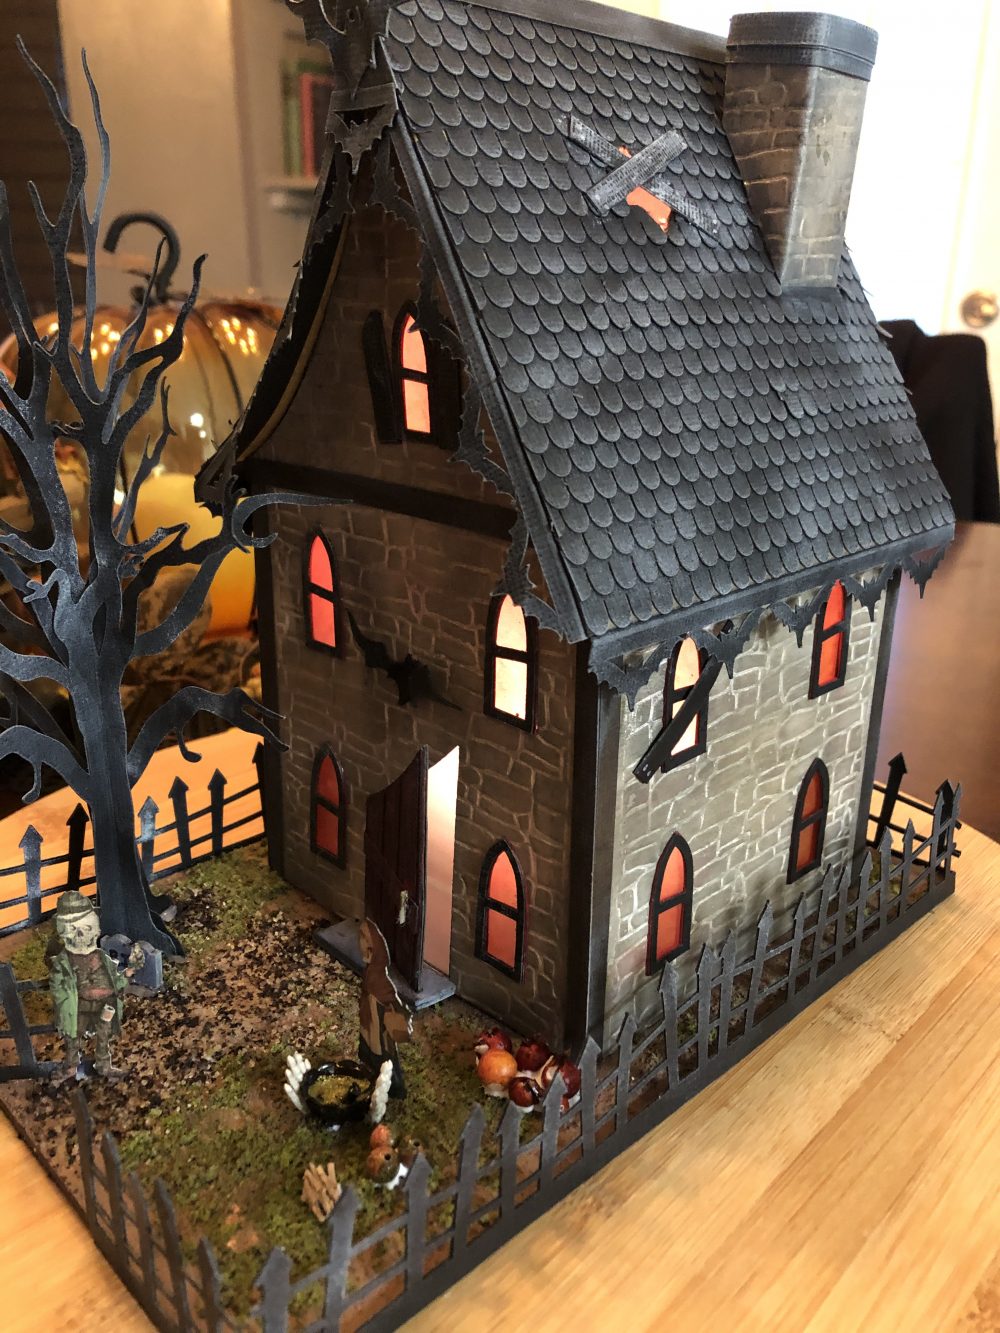
NOTE . . .
The following images are from sources that I’m unable to share so they will not be in the SVG files. These are easily found images and I’ll leave that to you to choose what you prefer.
Print and cut people are from Artfully Musing – Strange People digital images.
- Cat – #M90AD4AC (cricut design space)
- Tree – #MF7C63C4 (cricut design space)
SIZING KEY . . .
I’ve created the SVG files in sets for easy upload. To work with individual pieces you will need to “detach” and/or “ungroup” a file set then use the “contour” option to separate pieces. There are lots of videos out there for Cricut showing you how to do this if needed.
NOTE: I’ve upgraded the shingles to my new Acorn Shingles as they suit the look of the house best.
Here are the measurements for each of the SVG file sets . . .
Files should upload in the correct size but if not, use these measurements to size the file sets after uploading them into design space.
- tccDIhouse1 – 11.19 x 11.22
- tccDIwcovers2 – 11.04 x 11.15
- tccDIroofchimwind3 – 10.64 x 10.04
- tccDIdormersbattrim4 – 9.07 x 8.89
- tccDIfence5 – 10.19 x 7.21
- tccDIvellum6 – 6.45 x 6.07
- tccDIshingles7 – 11.25 x 11.34
Suggested materials . . .
- My Colors 100lb smooth cardstock – Black Suede – for the main house structure, roof, windows, and shutters
- Encore 80lb cardstock – Slate – OR AC – Caramel – for wall cover pieces, chimney, and doors
Process . . .
- Before constructing the house, emboss the house wall covers and glue them in place onto each section
- Add windows and trim. Don’t forget to add tissue or vellum to the backside of the windows. I’ve tinted the vellum with alcohol ink. You could also color them with a marker.
- When the outside has been decorated, construct the walls by gluing the tabs together – tabs should be glued to the inside of the joining piece
- Add the corner trims
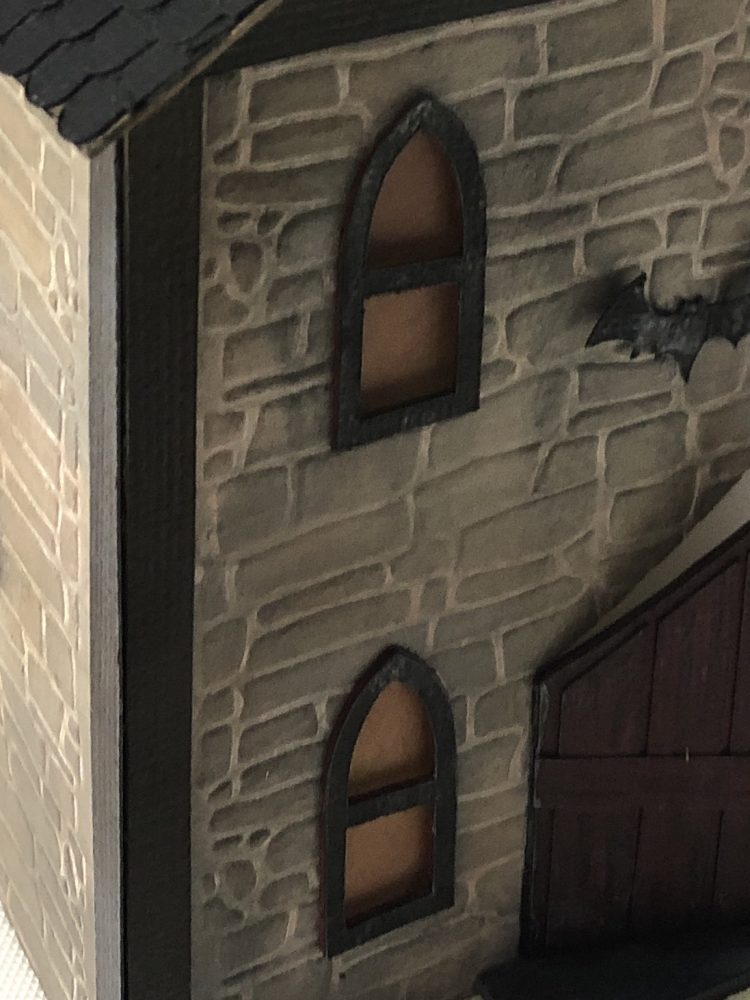
- I’ve used a dry brush method to color the bricks
- Construct the little dormer room off the roof and set aside
- If you plan to have a hole in the roof, make the hole now and add vellum or tissue to the backside
- Attach the roof and glue on shingles
- Attach dormer room to roof then attach the chimney
- I’ve again used a dry brush method to distress and color the shingles, dormer, and chimney
The stonework was created by embossing cardstock using an embossing folder and Cuttlebug machine. I don’t believe this particular folder is available any longer but there are several stone and brick folders that would work. I cut the four pieces to be embossed first then placed the shapes into the embossing folder. It takes two passes: insert the bottom first then emboss a second time with the remainder of the shape in another pass. The wall trim will cover the thin strip where the embossing folder has not embossed the wall in the two passes.
NOTES & TIPS . . .
Finished size is 6″ x 9″ for the base. The house is 5″ wide by 5″ deep and 8.5″ high. Using the SVG files you can easily size it up or down as you like – just remember to select ALL of the images and size them at the same time!!!
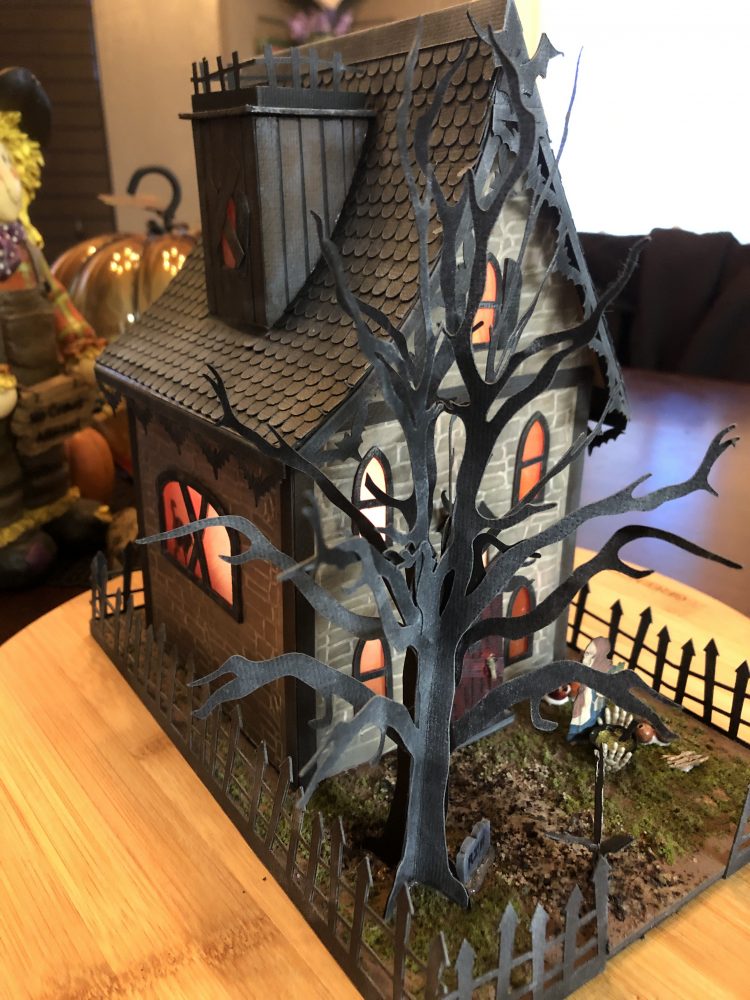
The Tree: As stated above, this is a file inside Cricut Design Space. I cut four of the tree images, scored most of the height of the trunk in half, folded it and then glued pieces together. Two images were cut normally and two images were mirrored so that branches would go in various directions. Lightly distress the tree images on both sides with white ink.
I’ve used two layers on the window frames for depth and stability. The cat and witch images were glued inside the house to shine through the window.
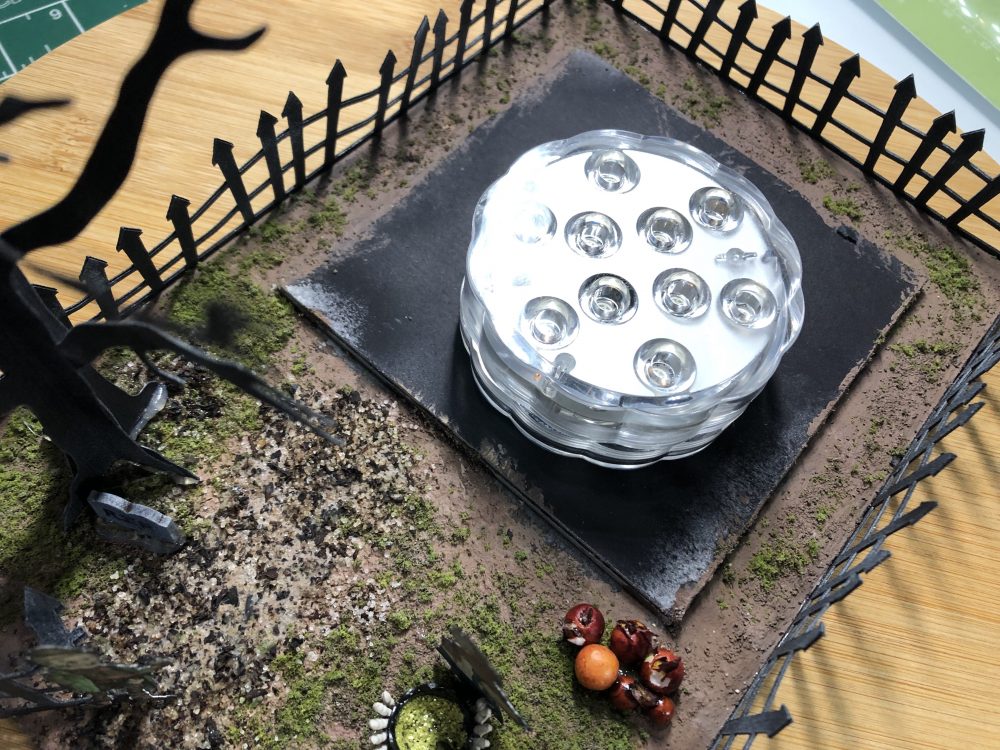
The base is simply three 6×9 rectangles – cut from chipboard – and glued on top of each other. The fence is glued to the sides to cover up the base edges. As you can see above I cut three more pieces of chipboard and glued them together, then to the base. Cut them just a tad smaller than the house dimensions. Set your light in place and simply rest the house on top around the smaller base.
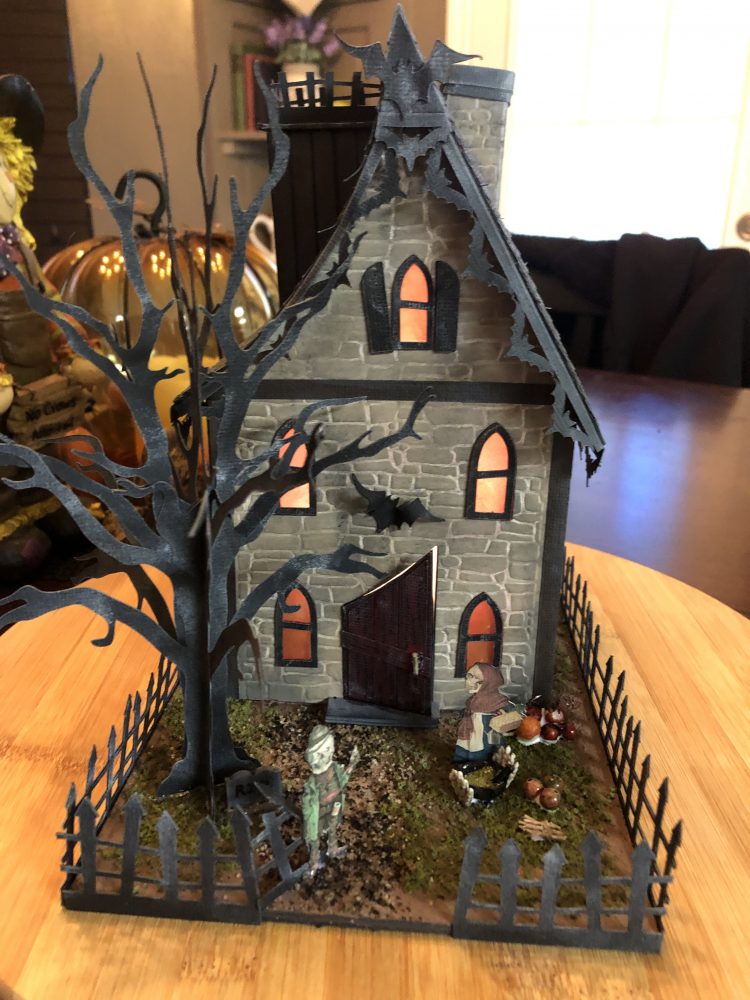
Anytime I use a fence in a project it will be cut from cardstock. I always cut two or three and sandwich them together. This will make the fence thicker and therefore stronger. One thickness just will not stand up well or last for long!
Trim is simply strips of cardstock cut to length and distressed. The same for the top of the chimney and siding on the dormer room on the left side.
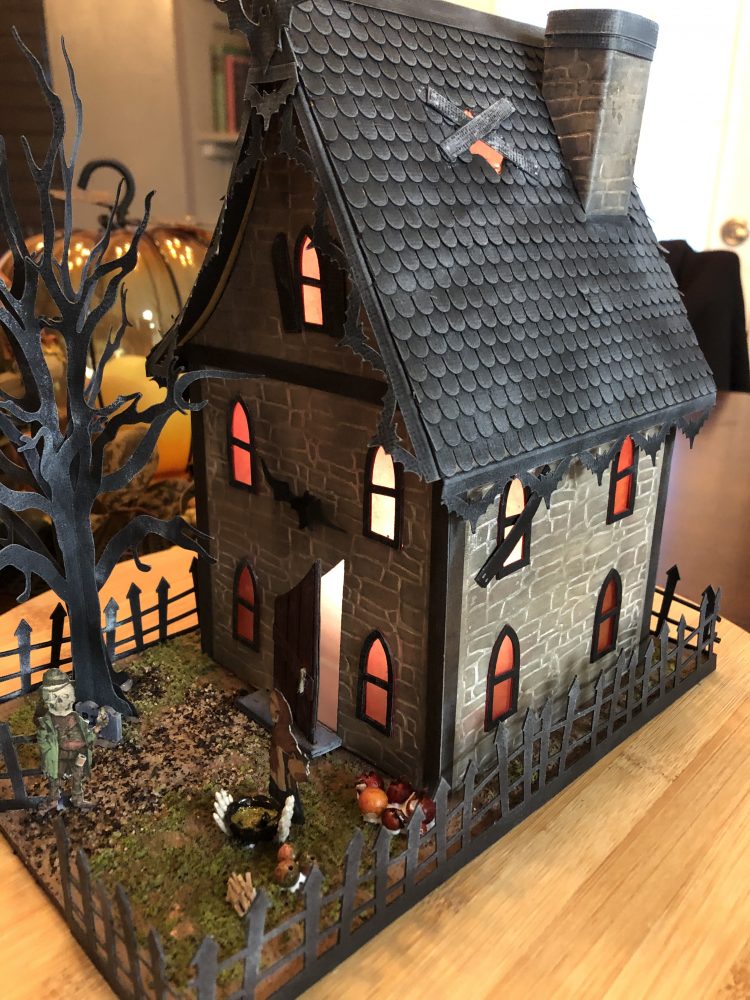
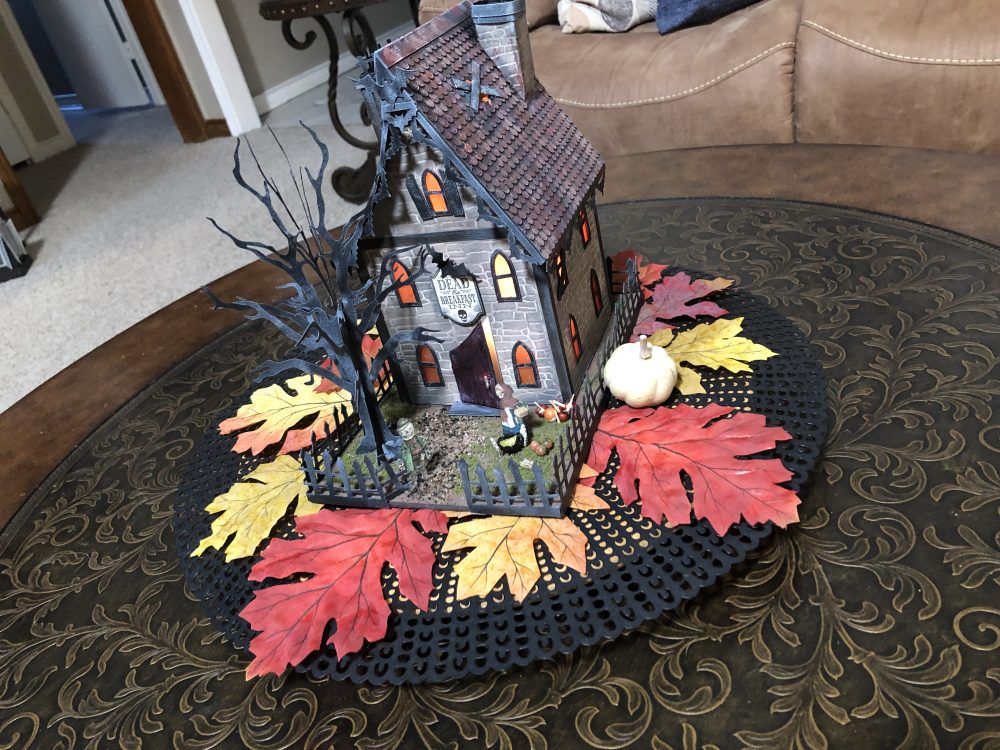
For the bat border, simply score the strip and glue one-half of that strip up under the eaves. A larger bat and triangle shape is attached to the top as seen below. Here’s another option for the bat borders at below left where borders were added to the front of the house and only on the sides of the roof.
I think that covers it all but if you have questions please feel free to leave them in the comments section below this post!
Have a spooky time and thanks for stopping by!!!
Teri



Thank you for sharing the svg files so that we non cricut users can play too 🙂
You are so welcome! Enjoy!!!