Pumpkin Cottage kit purchased from Petite Properties
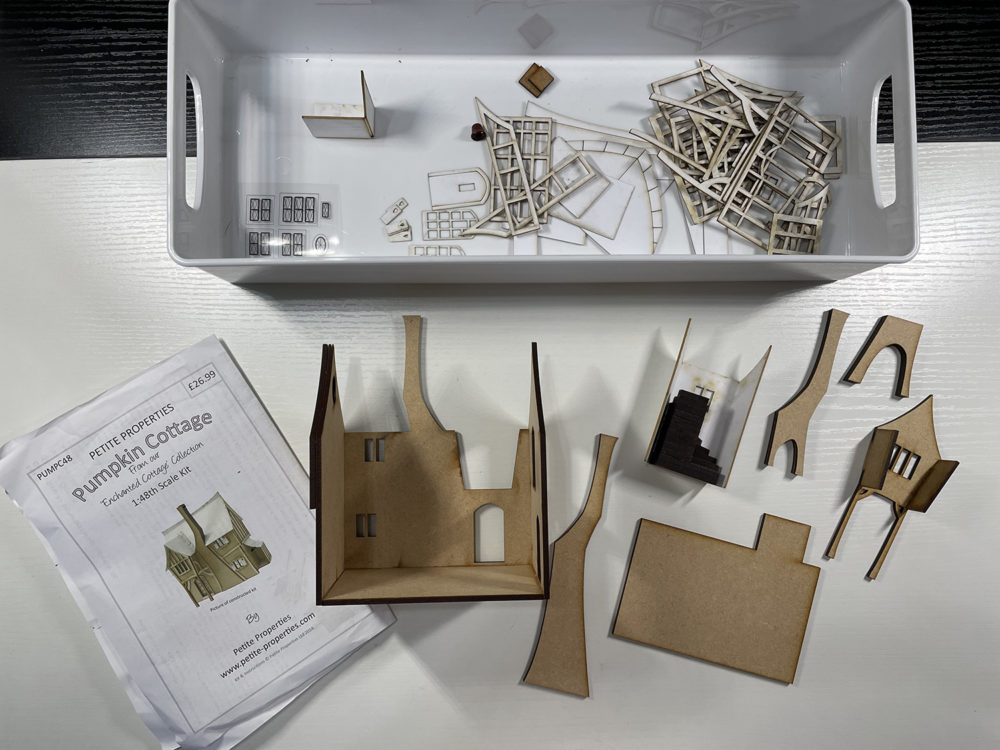
On a recent destash of my office, I ran across all of the Petite Properties 1:48 scale kits I’ve been stashing away and found myself compelled to work on this darling little cottage kit. One of the best things about quarter scale is that they don’t take up a lot of space. Finished, this kit is only about 6.50″ wide by 4″ deep and 7.50″ tall.
I hope you enjoy the following build and that you will visit Petite Properties soon!
The Build . . .
As you can see from the image above I’ve built the stairs, glued the chimney pieces together, glued the back and side walls in place as well as the floor. Before glueing the walls I did make a paper pattern of each piece. This will come in handy when I go to make the wall coverings. Everyone has their own way of working on miniature buildings but I’ve found, through trial and error, it’s easier to decorate the insides if you do not glue the inner walls and second floor in place till decorated. Otherwise it can be difficult to get your hand inside to place these items.
Next I’ve added texture to the walls and created the floors. The texture was created using a mix of modeling paste, very fine grit sand and acrylic paint applied with a palette knife. This takes a while to dry completely but is worth it! I’ve used the same mix without the paint on both the outside of the house, fireplaces and chimney.
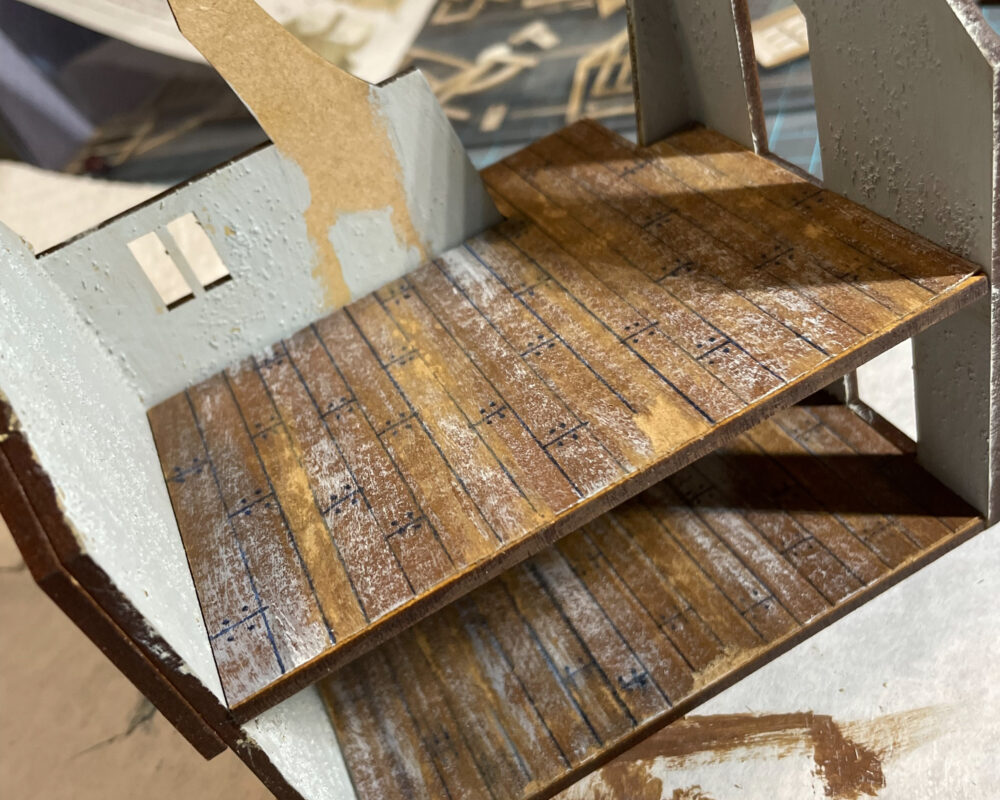
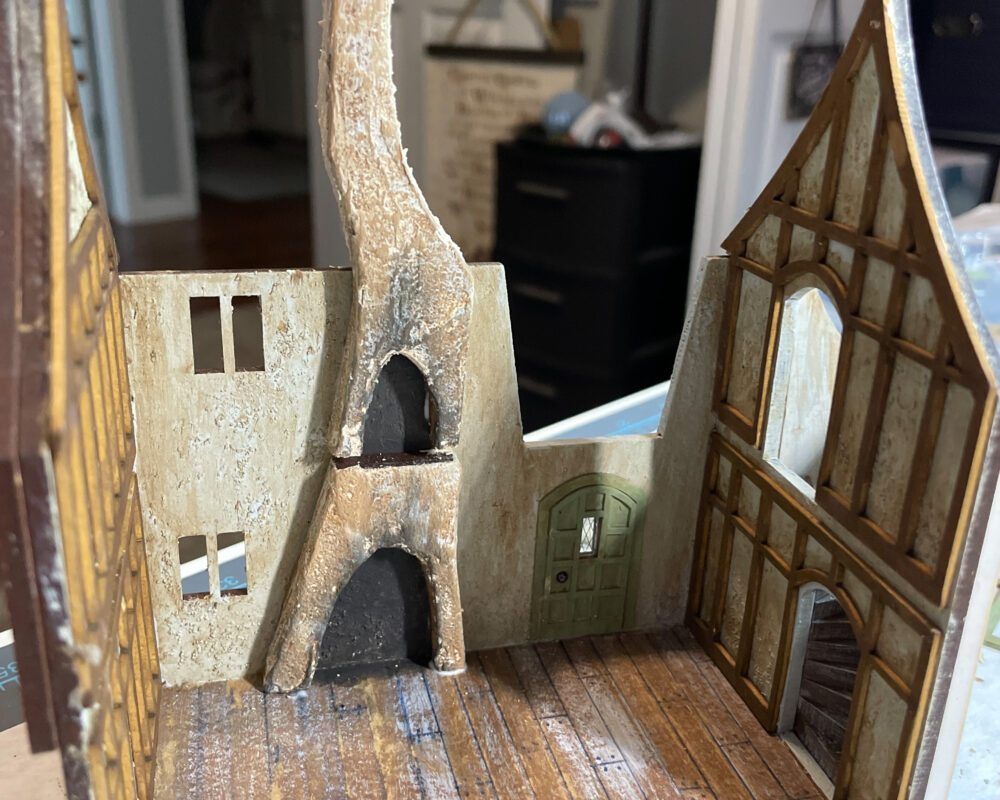
Wall accents were painted as well as the front door and installed. The upper floor was slid into place to help with placement of the upper floor accents. On the right you can also see that I’ve glued the stairs into place.
I created the flooring on a sheet of thin cardboard by painting the entire surface then scoring lines for the floor boards. A marker helped to define the boards and make nailheads.
Now it’s time to add the texture to the outside and glue on the chimney.
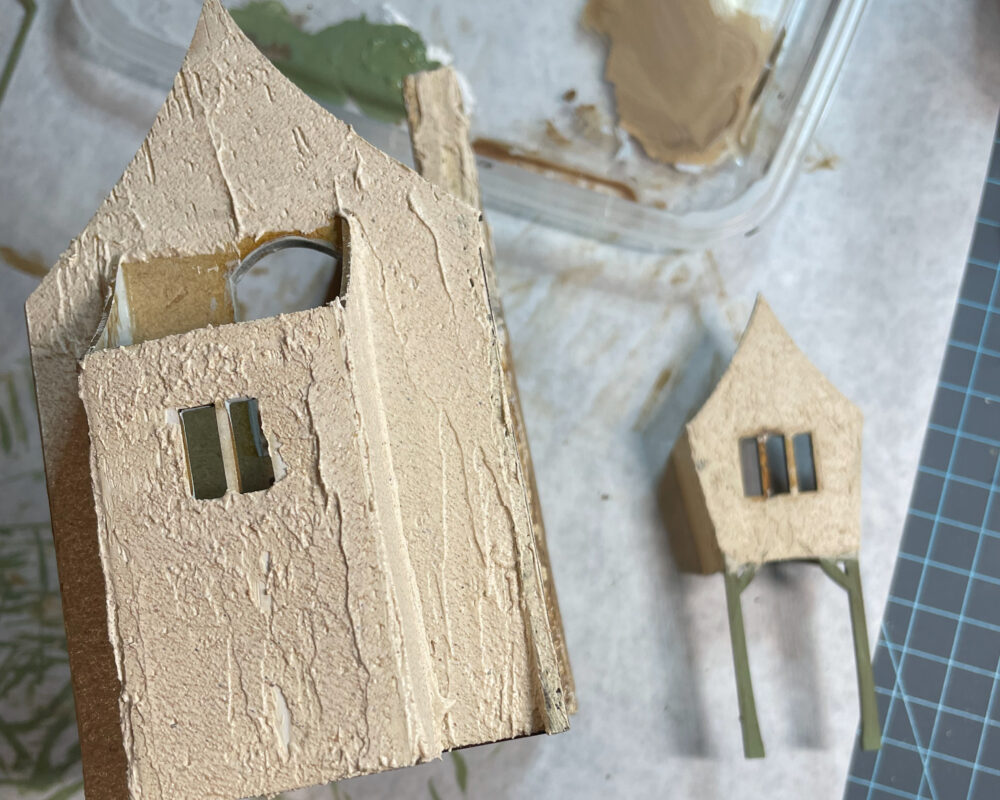
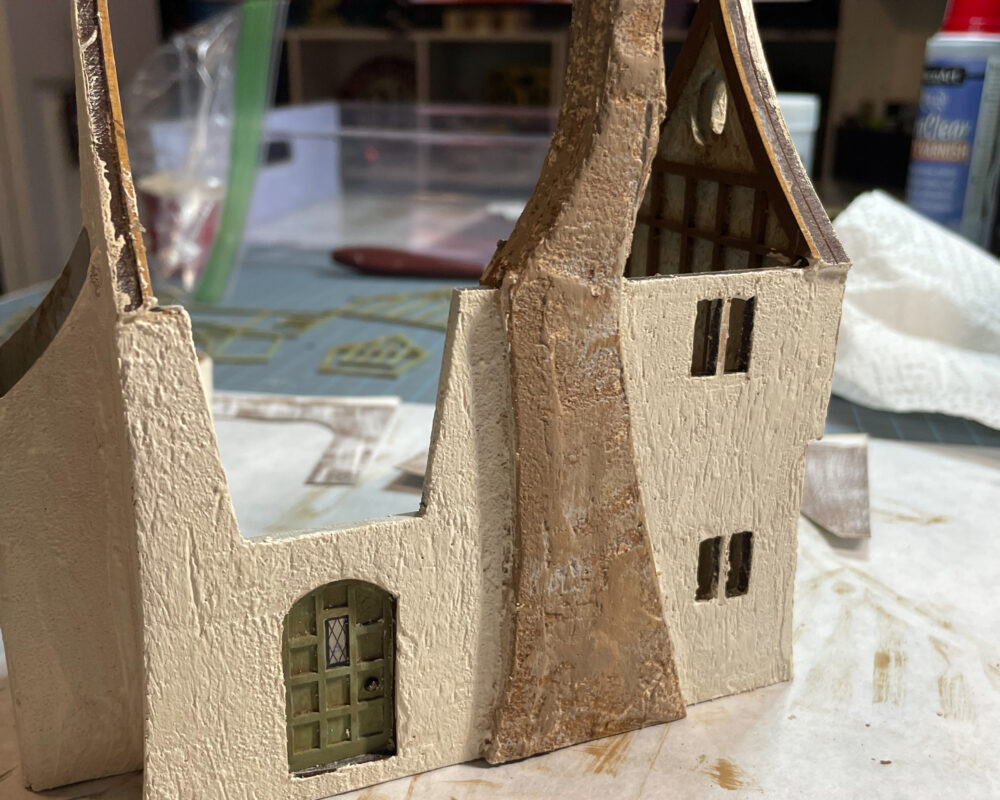
This is a good time to paint all of the exterior trim while waiting for the texture to dry. Once the chimney is dry or mostly dry, you can carve stones in it.
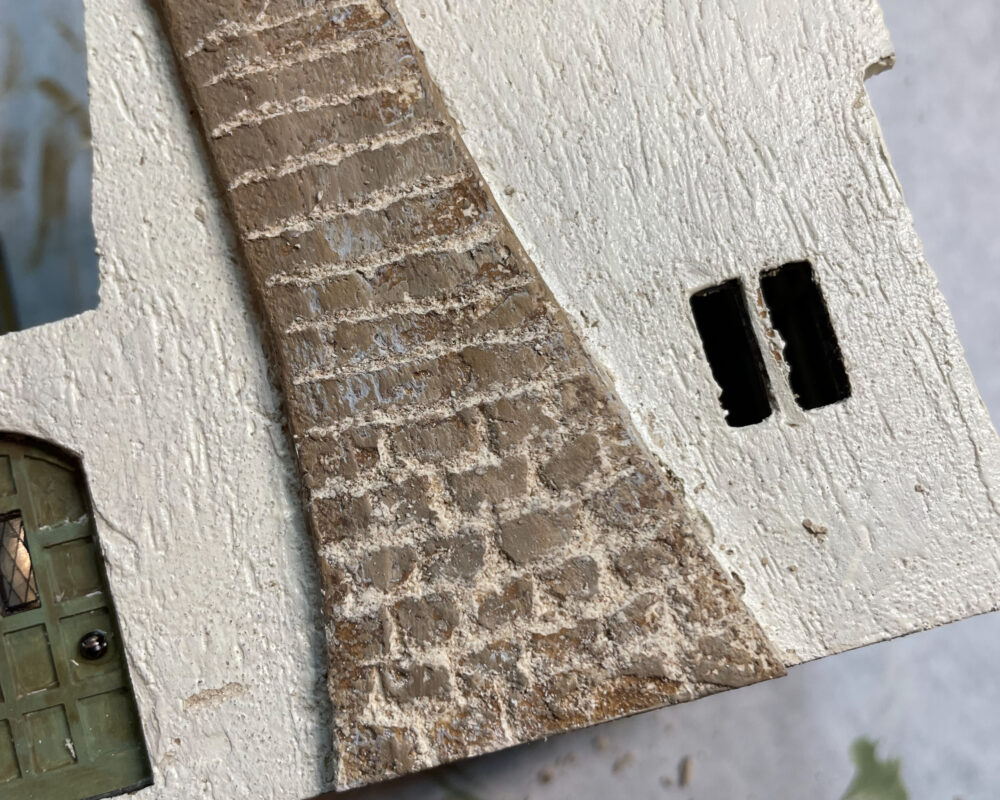
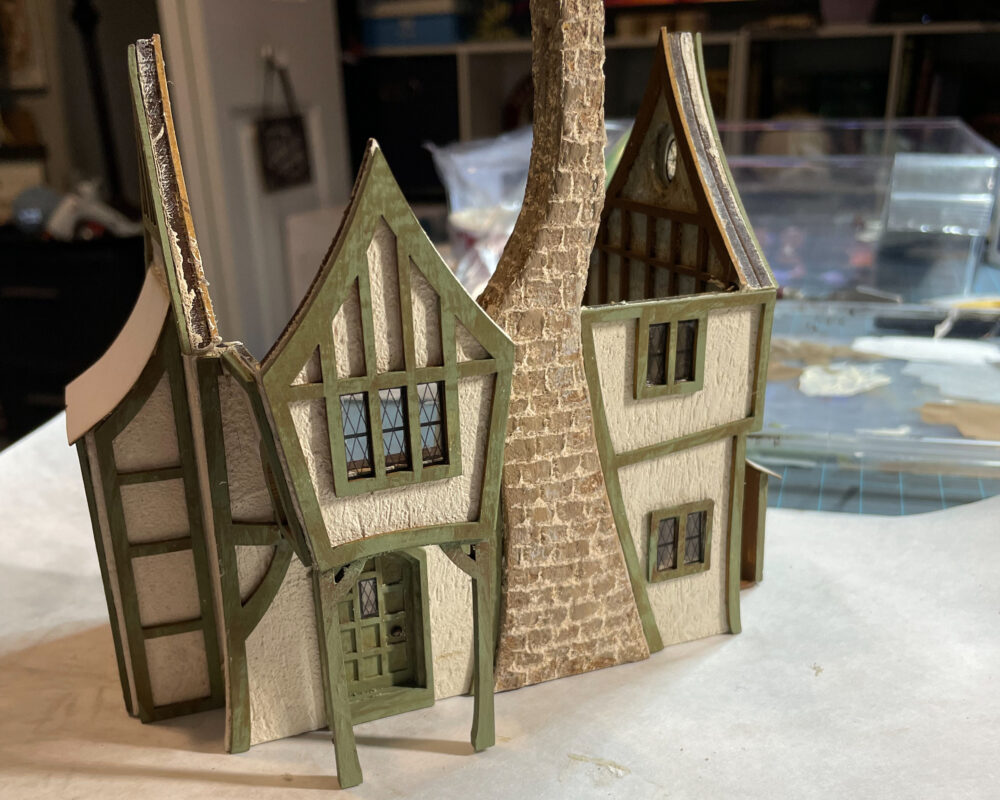
And here’s what the outside looks like once the trim has been added.
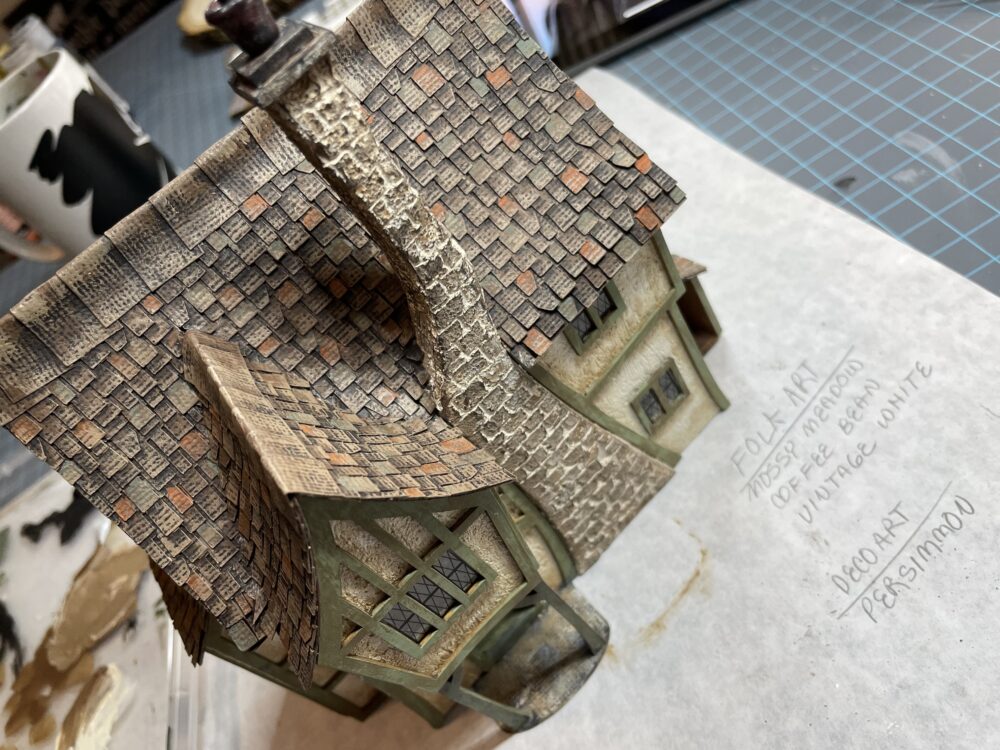
Next is one of my favorite things to work on … the shingles! I’ve used wonky shingles that I cut on my Cricut Maker machine in cardstock. I’ve used brown cardstock and painted in three different colors. Single shingles were painted and a wash was painted over top. I just love how this turned out! You can see my paint choice notes in the picture.
Now it’s time to start adding furniture and other decorations. All pieces are kits from Petite Properties. These are so cute and easy to work with that I find them hard to resist. Once I started with the lower floor I decided that a separation from the sitting room and kitchen was needed so I simply added a half wall from chipboard. At some point a sink, kitchen table and two chairs will be added.
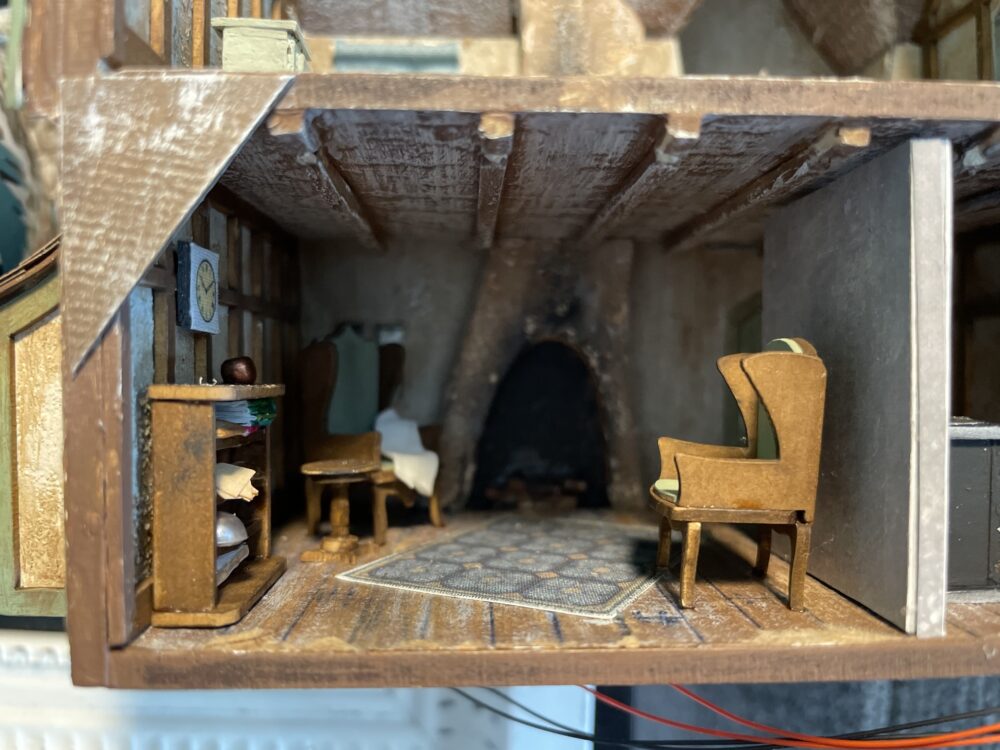
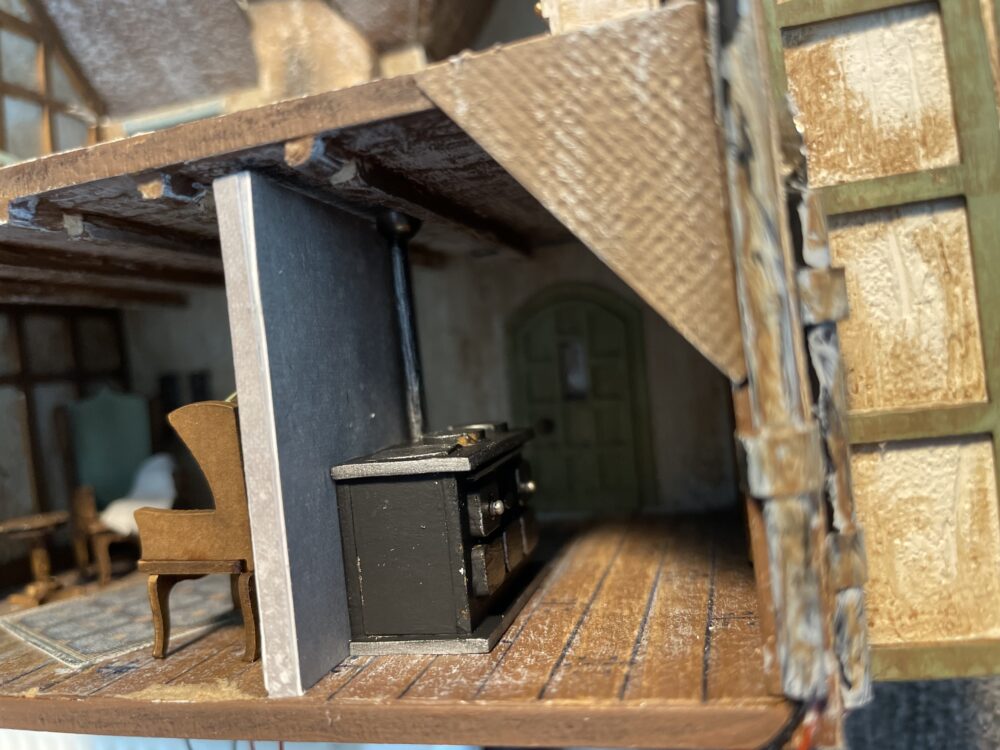
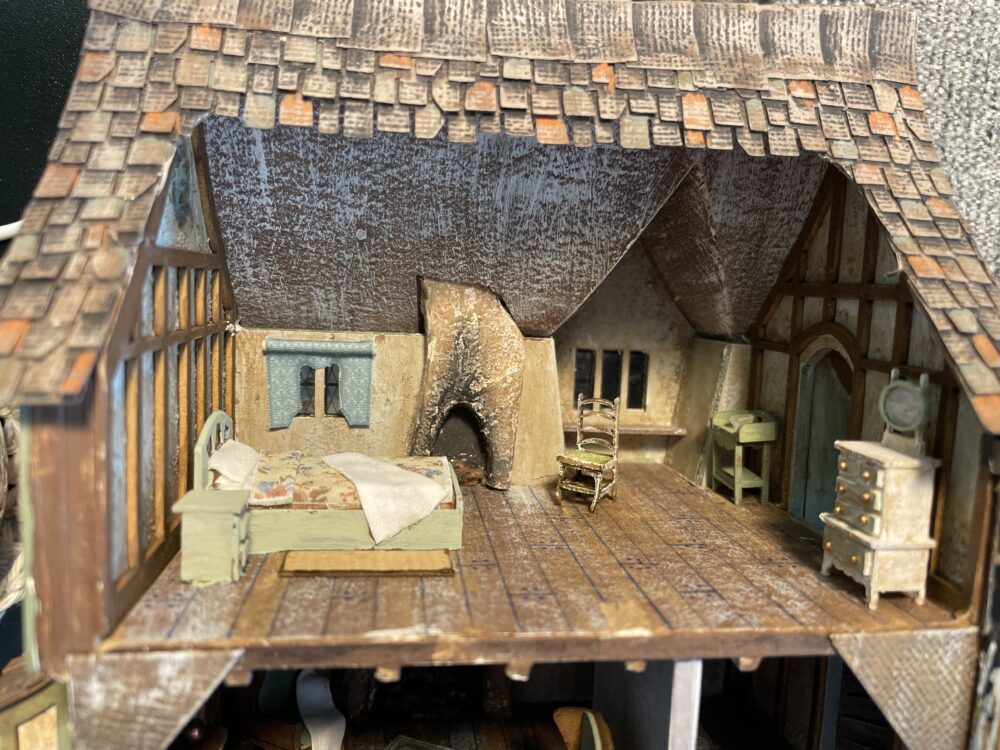
Last but not least, the final landscaping has been done and for now the Pumpkin Cottage is finished. In case you are interested the little pumpkins were 3d printed and purchased on Etsy from ShopMiniDecorandMore.
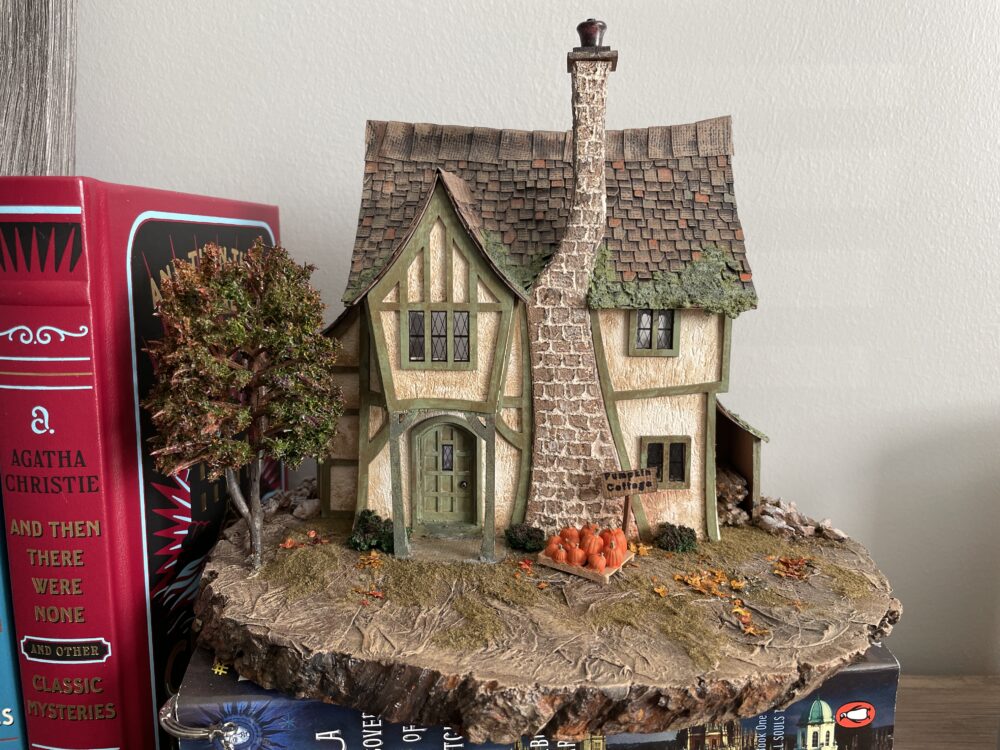
This was such a fun little cottage to make and I’m soooo tempted to order it in half scale! I can think of all kinds of things to do with it and so much more that could be placed inside in the larger scale.
Hope you enjoyed and see you next time!
Teri



Leave a Reply
You must be logged in to post a comment.