©TeriHanson/TheCoveredChipboard 2024
Other Halloweenie Town Houses . . .
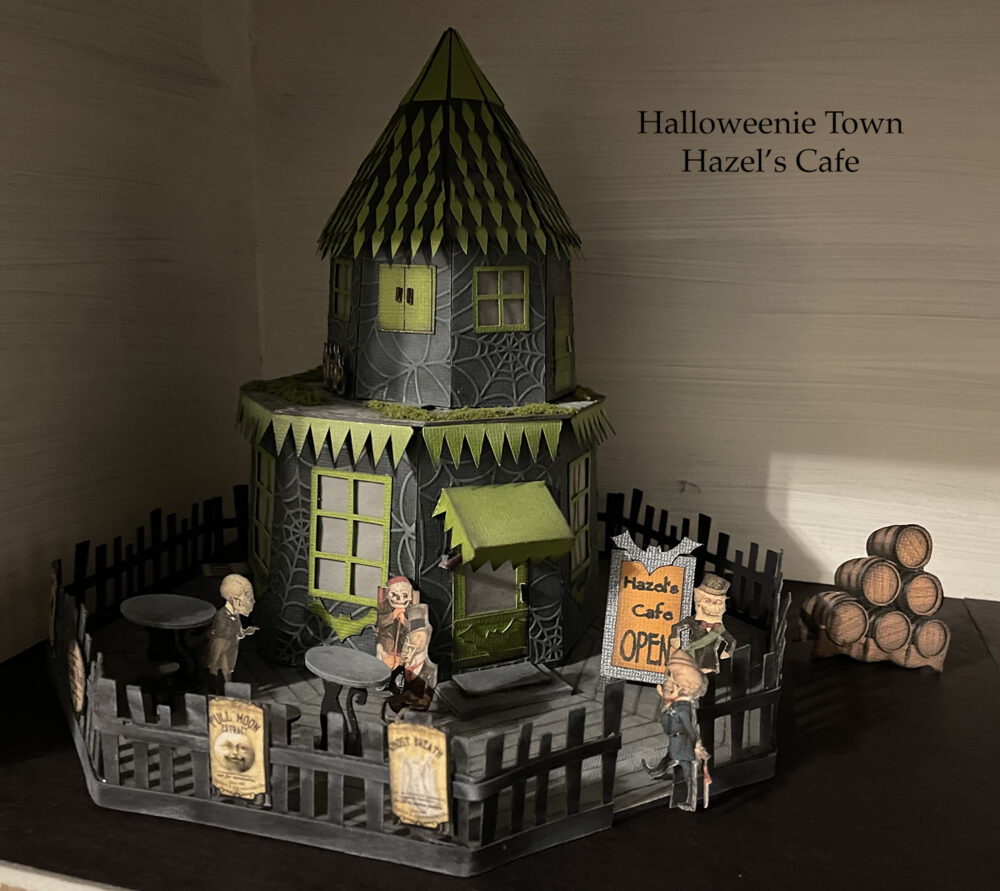
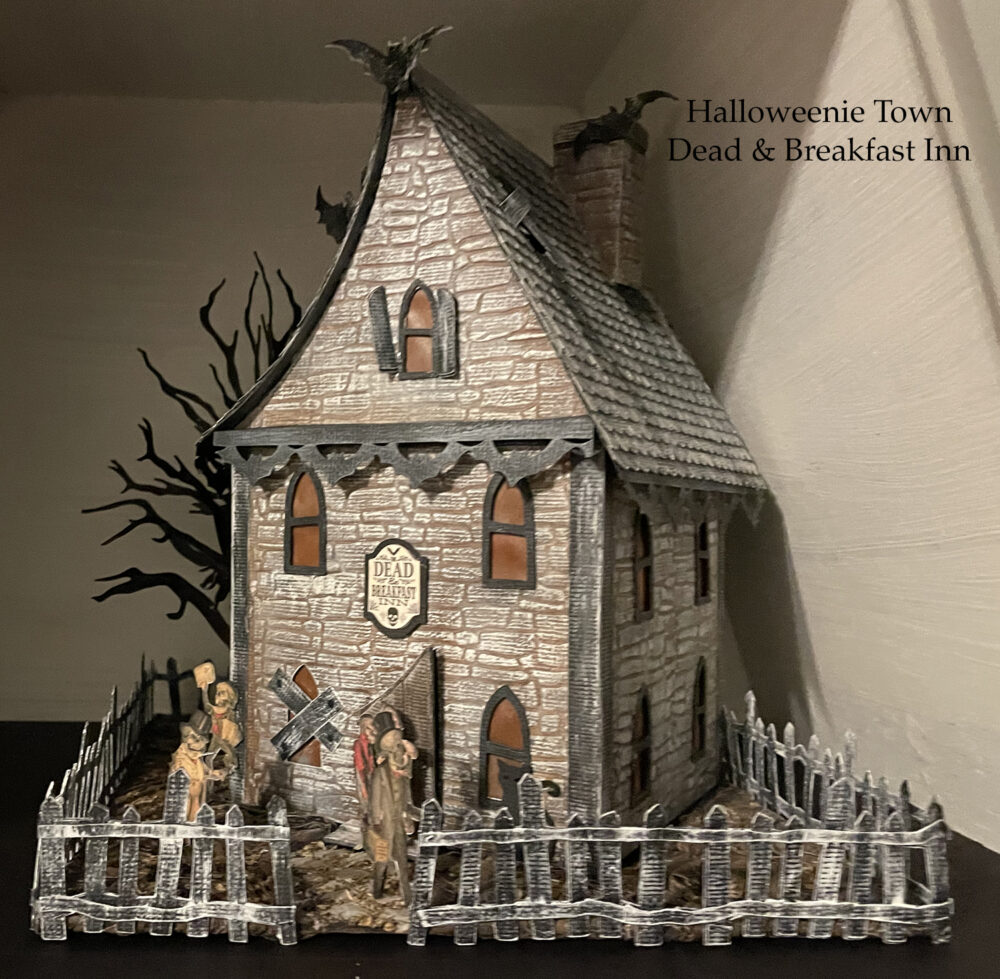
Welcome! Thank you for checking out or purchasing the next house in the Halloweenie Town Series! I think you will fall in love with the Coffin House and find it a great addition to the series.
Following are the instructions for building the Coffin House. Please read all directions before building. Please do not hesitate to contact me or leave your question in the comment section below if needed. I’m always happy to help.
Materials list . . .
- Cricut Black Kraft Board, AC Black Cardstock or lightweight chipboard – house structure
- light to heavy cardstock – windows, doors, bones, coffins, and tombstones (at least two layers should be used, best to use three layers for the coffins and tombstones
- Aleene’s Always Ready Tacky Glue
- printable brick paper – optional
Let’s get started . . .
Here’s a list of each file by number and dimensions. Files should load at the correct dimensions but it’s always a good idea to check before cutting!
- House – 10.15 x 8.15
- Coffin 1 – 5.48 x 10.88
- Coffin 2 – 8.35 x 7.92
- Sm Coffins & Tombstones – 7.43 x 7.38
- Balcony – 9.71 x 3.11
- Coffin Cover 1 – 5.17 x 6.22
- Coffin Cover 2 – 7.41 x 10.37
- Coffin Cover 3 – 3.46 x 6.22
- House Cover – 6.91 x 5.7
- Bone Accent Strips – 9.74 x 1.42
- Top Room & Ladder – 7.76 x 4.67
- Windows – 10.62 x 5.92
VIP NOTE: Don’t forget, you will also need to select the solid lines in each piece and change them to score lines! You may have to ungroup and detach each piece to change the lines. Once changed be sure to select both the image and the score lines and attach them again!
*The brick paper files were designed to be cut on 8.5 x 11 size papers as most of us do not have large format printers. Print out three sheets of the brick paper to cut the house covers from.
- The base templates are in the file with the tombstones. Cut these from any material on the machine then use them as templates to cut all bases from a heavier material such as cardboard or chipboard. These help hold the shape at the bottom of each coffin.
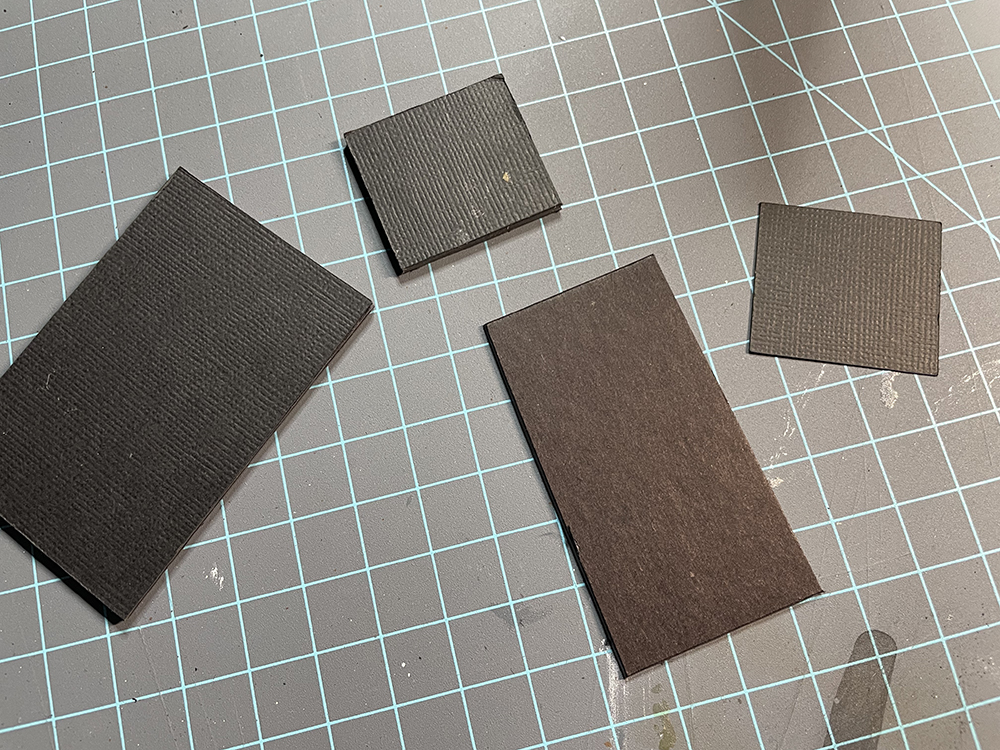
2. Cut the main house and side coffins from a sturdy material. I’ve used Cricut Kraft Board. Fold on all score lines with tabs towards the backside. Work with the main house first, then coffin #1, and finally coffin #2.
NOTE: be careful when folding the coffins! Notice there is a straight edge on the front side of each. They should be folded so that the straight edge side can be glued to the main house with the bottom edge flat. Note any angles at the bottom of the coffin shapes.
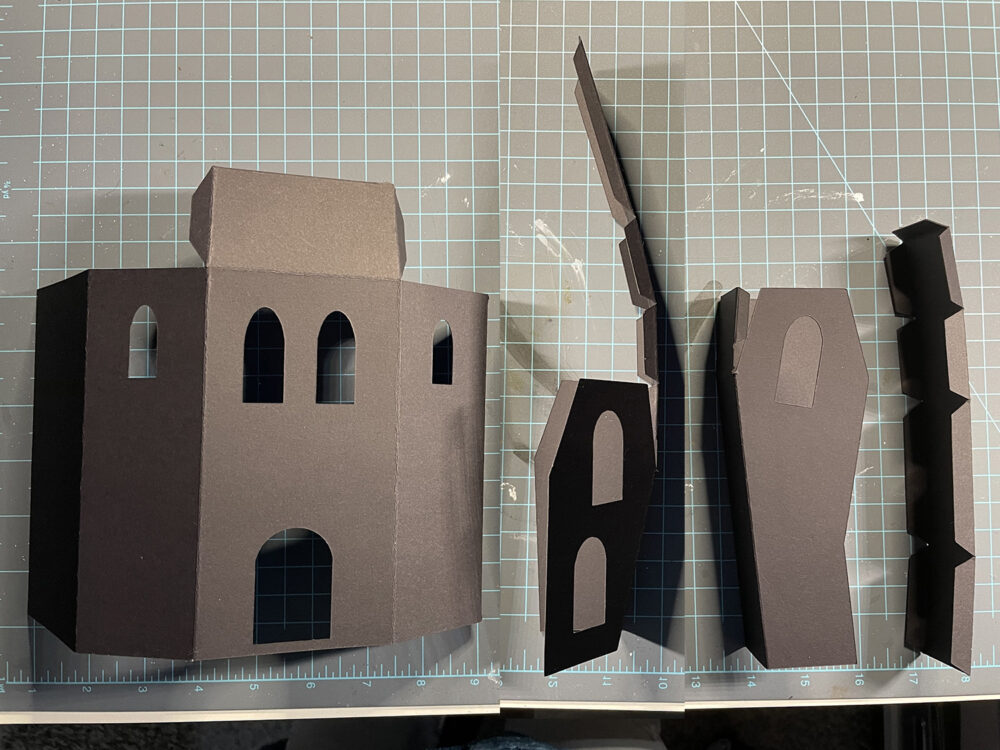
If you are using brick paper, another decorative paper, or siding on the outside of the house sections, you will find it easier to apply these before constructing each piece as I’ve done here. Be sure to check the fit of the brick papers before gluing!!! You may need to make sliver adjustments or flip the papers in the software due to your cutting machine or how you folded the main structure! The section with the doorway has cut openings a tad off to the left side to allow for a drain pipe to be added later.
I’ve used some Ranger Distress Ink in Black Soot to distress all of the brick paper before applying it to the pieces.
Glue the main section together. Don’t forget to add the double layer base inside the bottom!
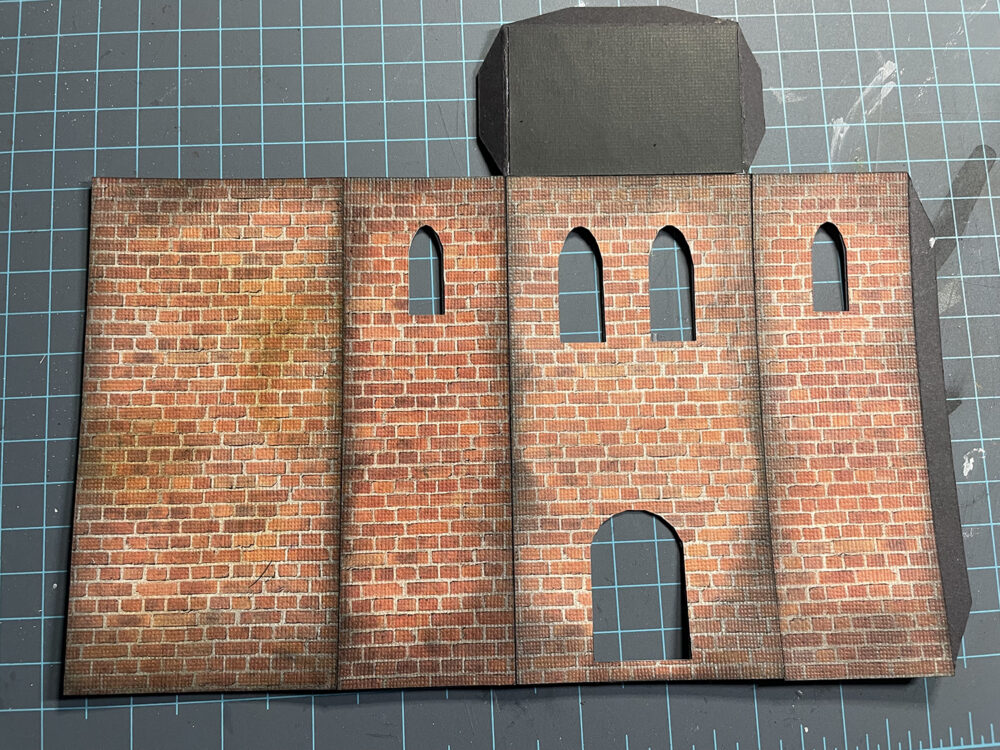
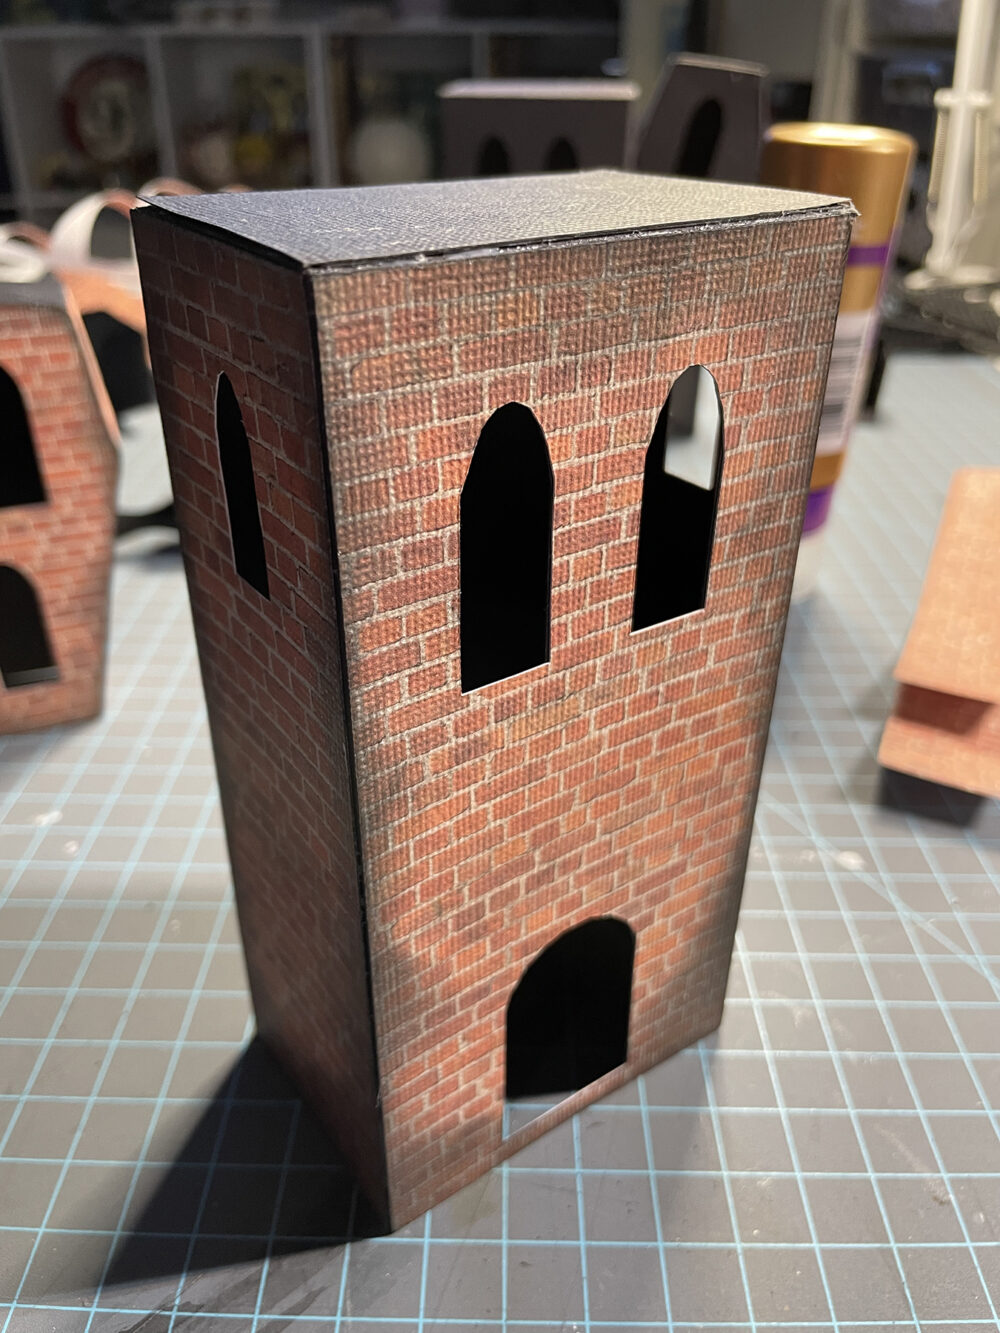
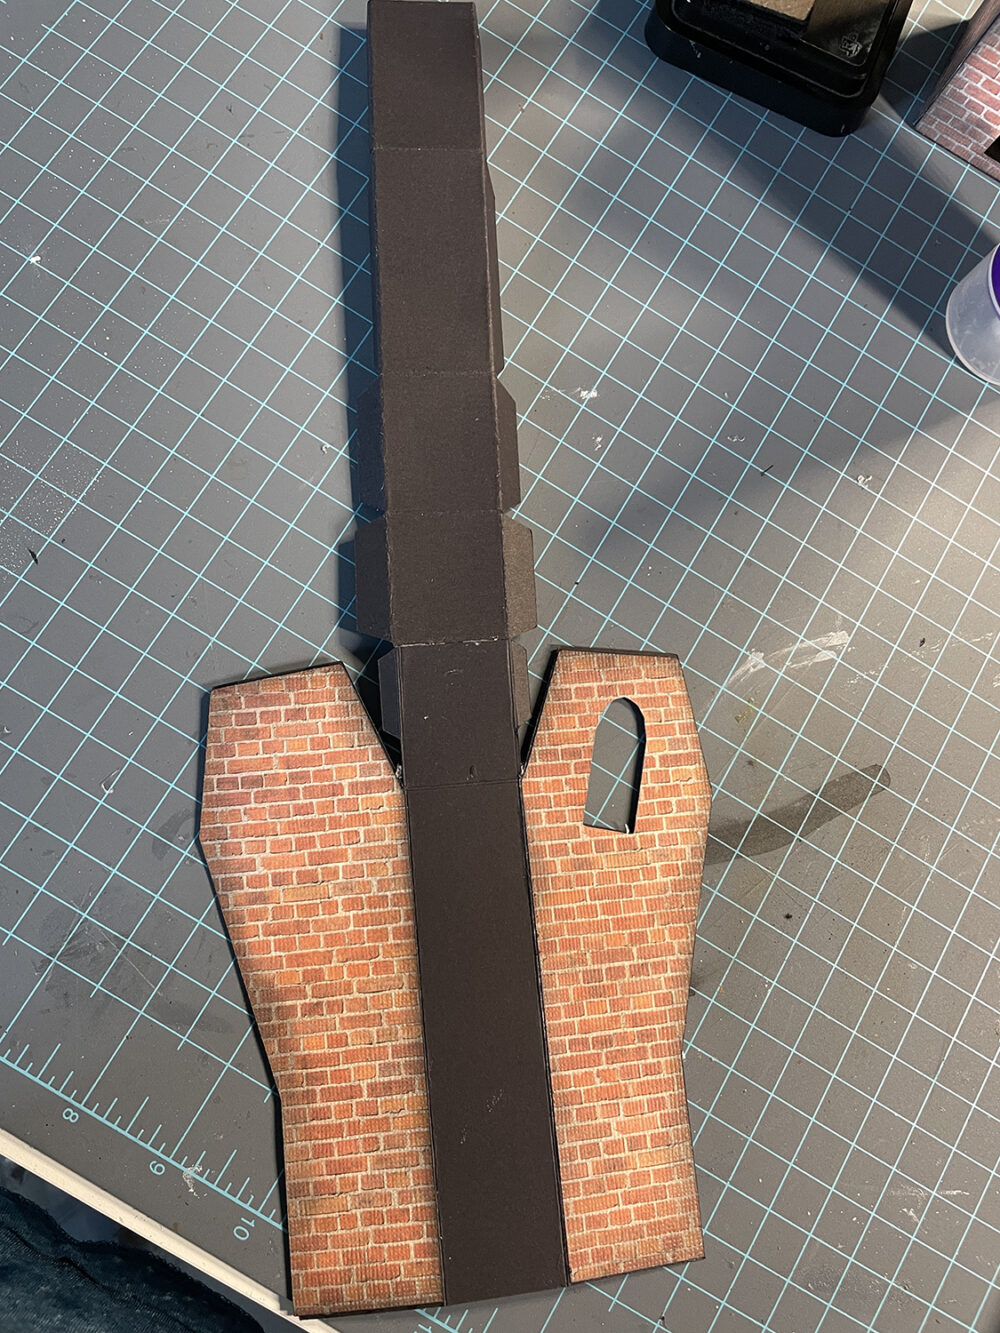
When you finish the main section, work on Coffin #1. Glue only the left and right side brick papers. Construct the piece and let it dry for a few seconds before adding the paper down the sides. Note that the strip for the side is longer than what you will need. Glue the strip to one side first, starting from the bottom. When you reach the top, cut the excess off. Now use the excess to glue to the opposite side again cutting off the excess at the top. Cut and glue a black cardstock square to the top.
The second coffin should be constructed in the same manner. Don’t forget to glue the double layer base inside the bottom of both pieces.
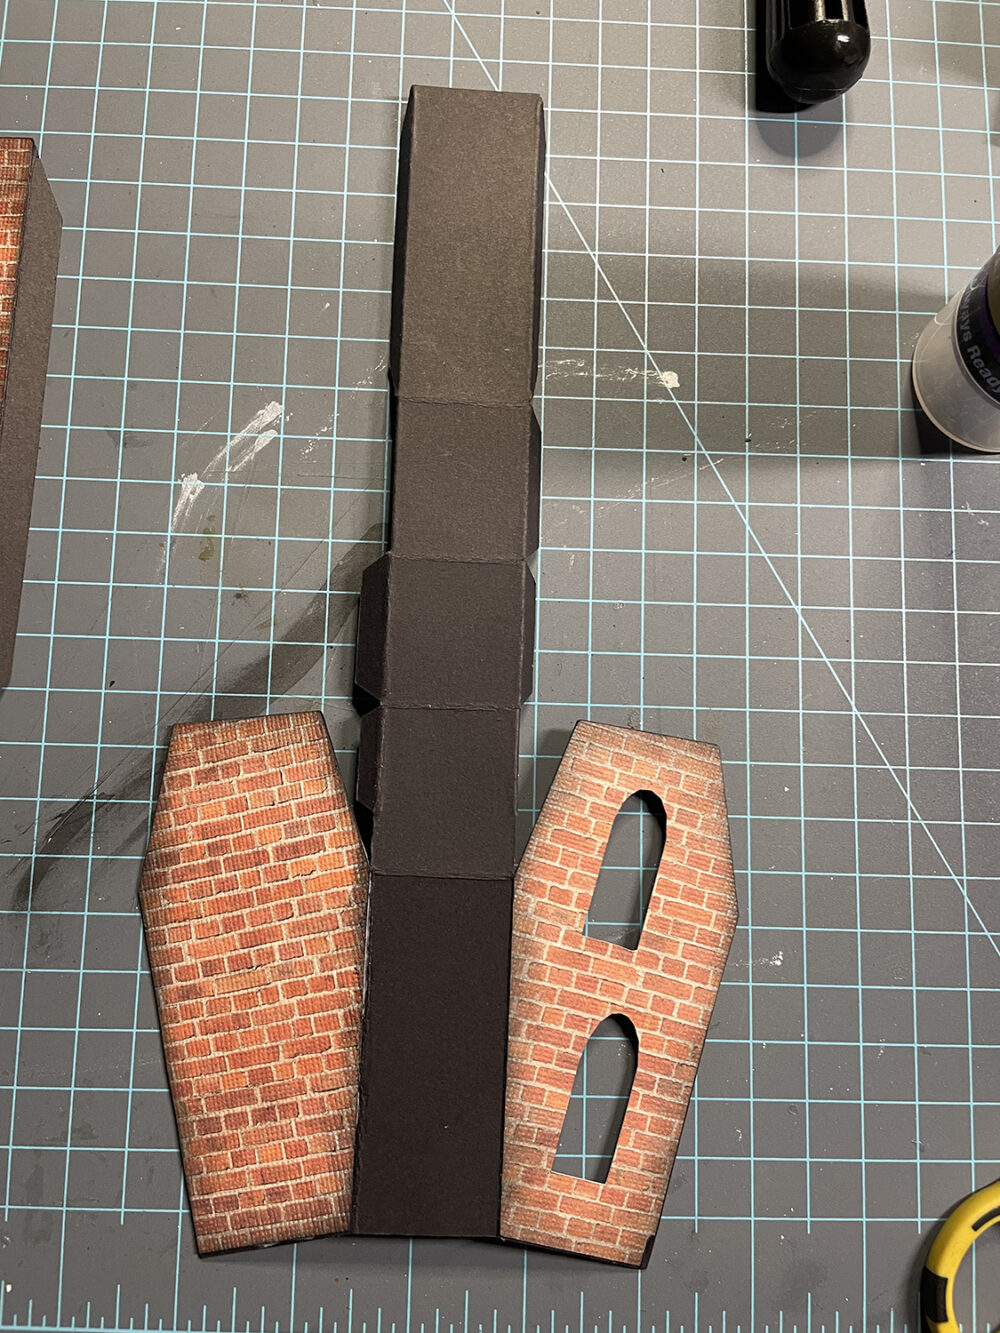
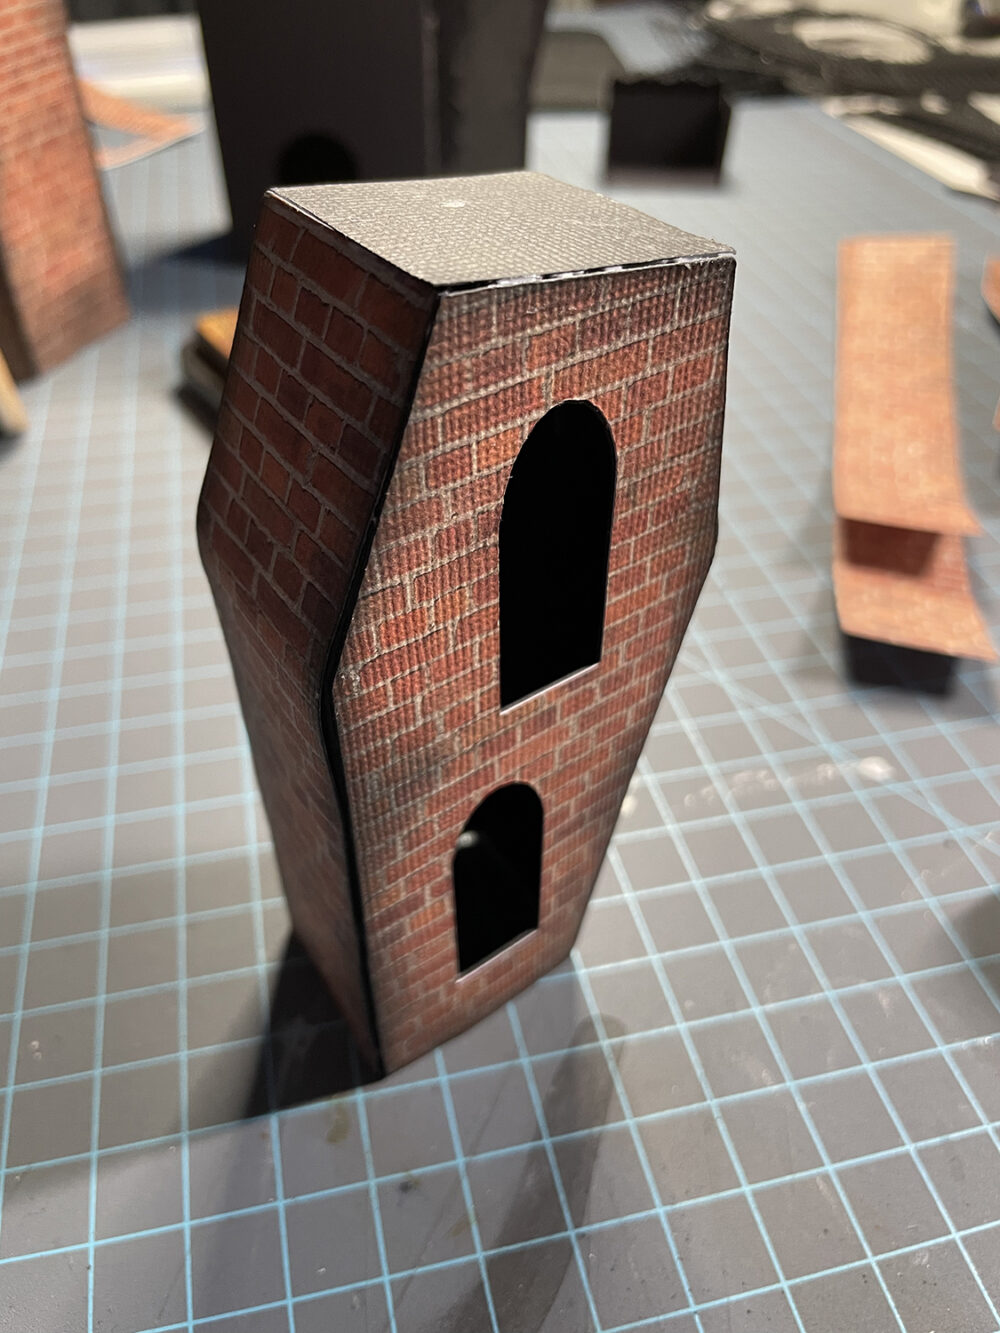
On Coffin #2 you will need to glue the single black kraft board strip to the coffin section before adding the brick paper strip.
NOTE: I would also add the window frame to coffin #2 prior to gluing it to the back. Give some thought now as to how you want your windows. Will you add clear plastic or vellum in them for glass? These should be added before fully constructing the coffin or you will not be able to reach inside.
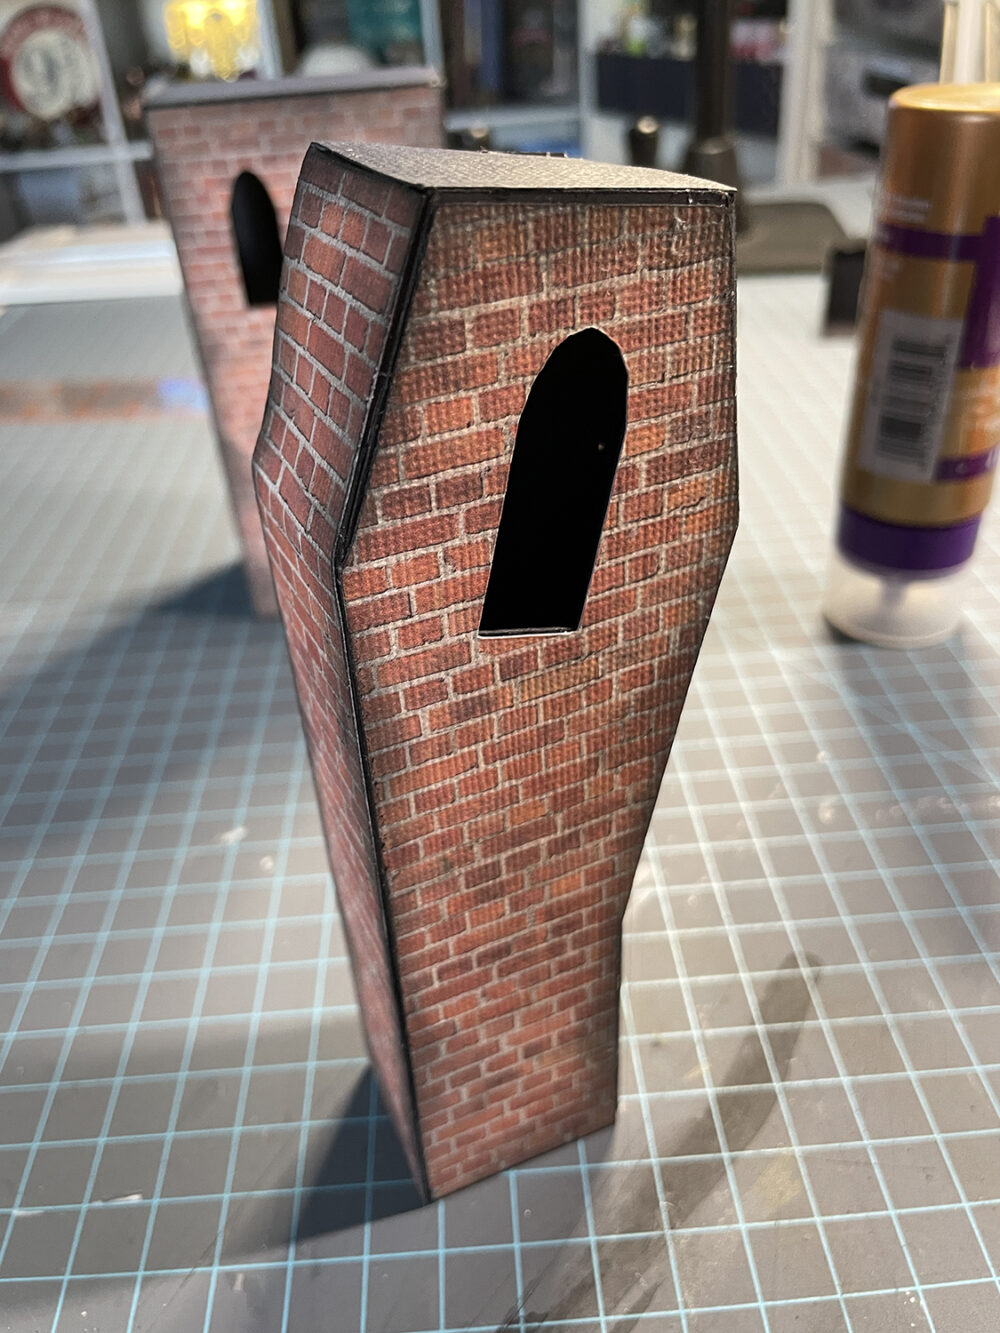
The smaller coffin #1 should be glued to the very front edge of the main house. Coffin #2 will be glued behind #1 and to the side of the main house. It will protrude beyond the backside of the main house.
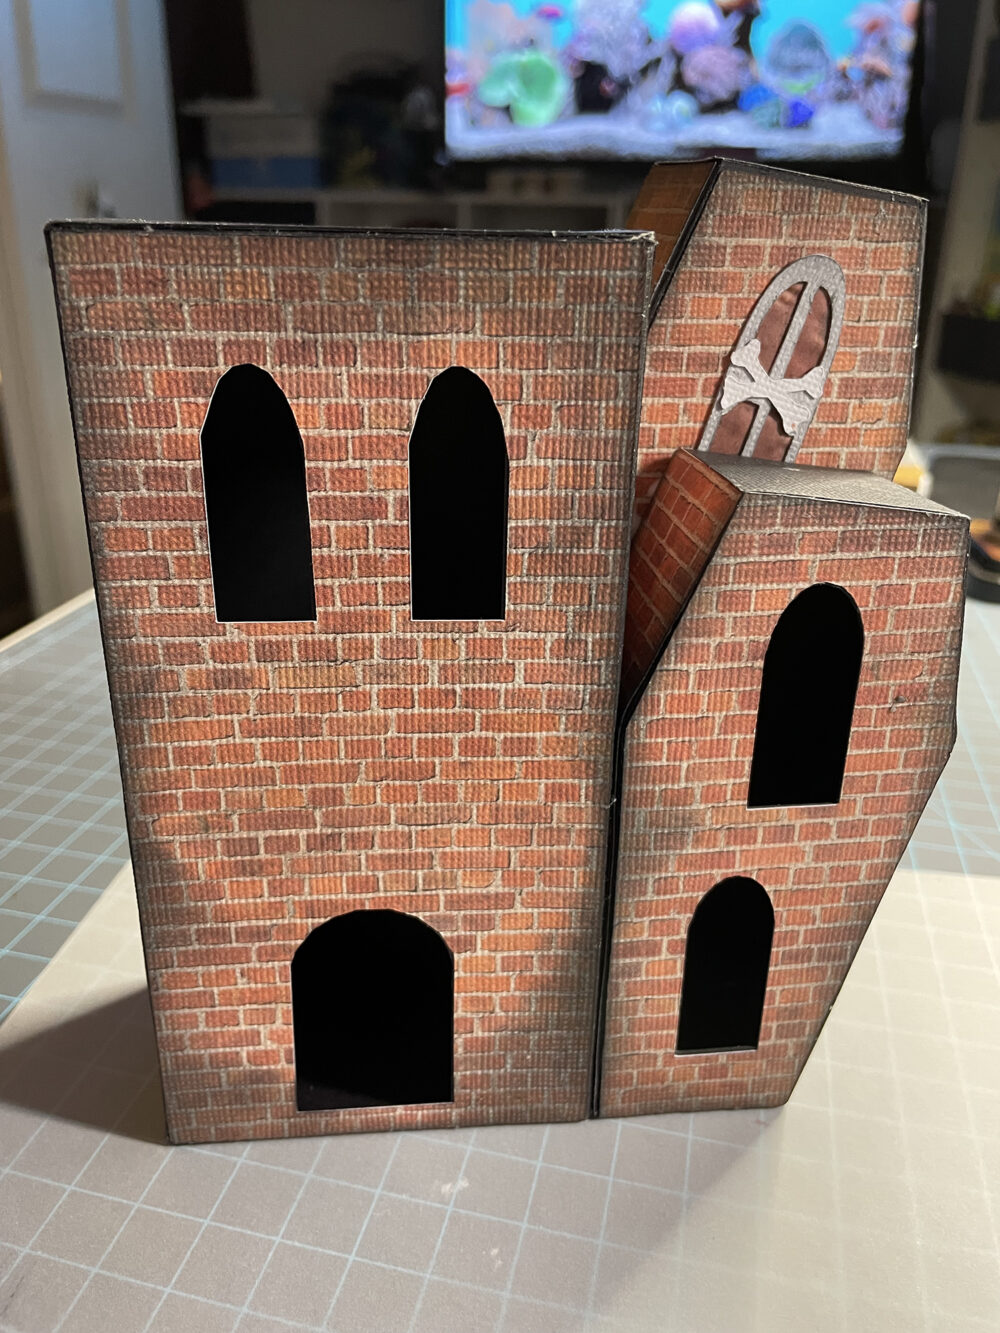
Once you have finished building the outside of the house with brick paper, siding, or whatever you choose, cover the top of the main house with a single piece of cardstock. Now you can attach the lean-to by gluing the edges of it to the top of the house. You can lean the ladder on the side of the house or actually glue it to the house side. You might want to do finishing work on the lean-to before attaching it as well.
Balcony . . .
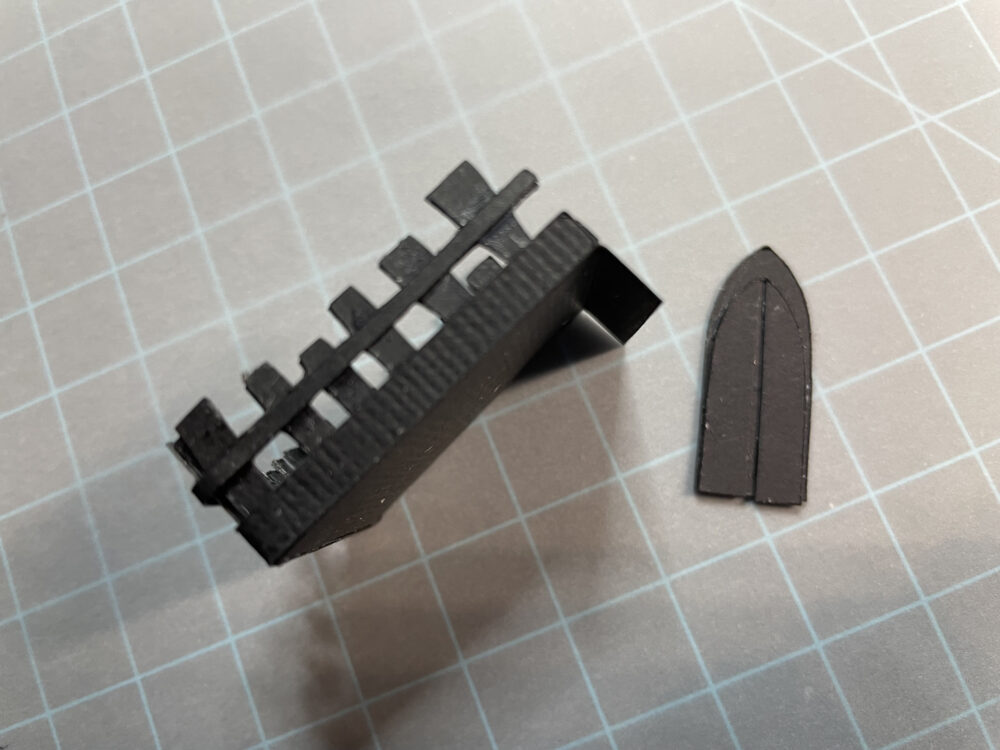
The balcony will be attached to the left side of the house just under the window cut-out. Construct the balcony by bending the fence railings upward. Use the tiny tabs to glue the two front corners together. You may have a tad bit of trimming to do. Cut some slivers of cardstock and glue them around the rainings and bottom of the balcony as seen in the first image below.
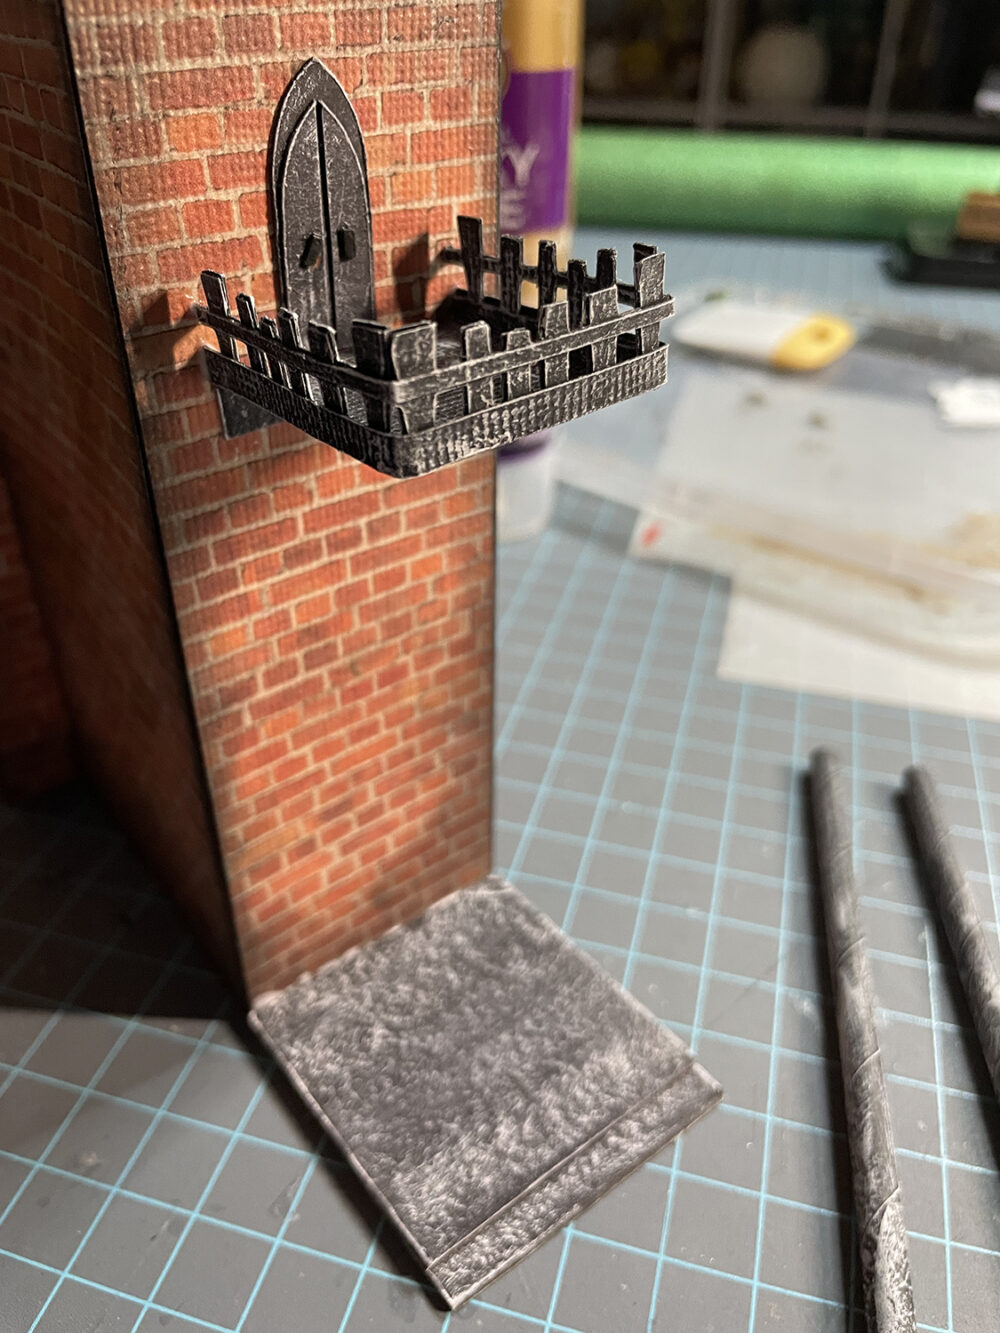
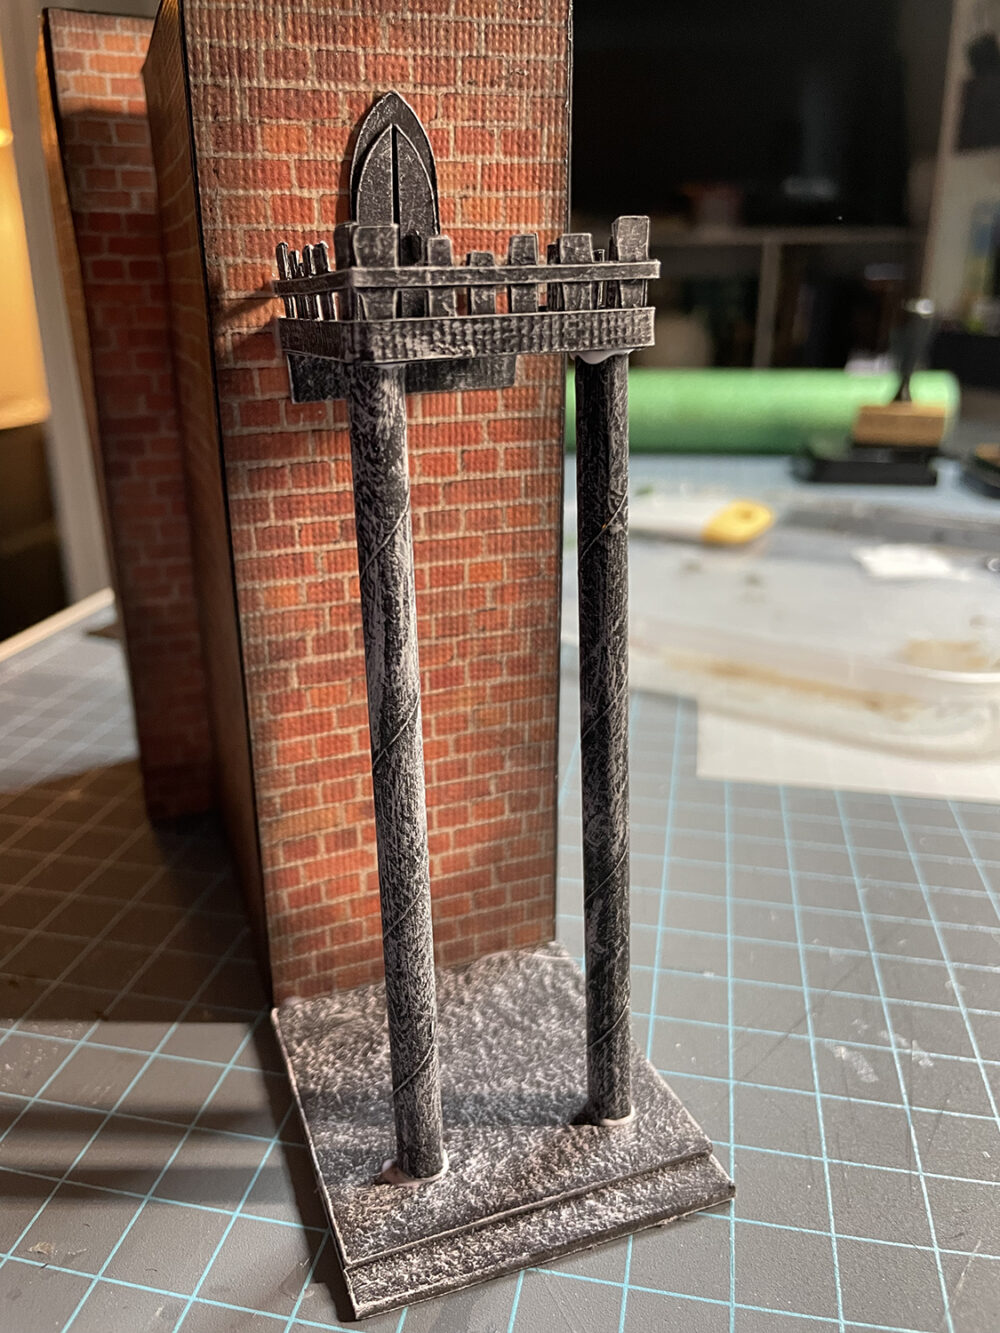
Use a couple of the window cut-out pieces to construct a door that will be glued over the window opening. Glue the door and balcony in place as seen in the second image below. As you can tell, I’ve used black cardstock for these pieces and dry-brushed them with white paint.
Cut a piece of chipboard or black kraft board to make a landing at the bottom of the building as seen in the second image below. Mine measures: 2 x 2.25 (lower landing) and 2 x 2 for the upper part of the landing. Dry brush with white paint. Glue to the building on the back edge.
For the columns, I’ve used two paper drinking straws, painted black, and dry brushed with white paint.
Add a front landing and the lean-to on top. I’ve cut strips of cardstock and glued them to the sides and back of the lean-to then added a cardstock rectangle to the top of the main house. These were all dry brushed with white paint.
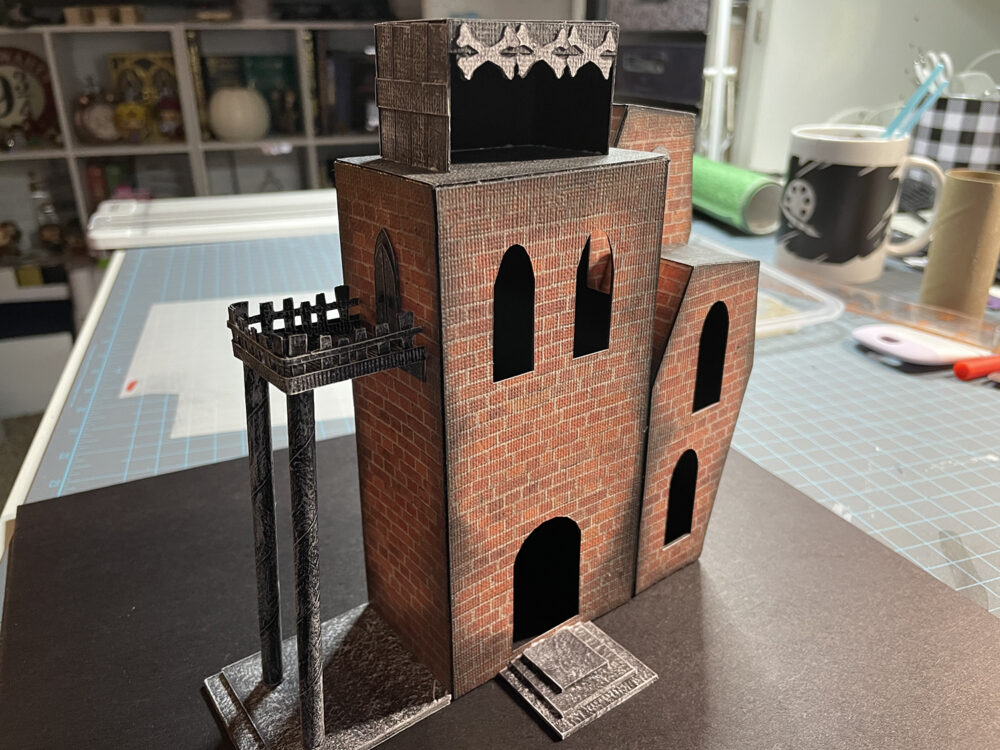
Next, add the windows and door.
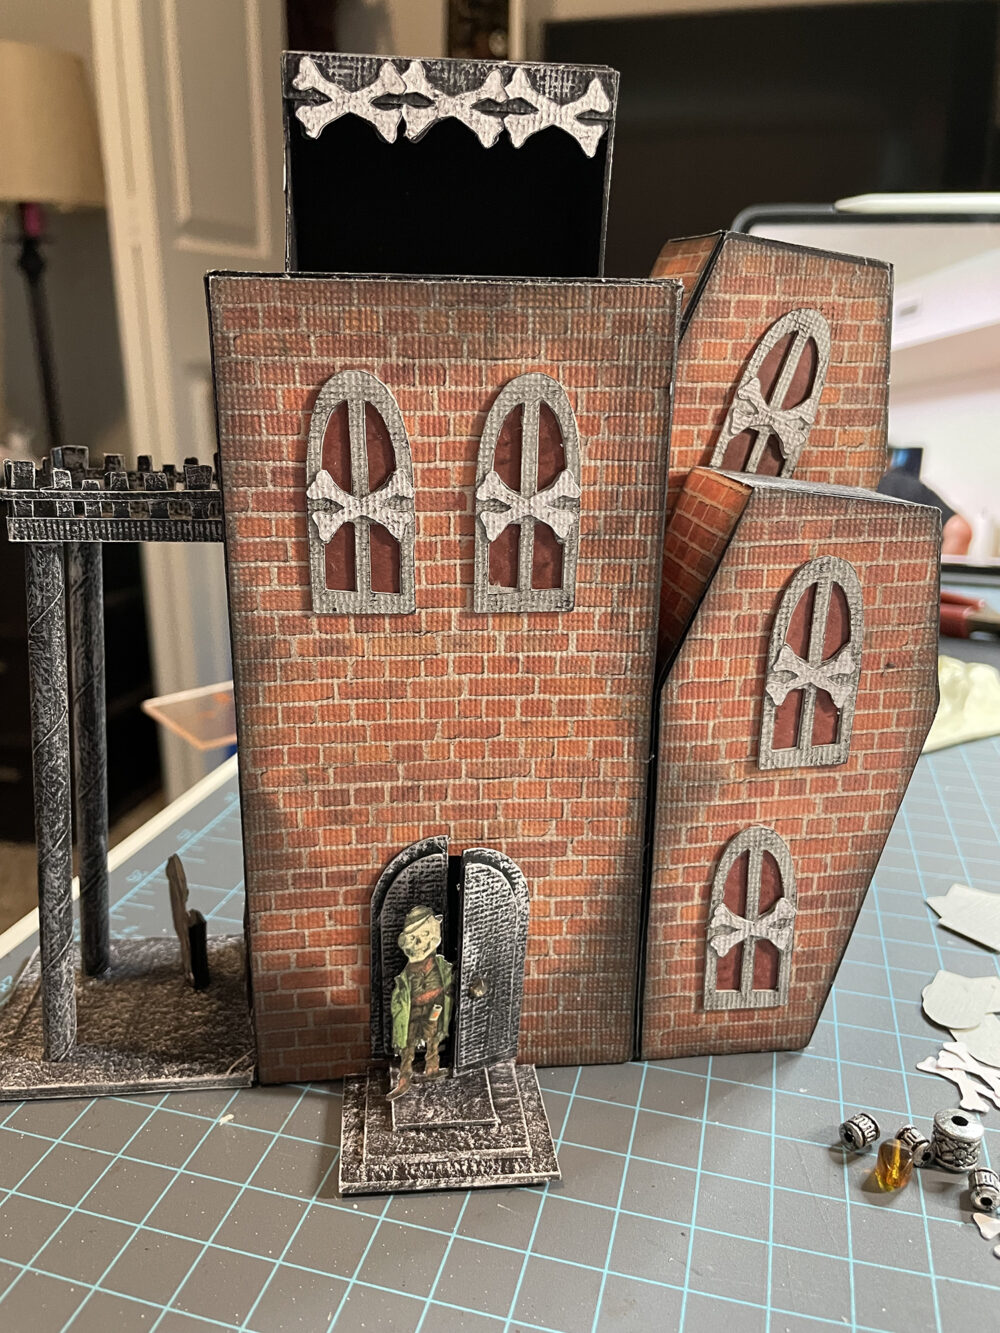
NOTE: Little people are NOT IN THE KIT. These are printables from Artfully Musing and can be found in her Etsy shop.
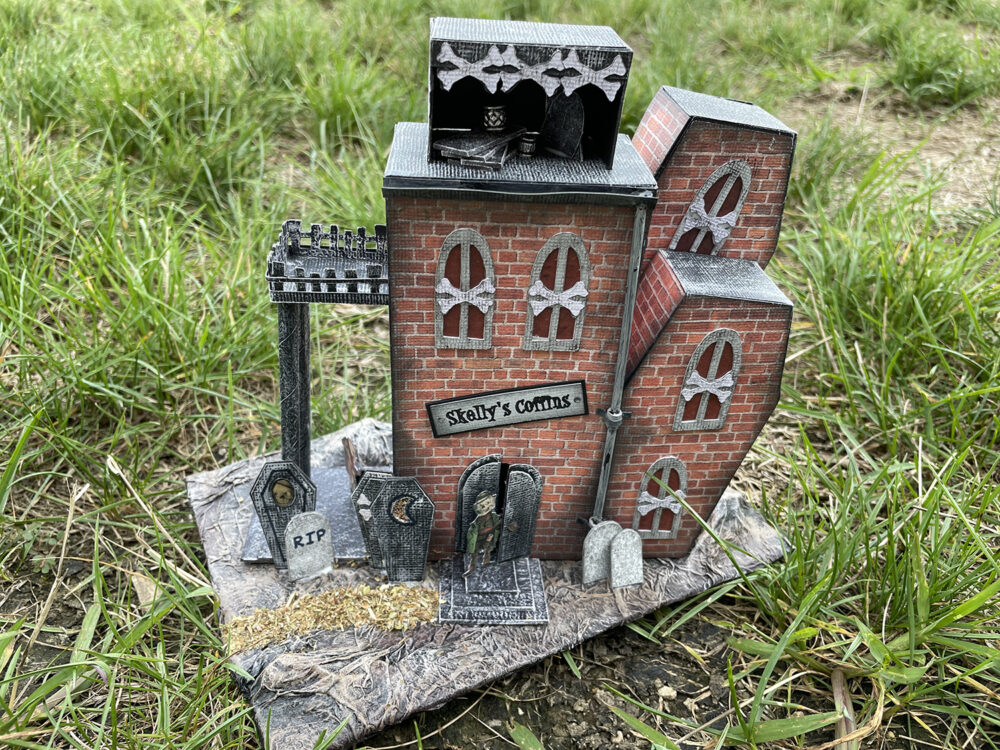
From this point, you can decorate as you like and then add to a base. Here’s a look at my finished house.

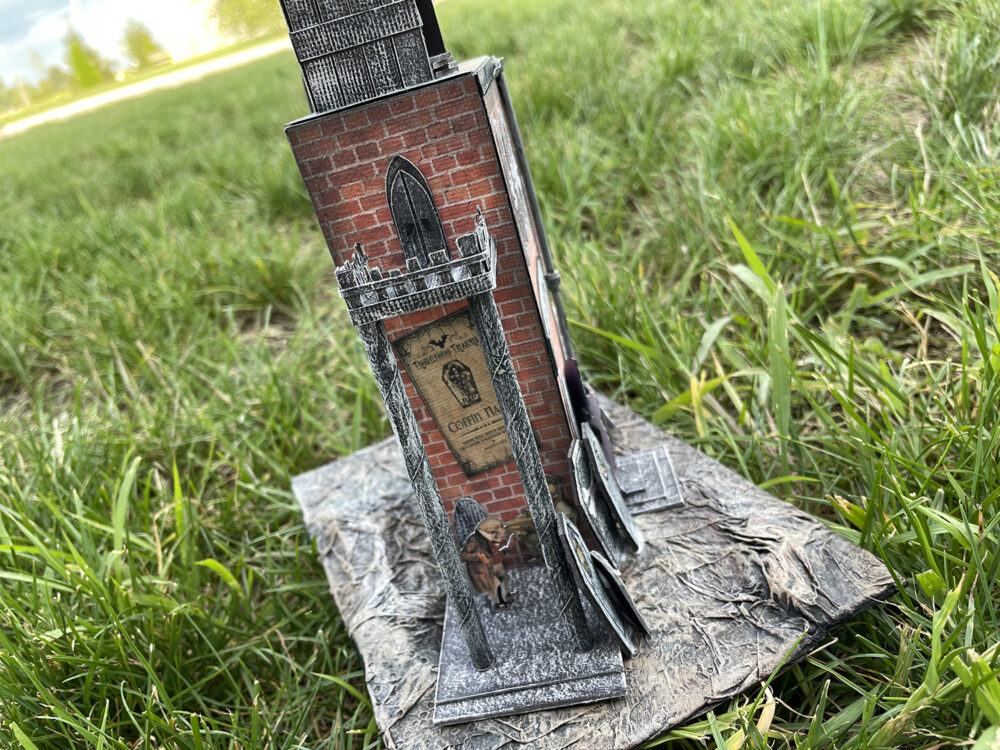
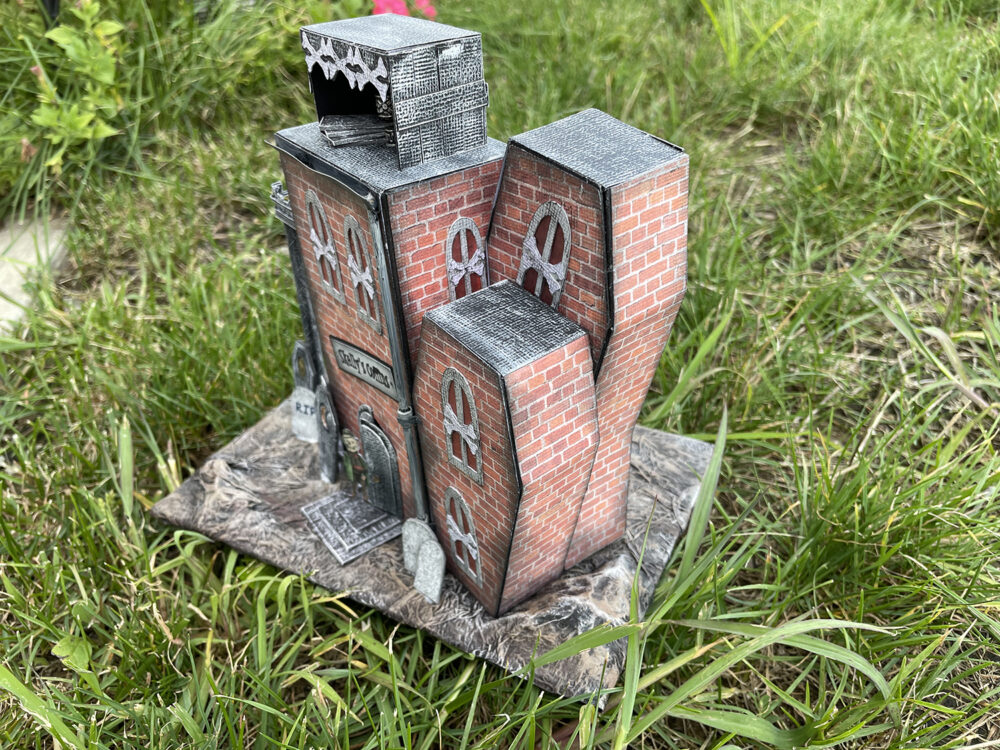
Finishing Notes . . .
- The drain pipe was made from two plastic stir straws glued together with a toothpick inserted inside. Slivers of cardstock were wrapped around the connection area and another area. Cardstock was used at the top for the gutter.
- The sign on the side of the building was found online and printed on my computer.
- Random shapes and a couple of beads were added inside the lean-to as if it is being used for storage.
- The final ground base was made using a technique from Where The Gnomes Live. You can find her video tutorial for this on YouTube.
Thanks so much for your time and I do hope you find this project a fun one!!
Teri



Leave a Reply
You must be logged in to post a comment.