AKA The Watchtower kit from Petite Properties
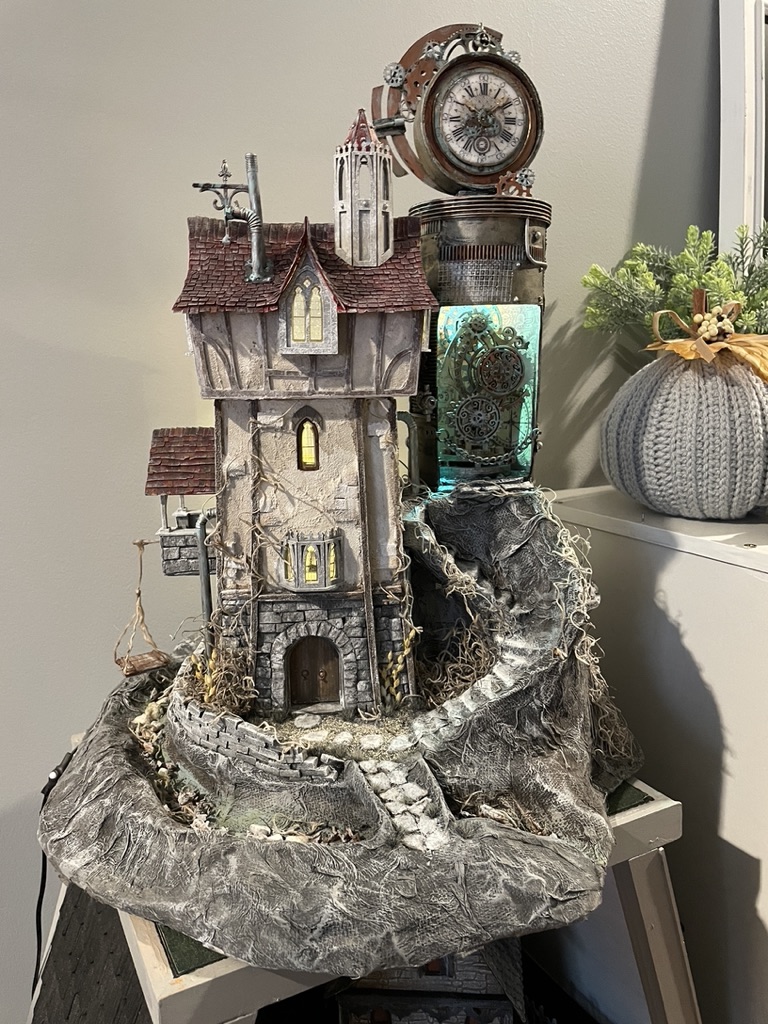
Scrolling through my favorite miniature kit site, Petite Properties, I ran across The Watchtower and just knew it would make a great clock tower. This was a project I had been thinking about for a while but it would be several years later before I purchased the kit and started on a very fun and unknown adventure.
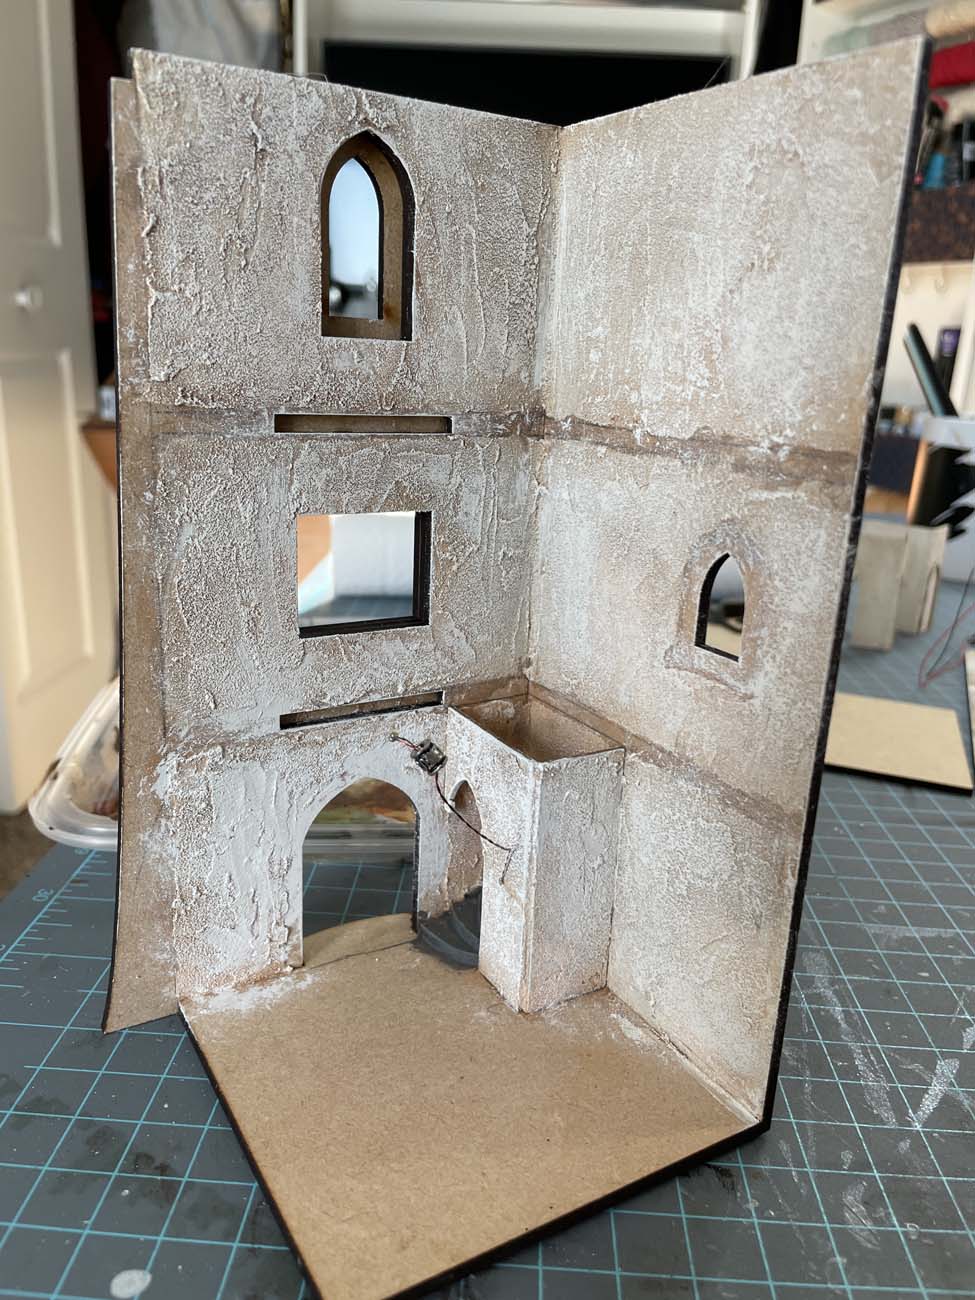
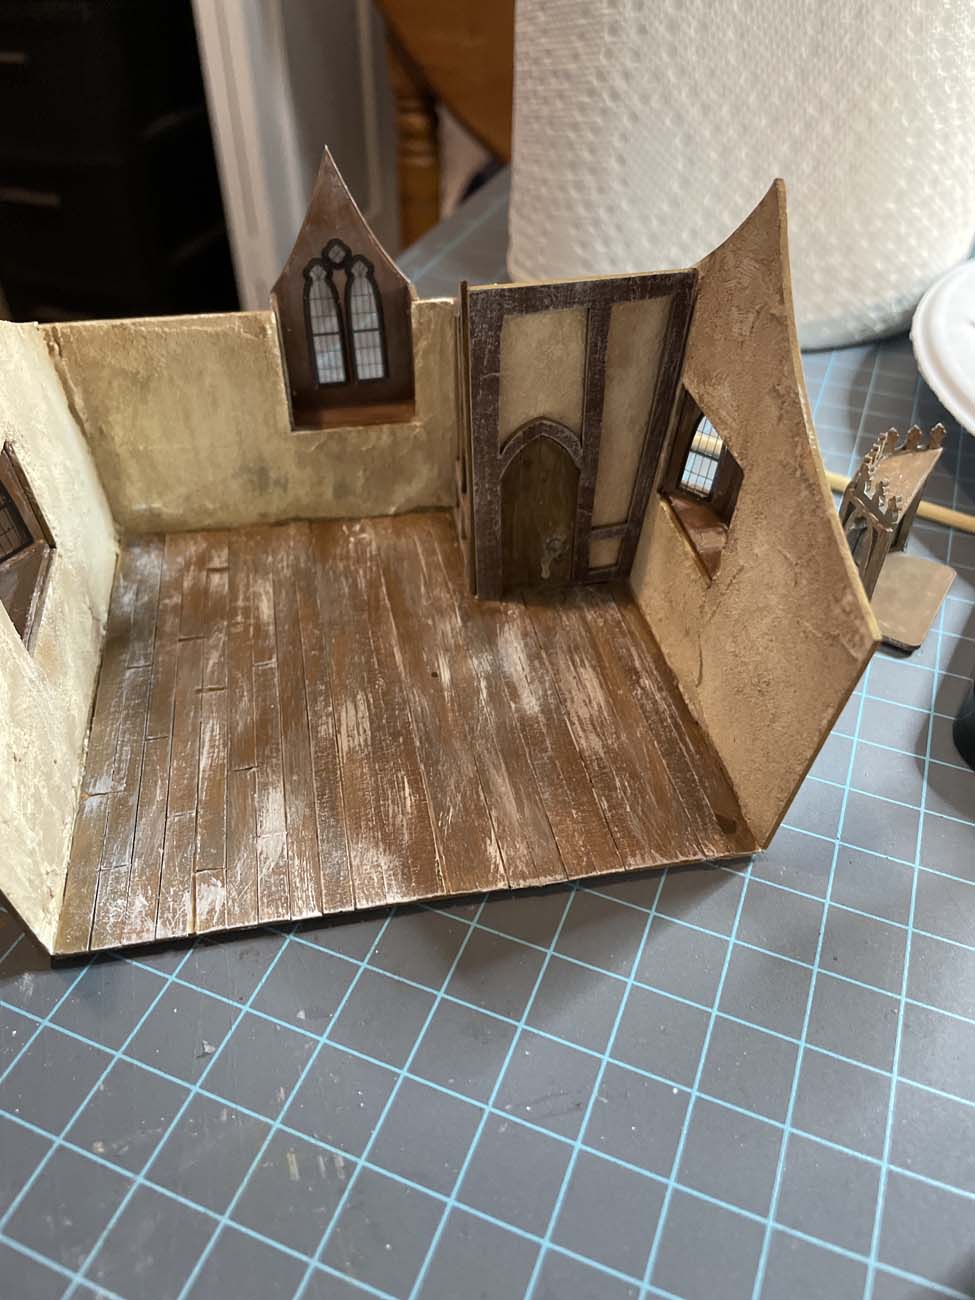
With any 1:48 scale kit you have a small working area for rooms so it’s best to start with a single floor, complete it, then move on to the next floor. Generally, I will sort of pre-build a structure to get an idea of where parts go and then mark where floors align with other walls. Below you can see how I’ve connected the floor and two sides together and added the texture for the walls. Once that has been done I can work on the lowest room.
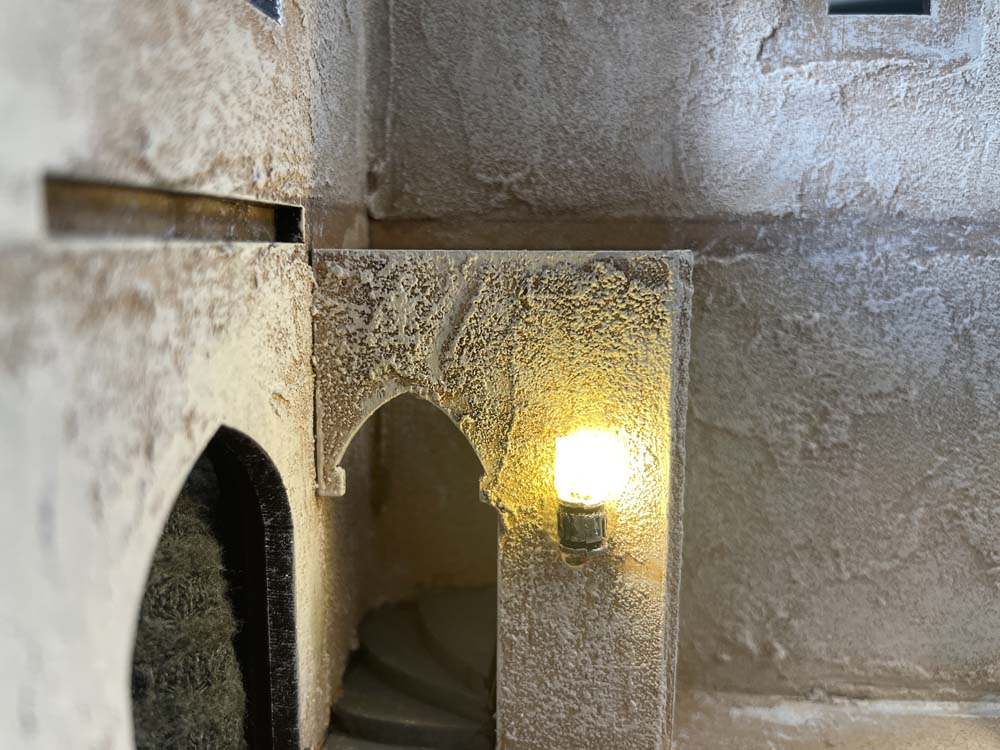
I’m using a new set of lights on this build so that they can be worked into sconces and are easier to hide. These are Chip Nano 3 volt DC LED’s from Evan Designs. Sconces were created with a metal bead and small plastic tubes. It’s always best to add the lights as you go from floor to floor.
The wall texture was created using Tim Holtz Distress Grit Paste. This was the first time I’ve used this and absolutely love it! It’s very easy to apply with a palette knife, has just the right amount of texture, dries pretty quick and easy to paint. A tad more expensive than other products but worth the extra cost thought.
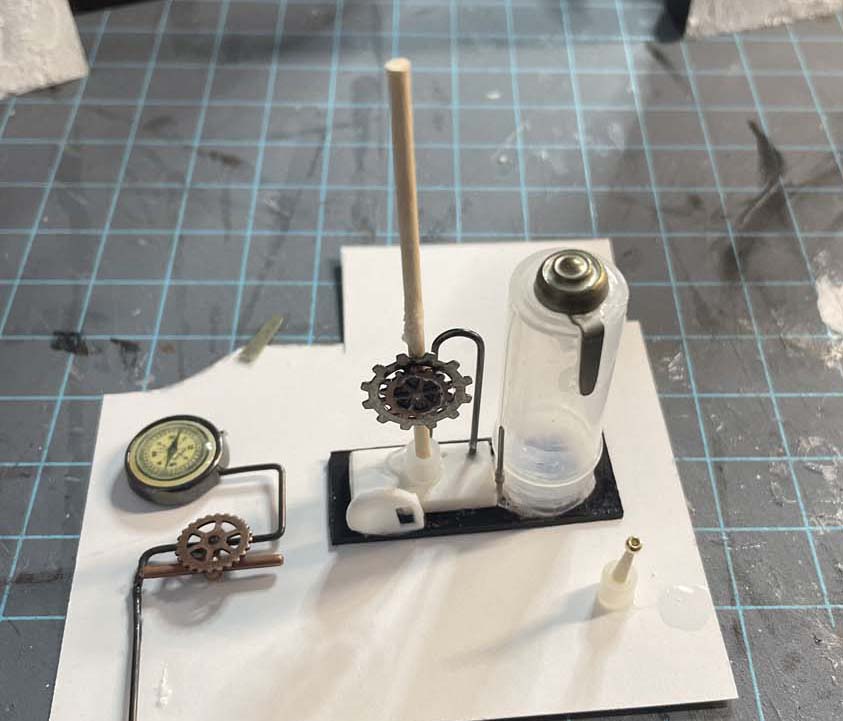
Sometimes when you have no clear vision of what you want to create, or how to create it, the best thing to do is to simply dive in and start playing with what you have. I think the more we create, and immerse ourselves in a project, the more creative we are and ideas seem to float into our heads. So that’s exactly what I did. I began with the inside floors of the main base section and just started gluing bits and pieces together.
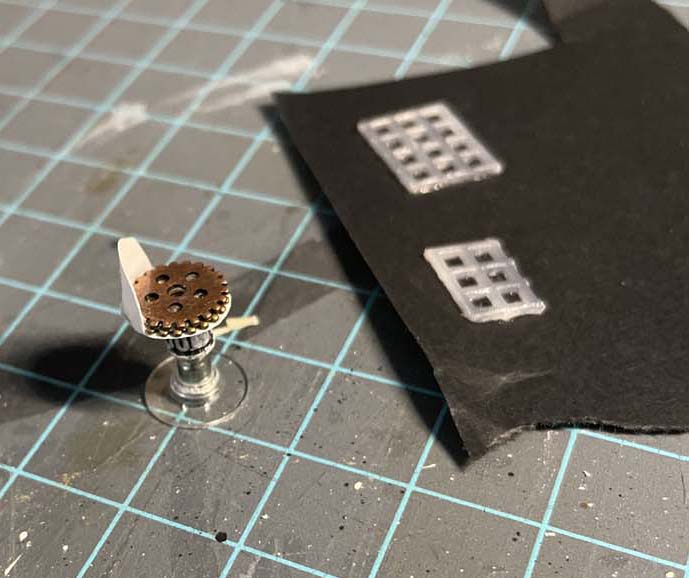
Basically, I knew that a lot of machine-looking things would be needed so using Gorilla Super Glue I just started gluing random items together to create these. I’ll be making many of these machines as well as control panels for all three rooms. On the right, you can see how I’ve made a little chair with an earring back, cardstock, and small gear. The clear grids are made from plastic needlepoint canvas.
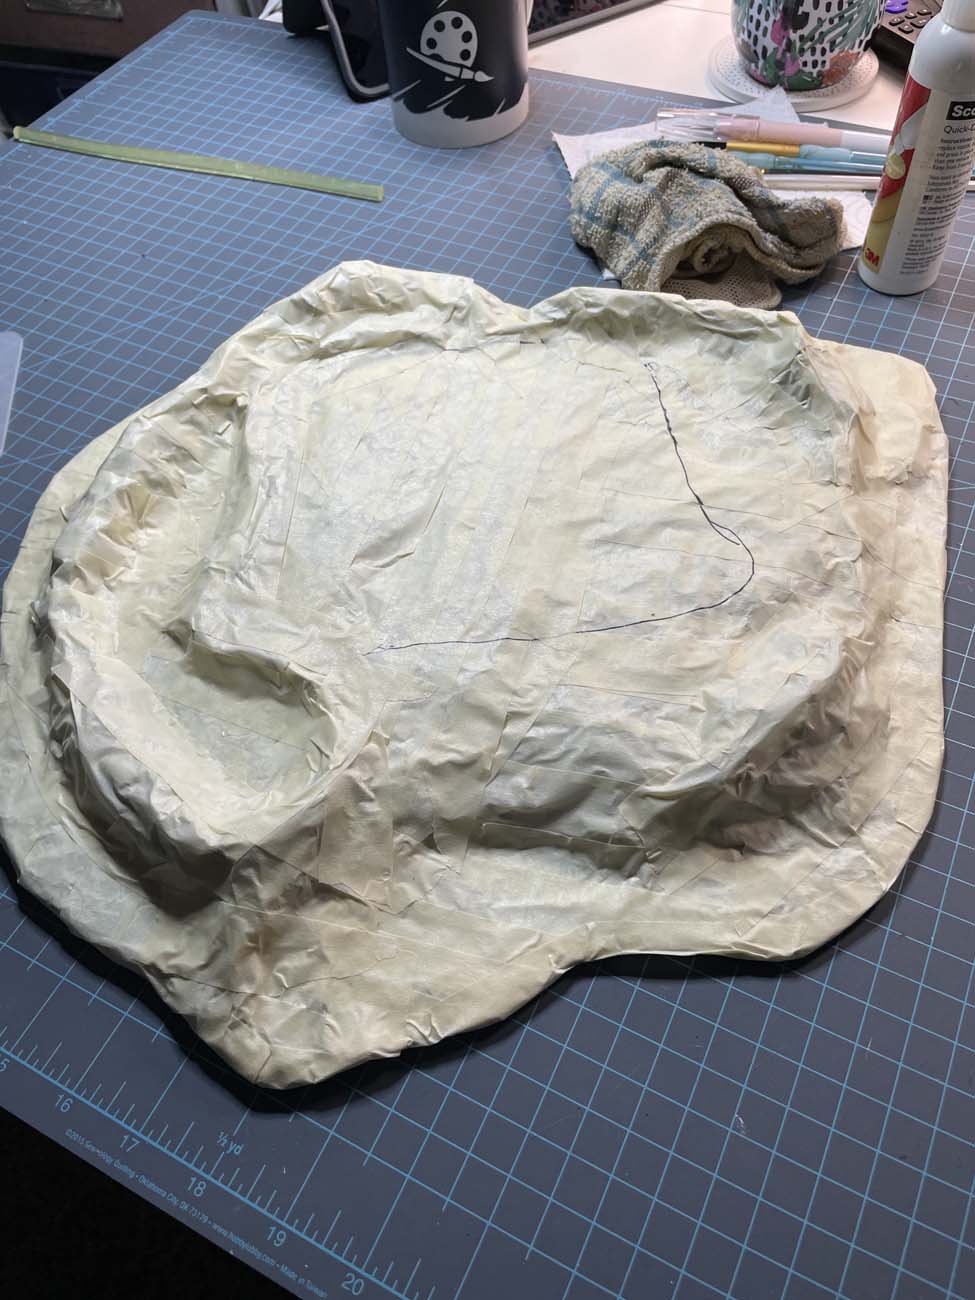
After making up a few things and needing a break from super glue (grin) I decided to start a base for the project using the cardboard, tin foil, and masking tape method mentioned in a few earlier projects. As with most projects, the base did increase a LOT along the way!
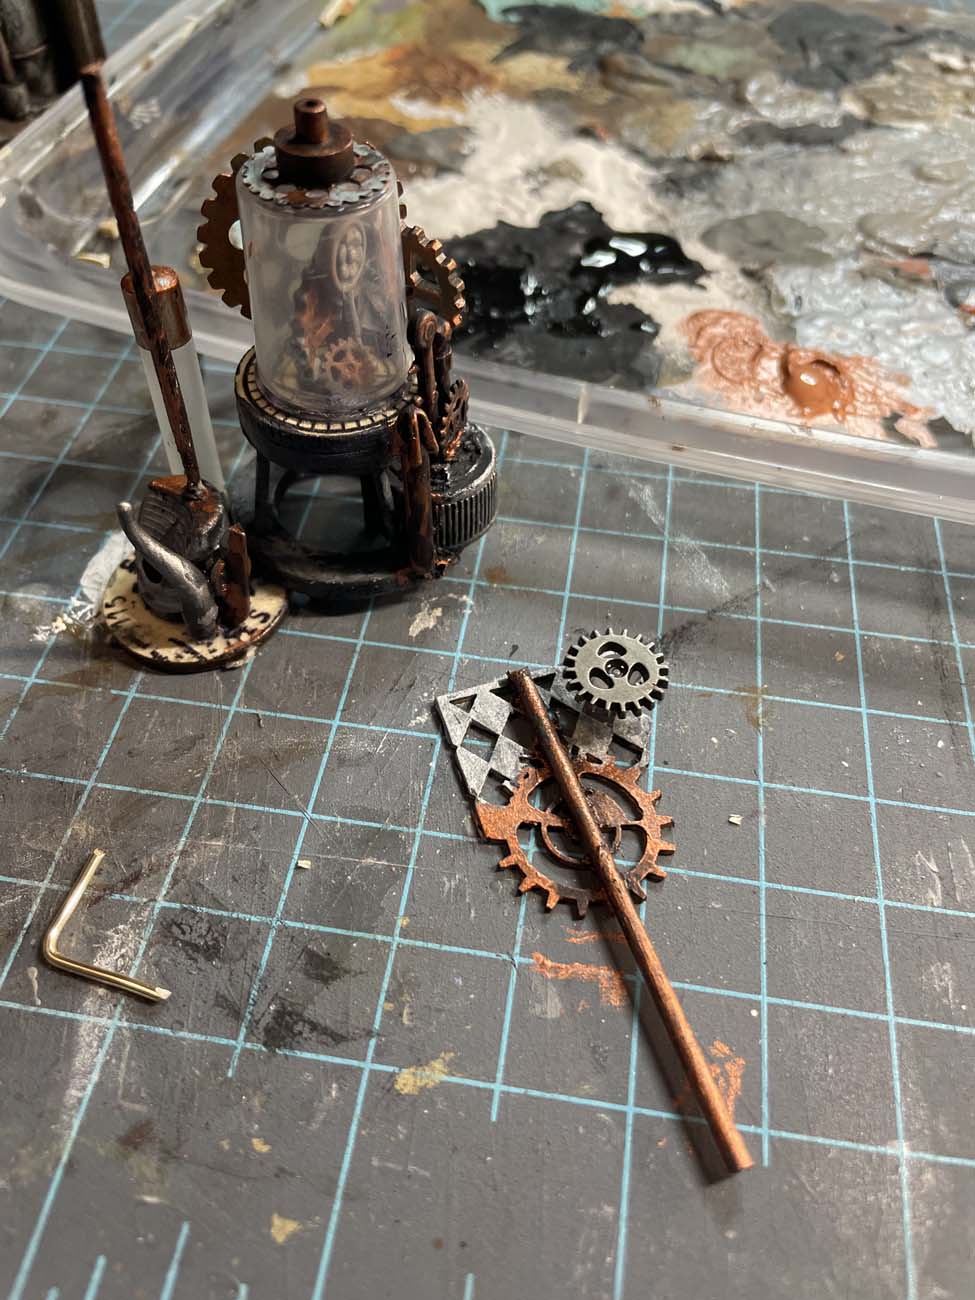
Before adding any built items into the rooms the floor must first be added. I find using a thin chipboard/cardboard works well without adding too much thickness which can cause issues with doors and such along the way. In the right image, you can see a finished floor.
I painted the entire floor with watered-down brown acrylic paint and then dry-brushed the floor with a medium grey and finally an off-white paint. Sometimes a little light sanding can help to weather the flooring then finish it off with a clear matte brush or spray sealer.
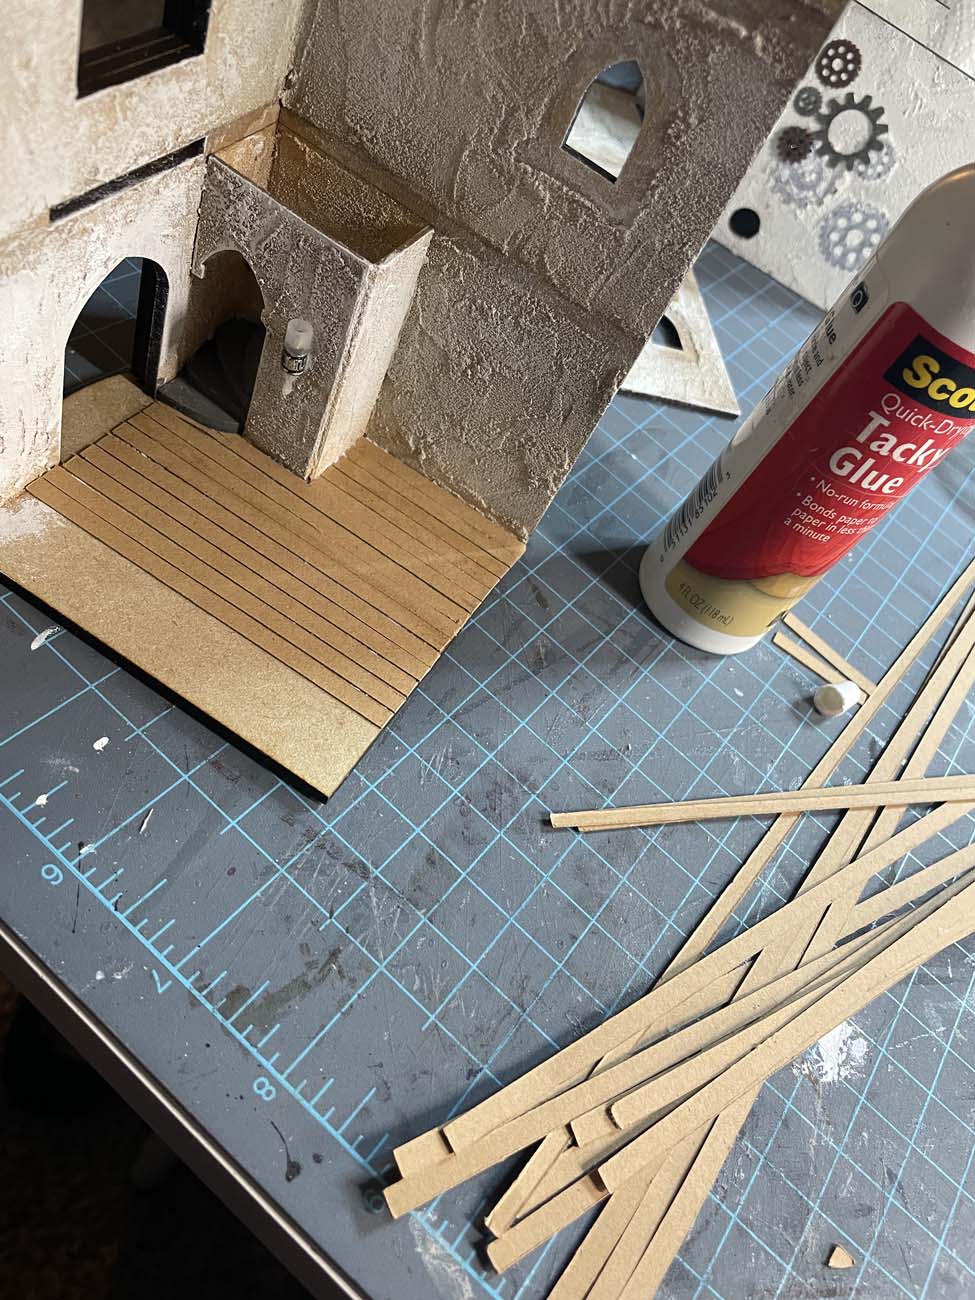
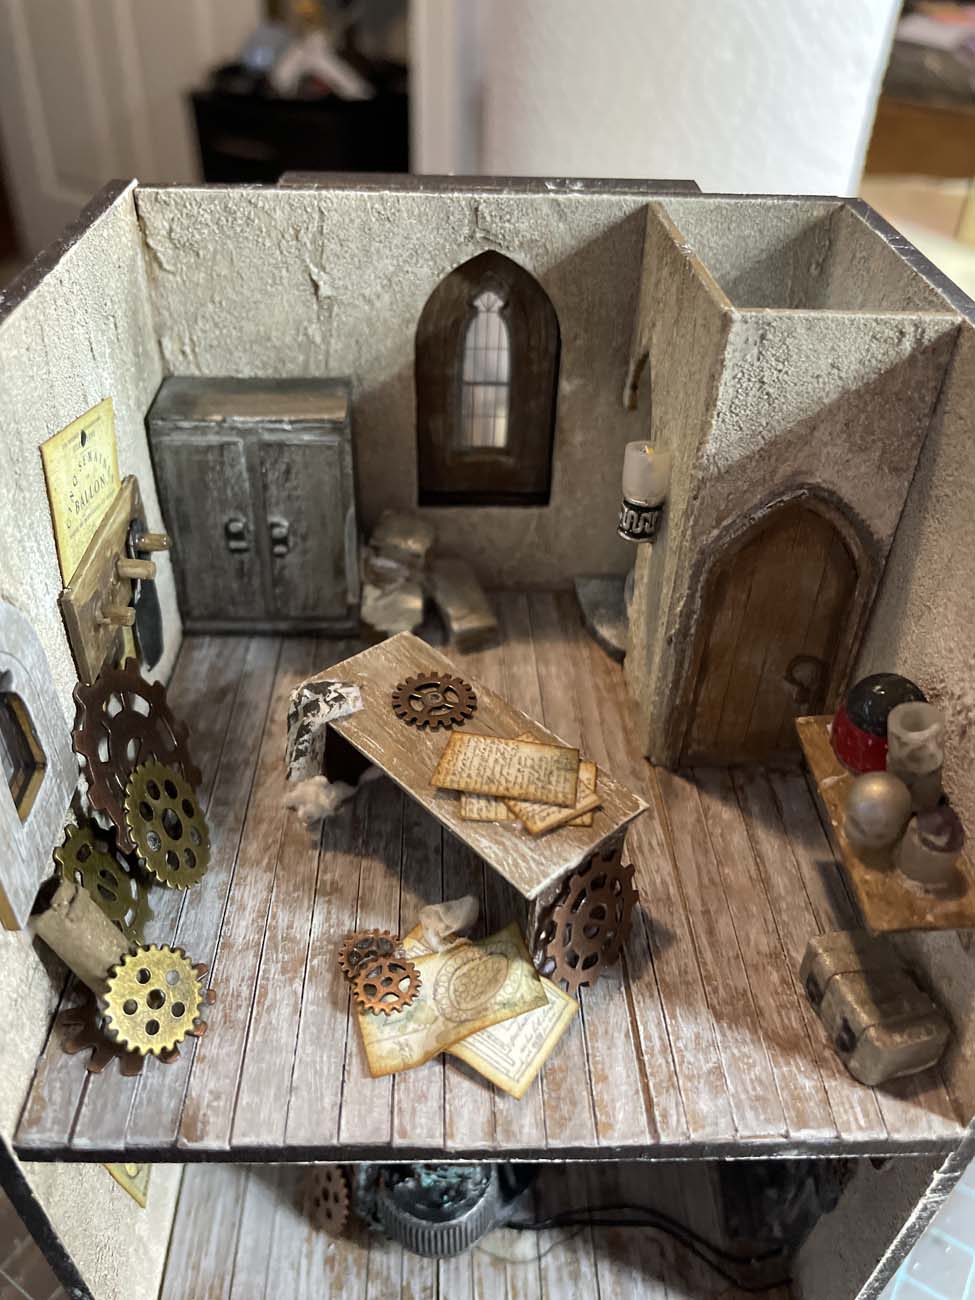
Last but not least, don’t forget the ceiling for each room as that needs to be done before you move upward to the next floor! Each ceiling in this build is a bit different. The first two have the grit paste texture added, the final ceiling was simply painted. The first-floor ceiling has gears and a pipe from a metal wire attached to it.
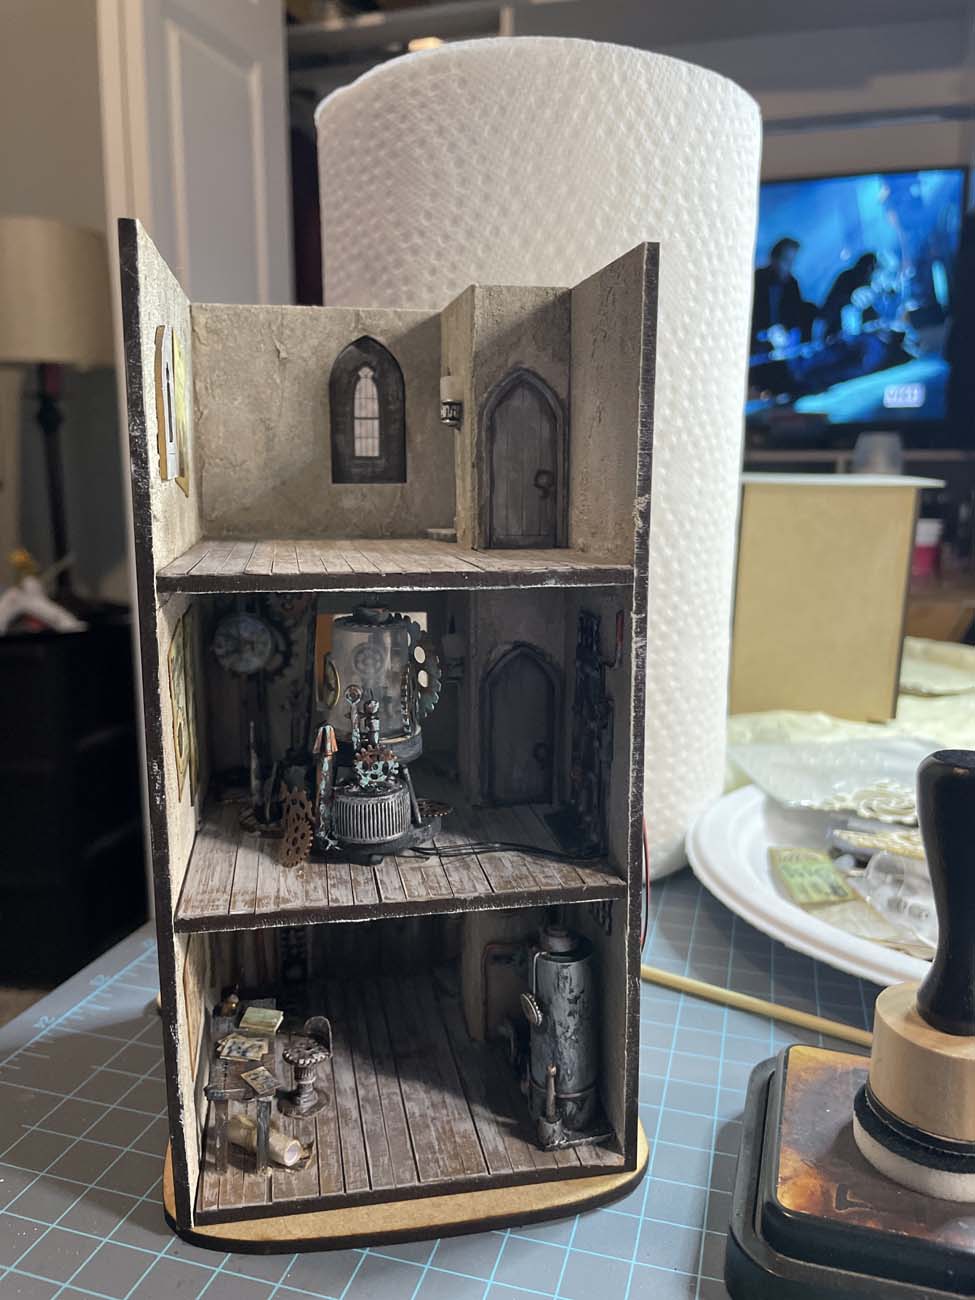
And here’s a look at the completed first floor . . .
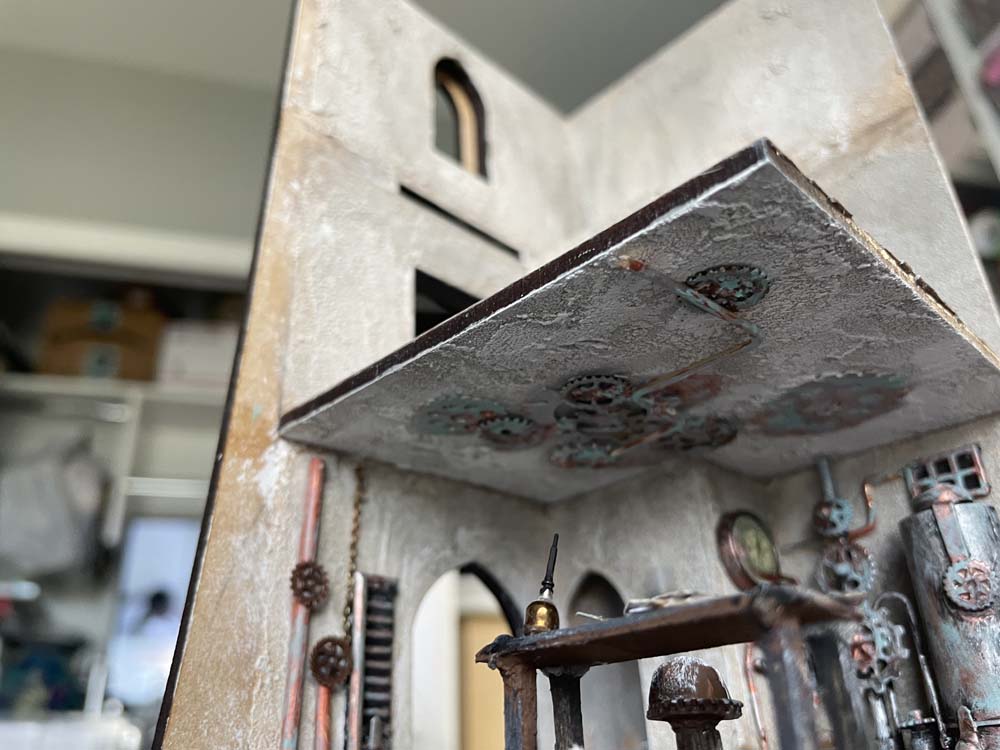
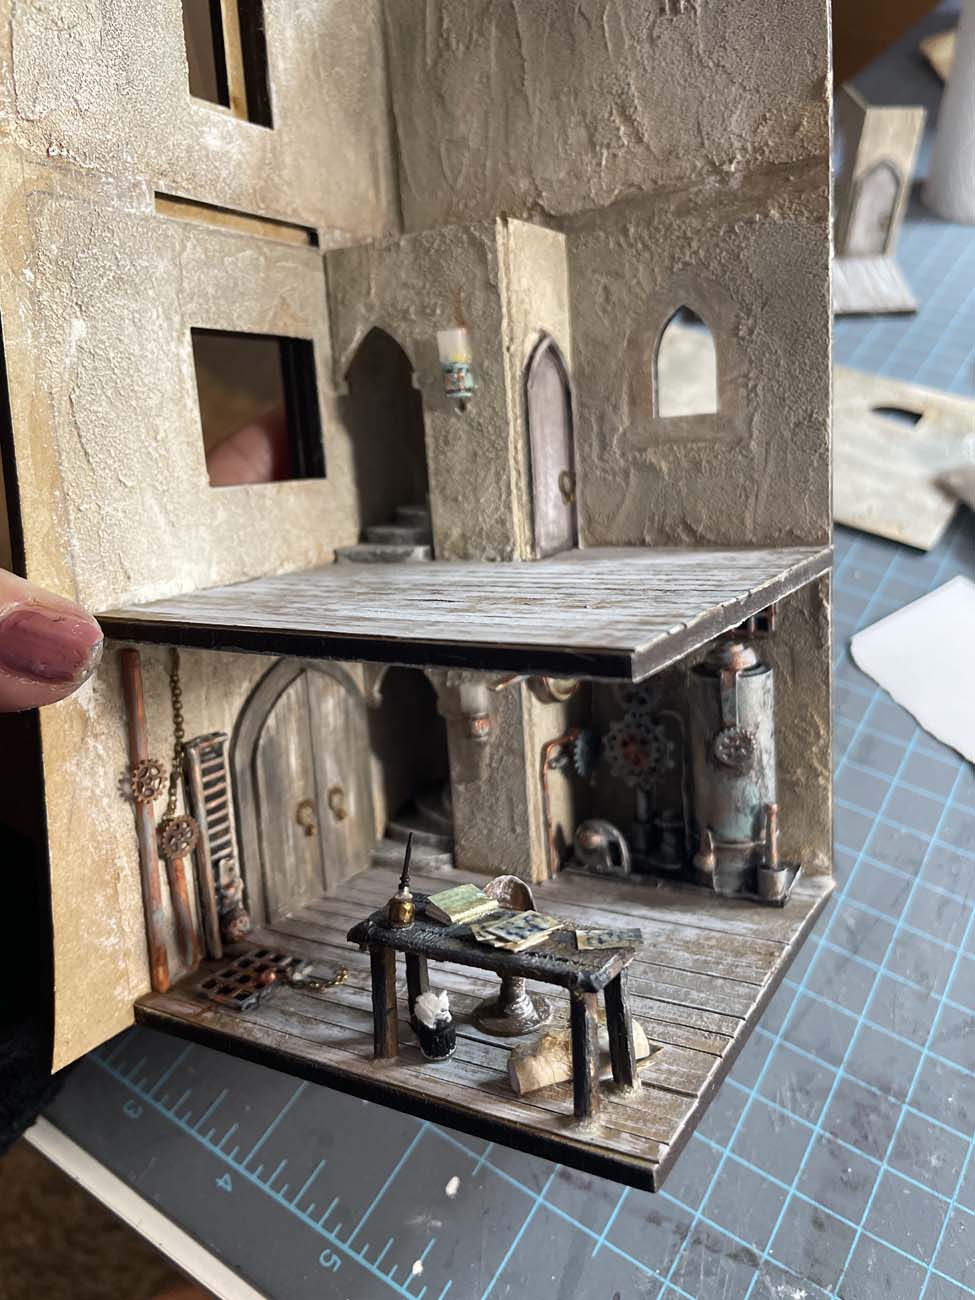
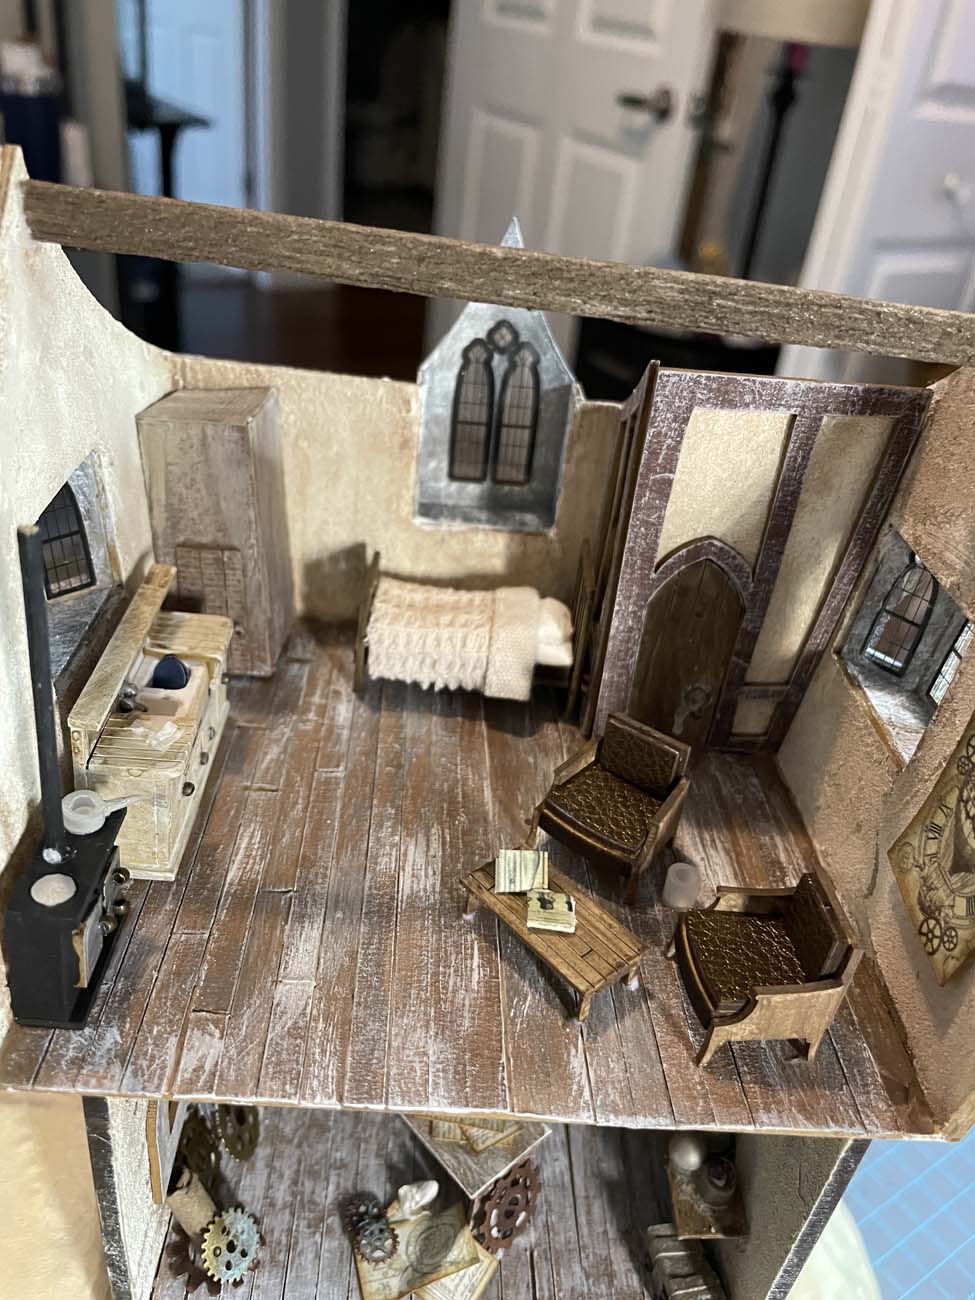
From here on out I worked in the same way till all three rooms in the main tower were completed. The final room is located in the house section that sits on top of the tower. You can see below that it has been completed as well.
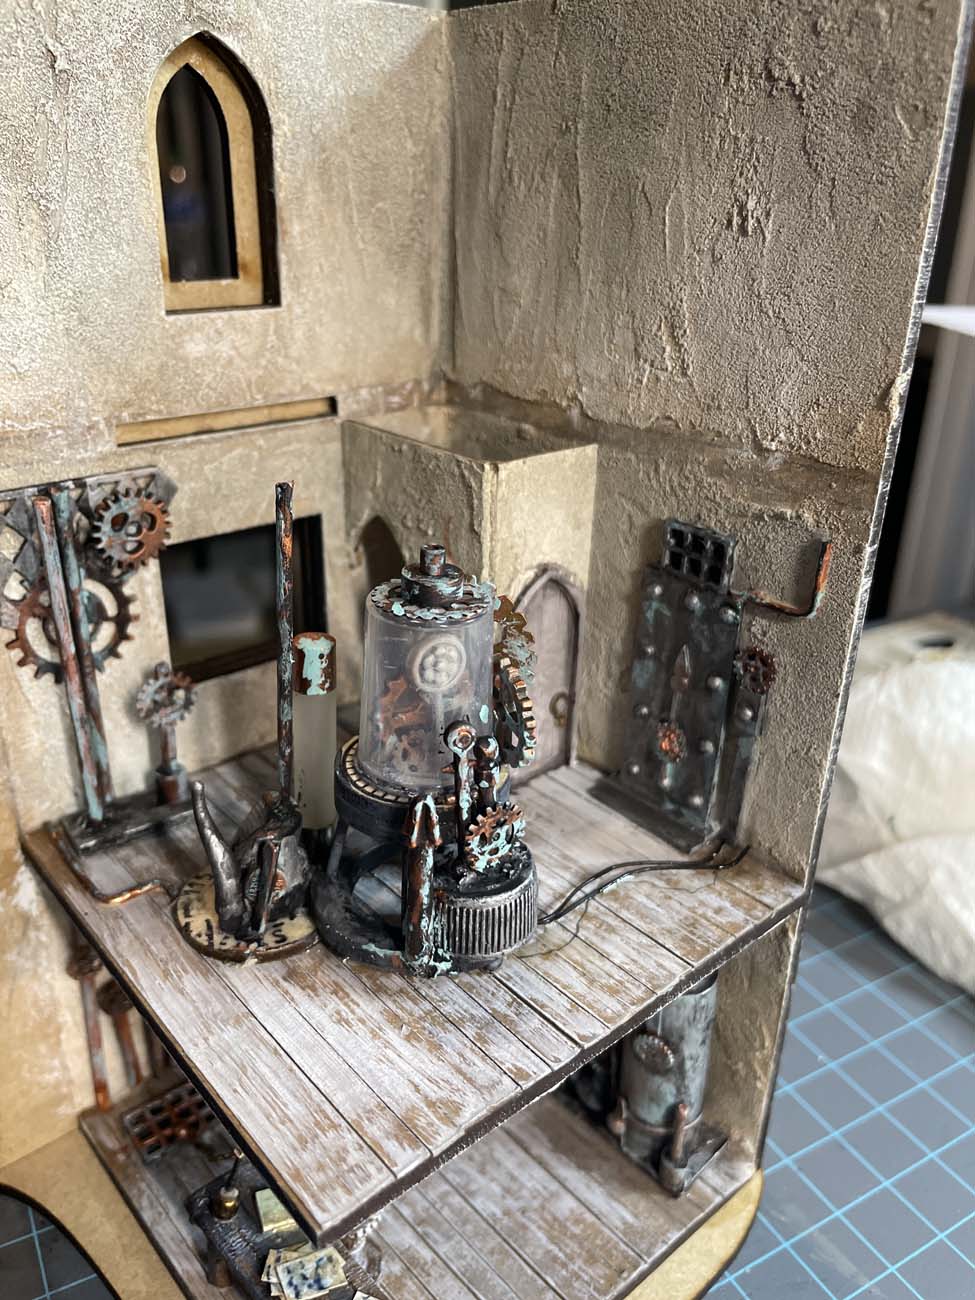
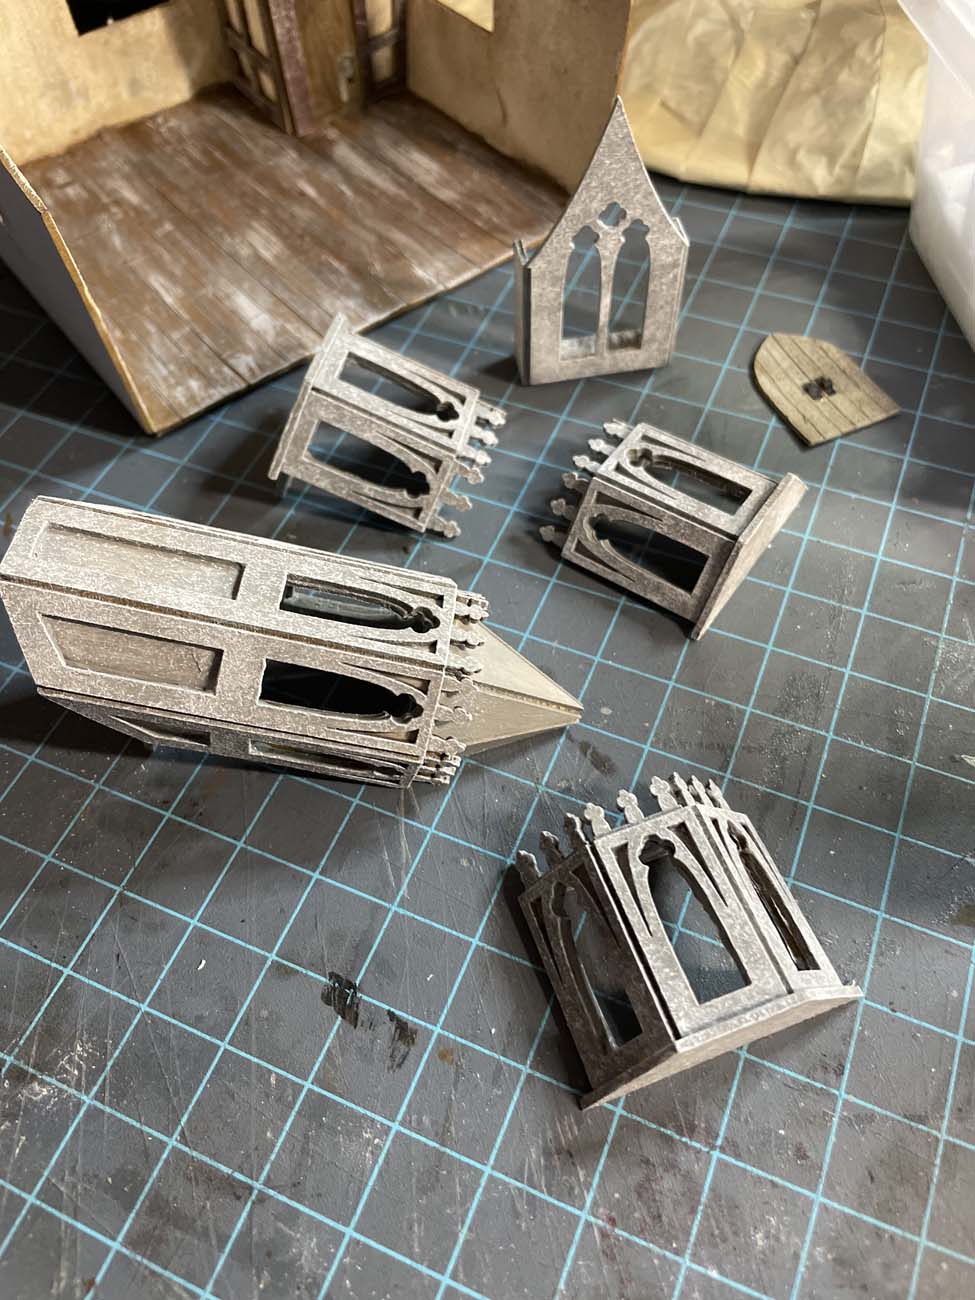
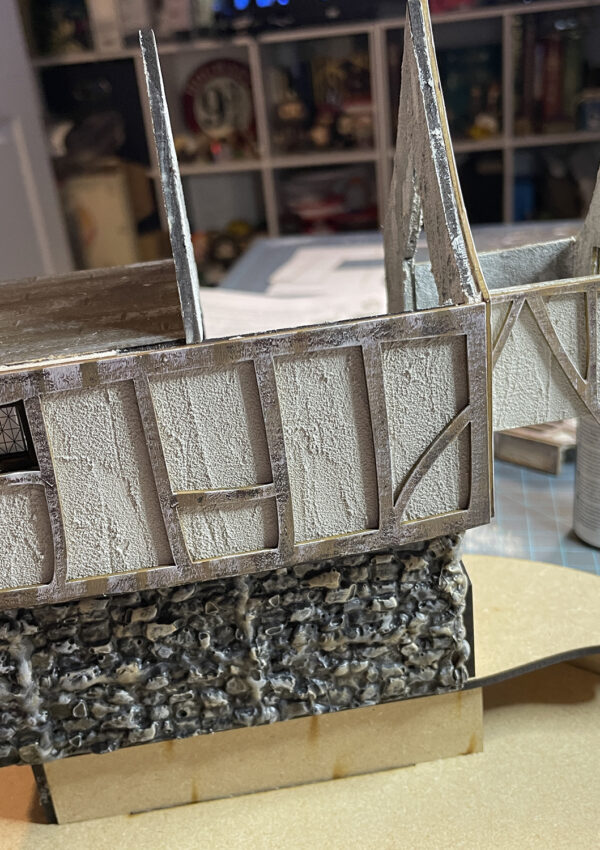
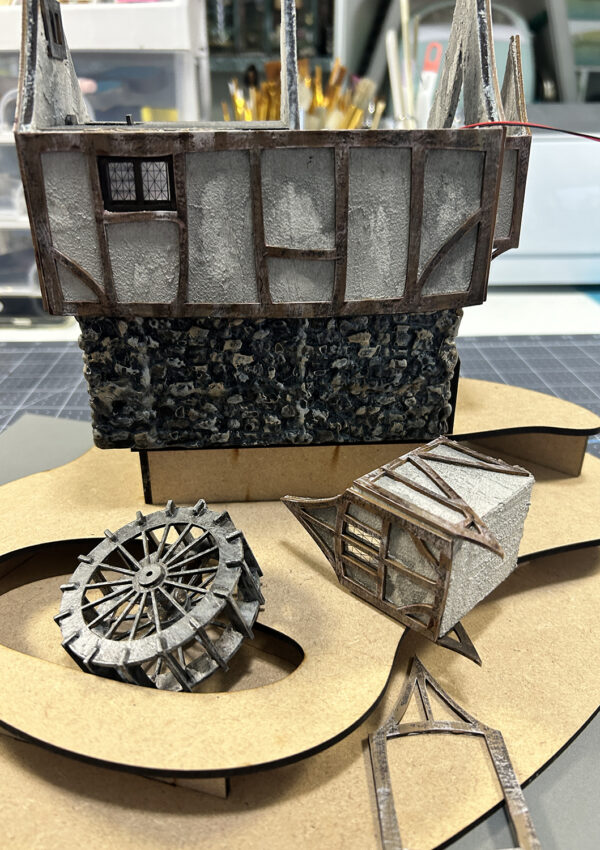
Next, it was time to work on the windows and extra parts that extend beyond the walls in some areas. These were painted with a base coat of medium grey then stipple painted with off-white to create a stone look.
Testing the structures on the base was the point where I decided the main tower needed a way to get water from what will eventually be added to the base, into the tower rooms. I’ve used the kit shown below to create the addition that will eventually be glued to the side of the tower.
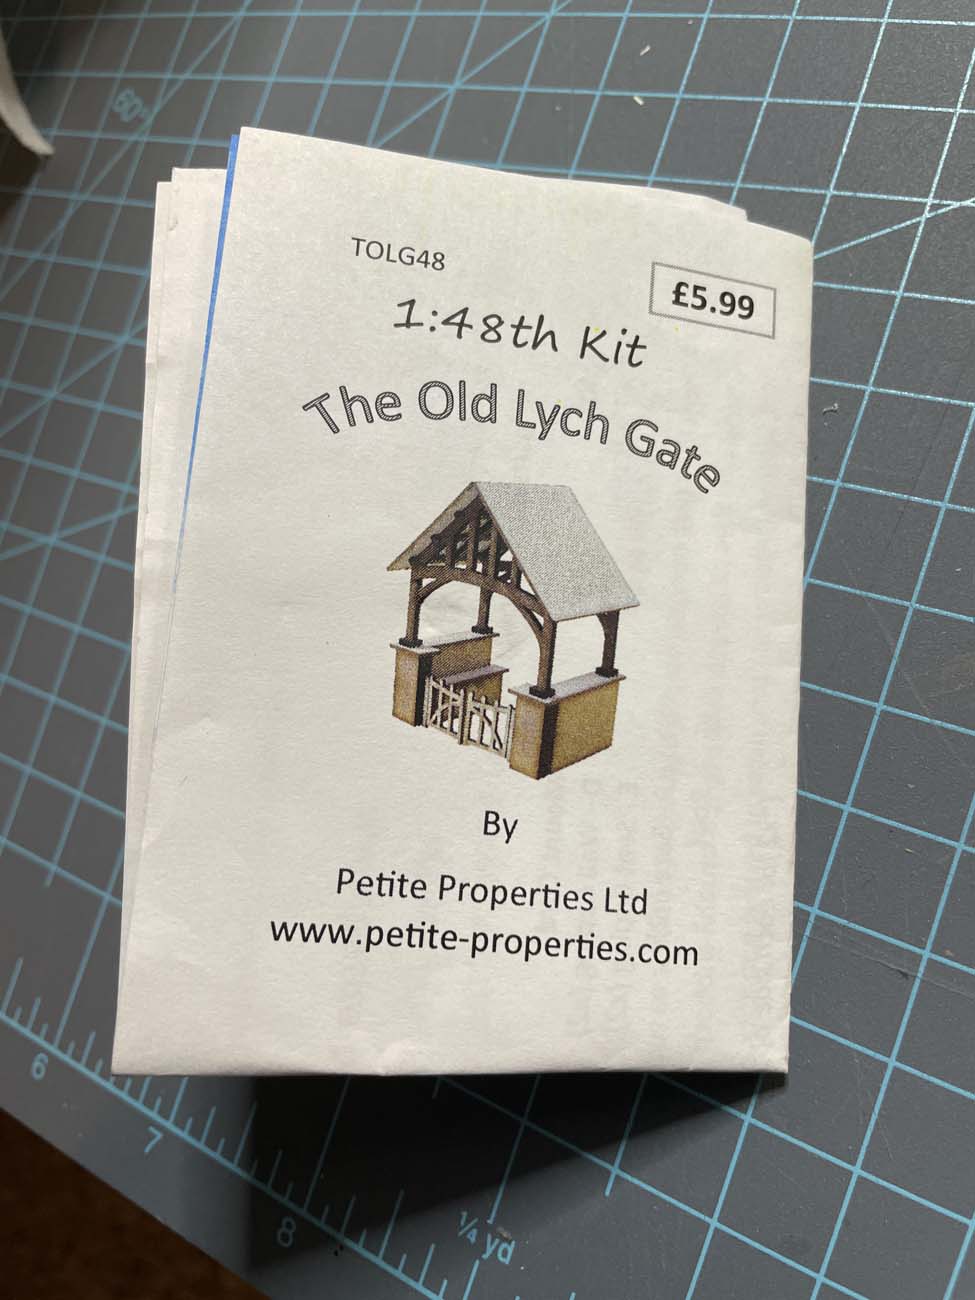
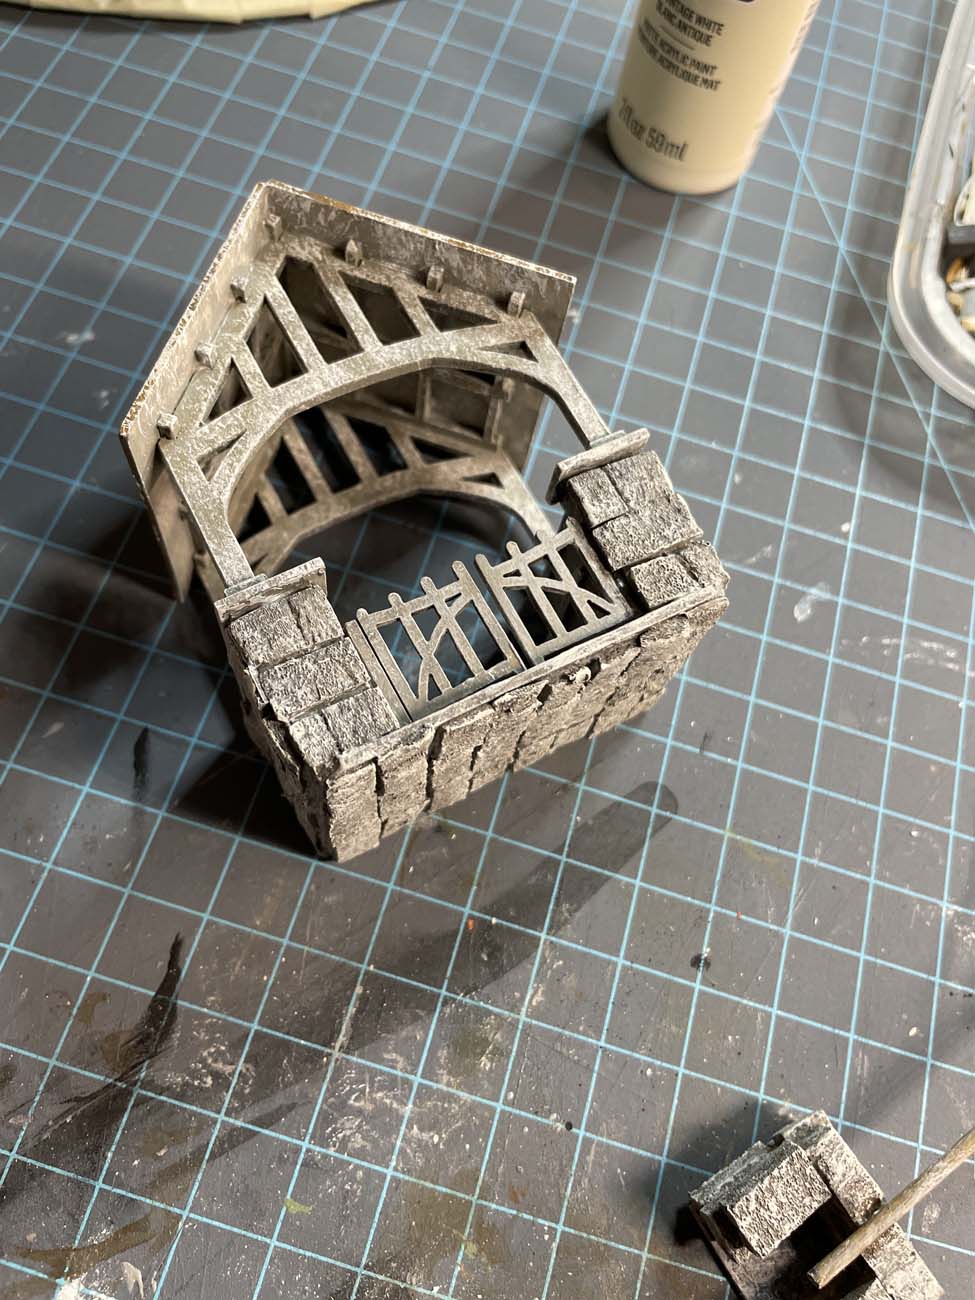
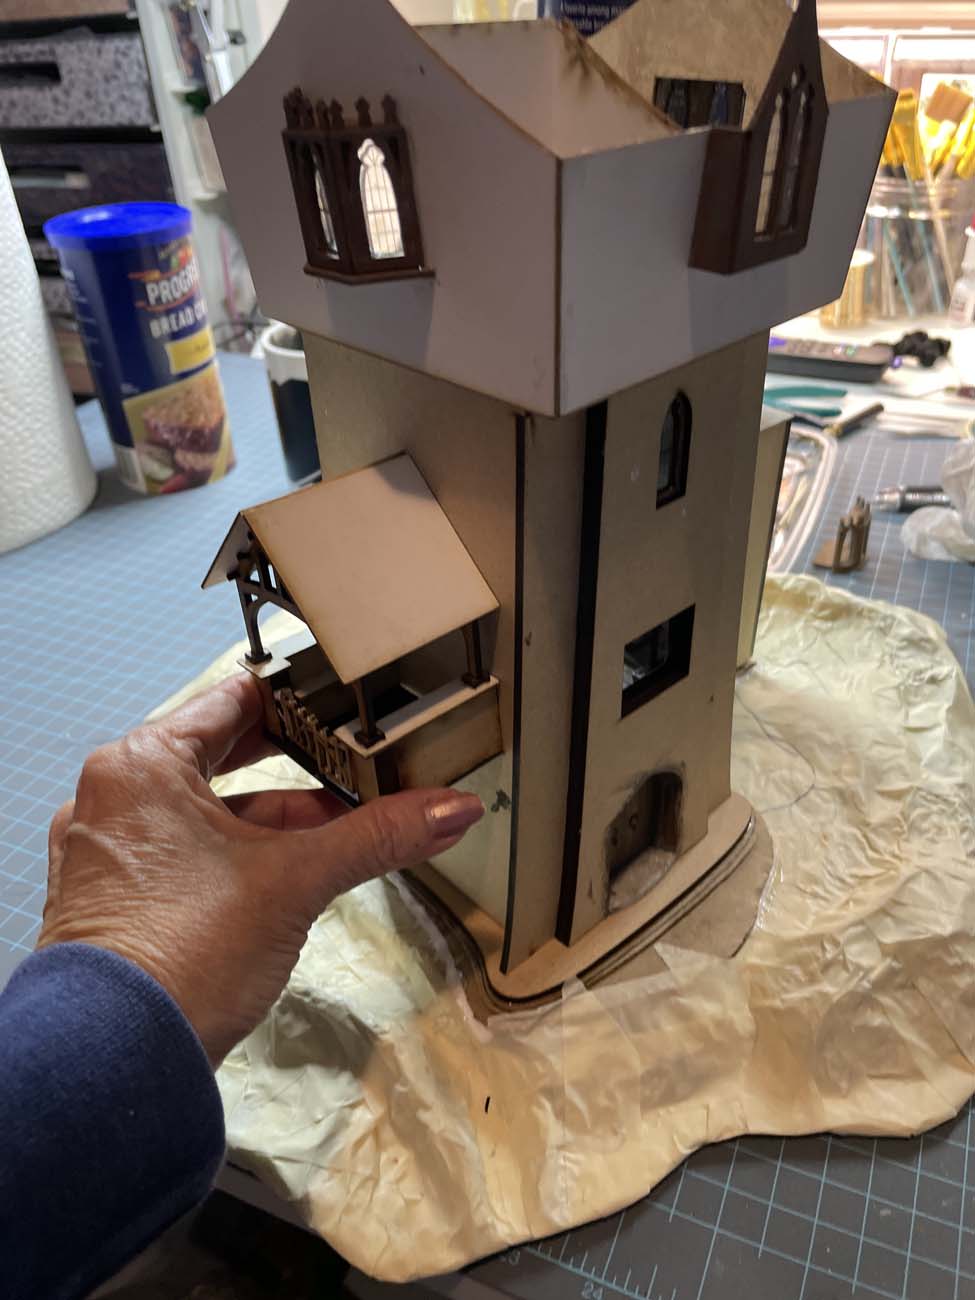
This pretty much concludes the fiddly parts of the build. I’m almost at the point where it’s time to paint where I’ll add a “part 2” post. So keep watch for that post coming soon!
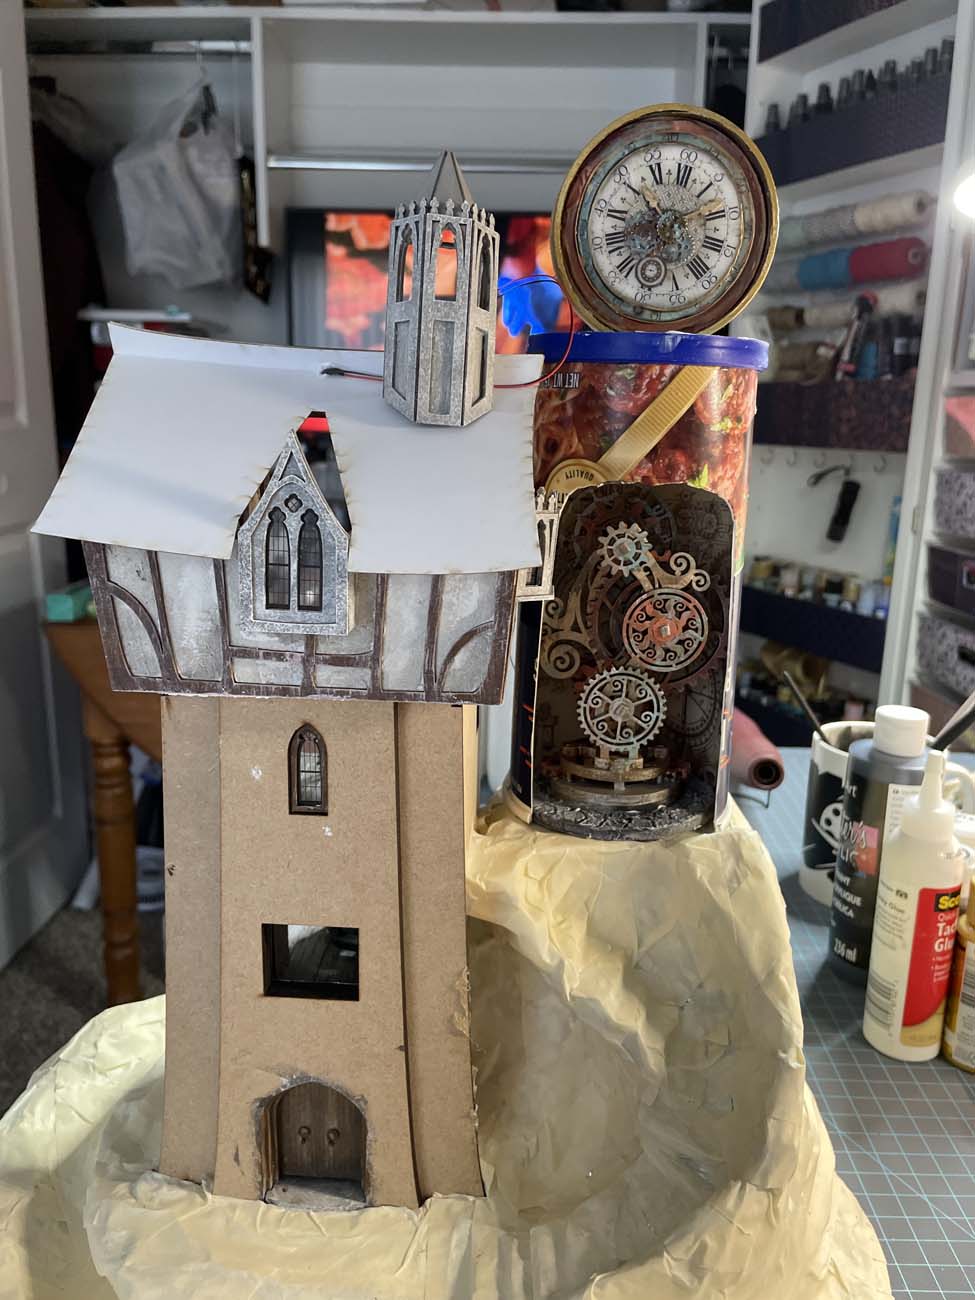
Till then, here’s a little look at how I’ve decided to arrange everything and how much the bottom base has increased!
Update: Jan 19 . . .
So unfortunately I managed to delete all the pics and post for part 2!!! So here’s a recap and some pics of the finished project. So sorry about that! Before I get into the details here is a quick little video of the finished project. Please feel free to use the comment section below should you have questions about any part of this build.
Details . . .
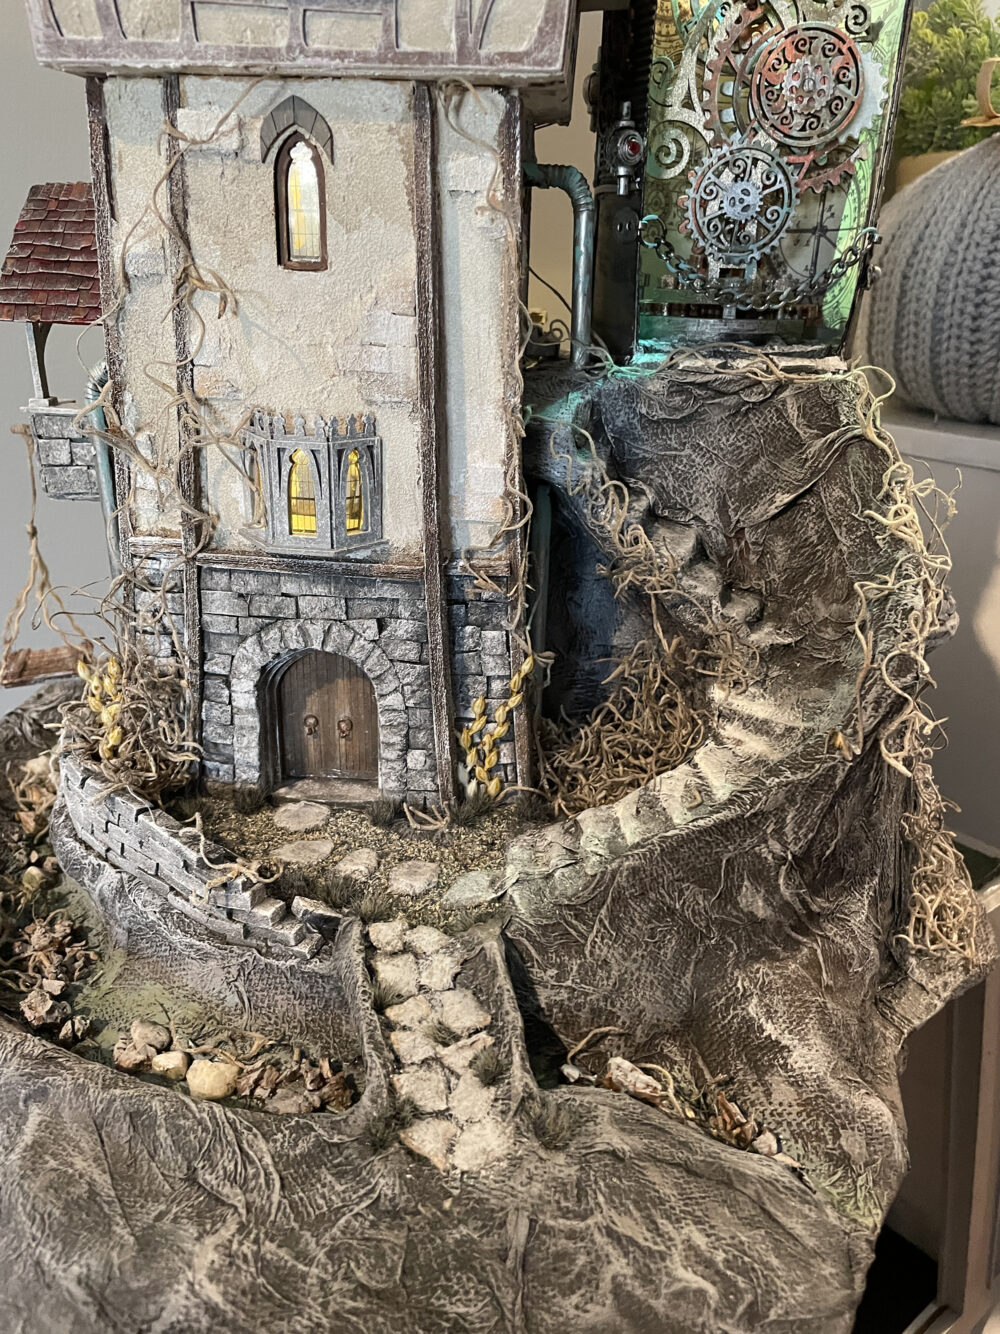
Base: Earlier you saw the base built with cardboard, aluminum foil, and masking tape. Here it has been covered with a layer of paper towel dipped in glue and acrylic paint mix. Once that was dry I used a dry-brush method to paint the entire base.
The bricks were created with foam, glued in place and painted in a dry-brush technique.
Steps and stones were created from torn egg carton pieces and painted.
Various tiny rocks, sand and vines were added once the base was dry.
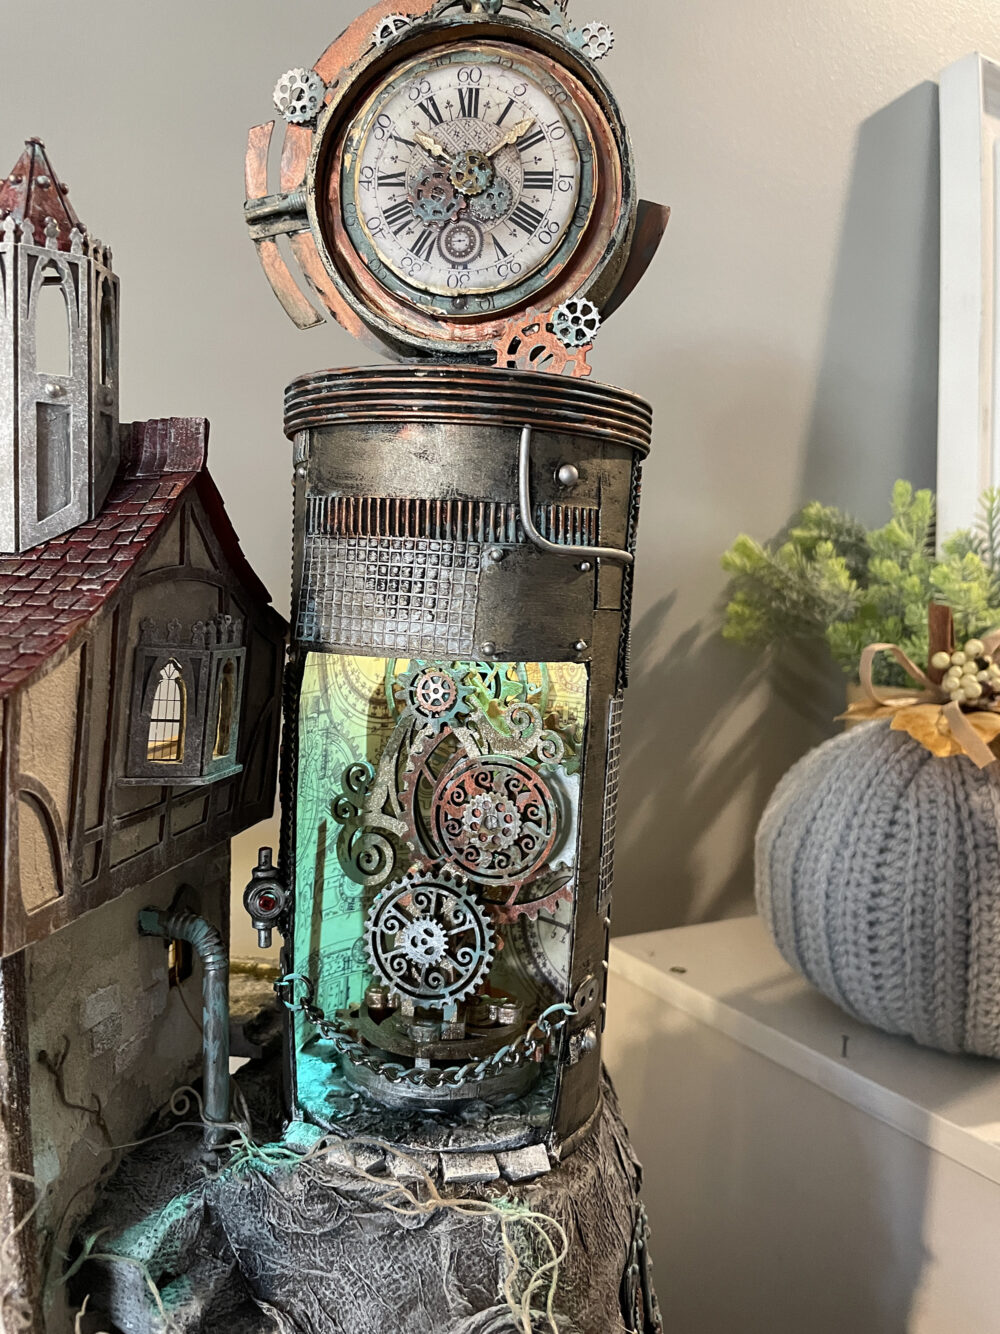
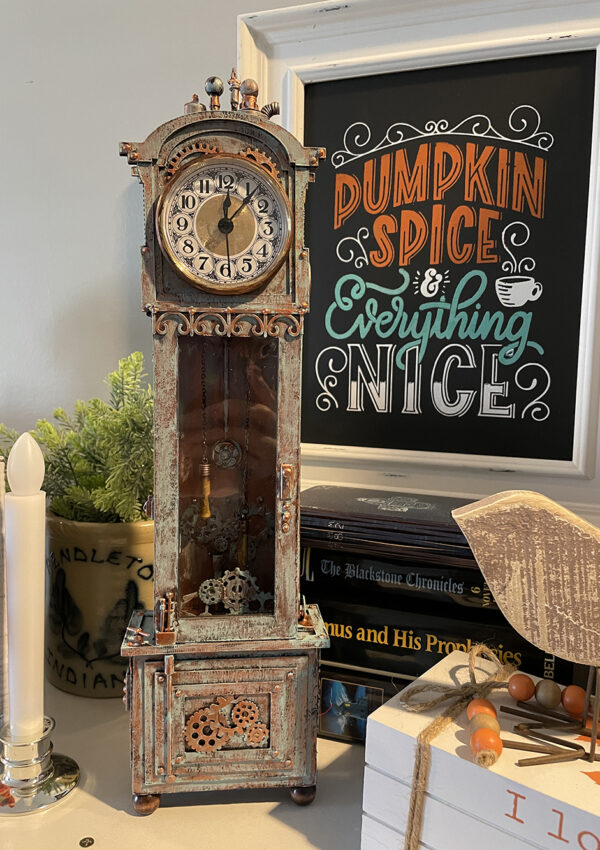
The clock section was created with a breadcrumbs container, a wooden clock kit, cardboard, metal gear bits, and a clock image found online. The clock is not a working clock but you could easily make it one using something like this one I used on my steampunk clock project.
You will notice that I’ve used metal bits, cardboard, mesh tape, plastic tube, paper, plastic straws, and flat-back gems all over the entire project to create various textures and industrial elements. It’s so much fun to create something will all these little bits we miniaturists tend to collect.
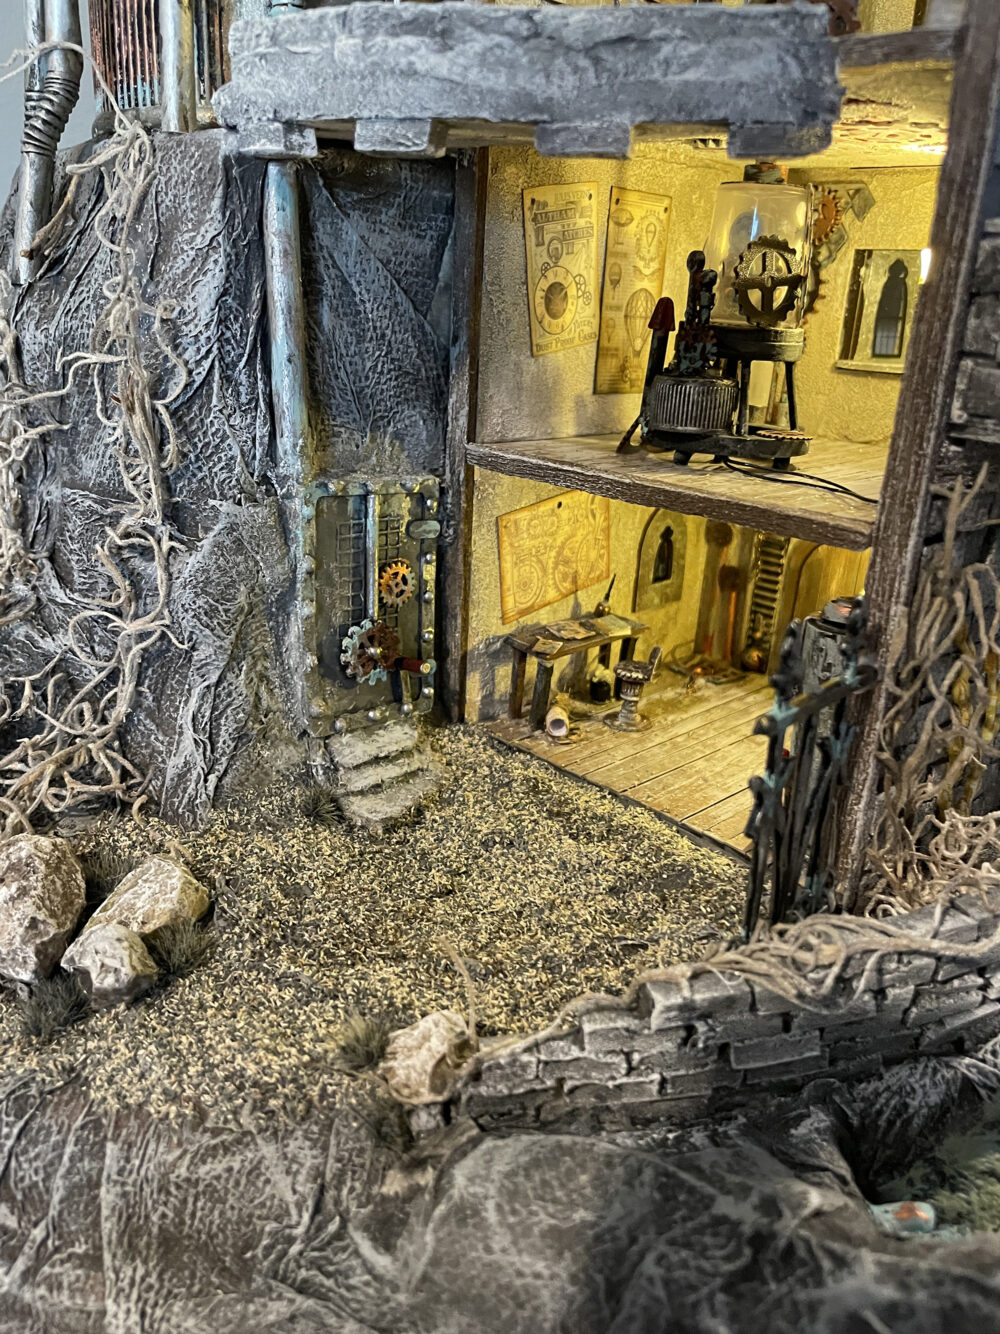
Lastly, here’s another look at the base where I’ve used ground scatter, rocks, and more vines. There is also a bit of black plastic fencing added to the bottom right side near some additional brick wall sections.
If you ever go out walking, take time to look at the ground and keep an eye out for bits of rock and sticks. These are always great to have in your stash for future projects.
Once again, I’m sorry that I wasn’t able to show more detail on the remaining part of the build. That said, what is here should give you a good idea of its creation and some how-to techniques. In the future, I plan to start uploading some quick videos showing these techniques so keep watch on my YouTube channel for these!
Disclosure: Some of the links above are affiliate links. This means that, at zero cost to you, I will earn an affiliate commission if you click through the link and finalize a purchase.
Have a crafty day and thanks for stopping by!
Teri


Leave a Reply
You must be logged in to post a comment.