featuring a kit from PetiteProperties
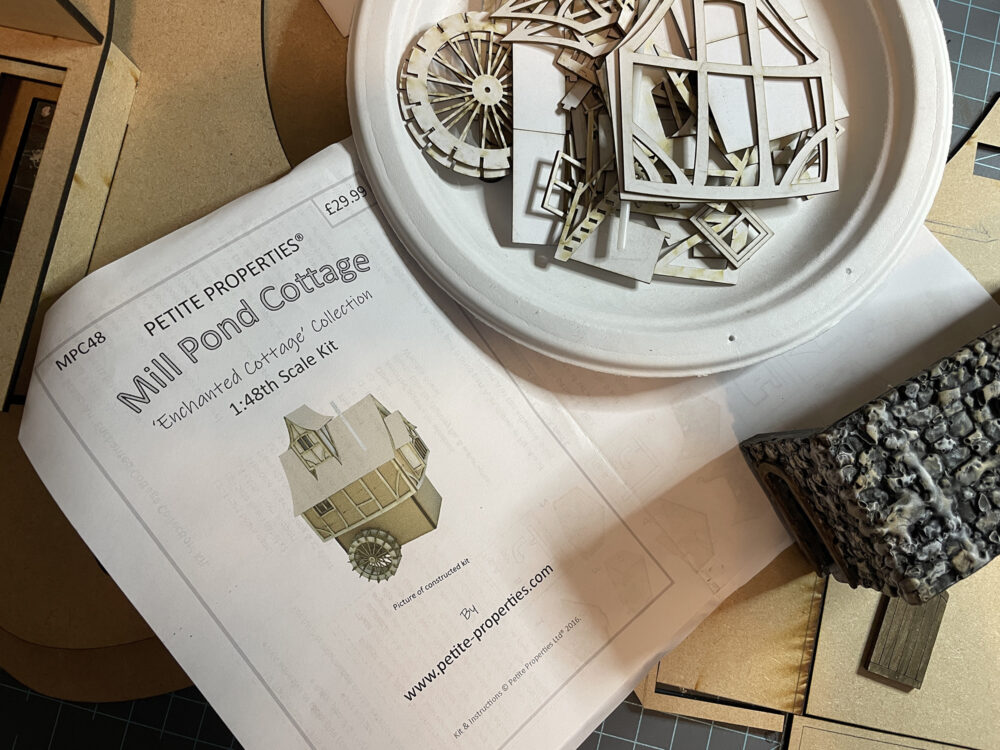
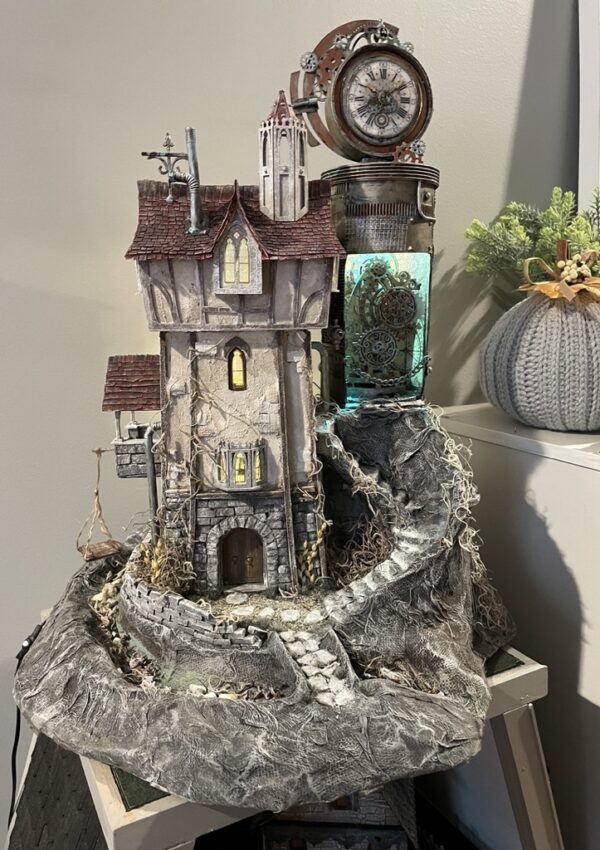
Not long ago you would have seen my Steampunk Clock Tower project using another kit from my favorite place: PetiteProperties. The Mill Pond kit is from the same company and will be a perfect addition to my Steampunk series! I’ll be using some new techniques and finishes so I hope you will find these of interest and give them a try for your next project.
Stone walls look so nice on these miniatures but can take a lot of time depending on how you execute them. Not being very patient, I’ve decided to try a new method using a mold for the walls. Think hot glue and silicone molds! This was a super easy and quick way to create the walls and I simply love the way they turned out.
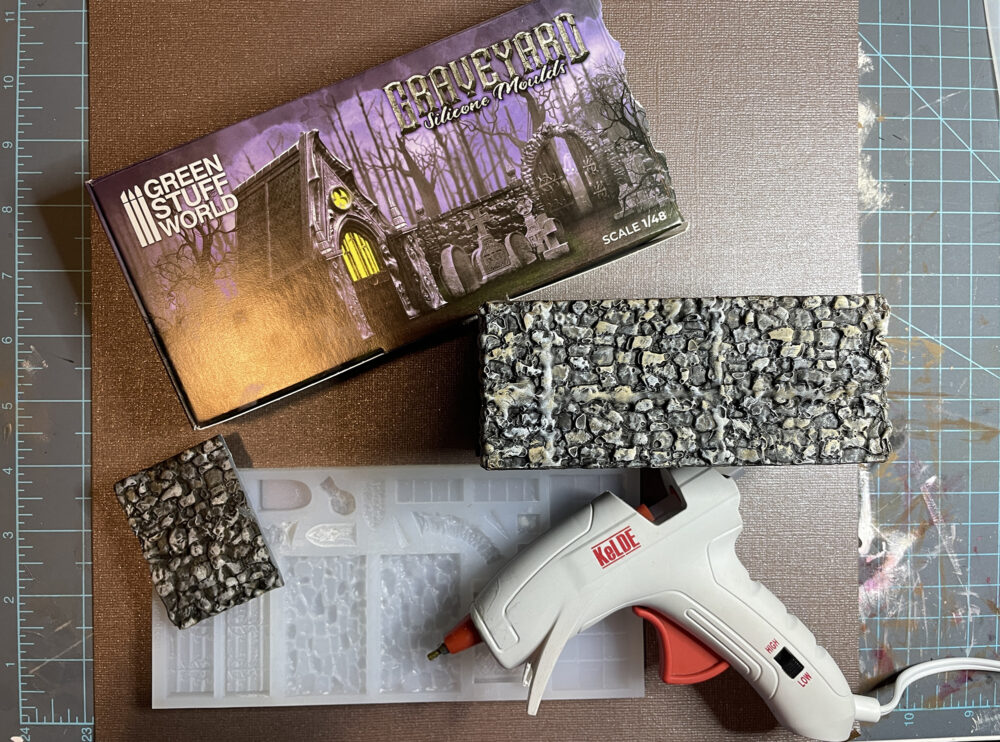
The mold is a little pricy but when you consider that it is high quality, can be used with a variety of materials, and can be used over and over, it’s not bad. There is also the option to use the entire mold and build the graveyard shown on the package! To use the mold simply dust it lightly with flour then fill it with hot glue. Fill one mold at a time and quickly press a scrap of cardstock on top. Press the cardstock to help the glue fill the mold and leave it attached. The cardstock gives the molded glue a nice base for gluing to the wood structure.
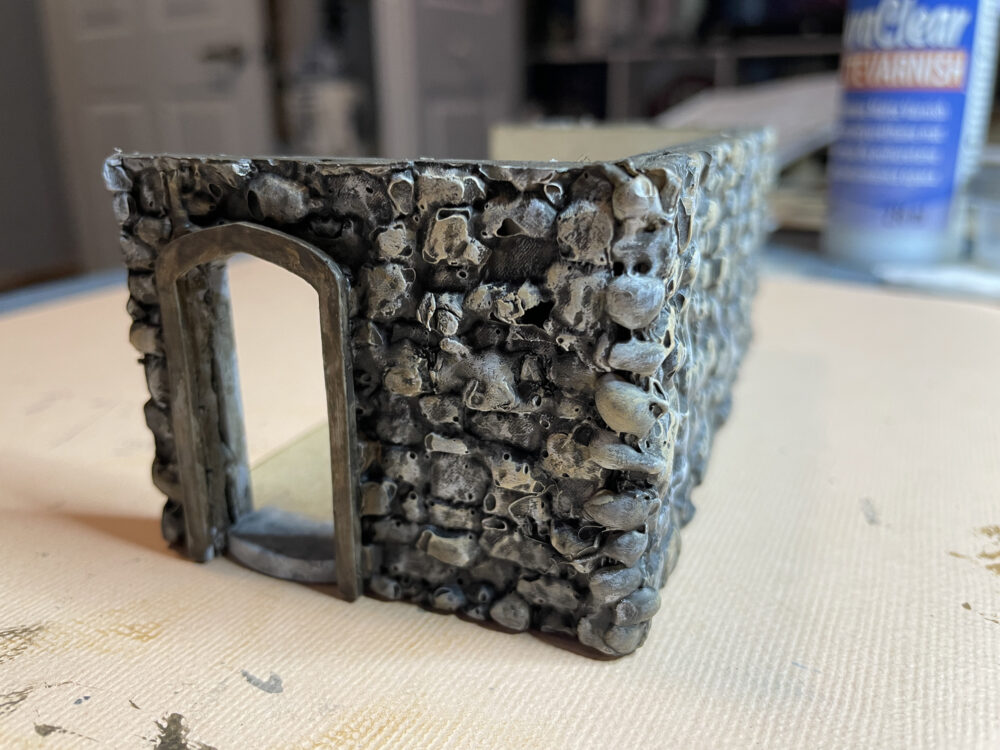
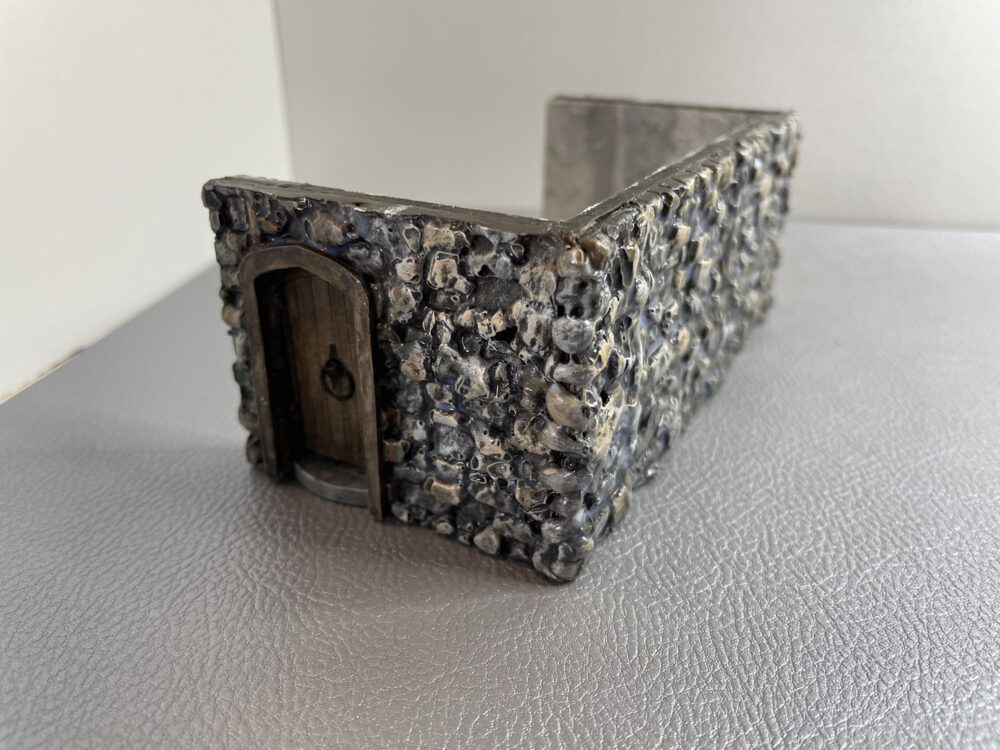
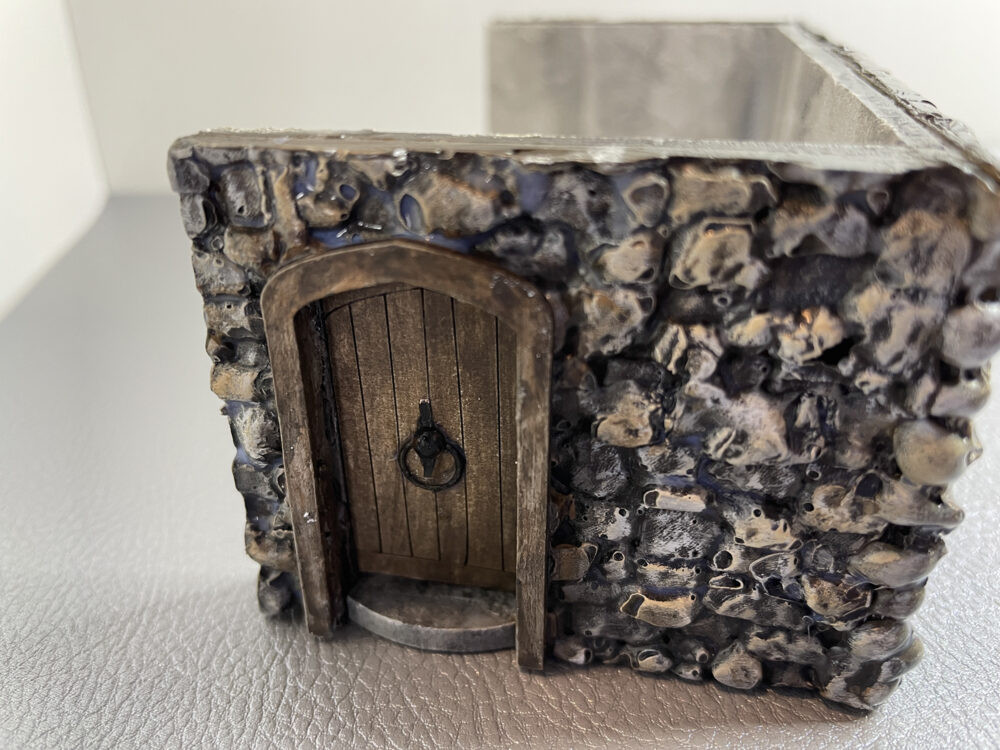
Give the glue a few minutes to dry then gently remove it from the mold. Dust it off to remove any flour from the top. Tint a bit of matte mod podge with dark brown, grey, or black, based on your overall color scheme, and coat the piece on the front and sides. Set aside to dry. Repeat to make enough wall pieces to cover your project. Once all pieces are dry you can attach the pieces to your walls and paint as you like for your project. Here’s a close-up of my finished walls.
Up close you can see where the glue didn’t get all the way into the mold. For me, this was just an added bonus and makes the wall look even more realistic. So don’t be worried if it happens to you as well! For the corners, you can either miter cut them so the sides but up against each other or just line them up and add some extra blobs of hot glue as I’ve done. If you have to use multiple glue walls, put them together as close as possible. You can fill in the gaps with either more hot glue or regular glue as needed. Just do so sparingly!
You can also see where I’ve added the door frame and painted it. The door will be glued in place once the inside walls are finished.
Now it’s time to work on the inside walls. I’ll be using a grit paste and paint mixture on all of the walls.
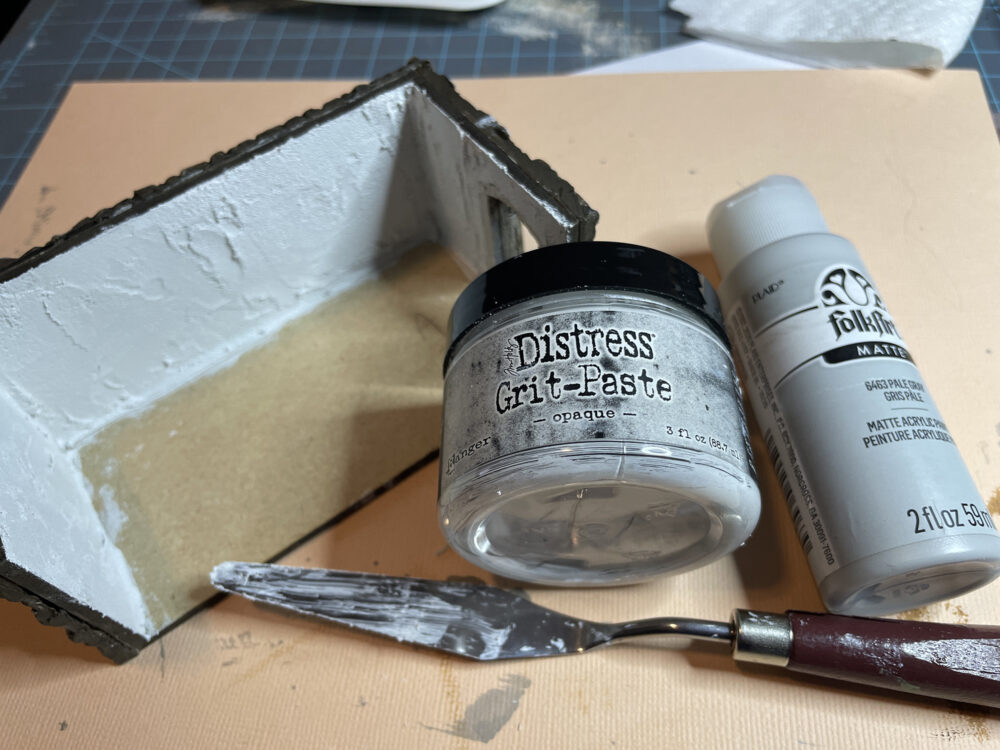
- Ranger Grit Paste Opaque
- Folk Art acrylic paint
Mix a bit of acrylic paint and a bit of water together to get your desired color. The consistency should be like icing. Apply the mixture with a palette knife and let dry completely. I’ll add a light wash over this to age it when dry.
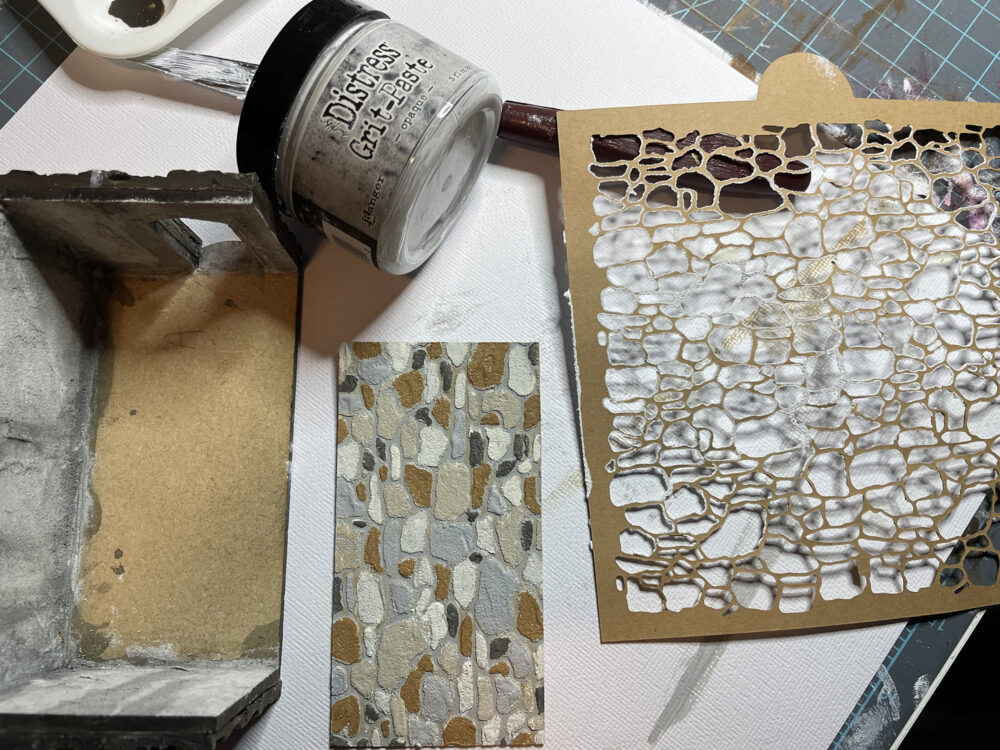
For the flooring, I’ve created a stencil with an SVG file from Etsy, and cut it on the Cricut Maker. Grit paste was used with the stencil and left till it was dry. Dry brush the stones with various colors, let dry then use a black wash over top and leave to dry. You can also see the wash used on the walls in the photo on the left.
Lastly, the floor was installed, the door and frames were installed and the entire piece is coated with one layer of the brush on matte sealer. The door handles were created with a jump ring and brad.
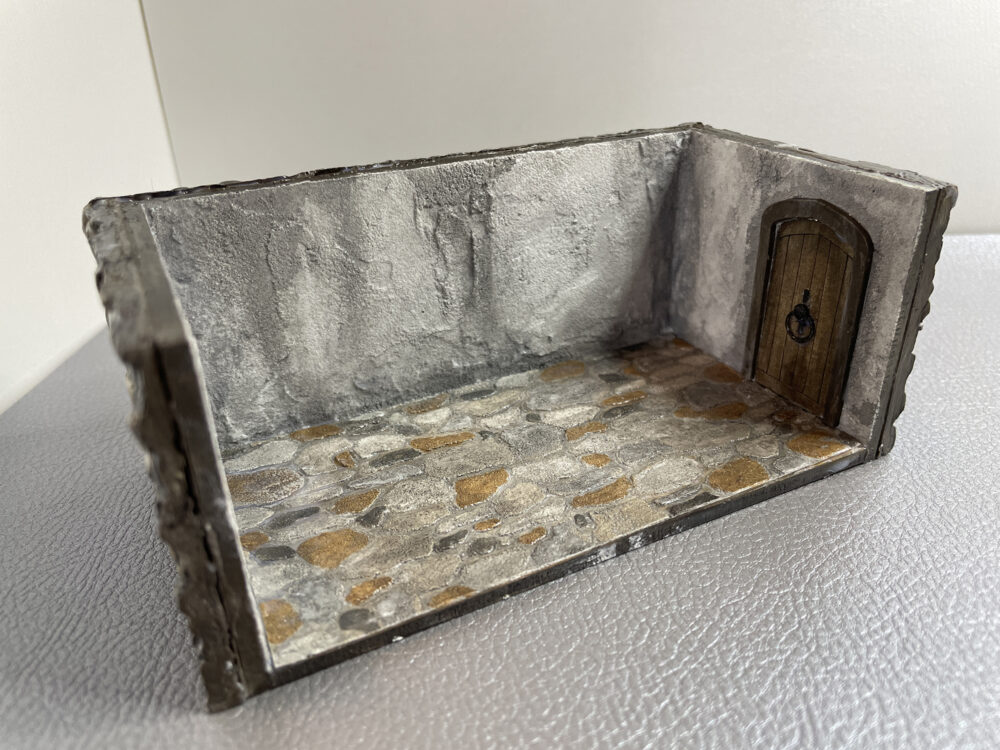
Next, I’ll be working on the upper floor.
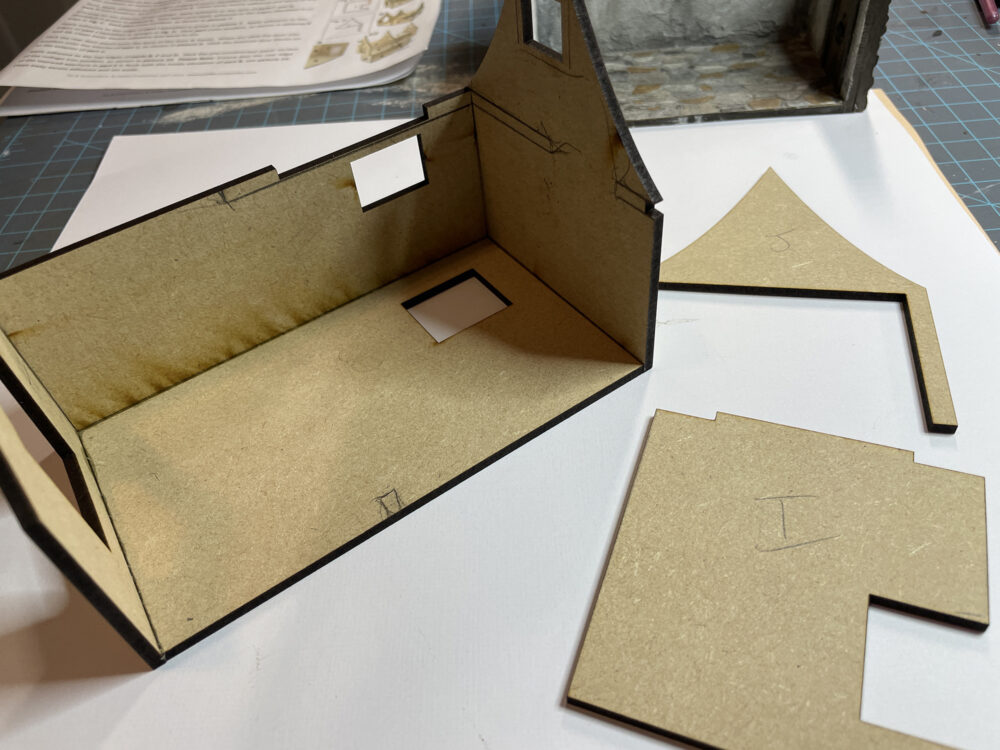
Glue the second-floor main pieces together. Use the other two pieces shown in the pic to mark where they will be attached. This way you won’t add texture or flooring in these areas.
Don’t forget to mark off any window frames as well.
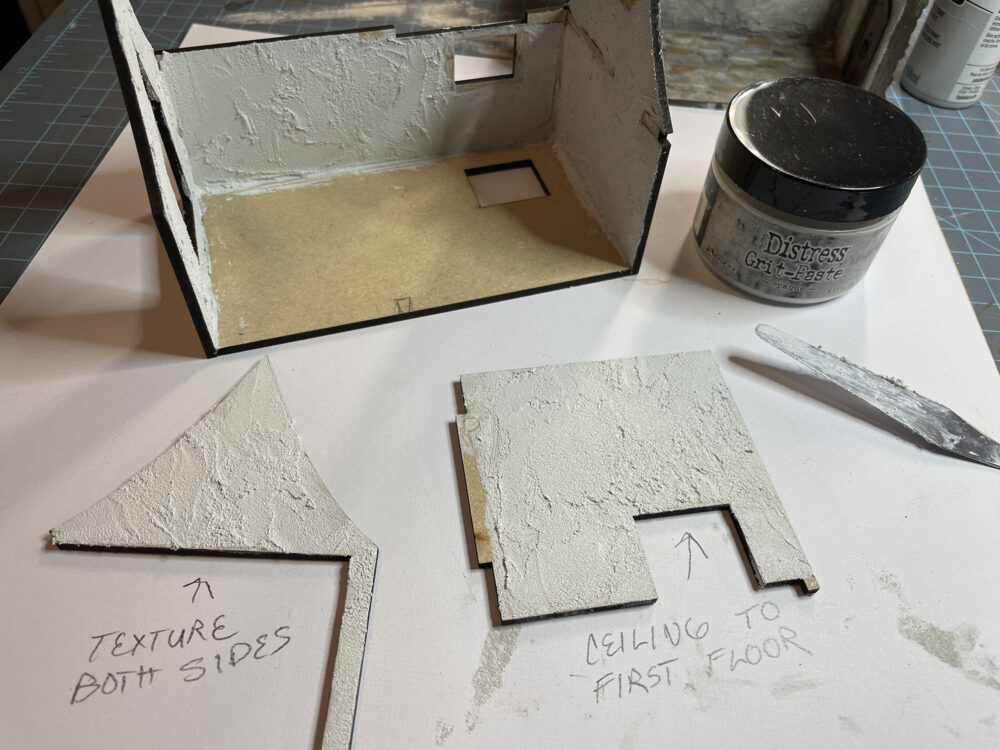
Here you can see the walls and a ceiling textured with the same Grit-Paste that I used earlier. Notice that I’ve left some areas untextured so the remaining pieces can be glued into place.
NOTE: If you are adding lights, you will want to drill holes as needed at this time. For this build, because of the theme, I’m going to mount lights and let the wires show.
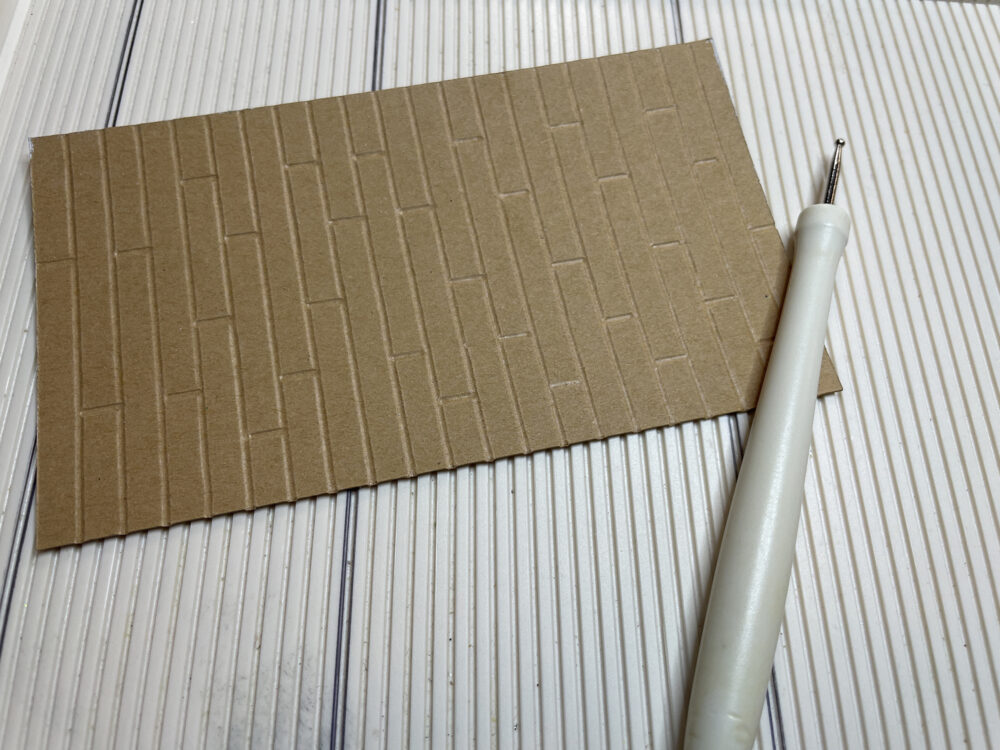
Here’s a look at the flooring and other walls finished. The flooring was created by scoring lines on some Cricut kraft board. Paint the flooring with several colors as you like then seal them with a single coat of brush on matte sealer. You can also sand the floors a bit if you prefer a rougher look to them.
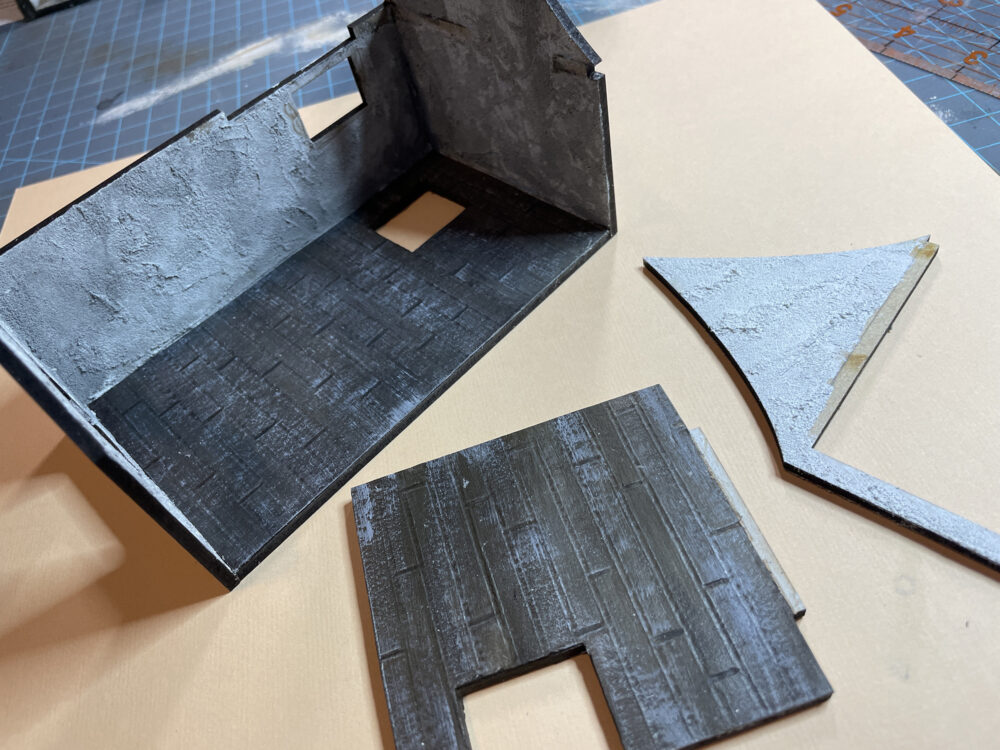
At this point, I needed to stop and figure out what trim pieces go with all of the other parts. There are still two additional sections to be added to the main structure and these will be finished using the same techniques and materials that I have used previously. So these two sections need to be built and finished before they are attached to the house.
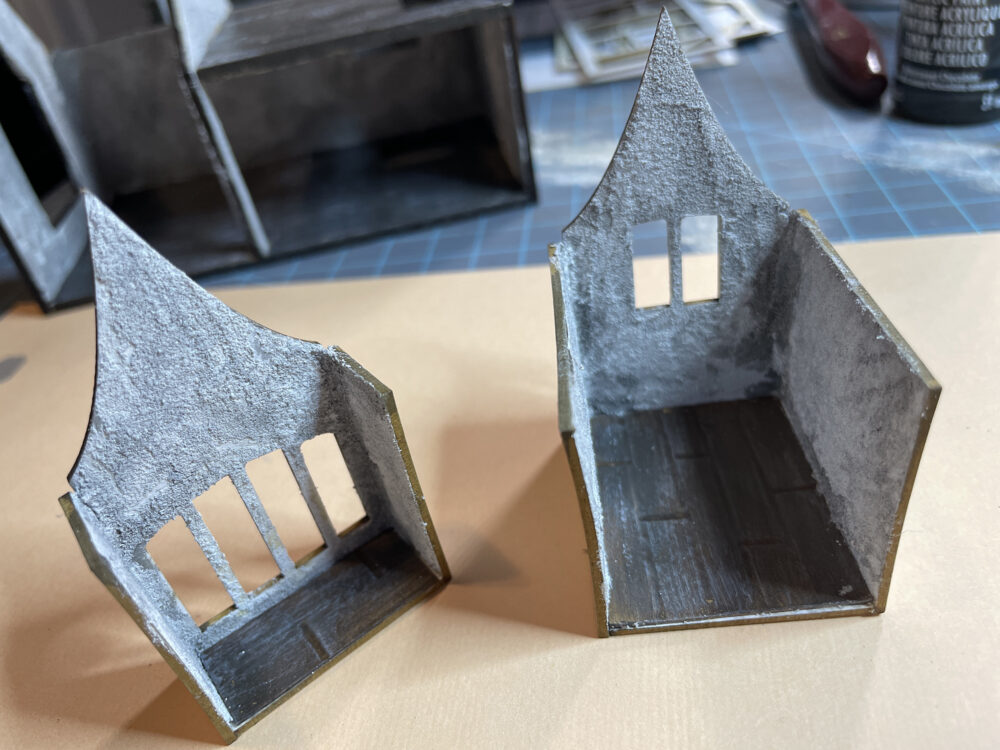
Here is a look at the two additional sections. Both now have textured walls and wood flooring installed. These will be added to the main structure after the outside areas have been completed.
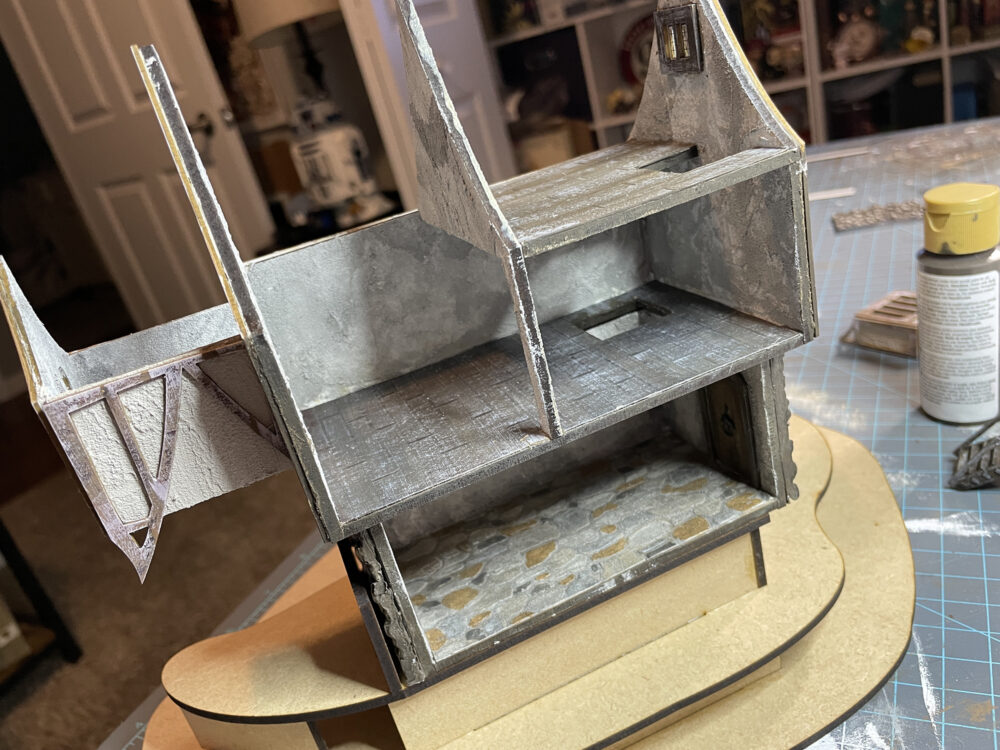
The outside was covered with the same grit paste that was tinted with a bit of golden brown and grey. I’ve painted the outside trim with various colors from brown to grey then attached it to the outside walls. Finally, I’ve attached the section that protrudes from the end wall. Below you can see what the two floors look like just sitting on the base.
If you are also working on this project and wish to put furniture on the inside, I suggest that you do not attach the bottom section to the top until you have finished decorating the inside.
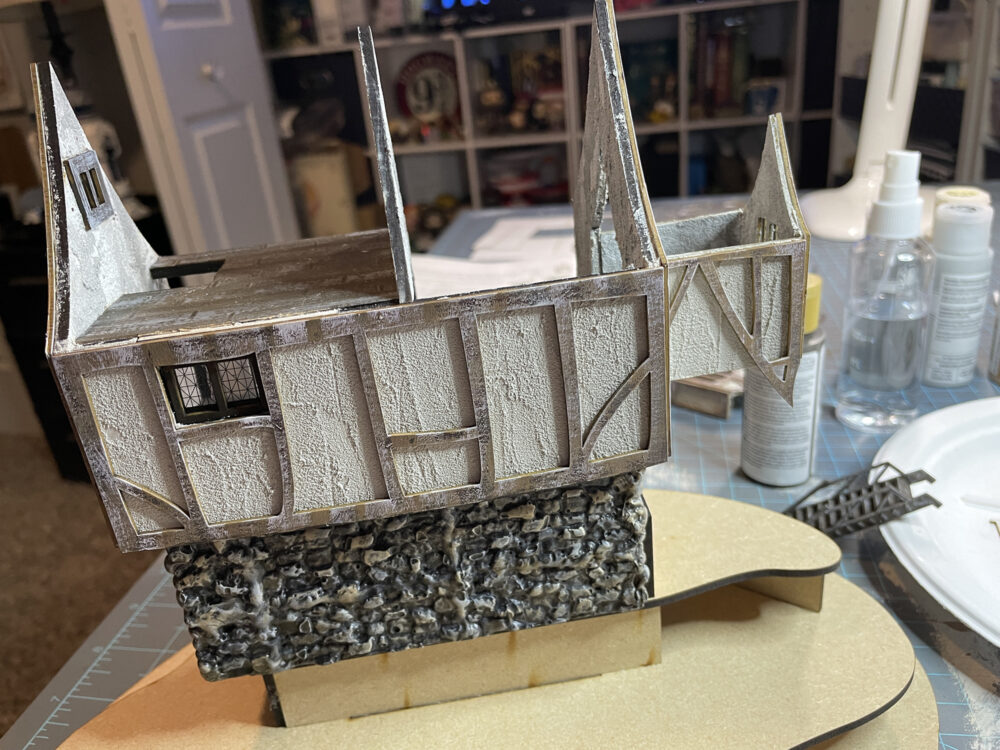
I’m now at the point where I will start adding the steampunk elements to the inside and outside of the structure. Unfortunately, we have just purchased a house so building minis will have to be put on hold for a couple of months!!! I know …… but life happens doesn’t it. I promise to get back to the project as quickly as possible so just hang tight till then. In the meantime, if you want some ideas for steampunk minis, take a look at my Steampunk Clock Tower build or the Steampunk Clock.
Happy building . . .
Teri


Leave a Reply
You must be logged in to post a comment.