I first ran across this kit in a mini-group posting and fell in love with it instantly. With my new craftroom finally organized I figured this was a good time to start working on this shop. I hope you enjoy the build and that you are inspired to head over to the One Star Away shop and purchase your own kit!
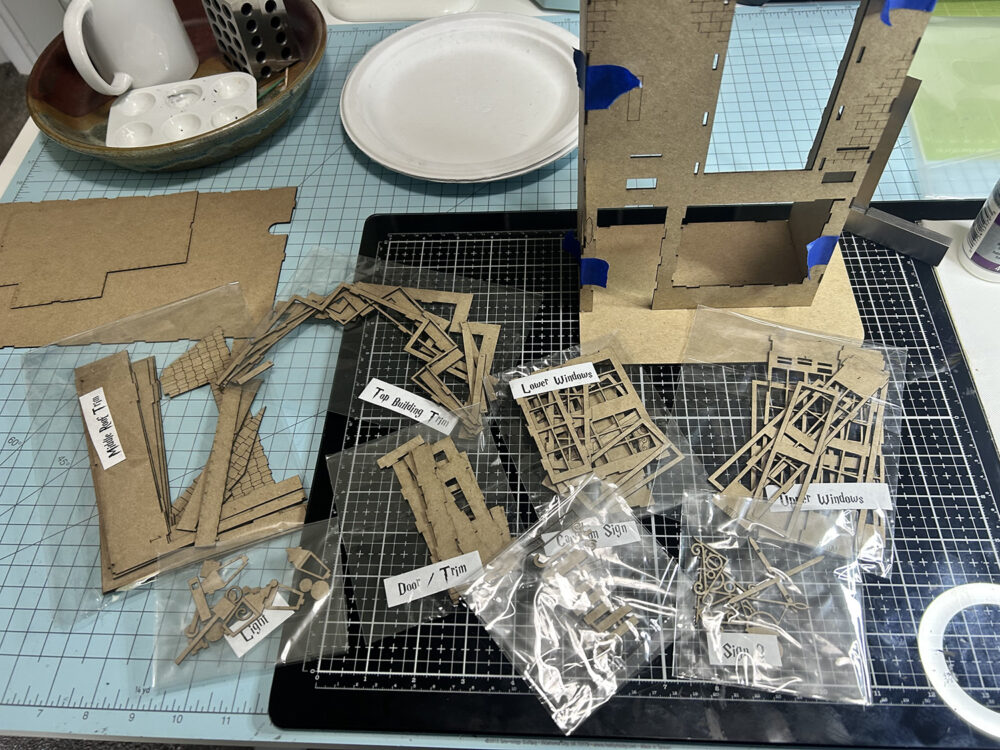
Let me first say that I found the kit to be of good quality with clear and detailed instructions. As you can see from the image below, the kit was well packaged with pieces separated and marked. If you happen to be a newbie to miniature building, don’t hesitate to give this one a try. Lisa offers excellent customer service and is quick to answer should you have any questions.
Here’s a look at the kit contents . . .
One of the first things I went looking for was a printable image for the inside of the shop. What I found was the Downloadable Witch’s Lair Painting by Kastaway Prints on Etsy. It’s perfect for the inside if you don’t want to invest time in creating everything. I simply printed the image and placed it inside the shop, curving the print to add some dimension. I’ve used some other printables in front for added dimension.
For the windows, I’ve used Apple Barrel Lilac Mist paint then dry brushed lightly with FolkArt matte Medium Grey. Clear acrylic was added for glass in the windows. I’ll be adding props in the window and aging them further later.
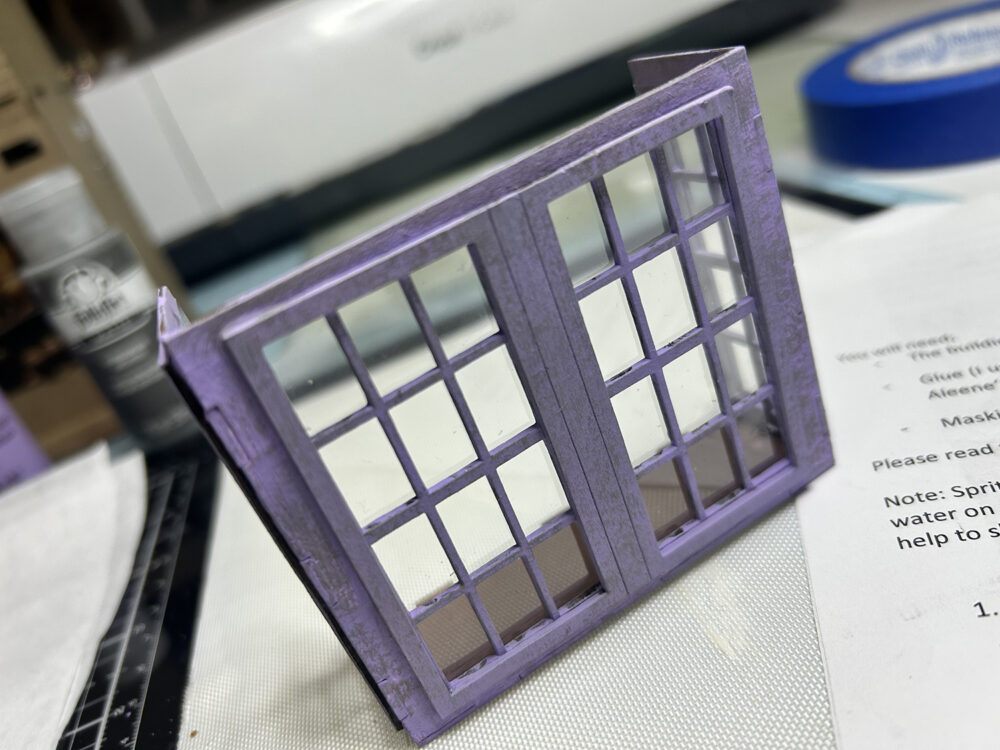
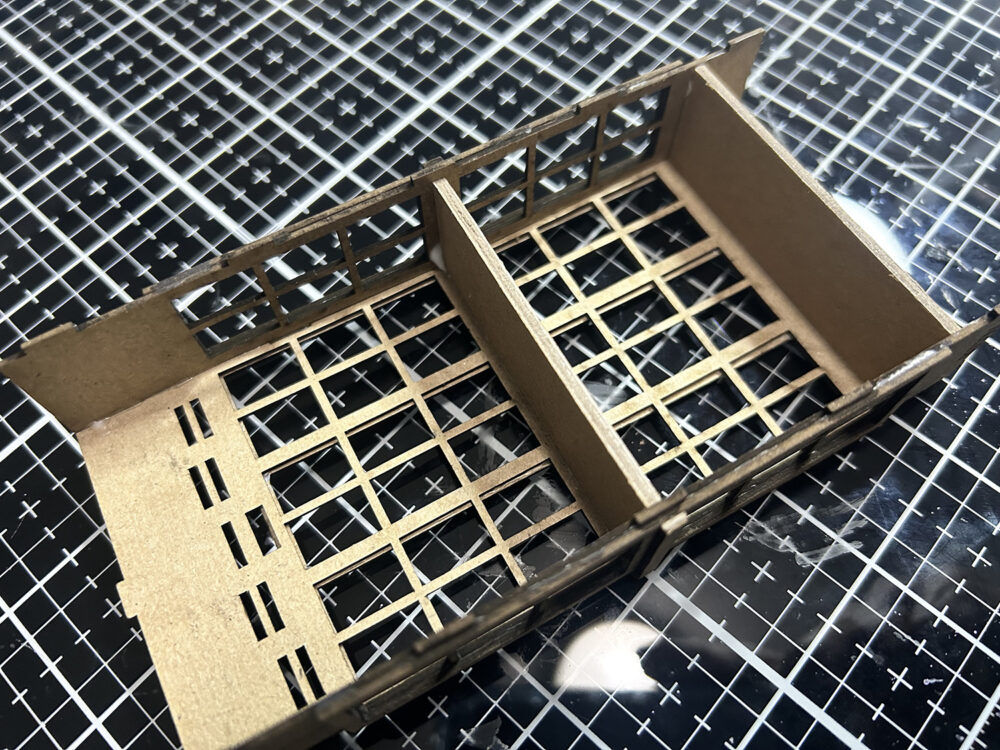
As you can see above the lower window includes a bottom where I will add items inside the window. The upper windows however had no bottom or middle shelf. I’ve cut pieces of chipboard to create these shelves so that I can also add items inside the upper window.
At this point, I felt it would be easier to partially construct the building. The material used in this kit is a bit thinner than I’m used to seeing in a structure kit and a bit flimsy to work with. I’m hoping that it will be more stable when constructed.
As you can see below, I’ve glued everything in place except for the top and back. I’ve also painted the bricks on the building and the stones on the base.
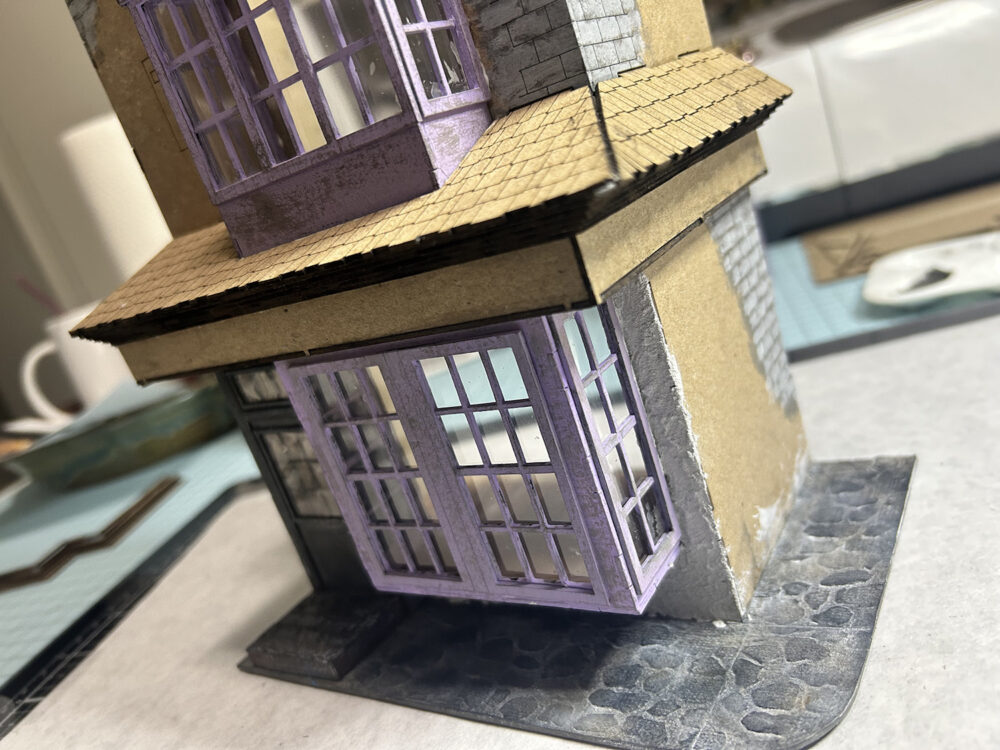
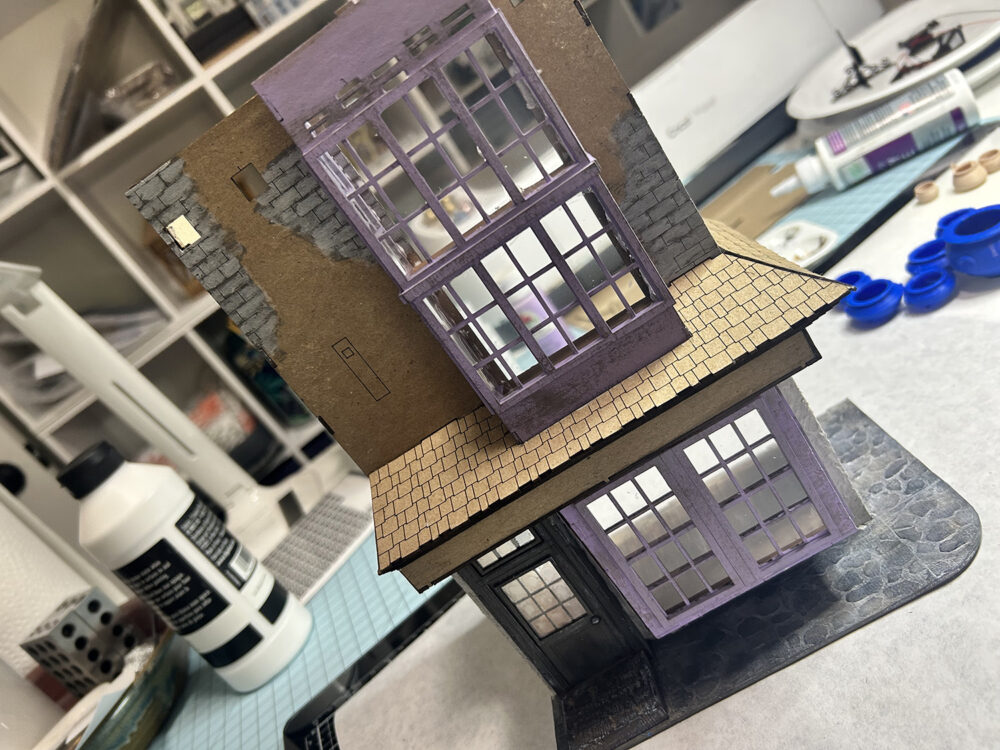
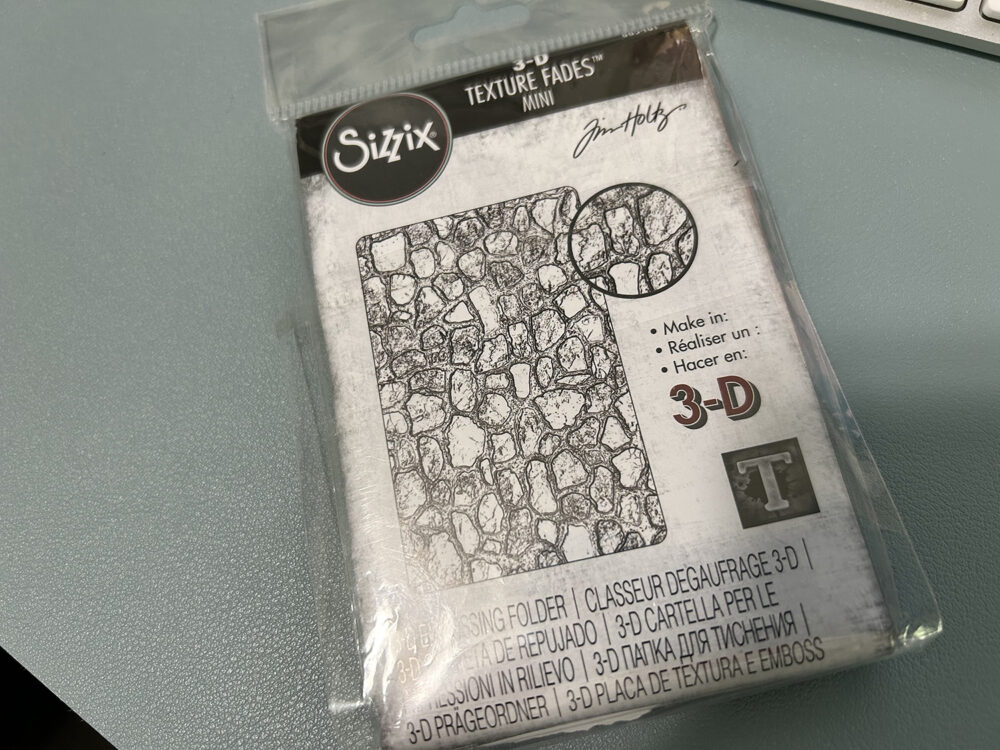
Here’s a closer look at the bricks. I first painted the bricks with a medium dark grey then highlighted each brick with a light grey. For the cobblestones (seen above on base) I used light grey cardstock that was embossed with the Tim Holtz Texture Fades seen below. This had to be done in several pieces so I added a coat of white gesso along each of the joining lines.
The base was painted in a dark grey and then dry-brushed with brown and light grey paint.
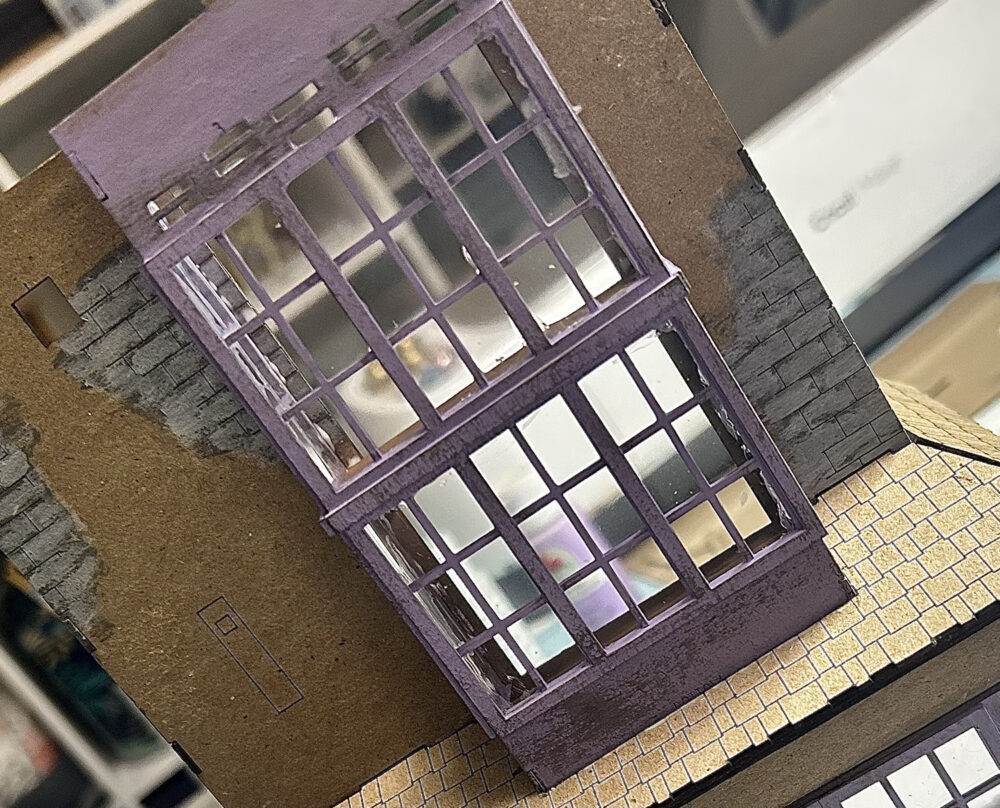
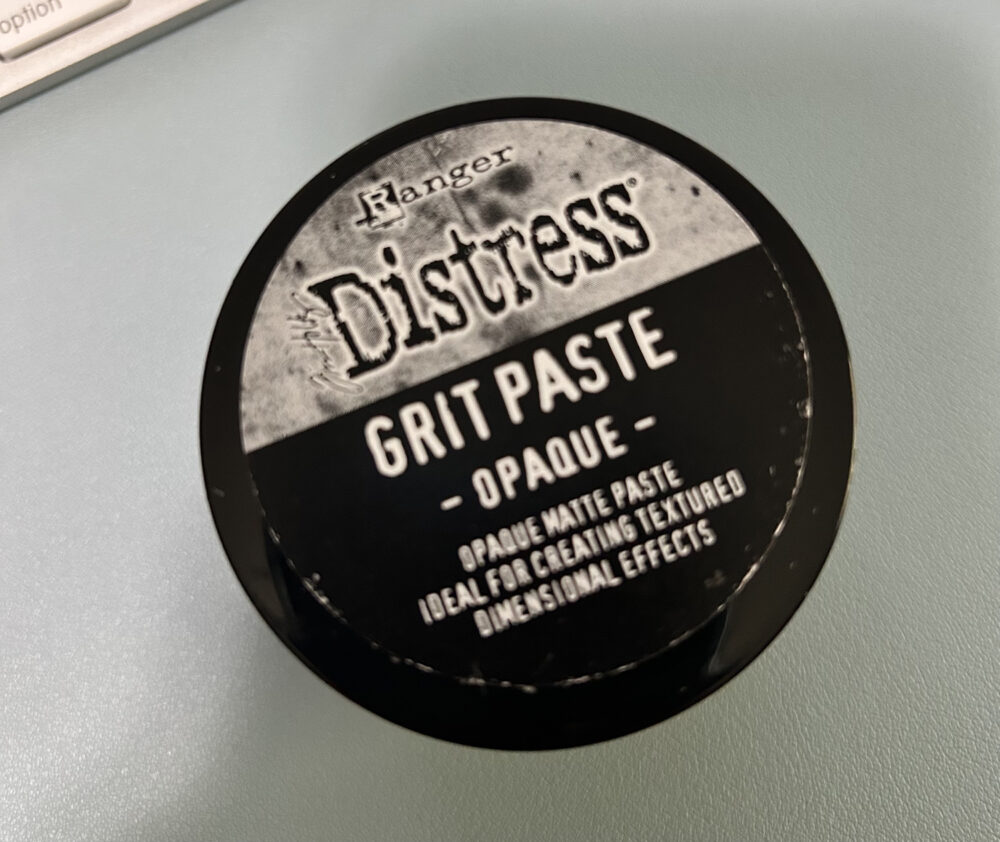
Now it’s time to add the wall texture, roof, and paint. For the wall texture, I’ve used Tim Holtz Grit Paste. A bit on the pricey side but I love the consistency and find it easy to work with and you can easily color the white paste with acrylic paint if you like.
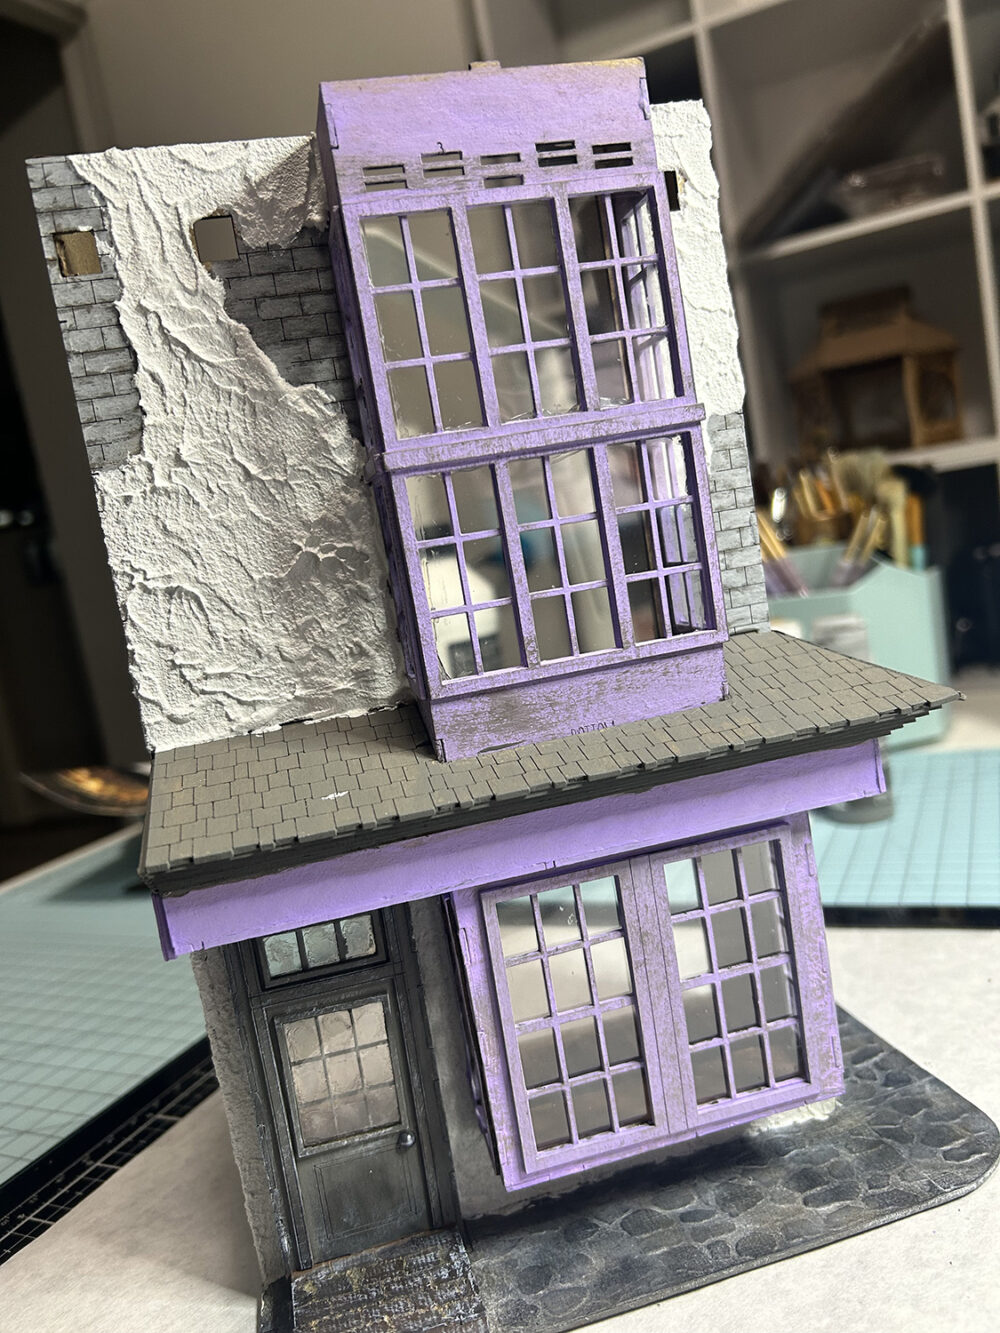
Now it’s time for the finishing touches! This includes adding clear stencil plastic to the windows, painting some pots, and finishing all of the signs, and even though the kit roof has shingles scored, I added cardstock wonky shingles and painted them.
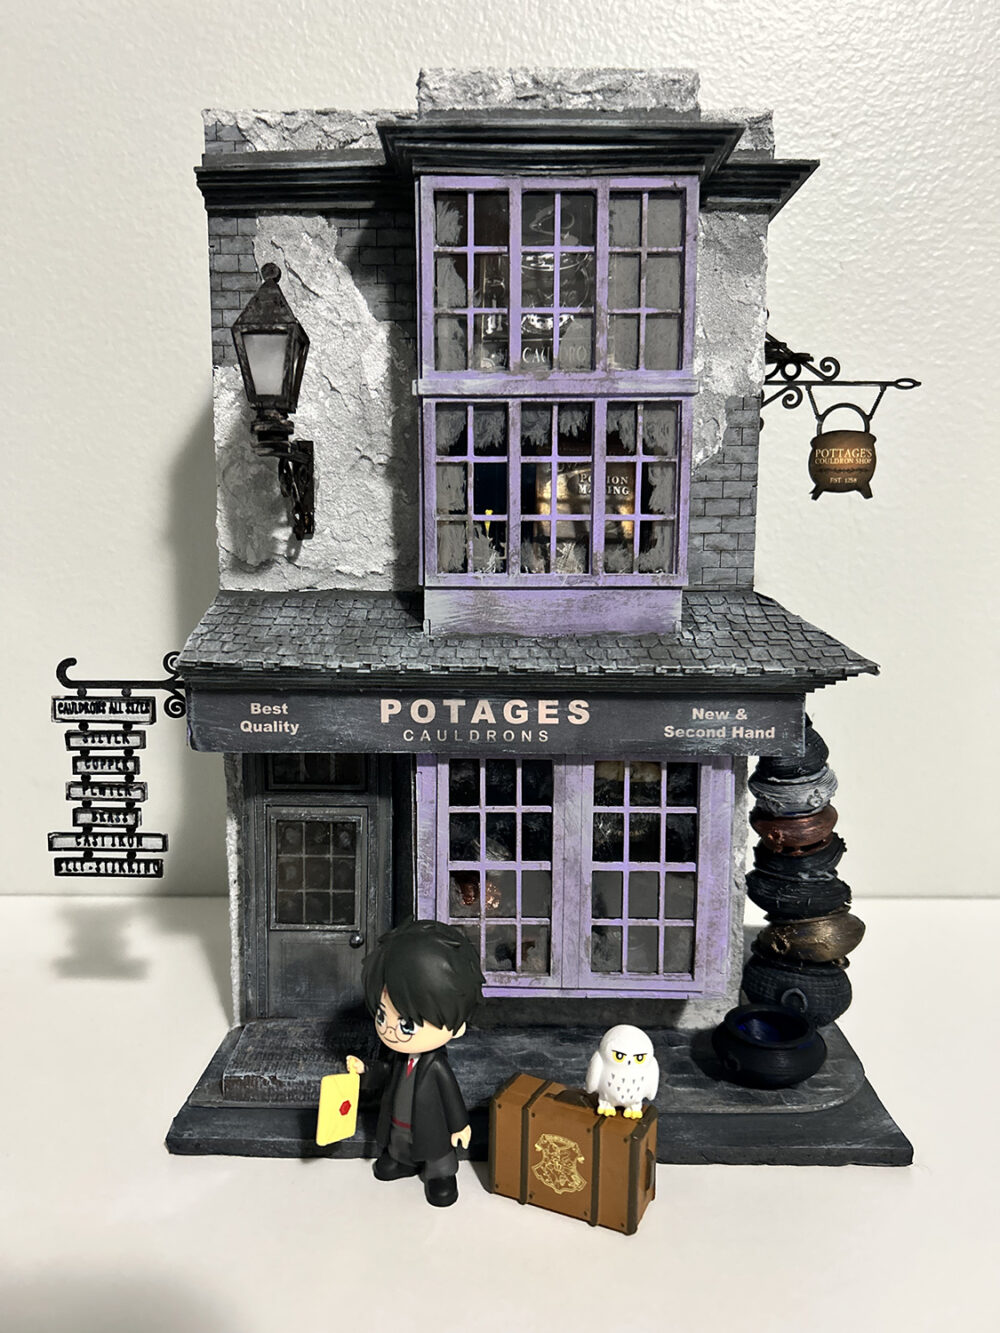
Before adding all of the outside signs and the potages sign I created a black wash from a small amount of black acrylic paint mixed with a lot of water. You can also add black ink to water if you like. This is painted over all of the walls and roof working on small sections at a time. Brush on the wash then dab it off with a paper towel. It’s a bit messy but worth the end results!
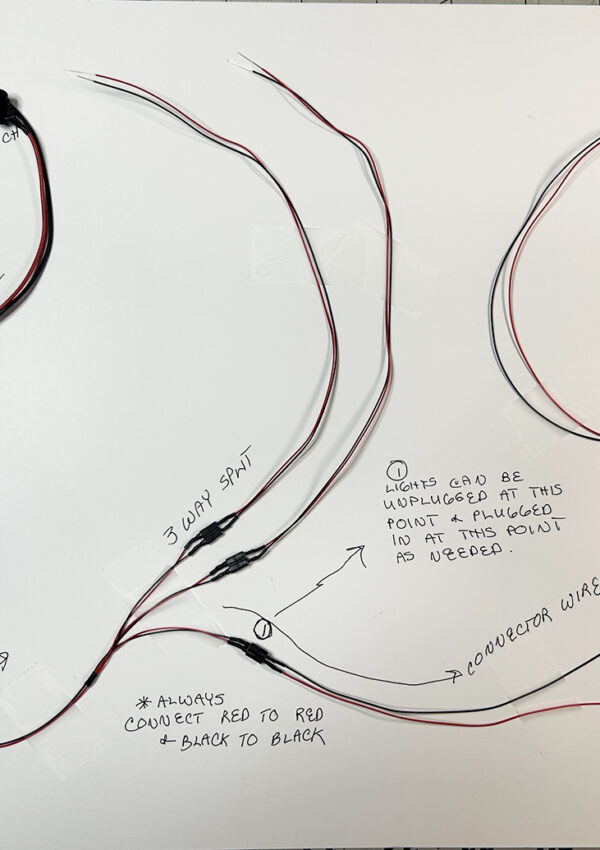
LED lights were added to the lower and upper windows, a printed shop scene was added inside the lower portion of the shop, and finally, the upper roof and back were glued in place. If you are interested in the led lighting I use, look for a post about this on the blog.
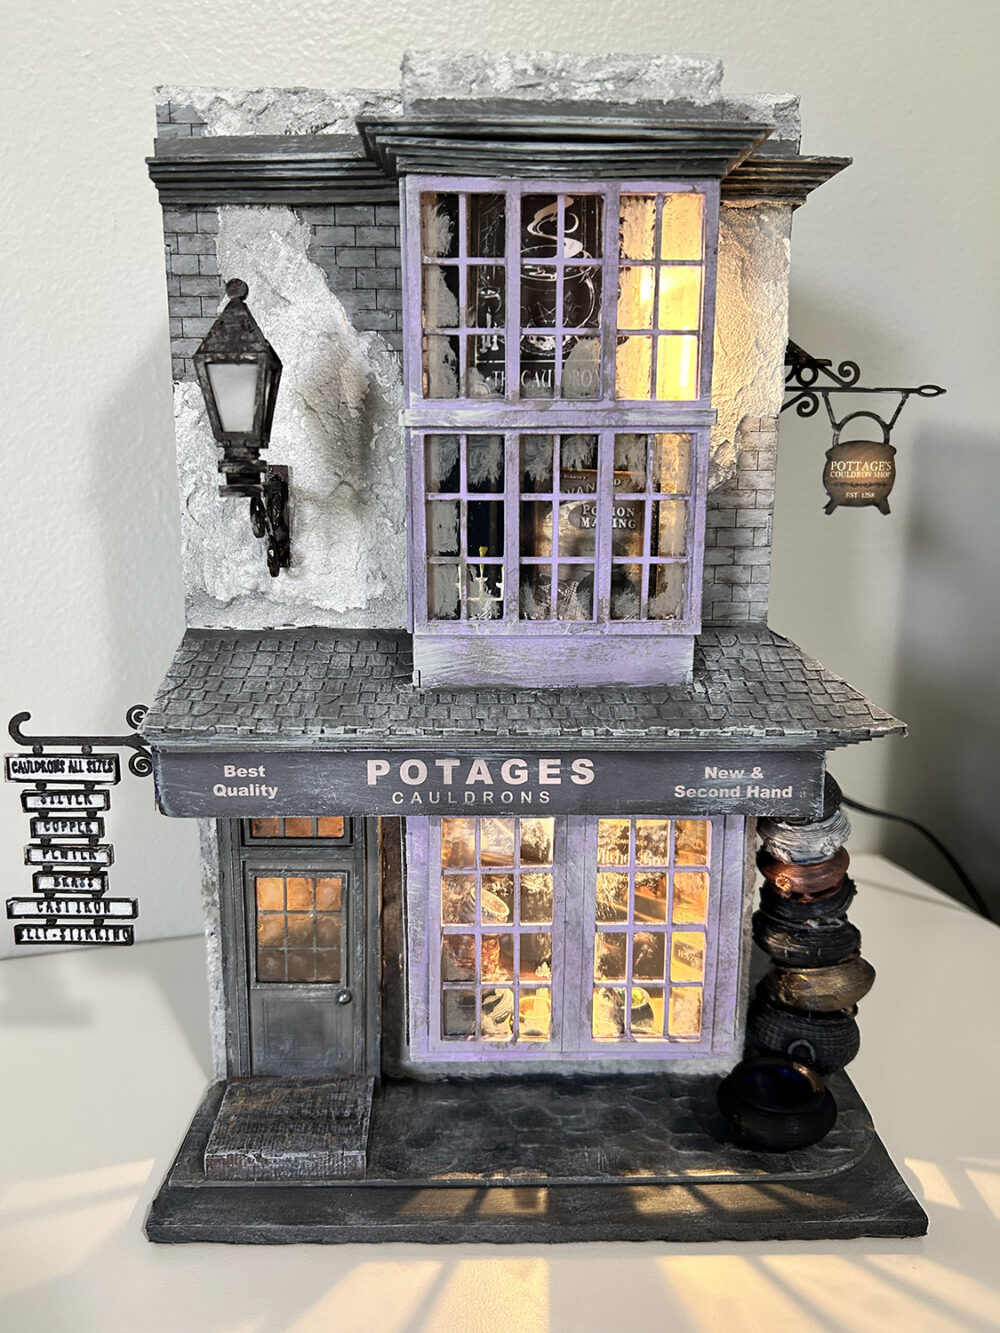
Lastly, here is a look at the finished shop all lit up . . .
Final thoughts . . .
Firstly, please know that the following is only my opinion and others may or may not agree. Take what I say with a grain of salt and form your own opinion. I’ve been creating my own miniatures and building kits for many years now so hopefully these posts are offering some insight, ideas, and inspiration to others.
Overall I was pleased with the kit and the way in which it is constructed. The instructions were easy to follow but I did wonder if a beginner might struggle a bit as some steps were not clear and I felt like more images might have been helpful. There was no image of all parts so that you could determine what was what but it was pretty easy to figure this out.
As for contents and materials, considering the price and in comparison to other kits I’ve purchased, I wish the cardboard had been a bit stronger. I wish that plastic or acrylic would have been included for the windows as well as pre-printed signs. These are things that are normally included with other kits I’ve purchased. Overall I am pleased with the end results and would happily recommend these kits to others, beginners and experienced alike. I purchased another kit at the same time and would not hesitate to purchase any of the other shop kits they have.
So there you have it! As always, feel free to leave a comment and if you have not done so, hop over to facebook and join the TCC Quarter Scale Minis group!
Happy crafting . . . .
Teri


Leave a Reply
You must be logged in to post a comment.