©2024 Teri Hanson/The Covered Chipboard
Emerald Coven Lighthouse Remodel Project
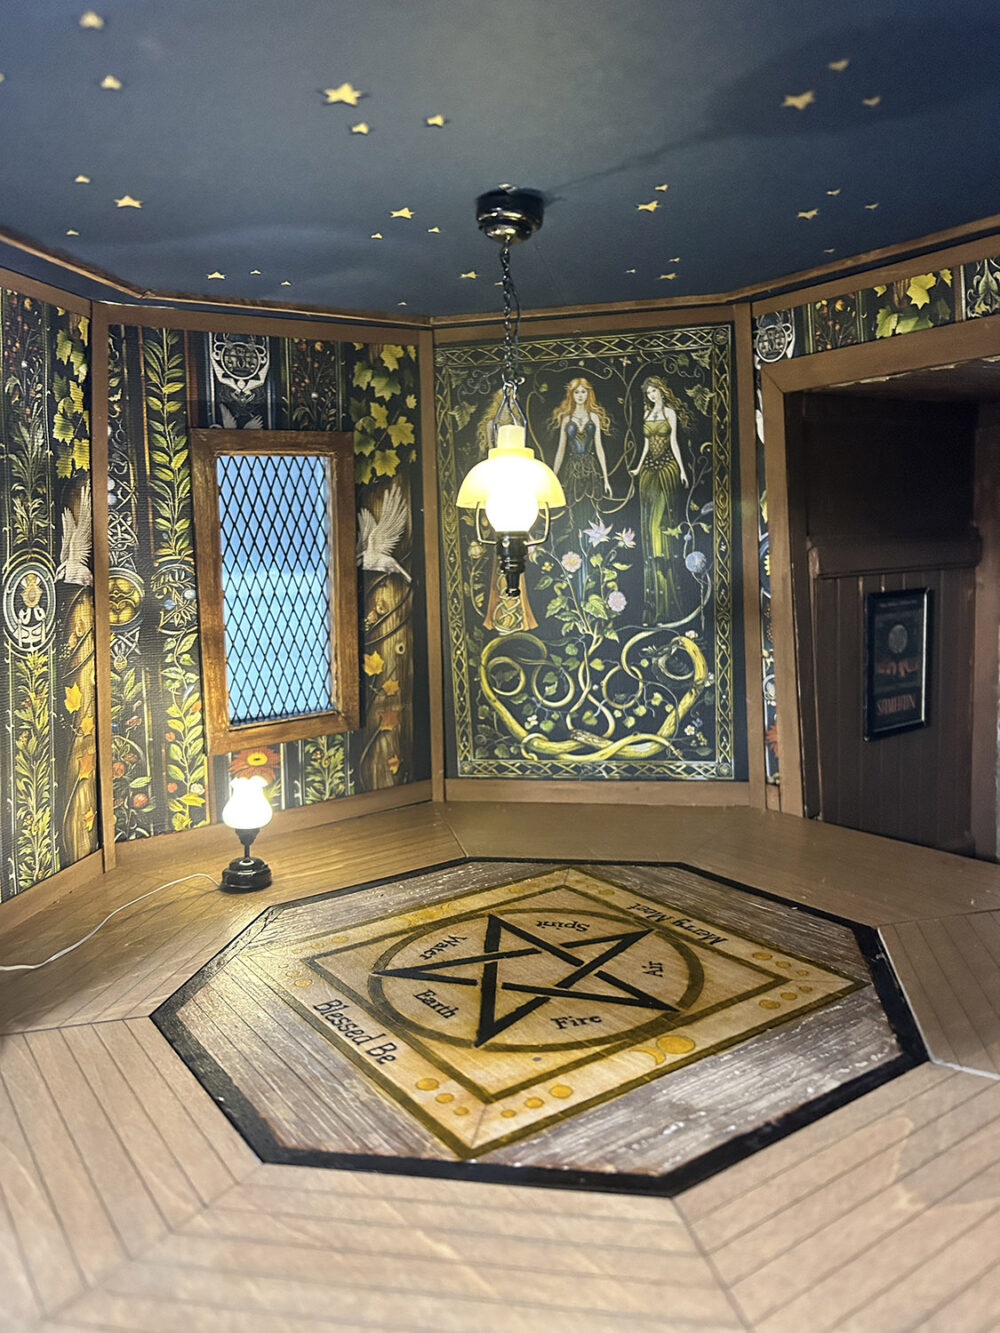
Attn: High Priestess Agatha
As required, here is my first progress report. It has been a rough week to say the least. On the first night, a storm blew in taking out two of the round windows. We discovered that all of the windows leaked air badly so they will all have to be replaced eventually. The fireplace also stopped working and will need to be fixed or replaced. There are a few plumbing issues that will also need to be addressed.
The first floor has been completed so that we have a warm place to lay our weary heads at the end of the day. Several local women have taken pity on us and brought a portable ice box filled with drinks as well as several boxes of sandwiches and casseroles. I think you will find the locals very receptive to the coven and shop opening. The same two women stop by daily to view our progress and ask questions. I believe they are informing the townspeople of all the goings on.
Matilda managed to find a local handyman who could help with all of the above issues. His estimate for all the work needed is enclosed. These issues require special tools and abilities that neither Matilda nor I have so we hope the coven will approve the work. We look forward to your reply on this matter.
Here is a list of all work completed up to the date of this letter.
- Wood flooring was installed per your requested design – we did have a little mishap here when Matilda carved the words in the wrong direction but rest assured that has been corrected.
- The wallpaper has been installed. That was not a fun job and takes two people. Do you think it’s odd that Matilda likes to eat the paste???? She did look a bit green the next morning but the local doctor gave her some medicine and said she would be fine thank goodness.
- The ceiling was created as you designed it and has been installed. I do think something should be done about the hanging light fixture …. it’s rather horrid I think.
- All of the wood trim has been installed. I’m thankful that handyman Ron came around to help before I lost more than my pointer finger! I’m in hopes that after this is all over you might grant me a spell to grow my finger back?
- We are currently using heavy sheet plastic to cover the windows to keep the cold and rain out. Who knew it rains so much near the sea! We have been enjoying the night storms though. We hope to get some windows installed by the end of the week as we had to special order the glass panes.
- Lastly, the entryway has been painted and a new door has been installed.
Final Notes: Due to the growing curiosity of the locals and the teenagers creeping around the house during the night, we – Matilda and I – made the choice to remove all the stairs to the upper floors. Since our kind can easily appairate from one place to the next, stairs are not needed and we hope this will keep the locals out of the upper floors should they sneak inside while we are out. I hope you will agree this was a wise choice.
PS: Matilda and I have a hidden ladder we are using to move between floors at this time since neither of us can use magic as you know. Any chance of being granted an appairating spell???
Blessed Be, Zelda
**For those following the Lighthouse renovation . . .
Thank you for stopping by and following this build. Below are some notes and a list of supplies I have used. With each of “Zelda’s Progress Reports” I’ll add notes and images for the build, at the end of the post. All of the SVG files I’ve created, and will create, for this build will eventually be uploaded to the shop so keep an eye for notices on those!
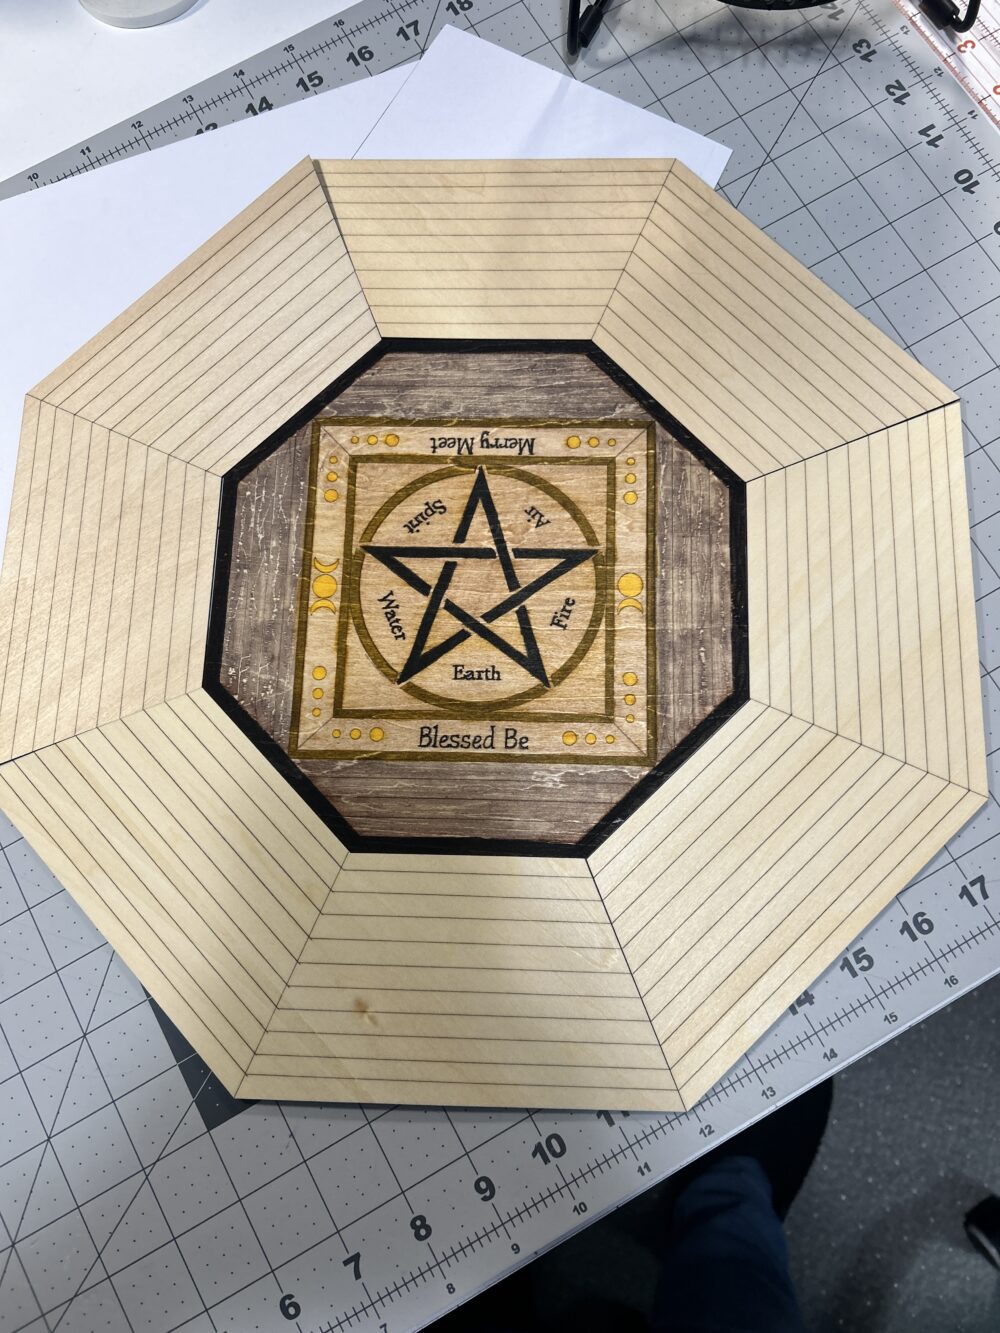
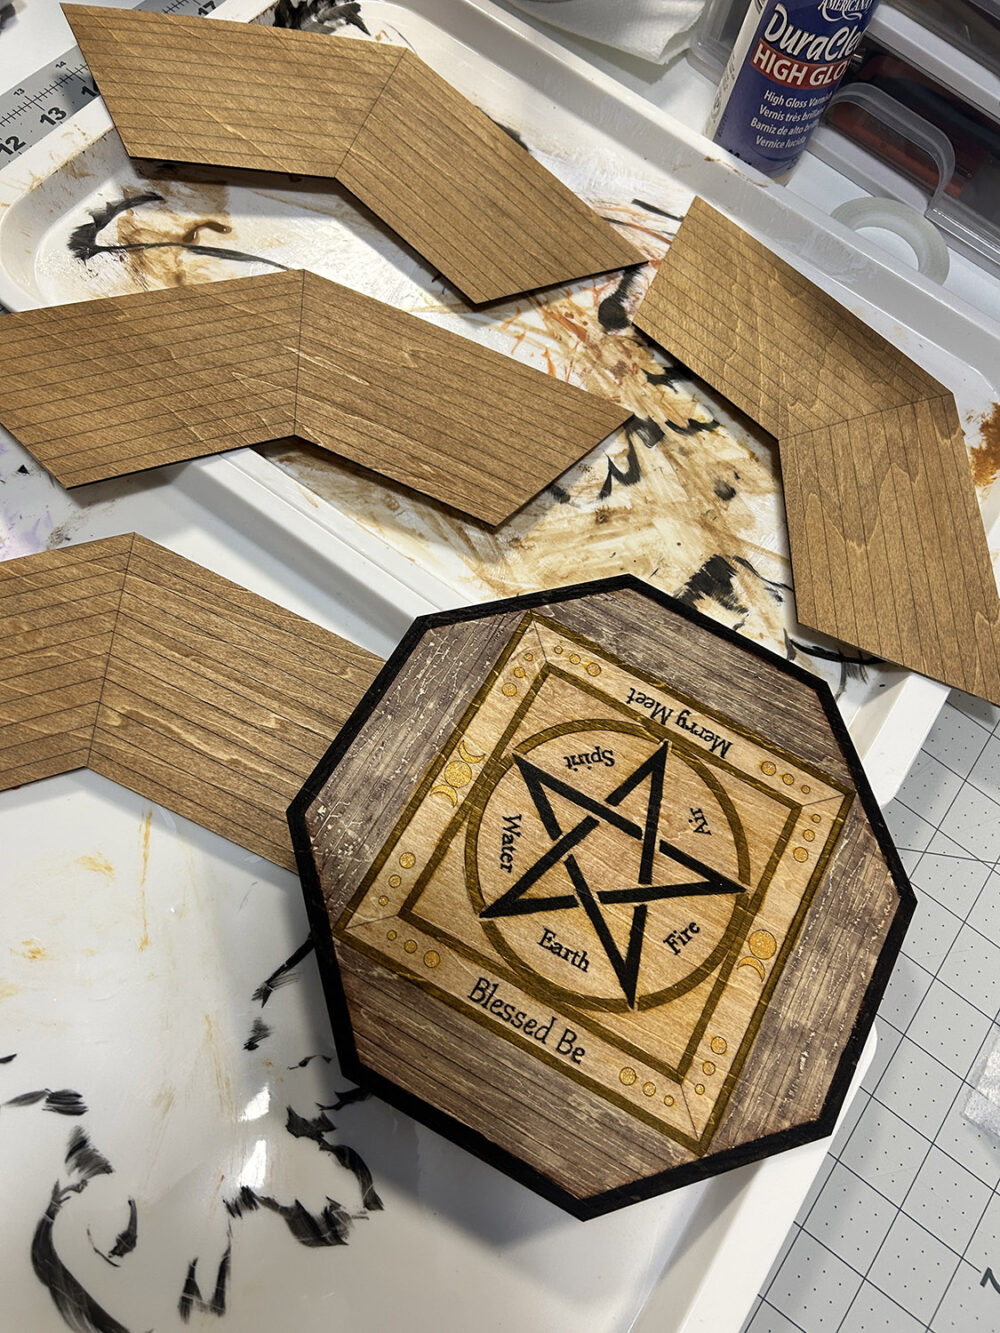
Flooring – I created this special wood flooring from 3mm plywood/basswood cut on the XTool M1 laser cutter. You could easily duplicate the flooring with a Cricut or other cutting machine using my SVG files. The design could easily be sized to fit your own needs. Do note that the original file has been created for full-scale (1:12) project and due to the size, must be cut into pieces and then fitted and installed into the lighthouse. You can not build the floor and then install it as it will not fit through the lighthouse opening. The file will be added to my shop very soon.
Note: I have used a combination of markers and watered-down paint to color the flooring. Once completed I have sealed the floor with one coat of DuraClear Satin finish. The center design file is set to be scored and then cut out around the black edge. The outside pieces are set to score the boards then cut out two sections at a time. You can easily change the file depending on how large an area your machine can cut out.
Wallpaper – I’ve used a digital printable paper found on Etsy – Sacred Pagan Junk Journal Pages, Digital Scrapbook Paper Kit. I sized the paper to 11.50″ and printed it on my 12×12 printer then made a template for each wall with plain paper and used that to cut each piece for the walls.
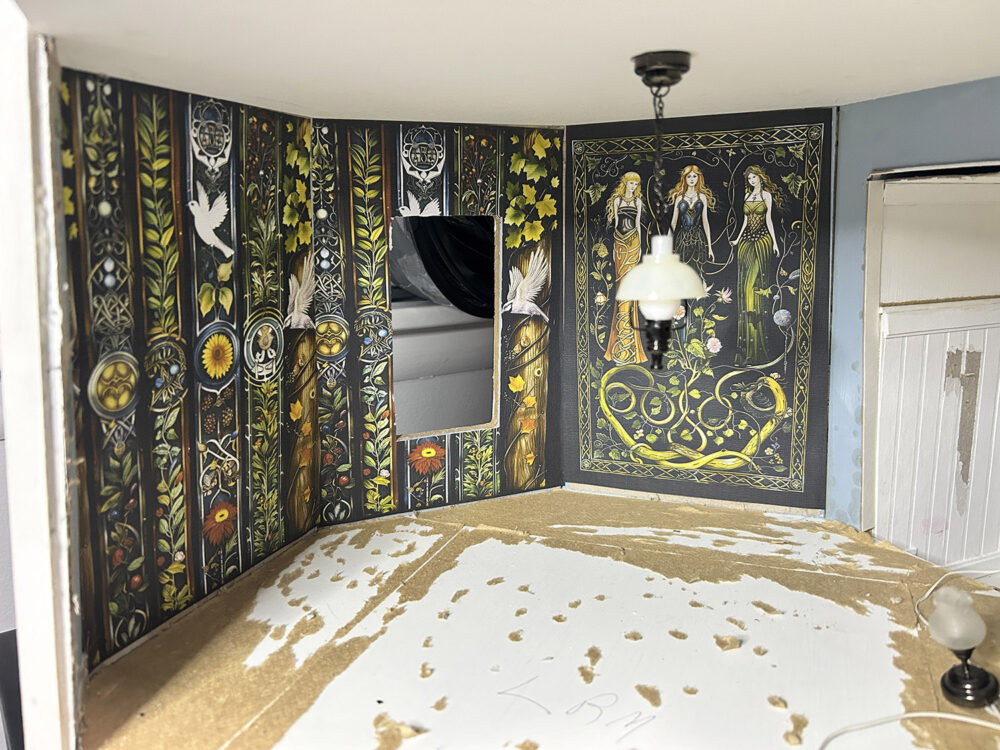
Ceiling – For the ceiling I’v used cardstock (AC Denim) with stars cut out, placed on top of a sheet of Cricut shimmer paper in platinum color. I will also have an SVG file for this in the shop soon.
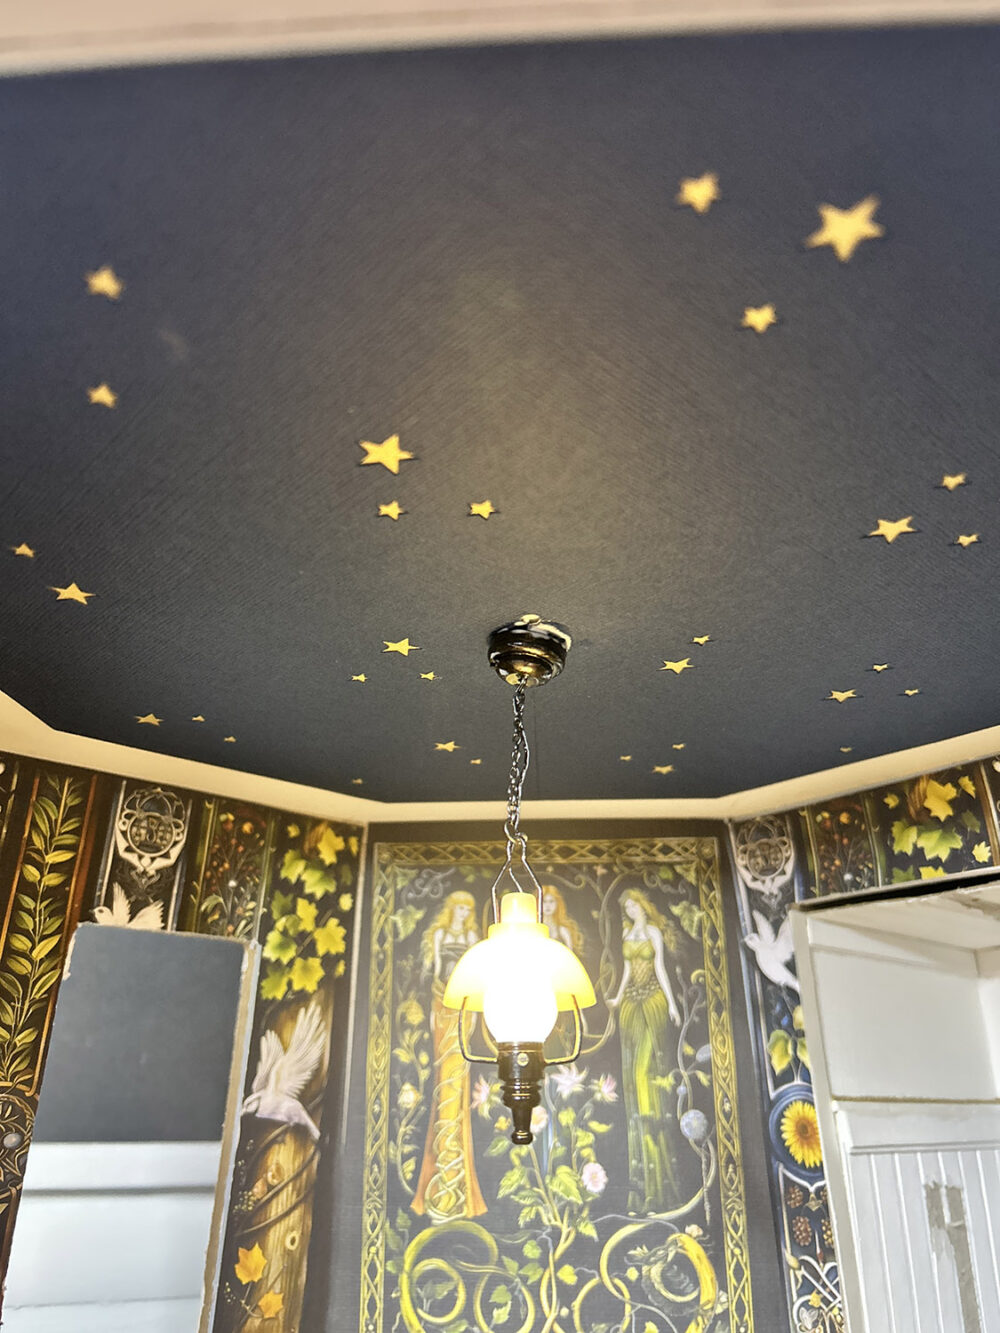
Trim – all wall trim was cut by hand using strips of thin balsa wood from Hobby Lobby. I created a stain of sorts from watered-down paint: Coffee Bean, Coffee Latte, and Cinnamon Stick (Folk Art/Deco Art) acrylic paints. One coat was brushed on, wiped off, and then a second coat was added. Small square dowels were cut and fitted around the edges of the star ceiling as well. The outside edges of the ceiling were painted with a Navy Blue Folk Art Matte Acrylic paint.
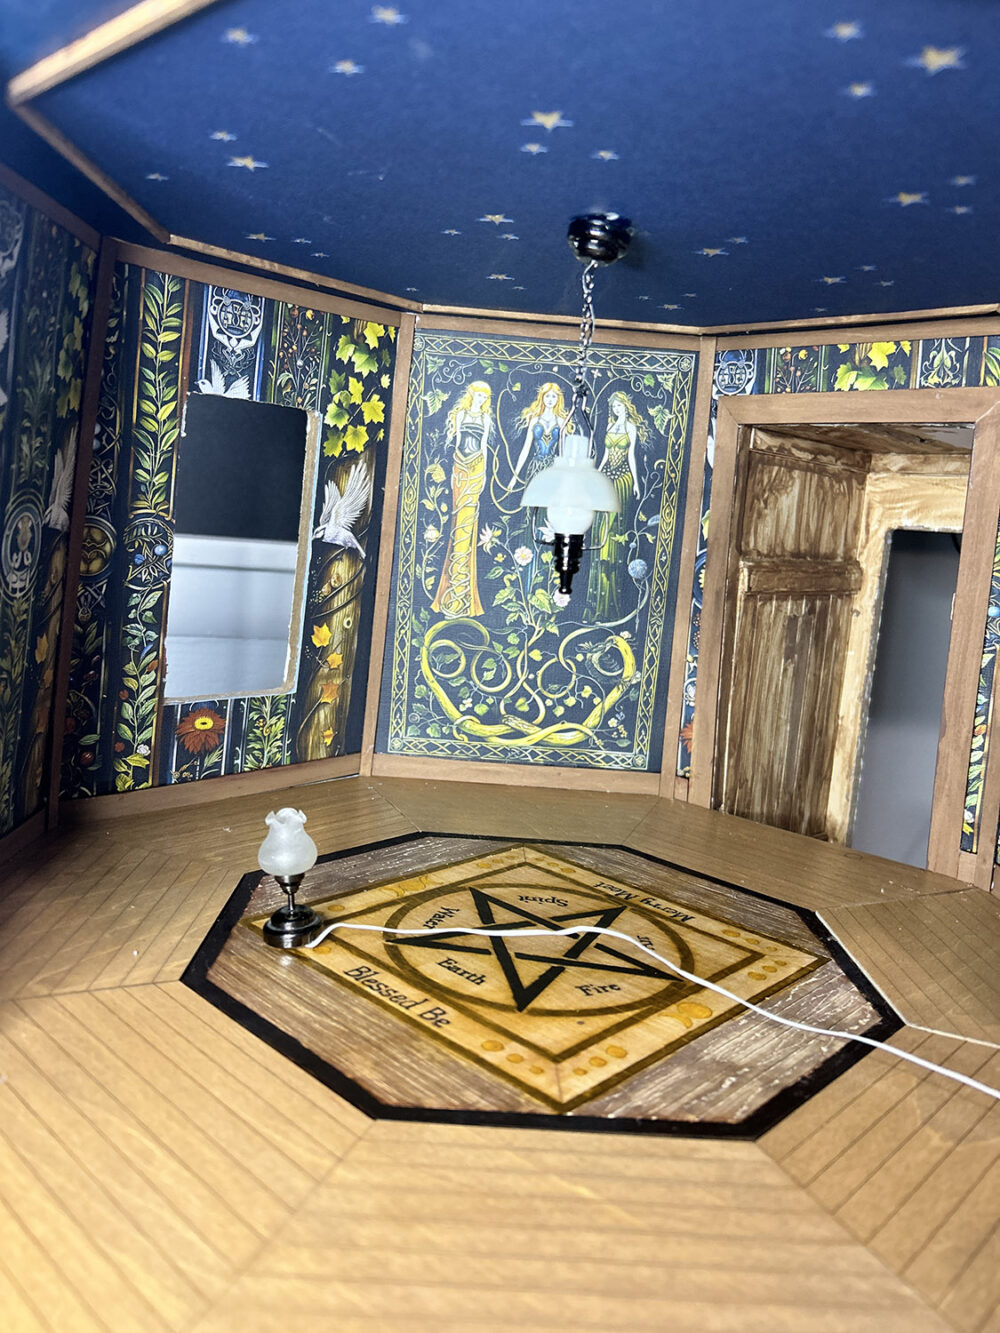
Note: the entry area is very difficult to remove and to get inside and paint. It’s going to take several coats of paint but when finished will match the trim color. I will also add a couple of wall art pieces to cover up a few blemishes left from removal of previous decor items.
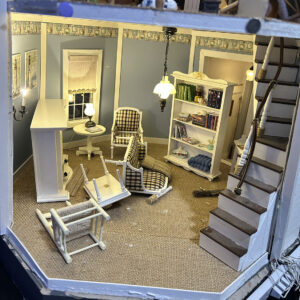
You might also note in the first image at the top of the page that the stairs were removed. Since there will be a lot of shop furniture in these rooms I decided to not use stairs in any room.
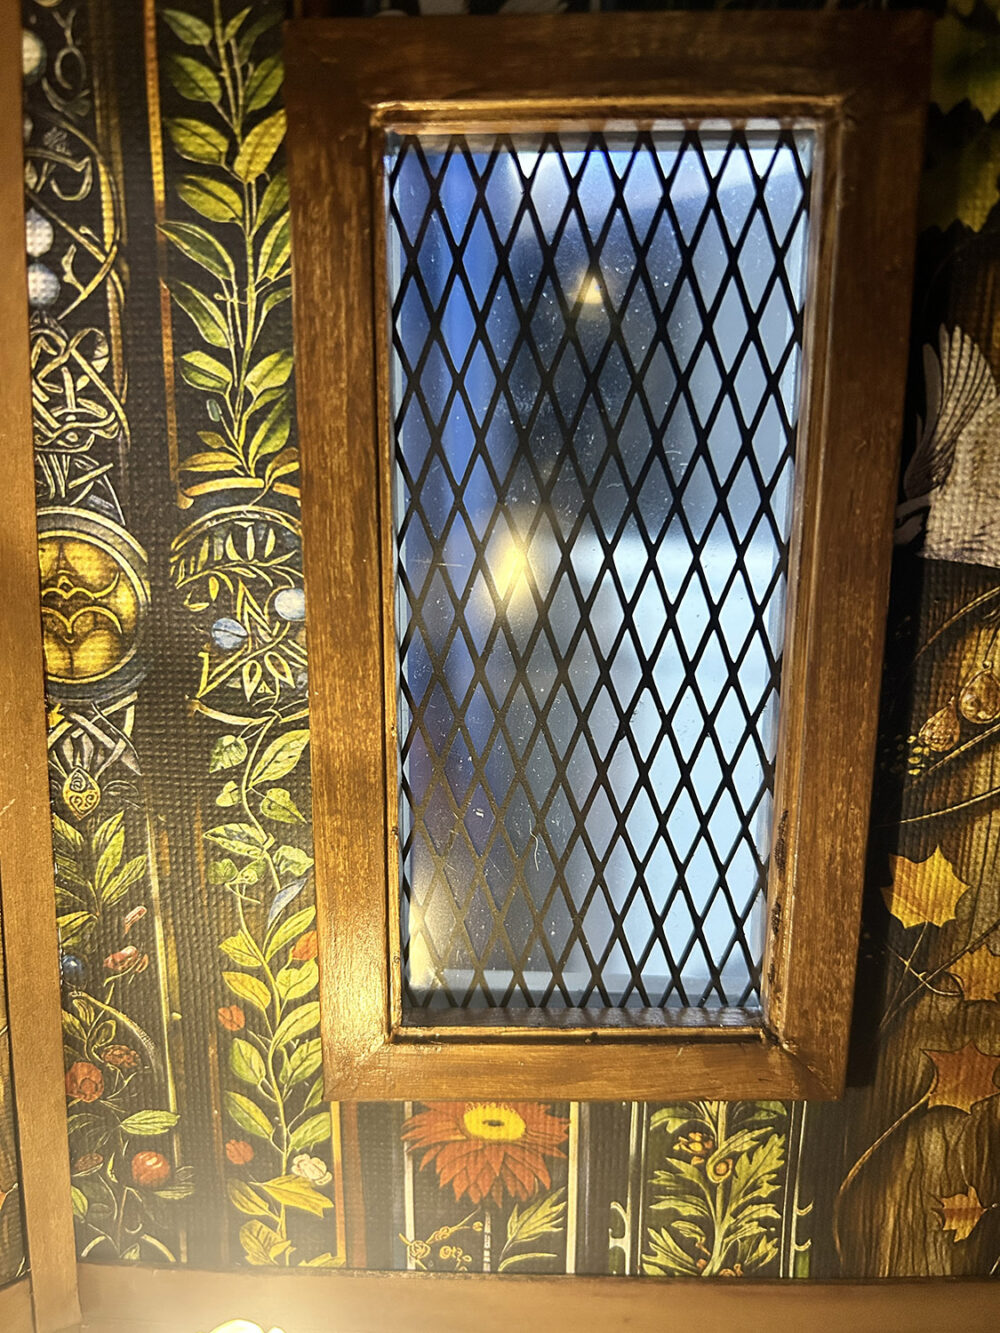
Window – I’ve cut diamond design pieces from cardstock with the cricut and sandwiched it between two pieces of thin plastic to create an “iron look” for all of the windows. You will see more of these in future posts.
Till next time . . .
Happy Mini Crafting!
Teri



Leave a Reply
You must be logged in to post a comment.