A Petite Properties Project by Teri Hanson
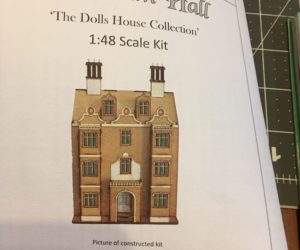
Havisham Hall is one of three Petite Properties “Doll House Collection” kits available in 1:48 – quarter scale. You can use the links below to purchase the kit if you would like to make one for yourself. They offer a deluxe base you can mount the finished house on as well as a nice selection of furniture kits you can build to decorate your house.
- Petite Properties Havisham Hall
- Petite Properties Deluxe Base
- Petite Properties Staircase – Le Petite Palis and Cottage
NOTE: Havisham does not come with inner staircases but you can purchase some for it at Petite Properties HERE. I’ve used one package of the Le Petite Palais stair kits (you get two in the package) and one of the Cottage Stairs kits.
Warning . . . this is likely to be a longer, ongoing build because of what I want to do with it inside. I’ll be using false walls inside as well as adding lights. I’ve added a little supplies list below for those who might be interested.
- Medium Weight Chipboard – Amazon.com (by Graffix)
- LED 3V light set up
- Americana Acrylic Paint – Winter Blue, White
- 1/32 thick Basswood
- Minwax English Chestnut wood stain
- Aleene’s Fast Grip Tacky Glue
- DecoArt Dura Clear Matte and Gloss Varnish
- Thick Kraft cardstock
- White textured cardstock
Initial Set-up
The first thing I did was to read all of the directions to get a feel for how everything goes together. Next, a dry build (no glue used) to mark off each of the floors so I could get measurements for building the false walls.
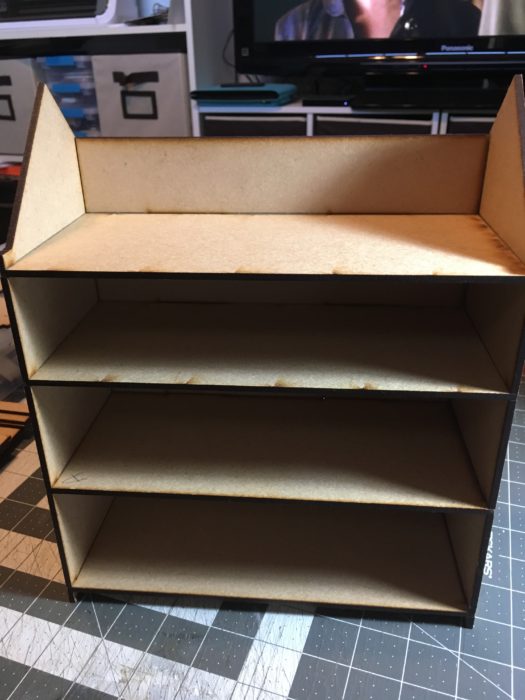
Below you can see how I’ve marked off where each floor divider will be. You can also see how I’ve begun to get measurements. These will be used to build the false walls though some will need to be adjusted, based upon how they will sit inside the structure.
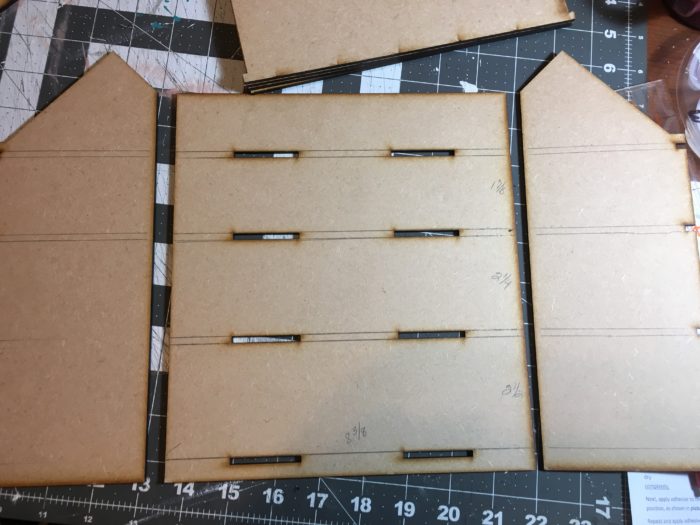
This kit comes with two divider walls for each floor and one for the attic floor. So next I need to think about what kind of rooms I want on each floor, how many dividers I will use and where to place them. I will also need to decide where I will have lights and where the wires will run so that I can drill holes in the pieces.
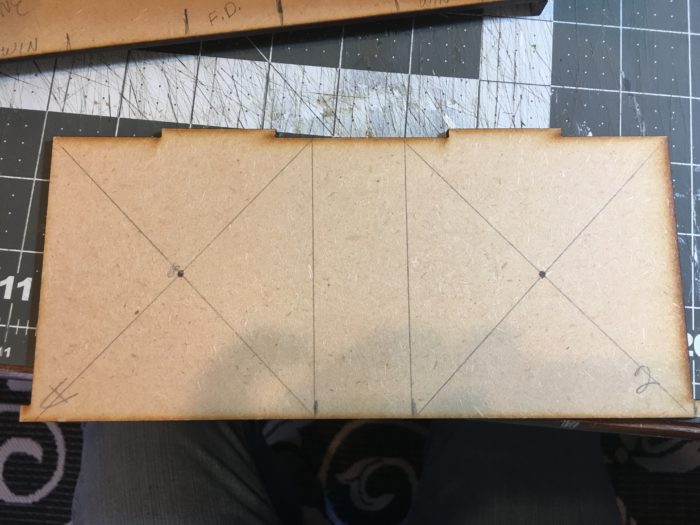
Below you can see how I’ve marked off where lights will be placed. Once marked, the holes were drilled.
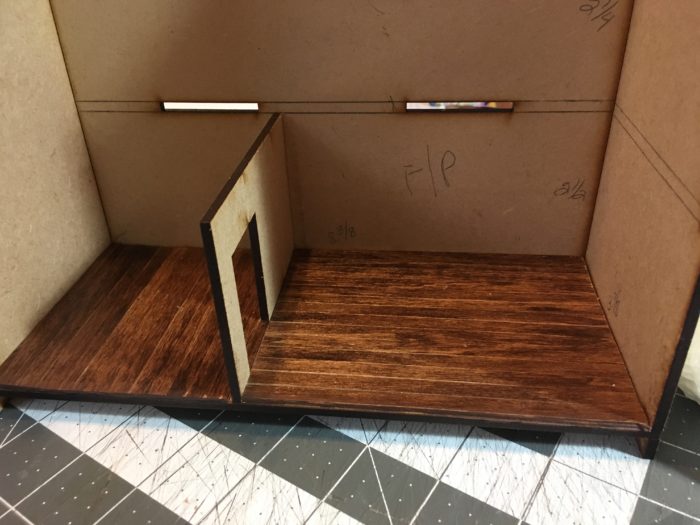
For the flooring I’ve used 1/32 thick Balsa wood. The entire piece was stained then cut into strips. Strips were then glued to a piece of heavy kraft cardstock and mounted to the floor base.
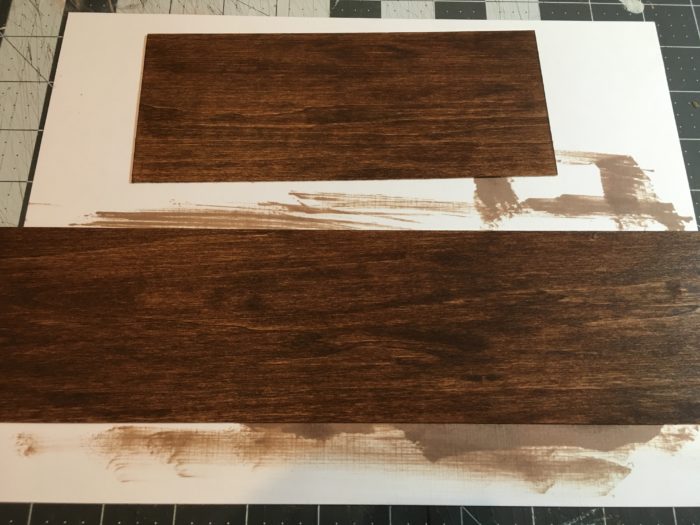
Note how I’ve run the boards in opposite directions for the two rooms. I found more than a few examples online where this was done.
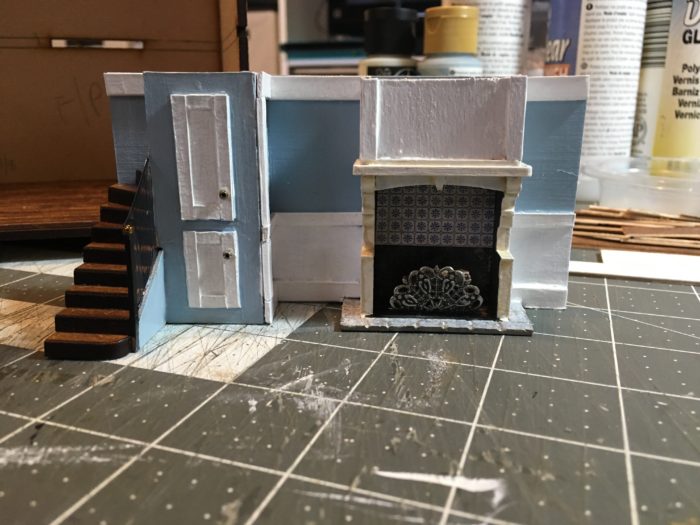
I’ve completed the first false wall of the parlor room. The Le Petite Palais staircase was modified by trimming a bit off the top and side of the area where the two doors are placed. The fireplace is also from Petite Properties and had to be modified for the height as well.
Test fitting the back wall . . .
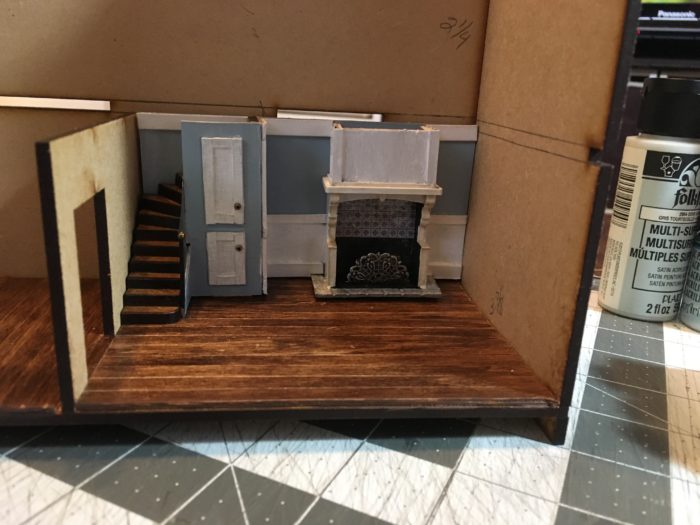
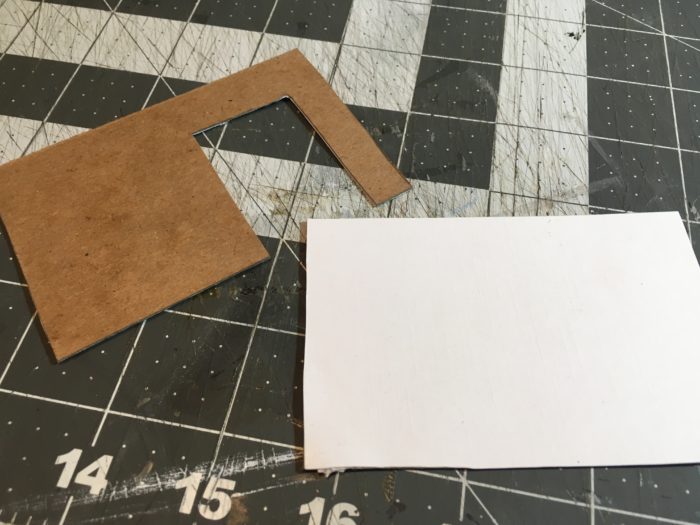
I’ve used a thicker Kraft cardstock with white textured cardstock on top for the base of my false walls. The white cardstock was attached with score tape, instead of glue, so that it doesn’t warp. I find that paint applies better this way as well.
Here are the final two walls finished. I’ve added a false door going to the garden room once it’s attached.
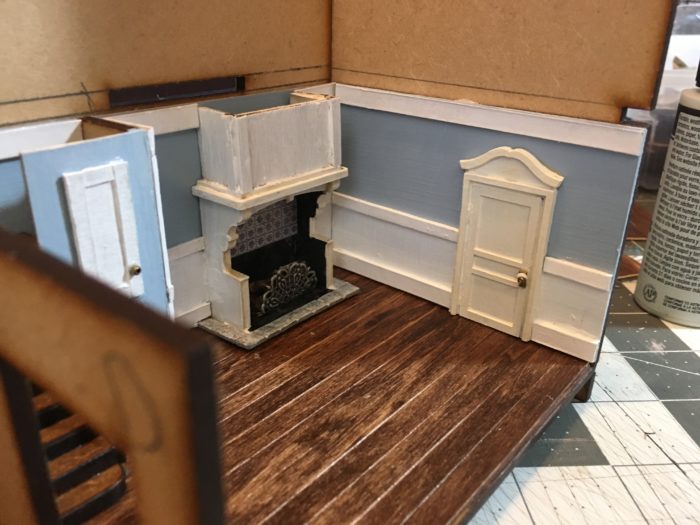
Opening into the dining room.
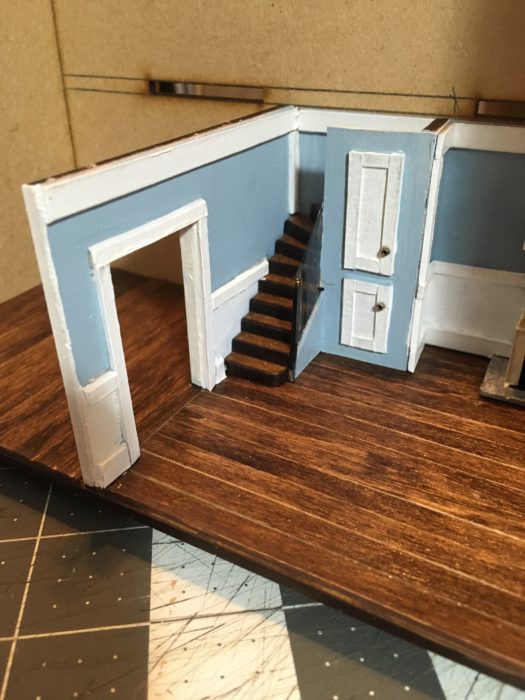
I’ll be adding a light for the stairway that will be hidden behind the closet area once the ceiling has been put in place.
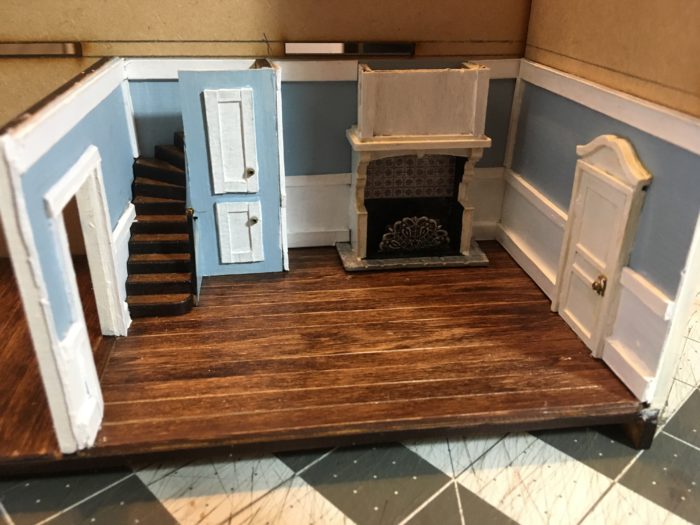
Stay tuned for the next post when I begin the dining room.


Leave a Reply
You must be logged in to post a comment.