Welcome back to my Craft Along series – Part 2 of the Haunted House! I’m so glad you are still with me on this project.

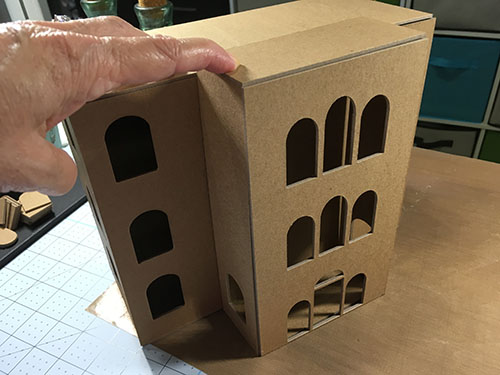
We last left off with the main base being constructed. Today we will work on the two roof areas and the outside windows. Remember …. these instructions are for those building the “simple” version without finishing the inside.
NOTE: I’ve decided that I’ll not be finishing the inside of this project but … if you look at my other posts here on the blog, under the miniatures section, you will find tons of ideas for finishing the inside if you like. Check out my posts on the Ravens Perch Build for lots of haunted house ideas!
Materials needed …
Roof Construction – for Simple version
NOTE: these pieces should be cut out of the Medium Weight Chipboard using the Deep Cut Blade. I have created my own setting for the medium weight chipboard which you can see in the video.
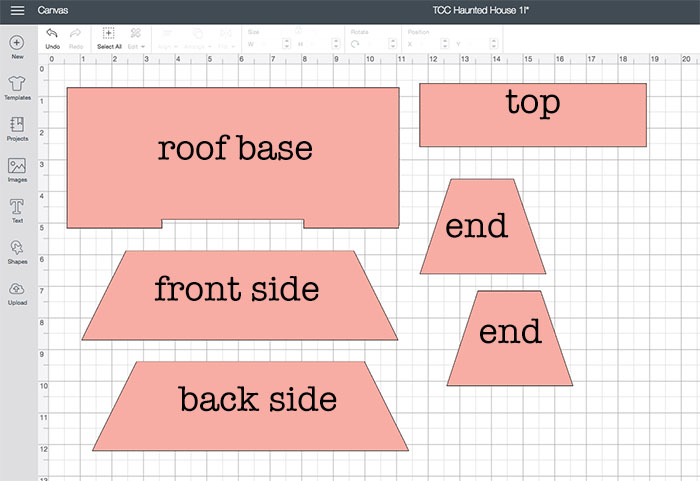
Here’s a screen shot showing the roof pieces for the main roof in CDS.

And here’s how it’s constructed as well as a bit about the windows. NOTE: cut window inserts will only be used for those who are finishing the inside of the house!
NOTE: If finishing the inside of the house, you will need to cut two of the canvas Ig
I’ll be back soon with the second roof section so keep watch!


Leave a Reply
You must be logged in to post a comment.