A Petite Properties Project by Teri Hanson
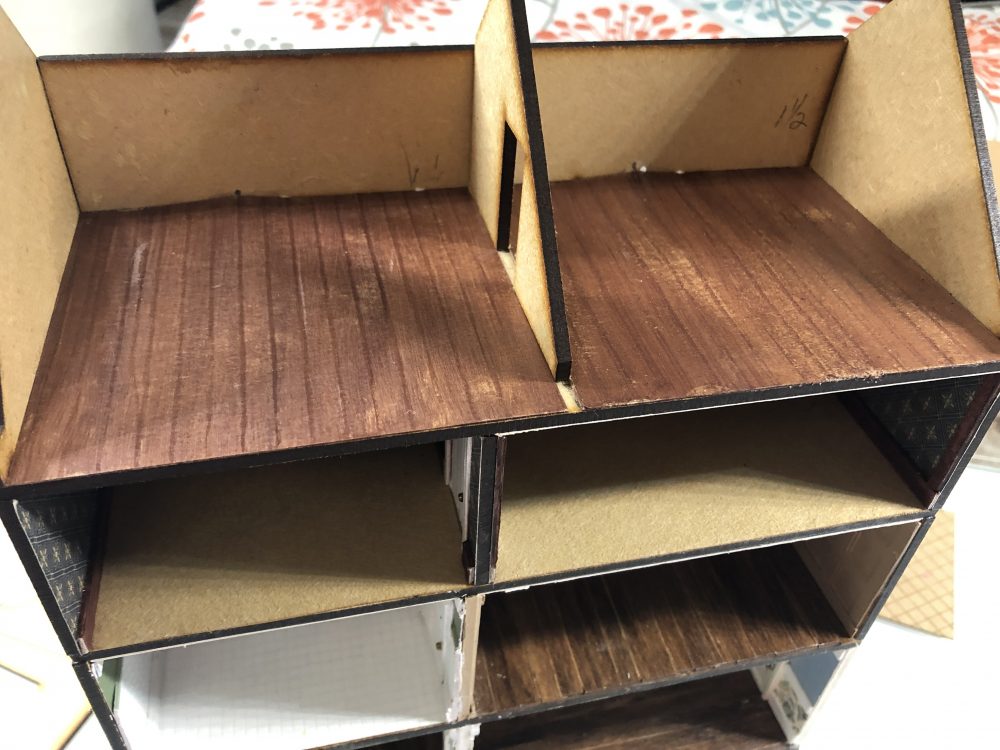
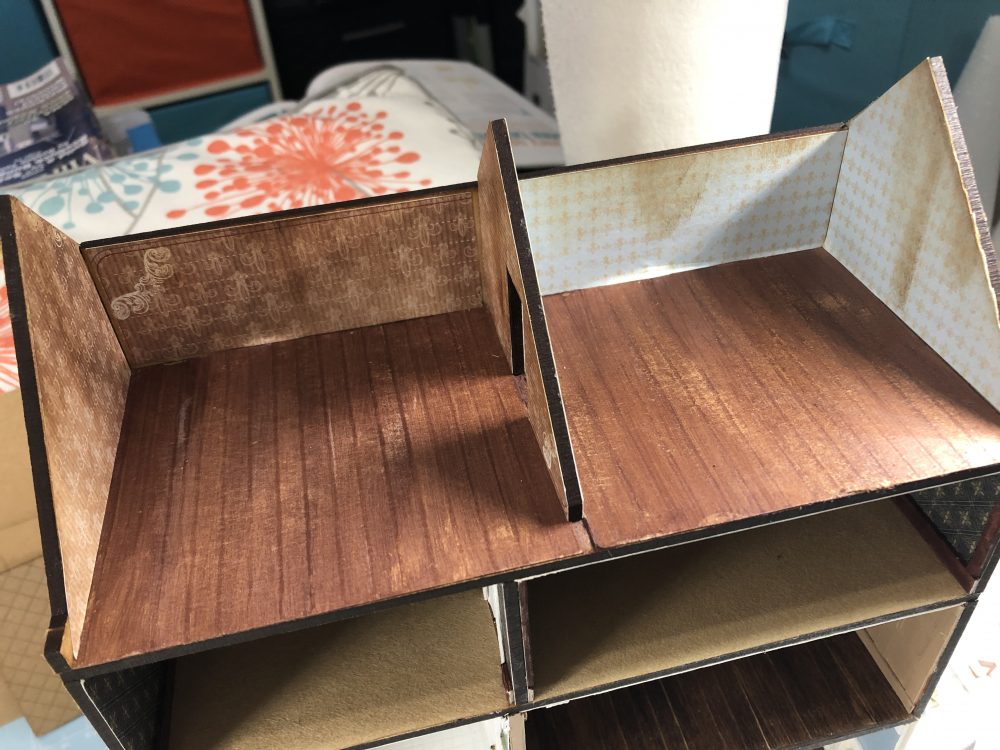
I tried something new today for flooring by using scored thin chipboard. It’s been painted then sanded and finished with a matte sealer. I only need to touch up around the center partition to finish.
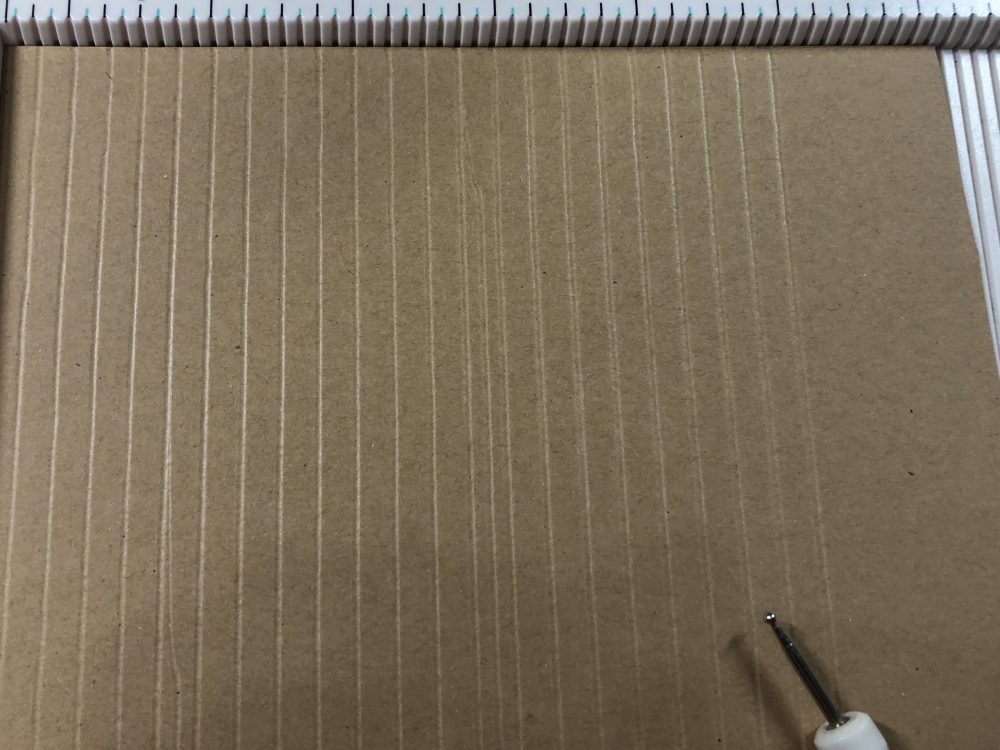
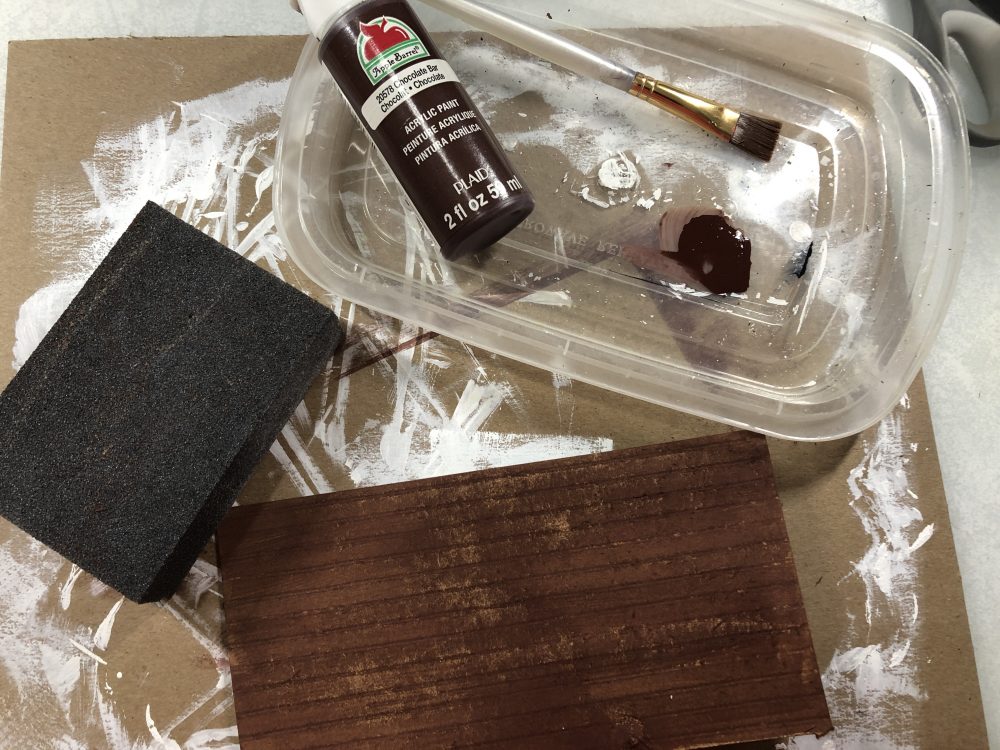
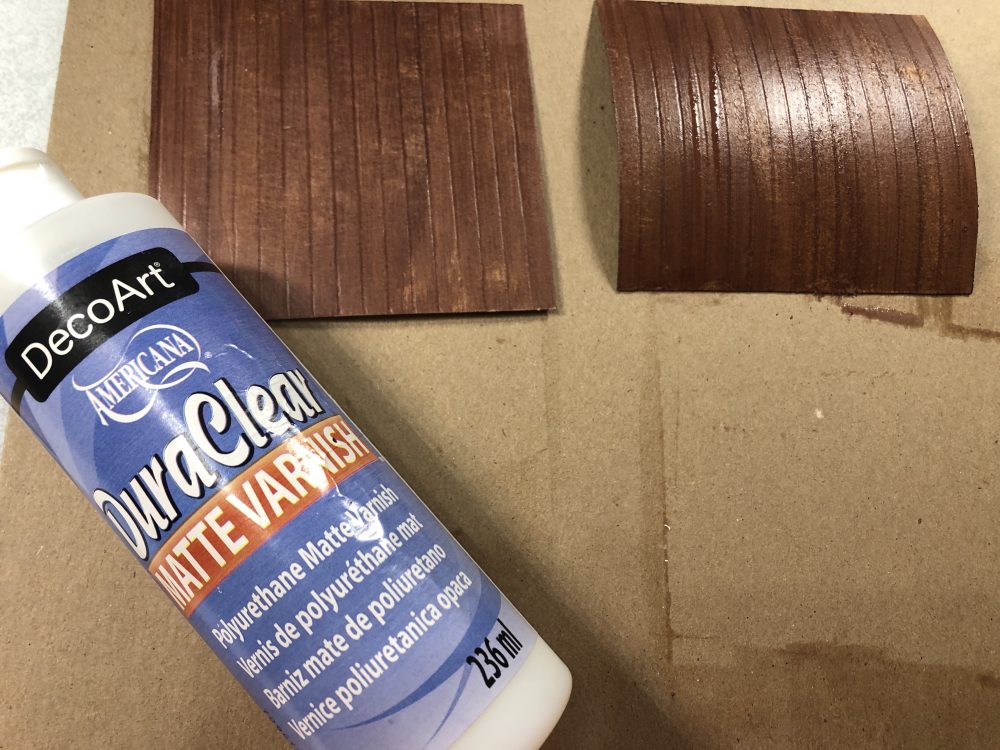
The flooring turned out great and it’s a very quick and inexpensive alternative to using wood!
Now it’s time to add wallpaper for the two attic rooms. Once again I’ve used scrapbook paper but aged it a bit. I suggest using the middle room partition as a template to cut your wallpaper.
As you can see, I’ve aged the wallpaper a bit using Vintage Photo distressing ink. Since these will be attic storage areas most likely . . . I’m leaving the door off.
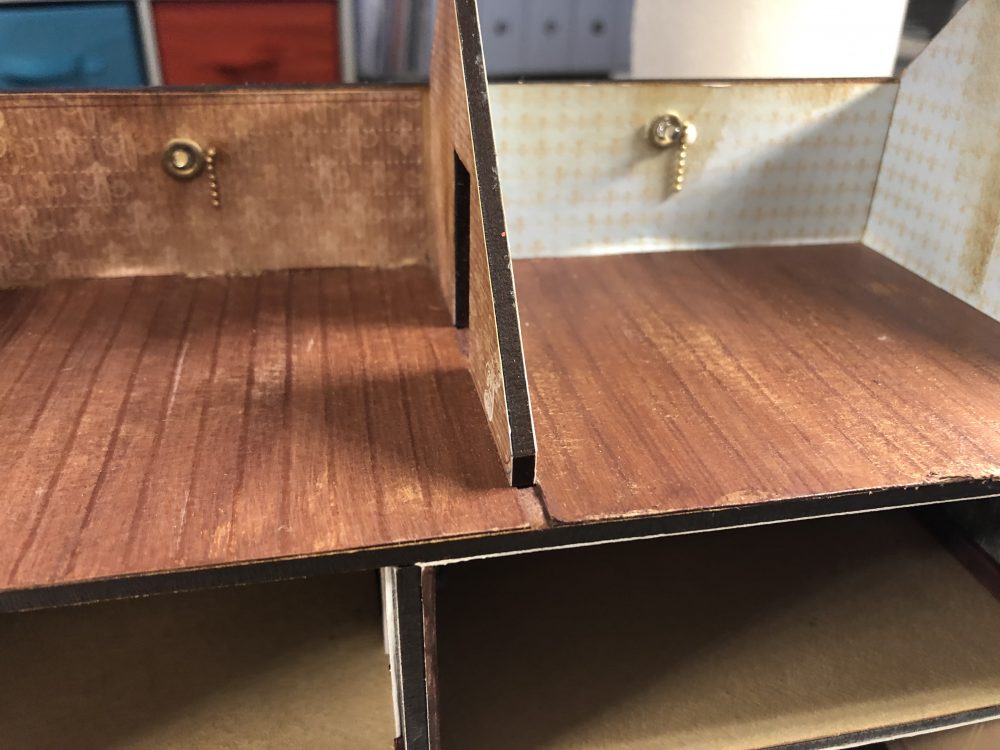
Here you can see how I’ve added lights for both rooms . . . LED mini lights were threaded through an eyelet then glued into a drilled hole in the back wall. Tiny chain makes pull chains for the lights.
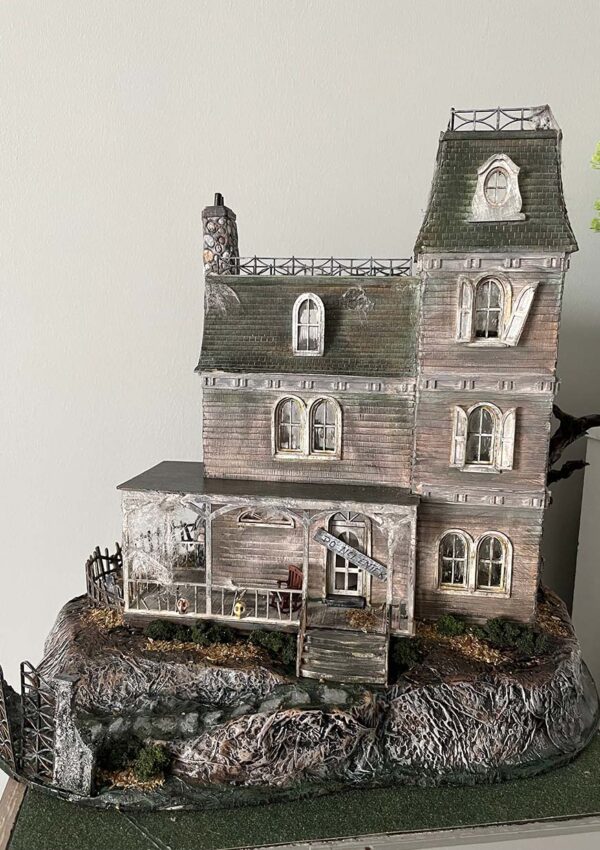
So that concludes the Attic portion of the build for now. I hope you discovered something new that you can use in your own mini building and that you will check back soon for more posts on my Havisham Hall build!
Take care and be safe!!


Leave a Reply
You must be logged in to post a comment.