A Petite Properties Build by Teri Hanson
Now that I’ve finished the inside of the build it’s time to start on the outside front section. This involves lots of window painting and building before I can go further.
One thing I decided to try this time was to use a white paint pen for the windows in place of white acrylic paint. It turned out great and went much faster than paint! One note … be sure the paint pen is a “fine point” so you can get into the corners.
To start, I’m working on adding windows to the two sections that stick out from the main front. I’ve painted the inside of walls with a tan color paint and added flooring to each section as you can see below. Large windows are done and fit into place. Now for the side windows.
NOTE: If you will be using a printable brick paper for the exterior of your house like me, I suggest using one of the constructed pieces shown below – before you add windows – as a template to cut the brick paper!
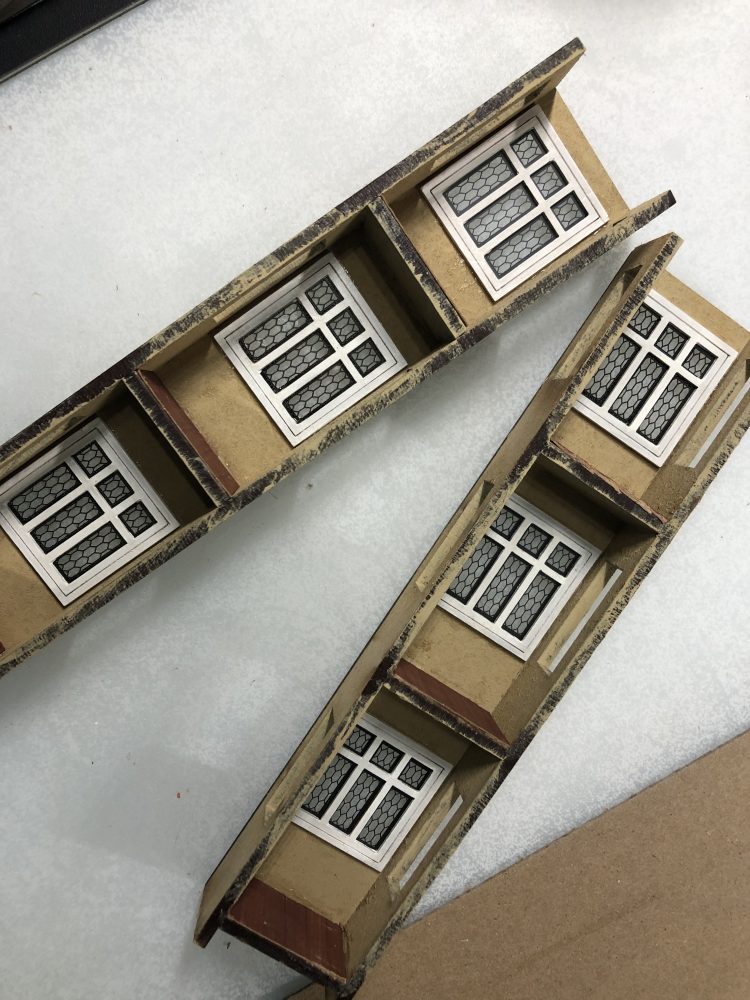
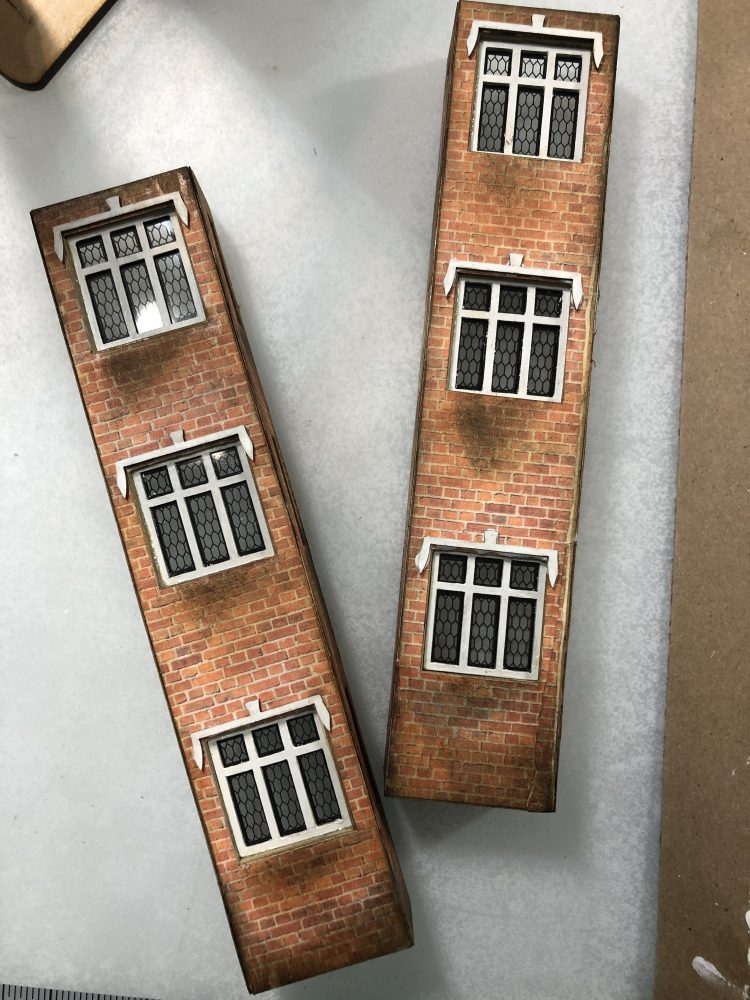
Here’s the two front sections finished. I’ve used brick paper on all sides, the white paint pen on windows and moulding. Each section has been distressed with Ranger Vintage Photo and Black Soot distressing inks.
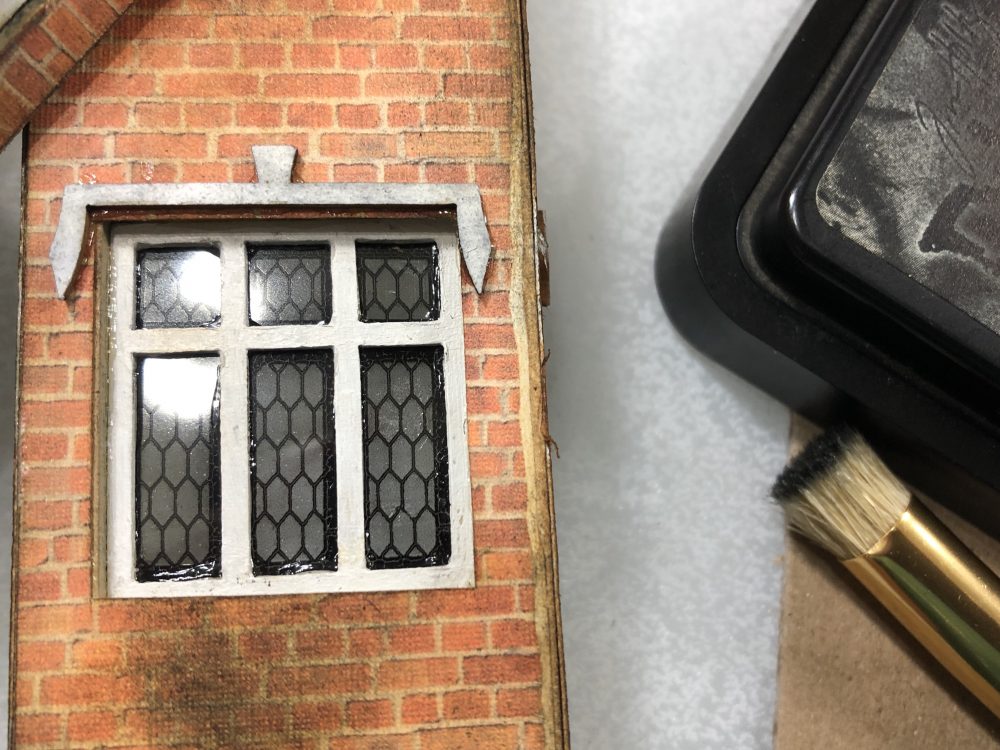
A close up of the moulding over the windows. These were made of stone during the time so I’ve first painted them white then distressed them with the Ranger Black Soot distressing ink. By dabbing the ink on with a stiff bristle brush it looks like stone.
Here the same technique has been used for the tops of each section – stone floor and railings.
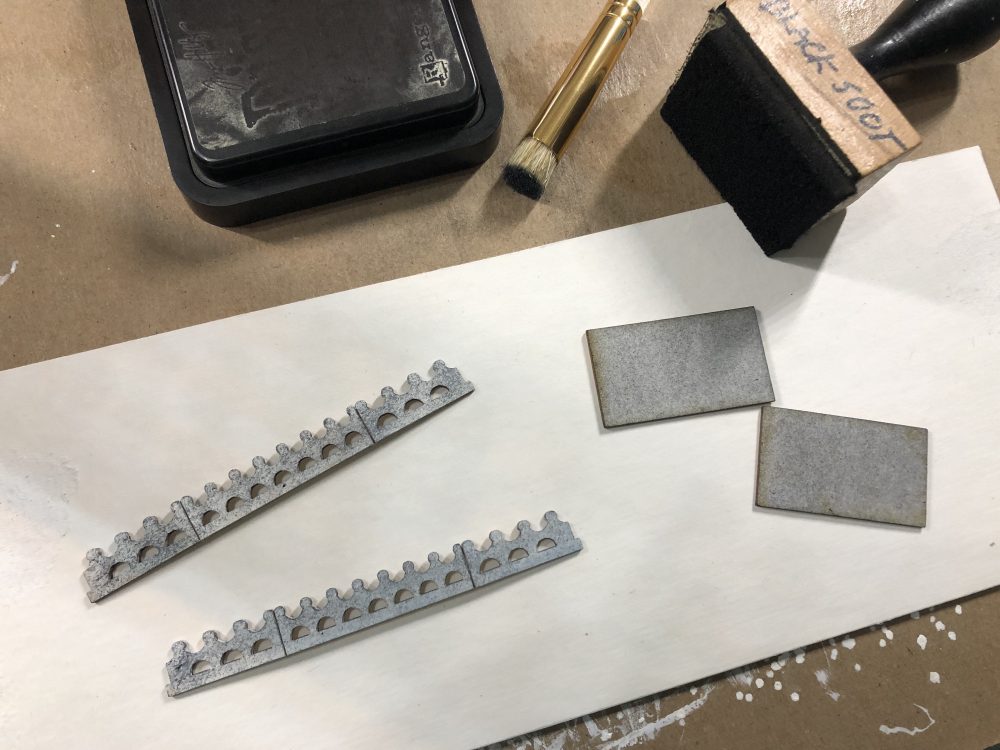
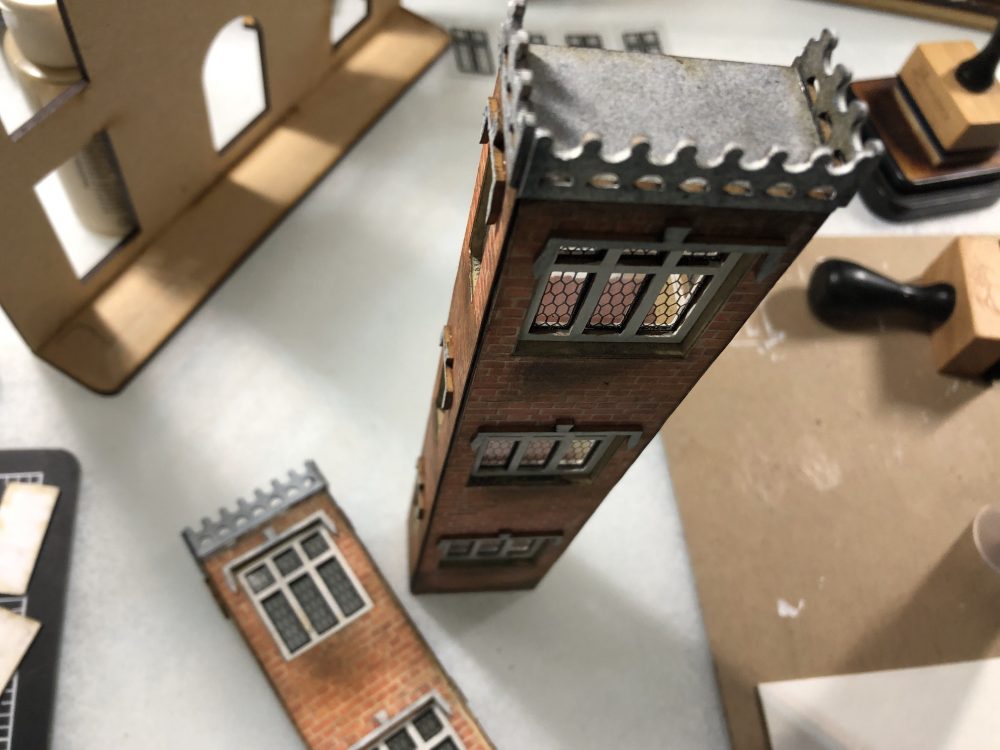
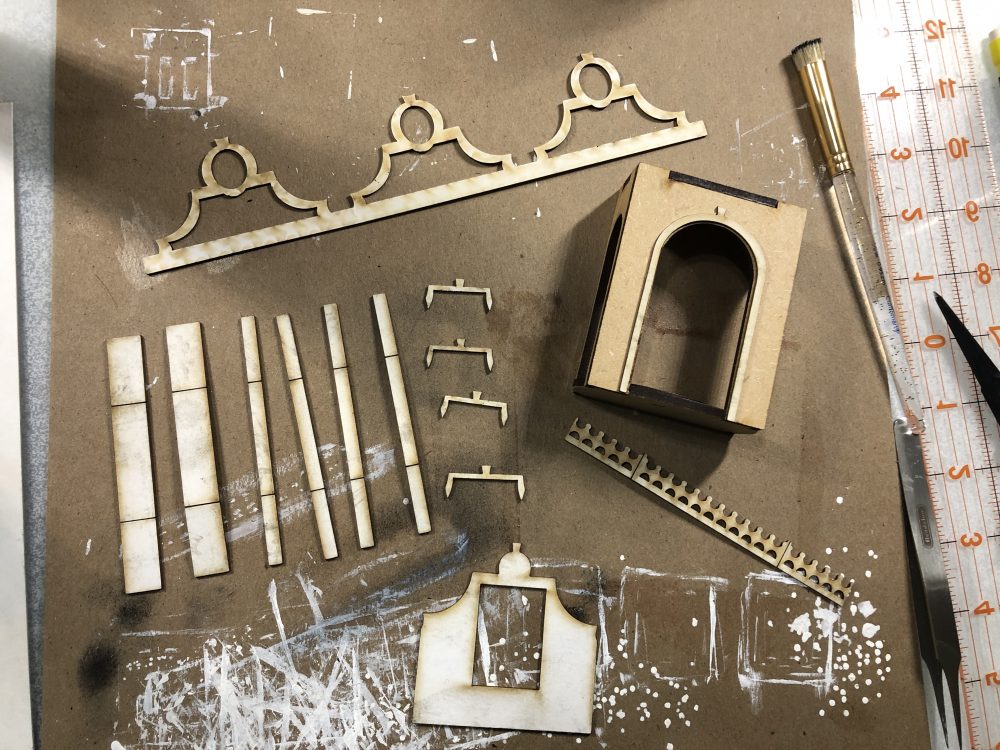
NOTE: There are many other pieces of trim or accent pieces on the front that will be finished in this stone method. You might want to find those pieces and finish them at this time.
- light coat of white paint
- pounce with black soot ink
- on pieces that fold, be sure to fold and also decorate in the folds
- don’t forget to decorate the edges as well
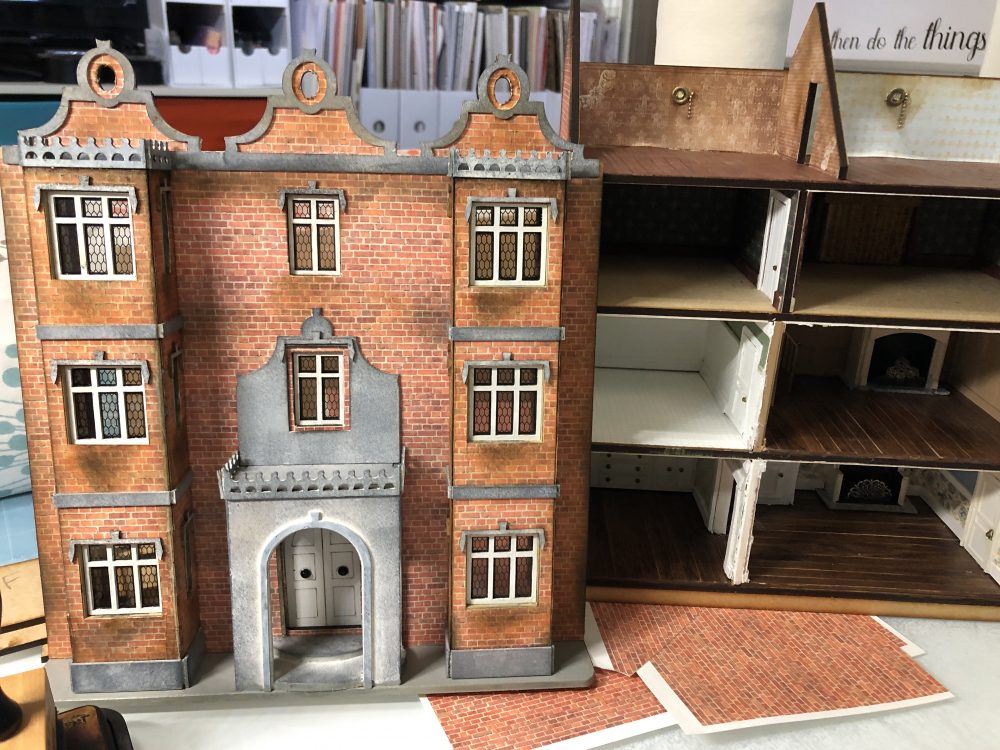
Here’s a look at the elements above finished and attached to the front section which has also been covered in the brick paper.
Now on to the roof section . . . First construct and glue the roof sections. Now construct the dormers. I’ve used brick on the sides of the dormer back section and painted the flat top part a dark grey to represent lead.
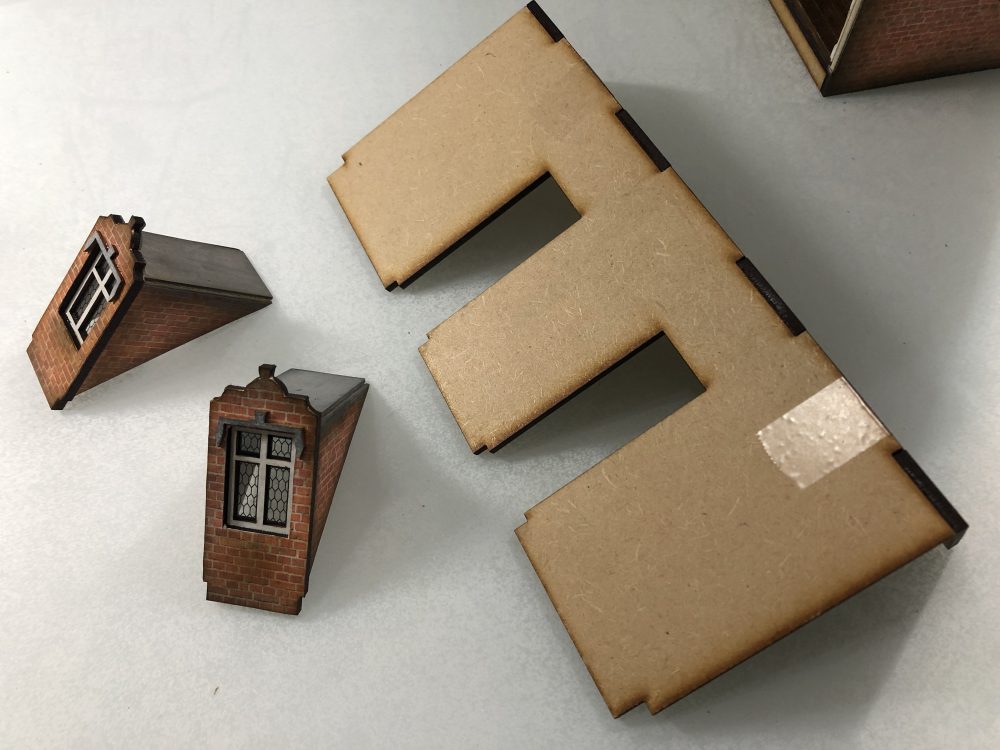
Next I’ll begin applying shingles to the roof. Shingles are created with Cricut Brown Cardstock, cut on the Cricut Maker machine. Once the entire roof has been covered with shingles I’ll distress it in a few colors then attach the dormers.
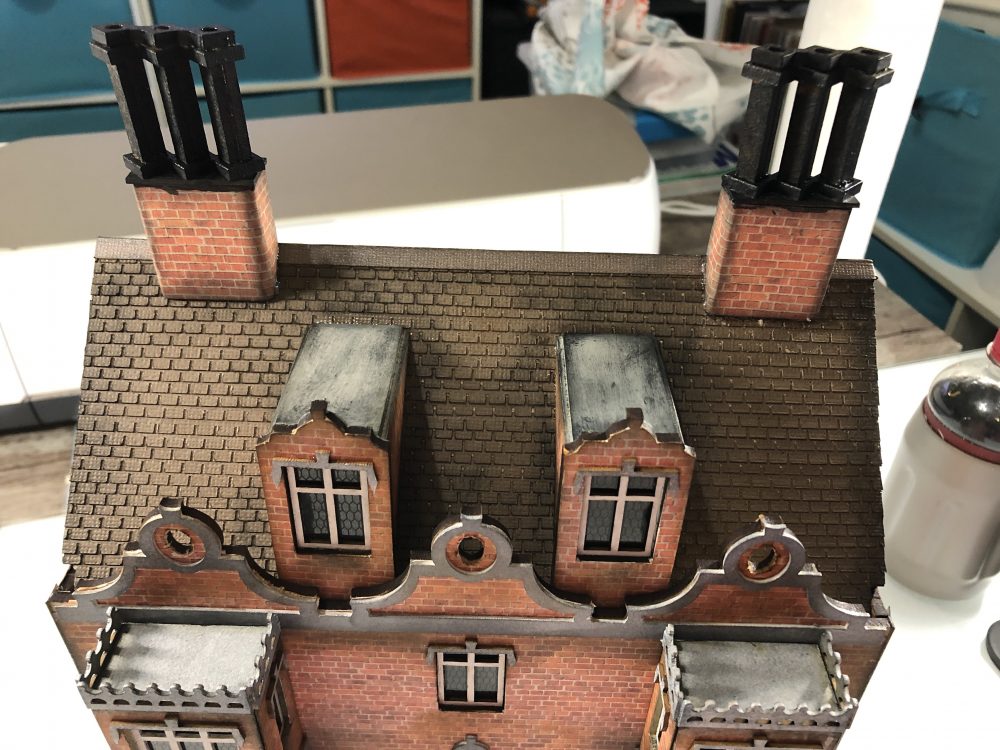
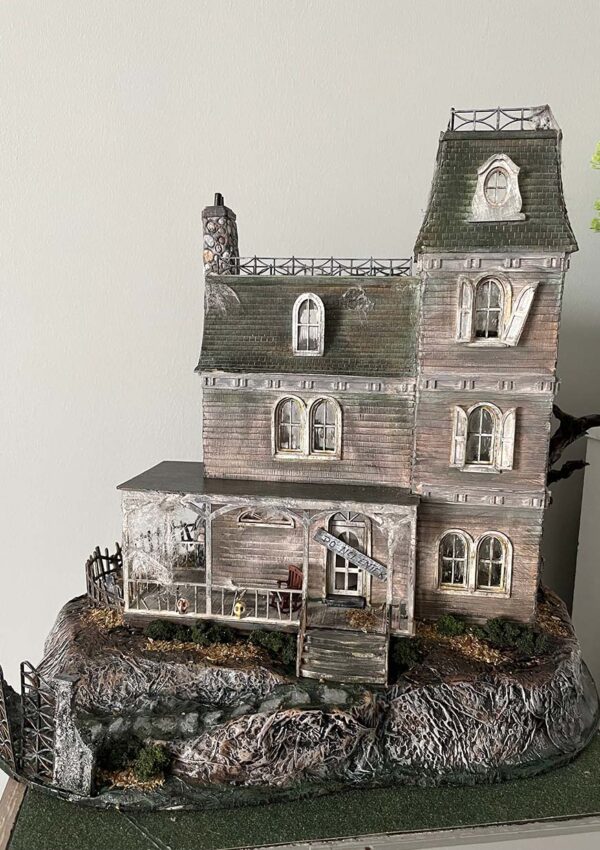
And here’s the finished house! This has been a fun project and I encourage you to give it a try!!!
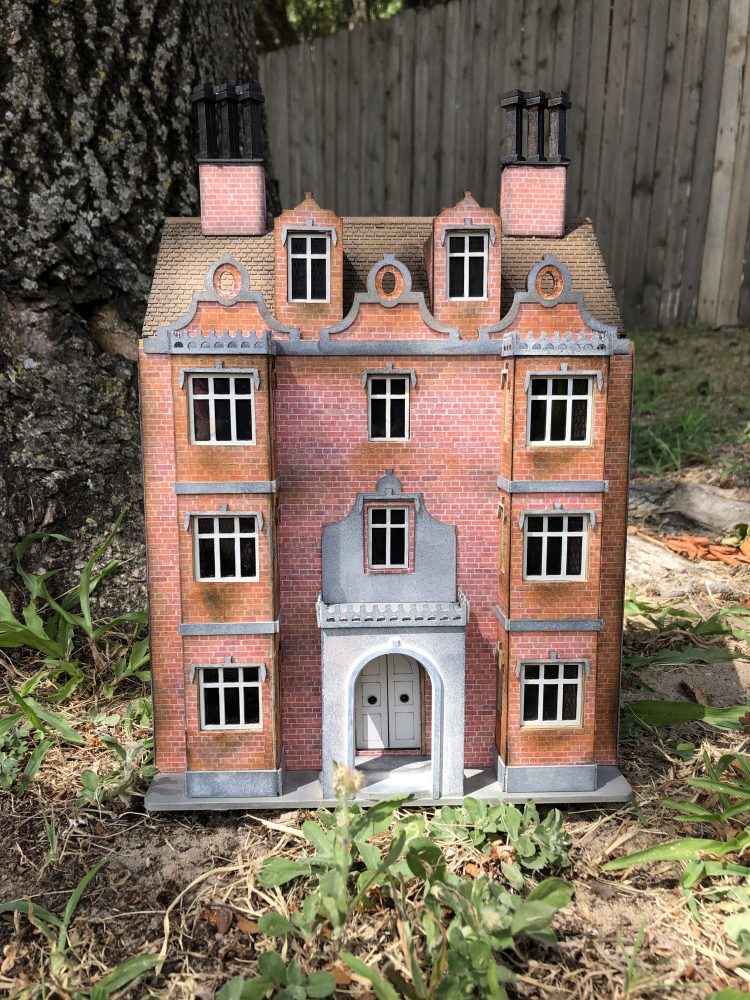
Petite Properties Havisham Hall
Thanks for visiting …. see you next time!
Teri


Leave a Reply
You must be logged in to post a comment.