The Reaper’s Nest
A Petite Properties build by Teri Hanson
Hello and welcome to my newest miniature build project! I think it was last year that PP released a haunted house series called Dead End which I LOVE! I’m not sure if I’ll be doing every building in the series but I do have two on hand to get me started. I’ll also be grouping these with my Raven’s Perch haunted house I did previously. Hopefully you will be inspired to check out the Dead End Series and give one or more a try yourself!
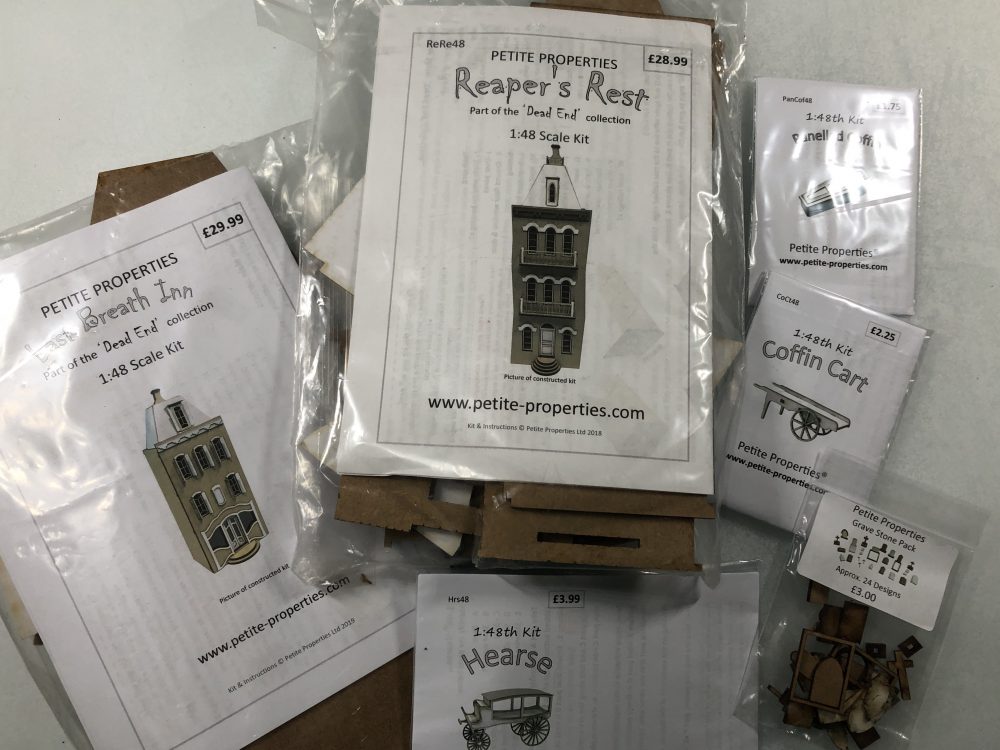
I’ll be starting out with the Reaper’s Rest but not finishing the inside. The series, no matter how many I do, will all be placed on a single base in a street scene. These houses are designed with a removable front and roof but I’ll be closing these completely.
- Reaper’s Rest
- Last Breath Inn
- Hearse
- Coffin Cart
- Panelled Coffin
- Grave Stones
First time builders tips . . .
- Lay out all main pieces and get familar with where they will go
- Number or letter the pieces as shown in the instructions
- Have finishing materials ready to use ahead of time
- For flooring, if you will be using a solid piece, measure and cut it to the correct size before starting the build
- For walls, choose materials and make them to size before starting the build
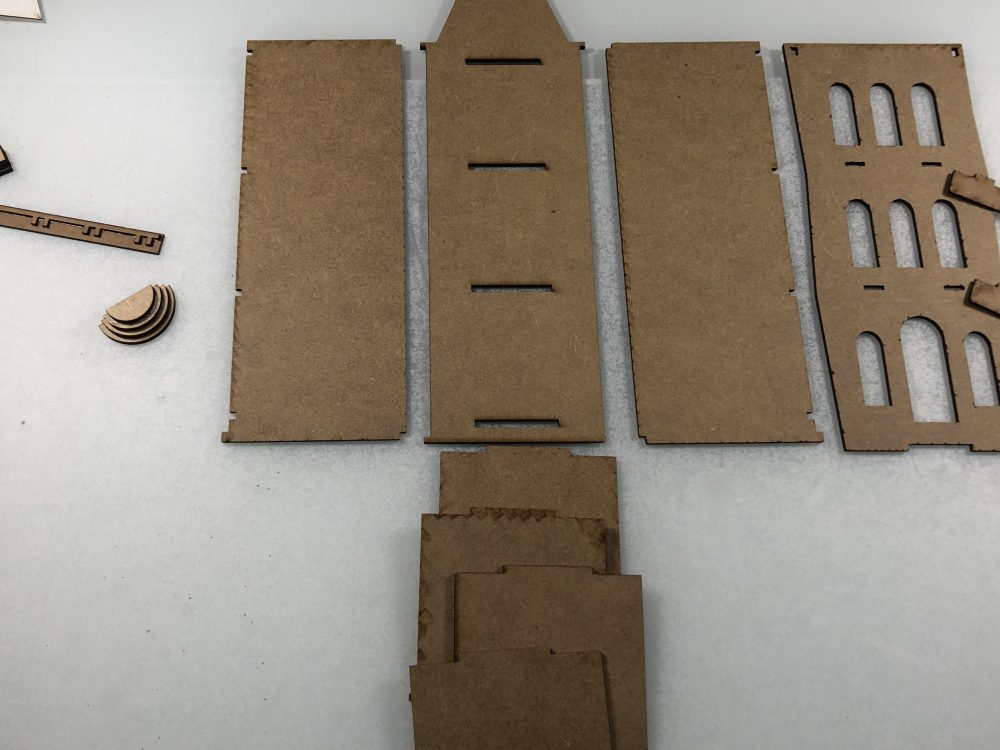
NOTE: If you want to finish the inside of your house, you need to do that part before gluing anything together. You can visit my blog post on the Raven’s Perch build for ideas on inside finishing.
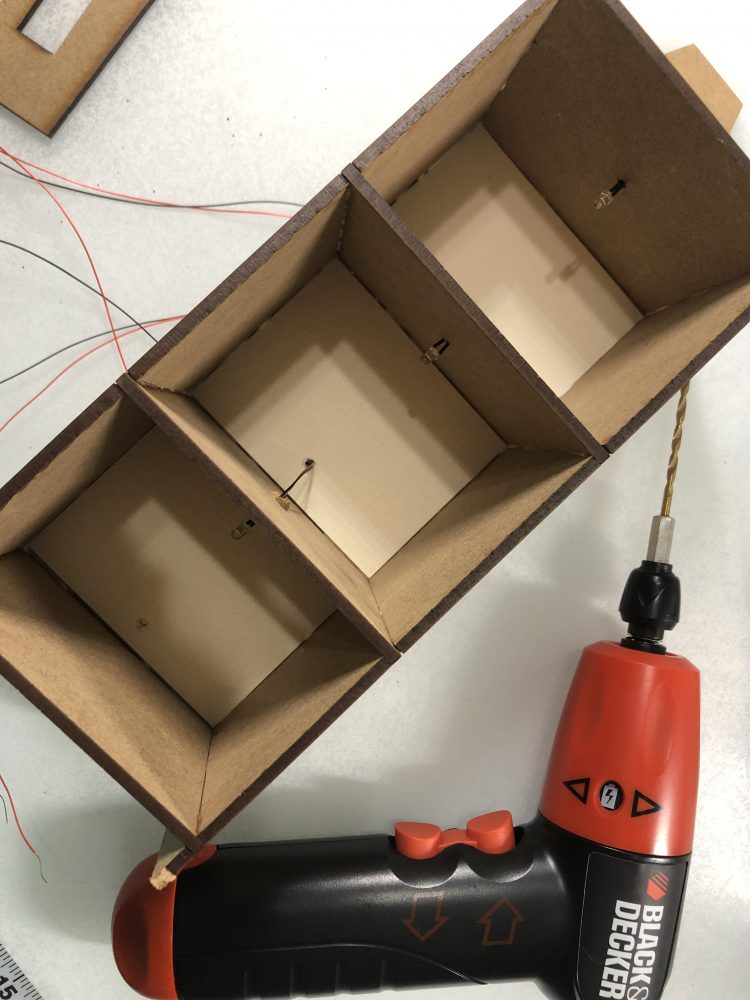
If you will be adding LED lights to your house you will need to drill wire holes in each floor section and the back to run the lights before closing up the house.
For drilling holes I use a lightweight battery powered hand drill as seen below.
For more information on using LED lighting in your miniatures see my Lighting Post Here.
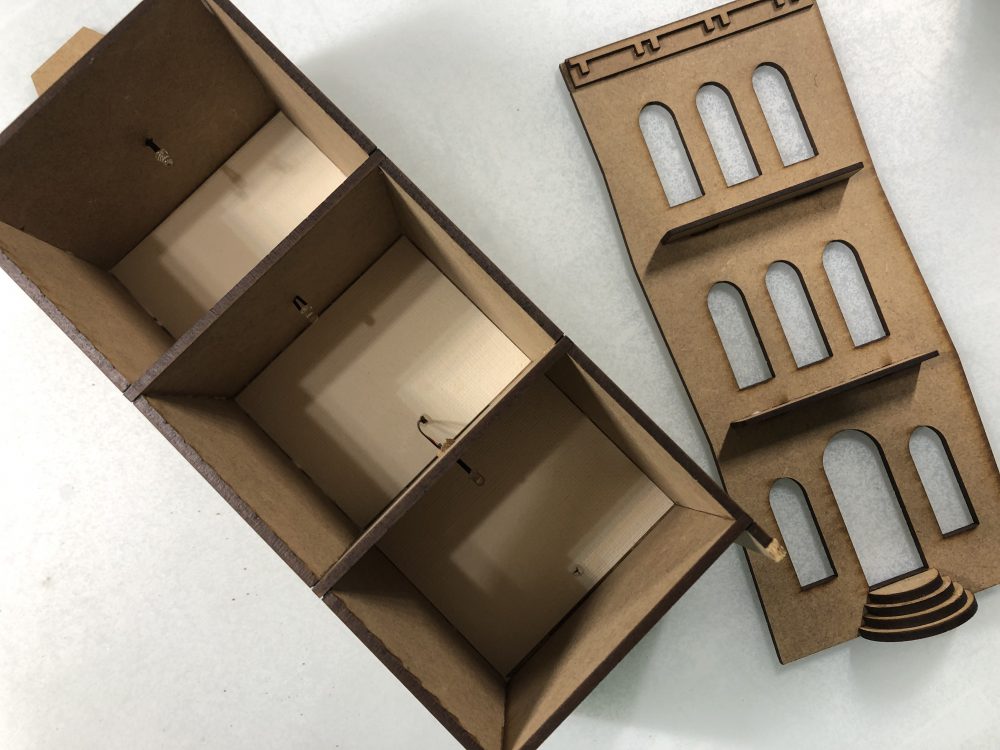
Here I’ll be stopping construction so that I can add the siding strips to the front section. Once those are done the windows will be added as well as the remaining front section trim.
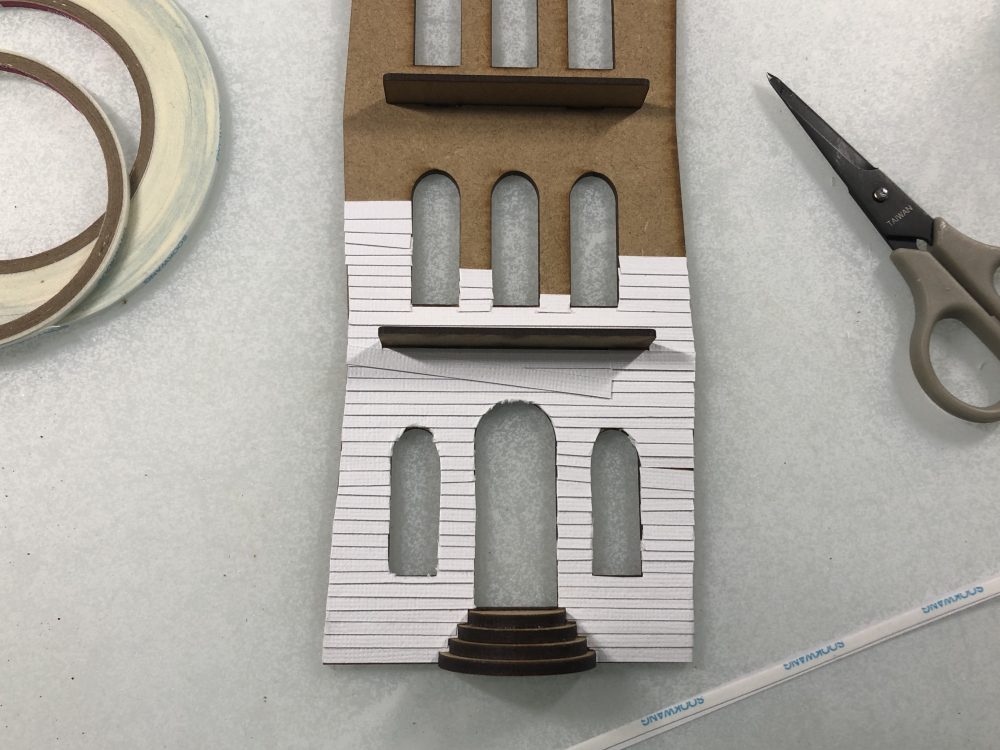
Siding has been created from strips of cardstock cut on my Cricut Maker machine. Strips are attached with double sided tape (Scor-tape). Windows and glazing have been added. Front section has been glued to the back section.
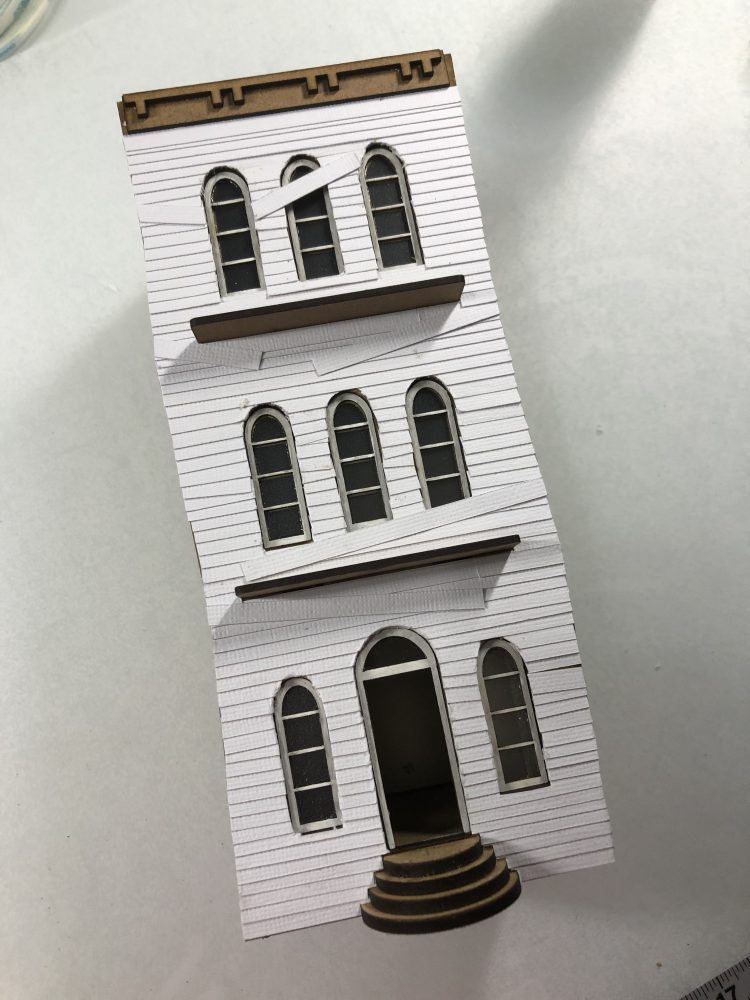
Trim pieces have been painted and will be attached later along with the front door. For now I’ll continue adding siding to the sides.
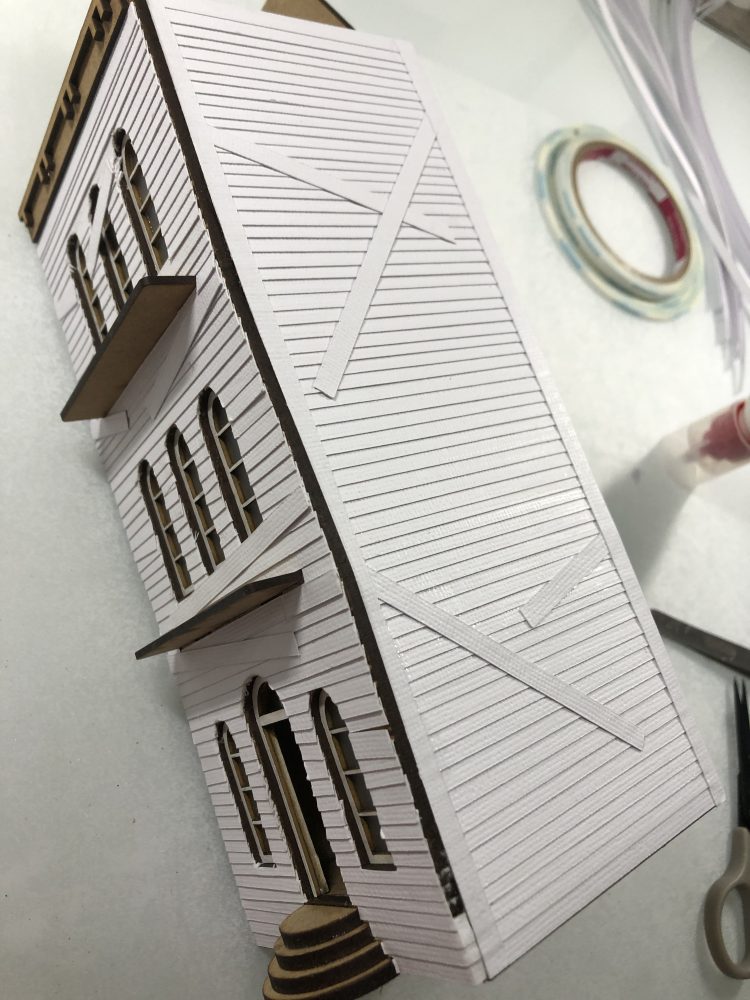
Don’t forget to add long trim to the left and right edges as seen above!
Now it’s time to paint the main structure. I’ll be using a couple shades of grey as well as white acrylic paints. Start with a dark grey and add a full coat on everything, even the steps and bottoms to the balconies.
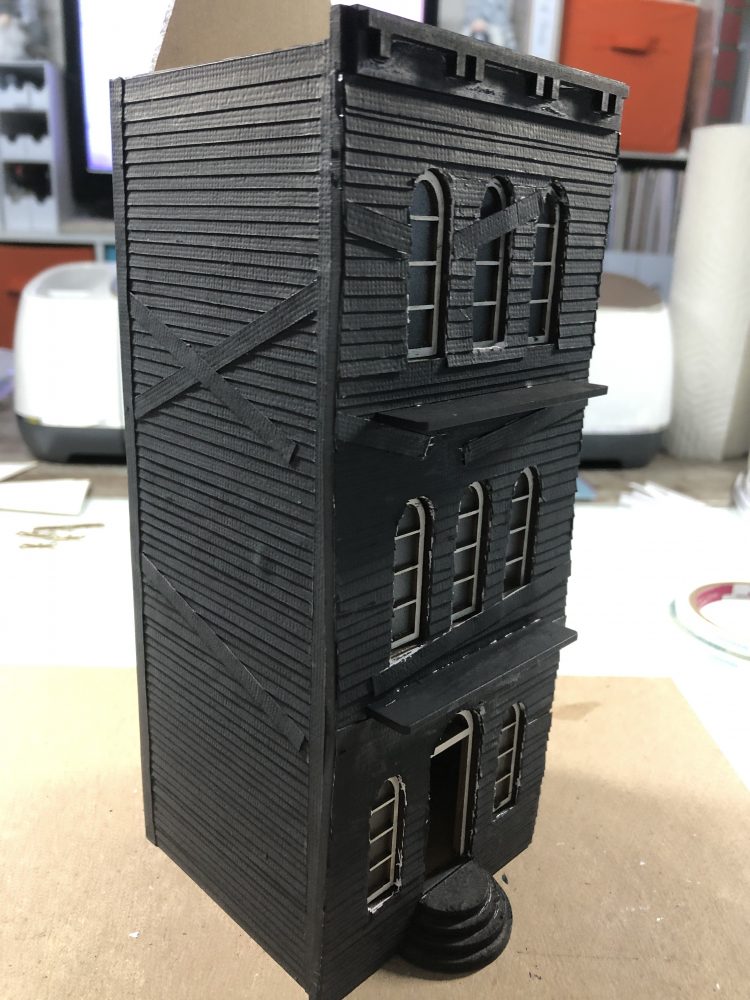
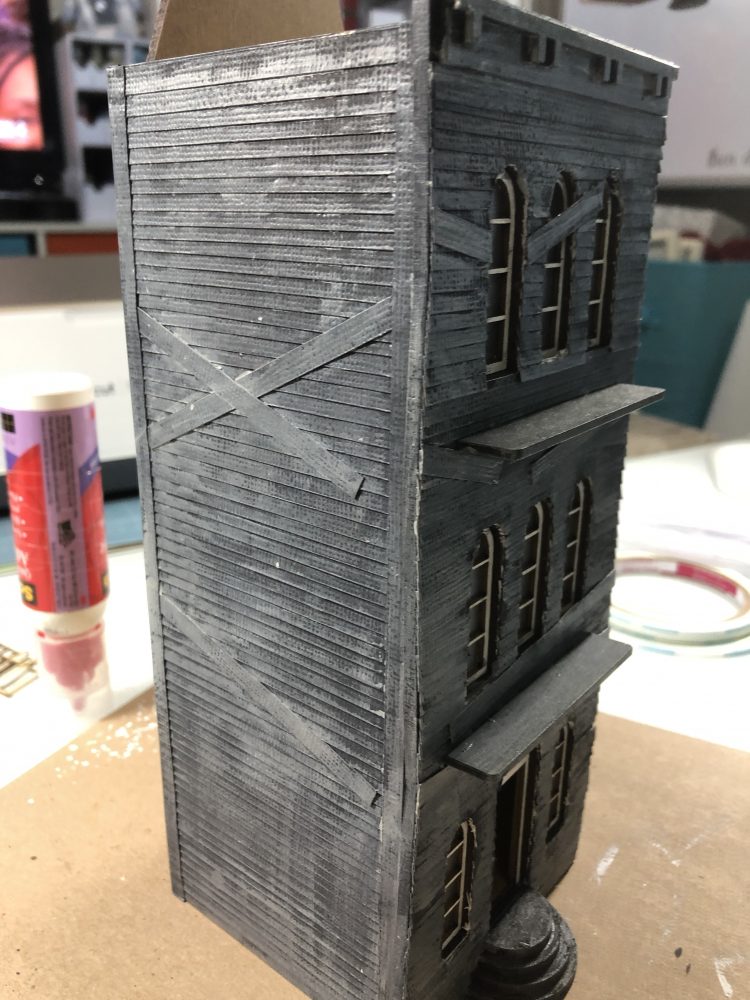
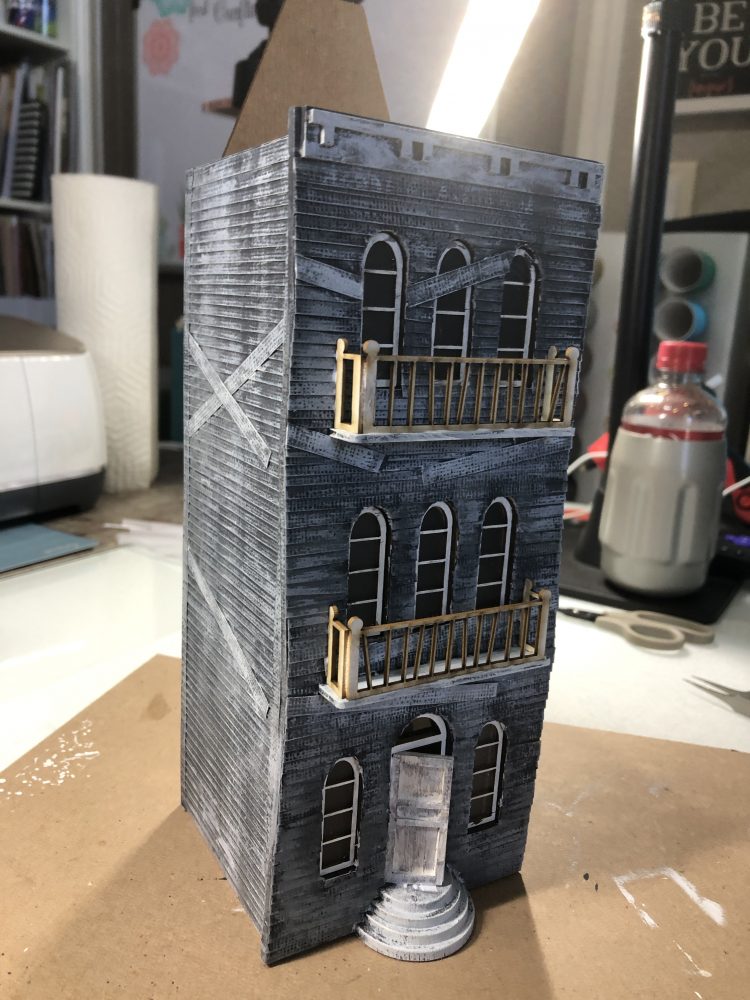
One thing I love about making Haunted Houses is that messy is good! You don’t have to be careful when painting specific areas. Below you can see the railings added as well as more white.
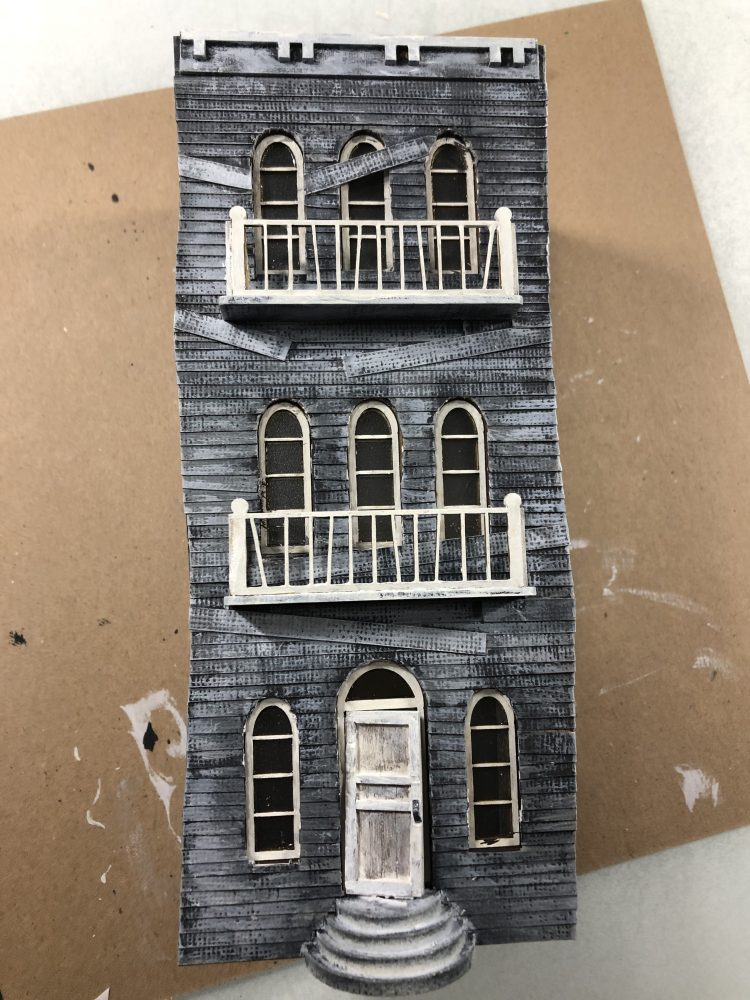
Now for the roof! I’m using the Wonky Roof Strips from Petite Properties for shingles on this house.
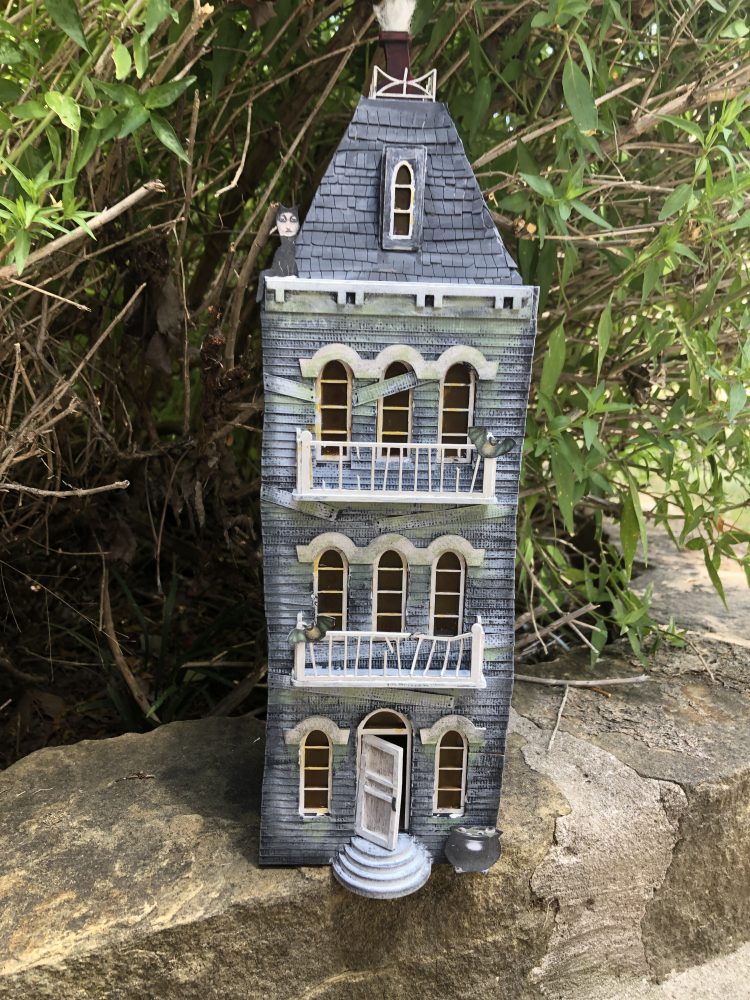
And there you have it! Roof finished and smoke in the chimney. The bats and black cat are paper doll cut-outs from a shop I found on Etsy. I’ll be using them again in a few paper projects so keep an eye out for that!
Happy Haunting ….


Leave a Reply
You must be logged in to post a comment.