© The Magic Bookshop by Teri Hanson
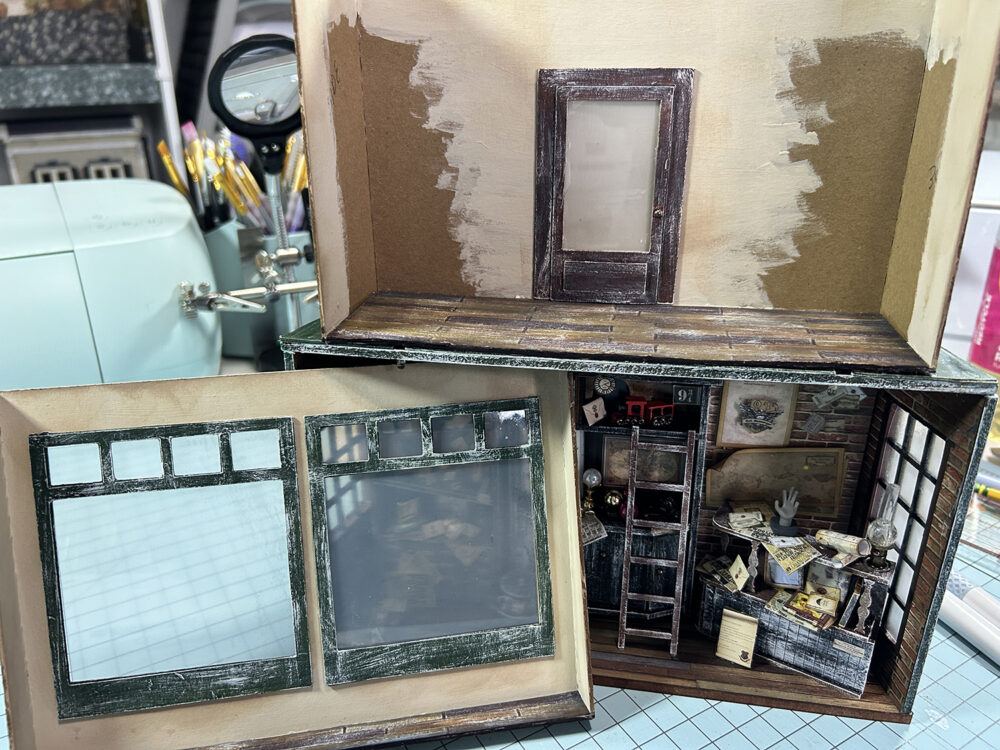
Welcome to our second Craft Along event of 2024. This time we will be creating a bookshop that will rest on top of the Magic Shop built in the first Craft Along event. Please be sure to read all directions before starting your project as I do have options listed
VIDEO CAN BE VIEWED AT THE BOTTOM OF THIS POST AND INCLUDES BOTH PART 1 & 2
GET THE FREE PROJECT SVG FILES DOWNLOAD
Supplies . . . NOTE that I’ve used chipboard for my structure as seen in the layout key below. As an option, you could use matboard but will need to alter the settings for the Cricut Maker 3 to cut the material as stated below.
- Main structure: 1.5mm Cricut Chipboard
- -OR-
- Main structure: 1/16″ thick Matboard (if you purchase the same matboard as I have, you can get all of the main structure pieces on one sheet using a 12 x 24 mat. If you do not have the longer mat you will need to cut the mat board sheet down to 12×12 and will need two sheets)
- Optional: You can substitute Graffix Black Medium Weight Chipboard for the Cricut chipboard if you want. It doesn’t cut as well but cuts faster and is less expensive. In part 2 you can see me use it for several items. NOTE: If you do use this, use the Mat board setting with 9 passes and the deep cut blade!
- Cricut KraftBoard for window, door, trim pieces
- Blue tape for securing material to the Cricut mat and for test fitting
- Aleene’s Quick Dry Glue
- Ranger Distress Ink: Vintage Photo and Black Soot
- Acrylic paint: Folkart Thicket Green, White, the other green I have used is FolkArt Mossy Meadow but you can choose another color in place of the lighter green.
VERY IMPORTANT INFO BELOW !!!
If using a Cricut Maker 3 machine please note the suggested settings and information below! I designed the project to use a 1/16″ thick material so if you use anything thicker you will need to make adjustments to the dimensions for that thickness.
If using the Cricut 1.5mm chipboard you can use the Cricut material setting for the 1.5mm chipboard
To cut the MATBOARD on Cricut Maker 3 machine . . .
You will need to go into the material settings on Cricut and locate the MATBOARD material. Change the number of passes to 9 then save the setting.
You will also need the black DEEP CUT BLADE AND HOUSING. A new or newer blade is suggested!
**Use the layout key below and label each piece before you remove them from the cutting mat
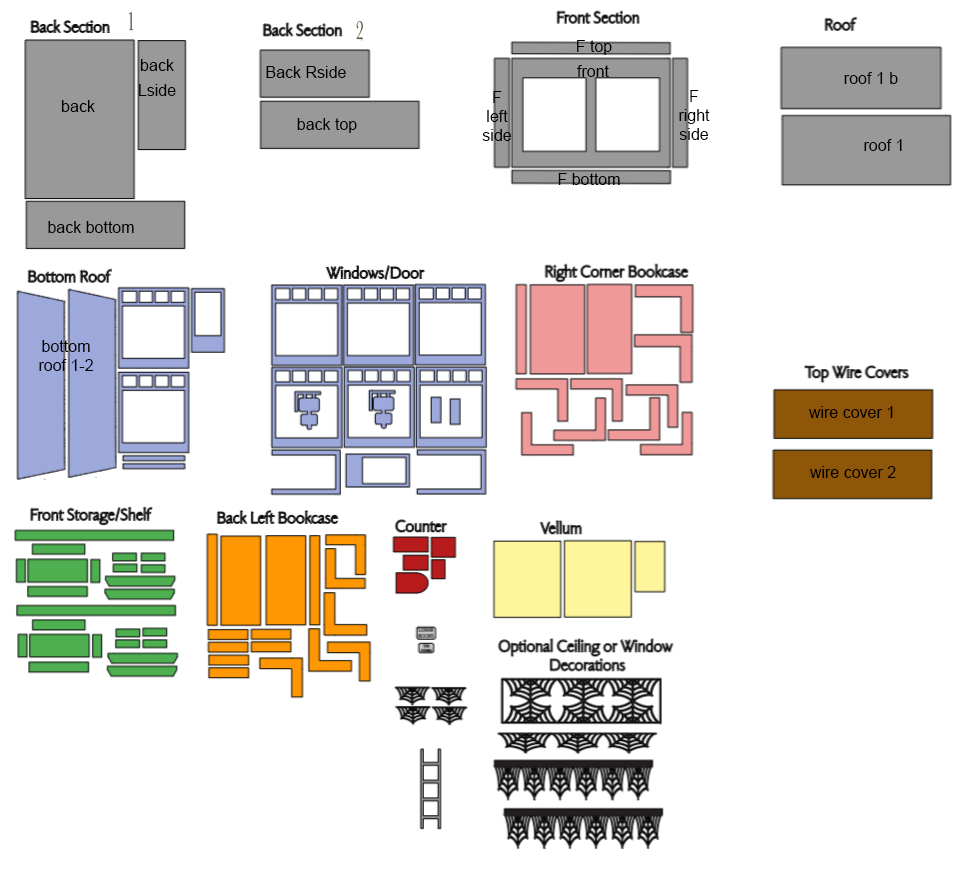
Use the following measurements when you upload the SVG files into your cutting machine in case they do not open to size.
- Back 1 – 8.09 x 10.52
- Back 2 – 8.01 x 4.96
- Front – 9.75 x 7.13
- Roof – 8.56 x 6.94
- Bottom Roof – 10.44 x 9.66
- Windows/Door – 10.83 x 10.59
- RCorner Bookcase – 8.92 x 8.61
- Top Wire Covers – 8.03 x 5.49
- Front Storage Shelf – 8.19 x 7.36
- Back Left Bookcase – 8.22 x 8.22
- Counter – 3.12 x 2.83
- Vellum – 8.64 x 3.87
- Bookcase Webs – 3.6 x 1.89
- Ladder – 1 x 4
- Ceiling Window Decor Webs – 8.5 x 8.57
- Sign – 0.94 x 1.29 (Print and Cut PNG file)
Construction . . .
Refer to the video below if needed.
Kraftboard pieces
Option: I used kraft board for some pieces simply because it’s quicker to cut on the machine. If you wanted, and have extra chipboard, you could cut these pieces (except for the main base pieces) from chipboard. You could use poster board in place of the kraft board for the main base. Use what you prefer and have on hand.
- Glue the following kraftboard pieces together and set them aside: windows, sign, door, and door frame. These are made up of two layers each. You will have a total of four windows – 2 for the outside and 2 for the inside. One door, one door frame, and one sign.
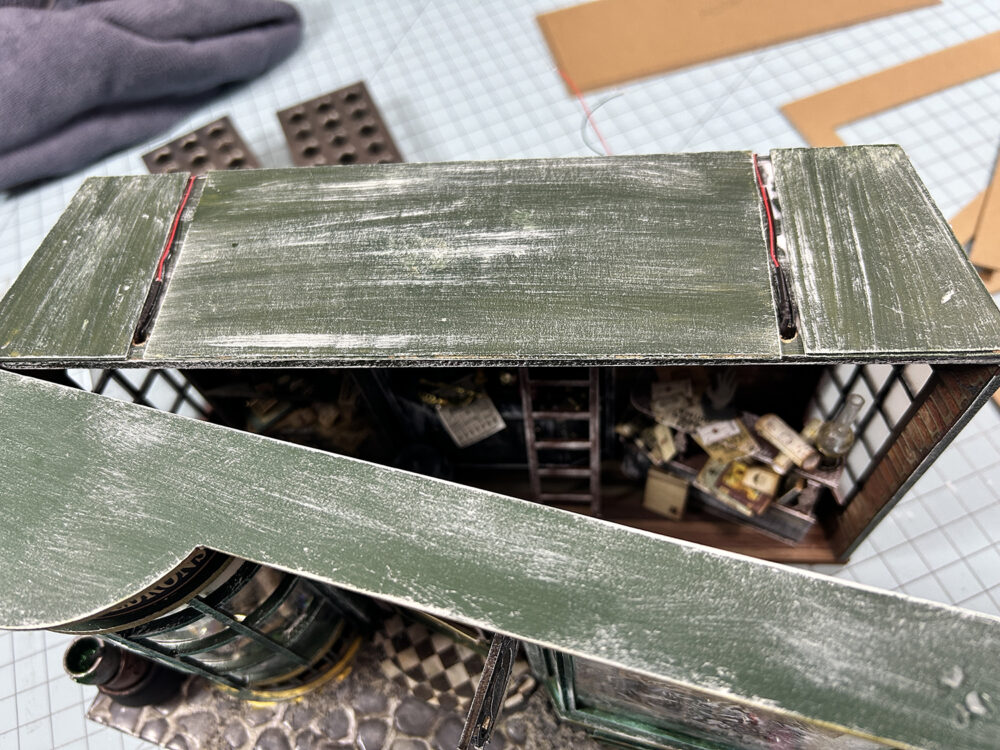
2. Two bottom roof pieces: these will be glued together and then painted to match the magic shop outside. Once dry, you need to cut them apart to leave room for the light wires. Hold the main base on top of the magic shop back roof section and mark where the wires were placed. This will be your guide on how to cut the main base apart into three pieces. Once these are cut apart, glue these three pieces onto the top of the magic shop back section. This creates a level base for the upper structure to be glued to.
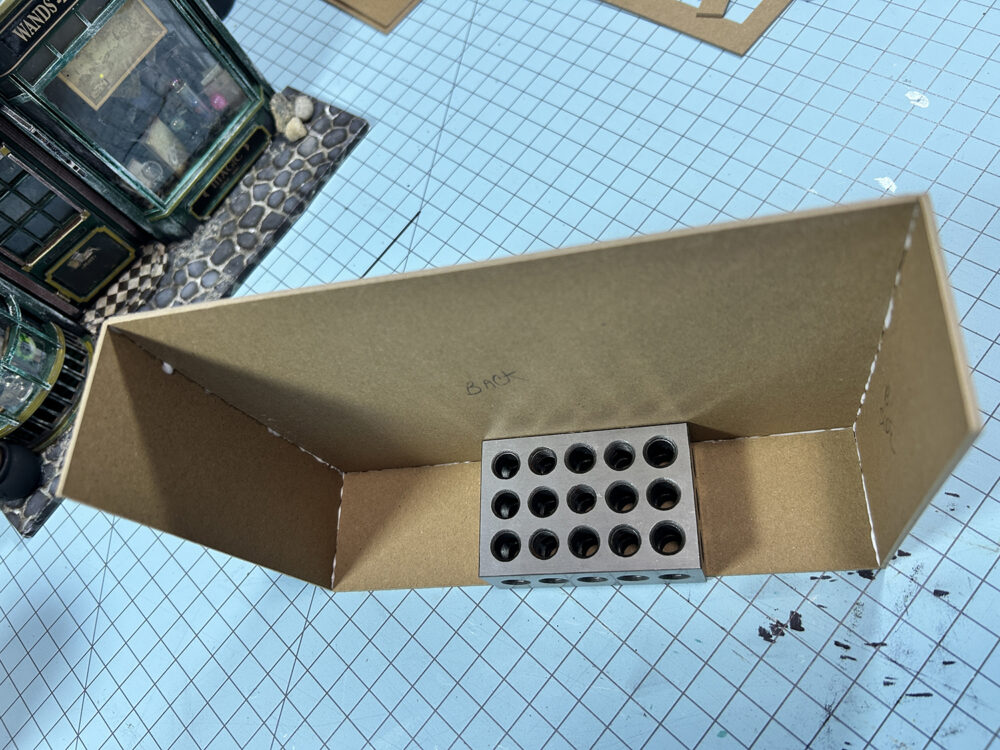
Back Section
3. The bottom should be glued to the inside edge of the back piece. The sides should be glued to the outside edges of both the back and bottom pieces. Use blue tape to hold the pieces in place while the glue takes hold. Be sure that all pieces are straight and not leaning.
Construct both the back and front sections and set aside to dry.
TIP: Once dry, spray seal both front and back sections or apply one light coat of Mod Podge to the entire piece. This will help keep them from warping when we apply texture in part 2.
Front Section
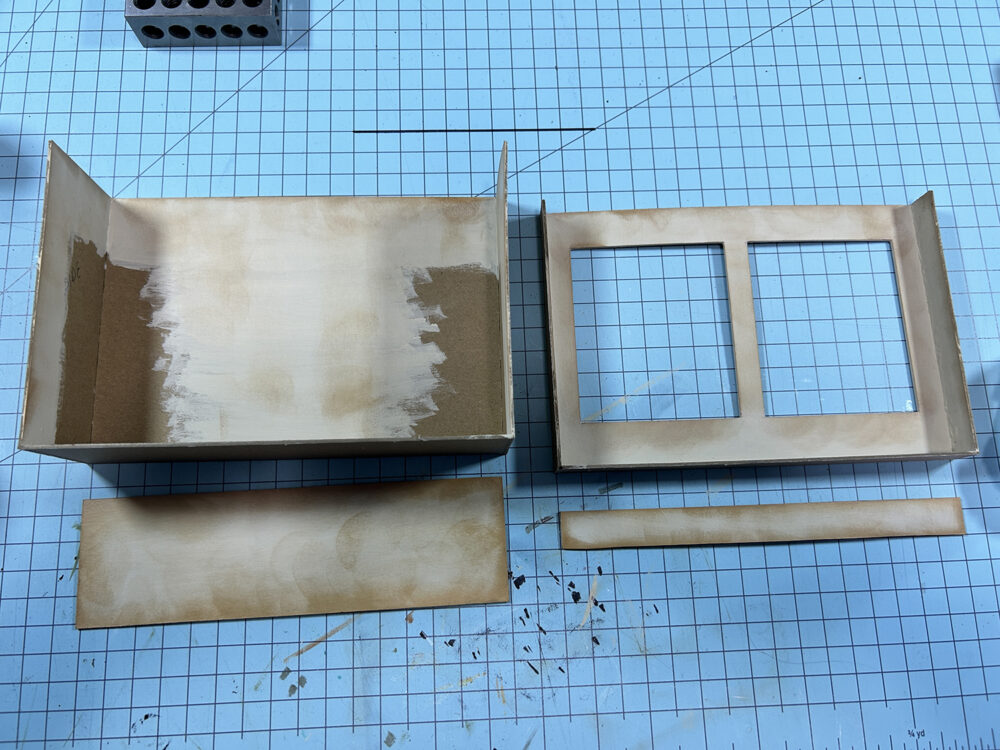
4. At this time, I suggest that you finish the inside areas. Keep in mind that these walls will be mostly covered by bookcases and only about a half inch to an inch of the upper walls will show.
If you will not be permanently attaching the bookcases inside, then you will need to paint ALL areas of the walls.
Flooring
5. Now we need to add the flooring to the inside of both the front and back sections.
You can use scrap Kraft board by cutting strips that are 1/4″ wide, cut into long and short pieces, and then glue each piece in place. (right image)
OR – You can cut a single piece of Kraft board the size of the floor and use a scoreboard to create grooves every 1/4″ to create the look of single boards. (bottom two images – as seen in the videos)
You can now glue the back piece to the magic shop back section.
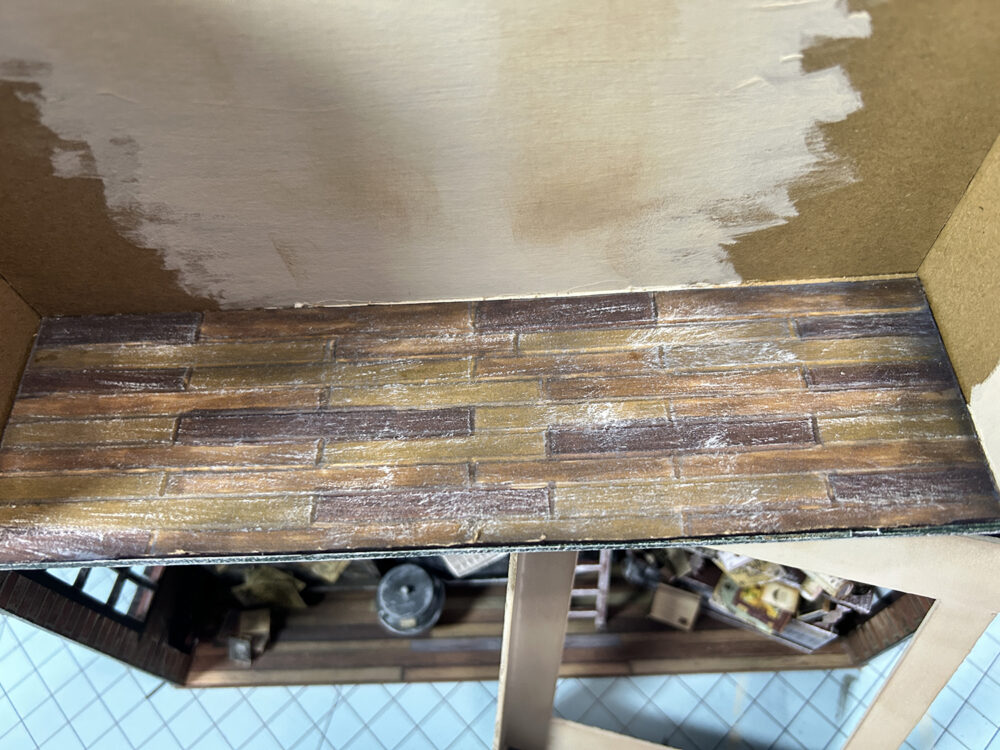
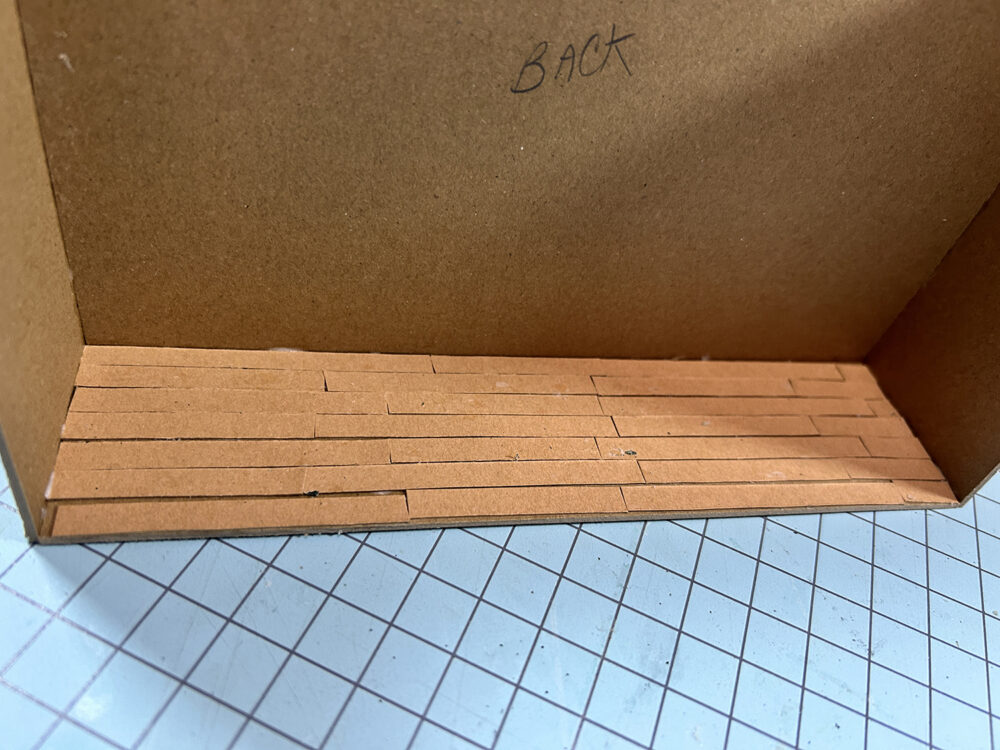
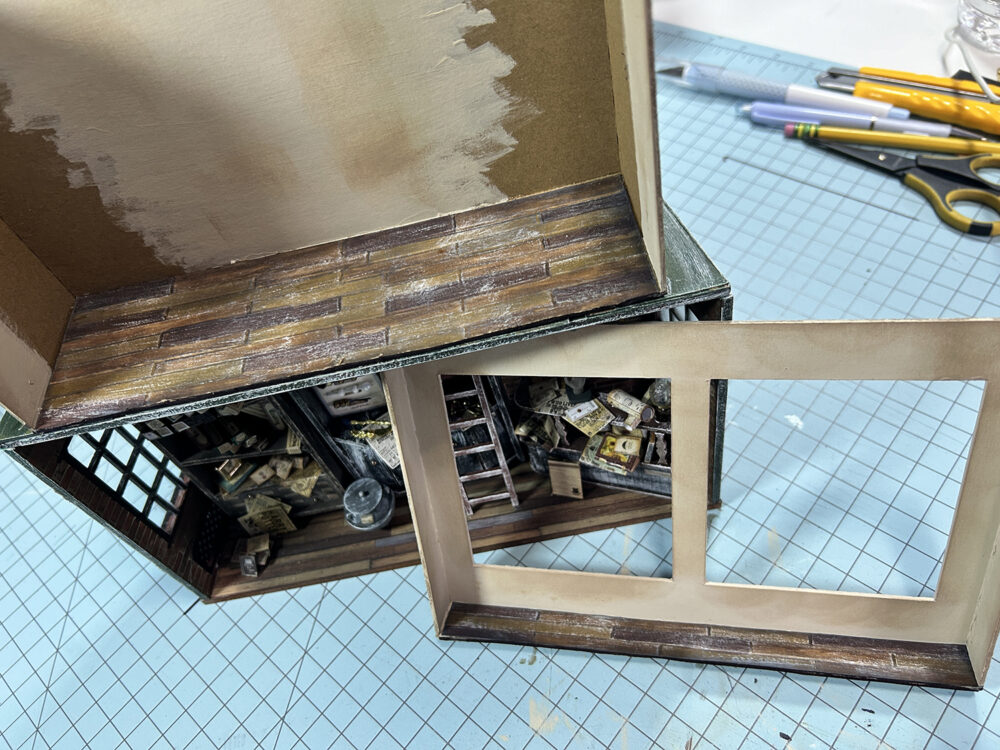
We need to add the windows to the front section before attaching it to the magic shop front.
Windows (Inside) and Door
6. Now it’s time to add the inside window frames, acrylic windows, and the door. Each window consists of two identical pieces glued together. Paint both sides of the windows and let them dry. Lightly dry brush them on both sides with the white paint. Glue the window frames to the inside of the front section. Measure and cut two pieces of acrylic/plastic to fit inside each window. Remove the protective covering from one side and glue that side to the window frame inside the cut opening. Let dry.
The door should be placed in the center of the back wall so the bookshelves will fit in place.

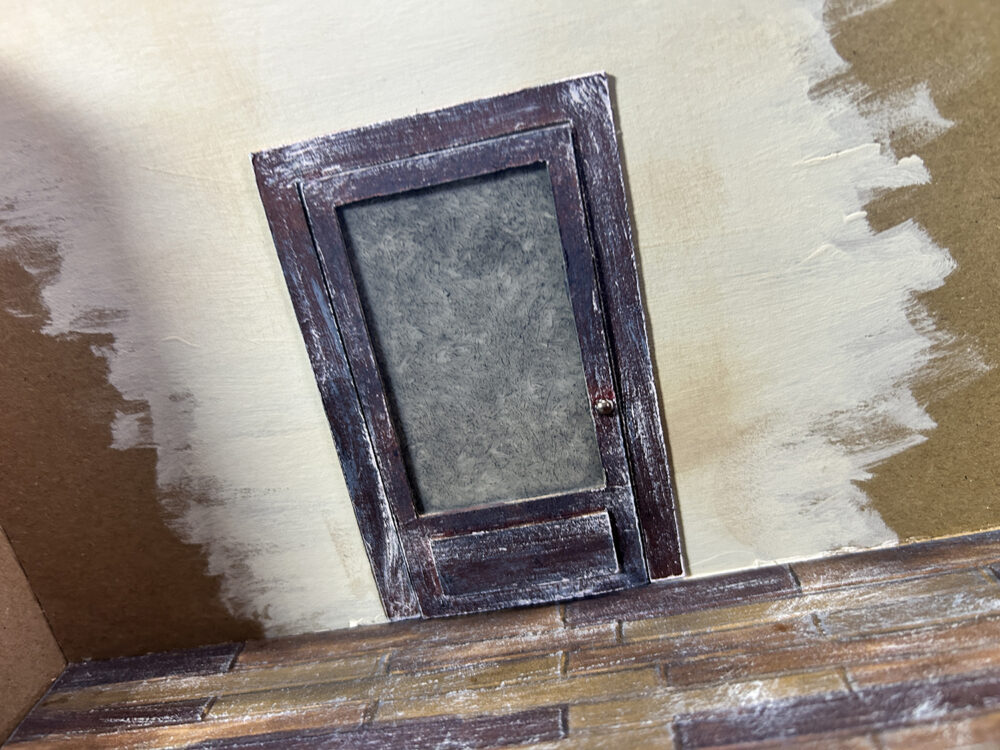
Once I had the door glued down I decided that it was too light. Using a bit of dark grey and then a bit of black mixed with the dark grey, I dabbed the paint onto the window glass until I was happy with the look of it.
This gives the appearance of it being night outside or an old piece of mirror/glass.
The next thing we will work on is building the bookshelves and then finishing the outside of the structure. To keep the video from being so long I’ve split the project into two parts. This is where we will end part 1. So be sure and click the link below to locate part two!
Till next time . . .
JUMP TO PART 2
Teri


Leave a Reply
You must be logged in to post a comment.