© Teri Hanson – Features “Butterwick House 1:76 Low Relief” kit from Petite Properties
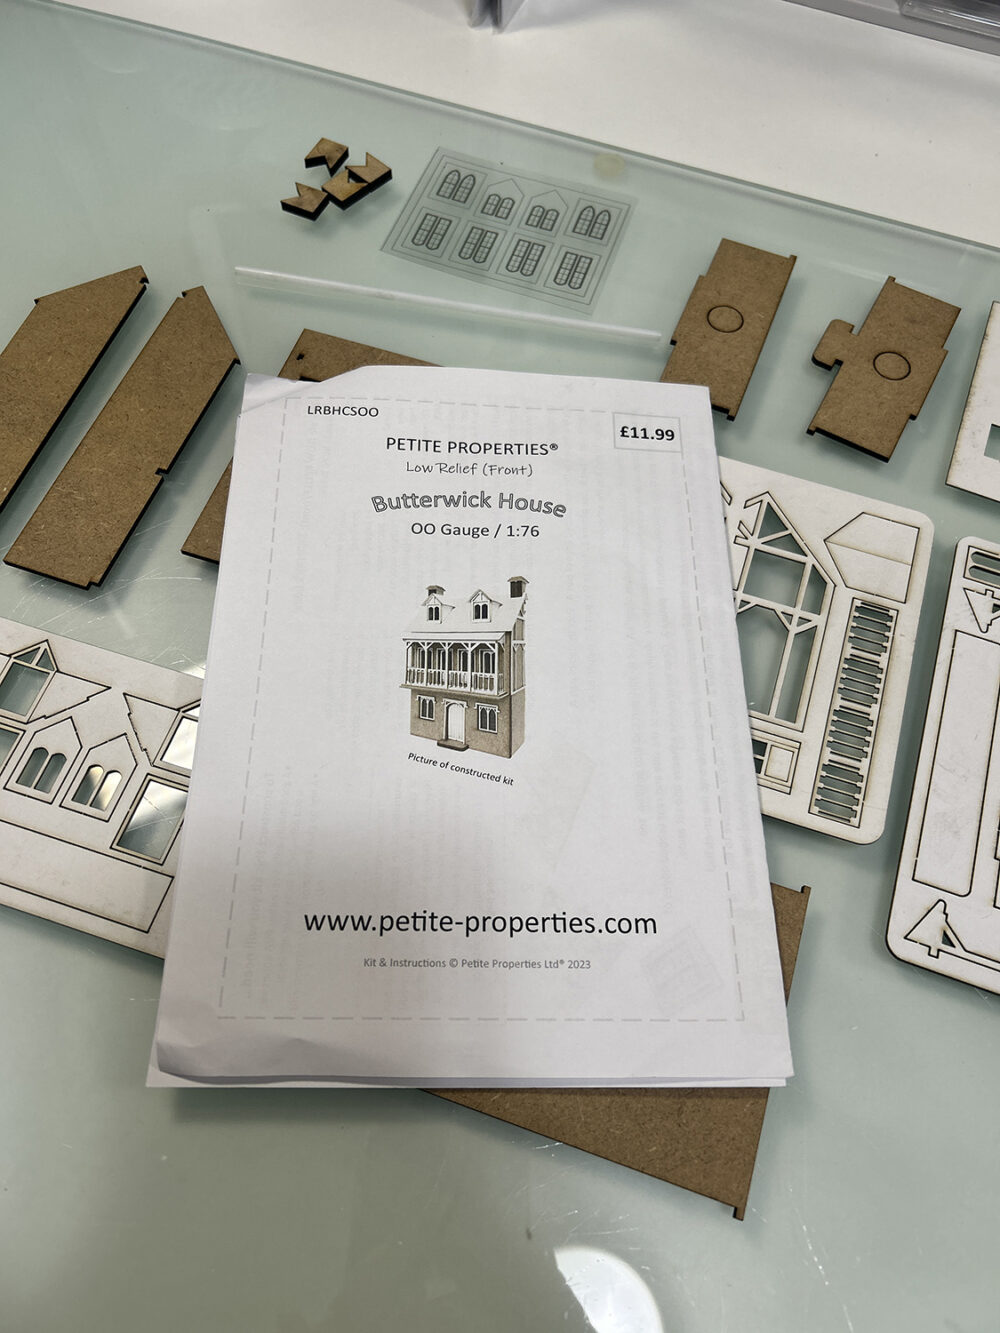
Sometimes we like to work on a miniature project that is less involved to rest our brain after a big project. I normally have a few of these on hand finding them a great way to get inspired when I’m in a creative slump.
Because of the smaller scale, I rarely do anything inside the structure simply finishing the outside. A grouping of three buildings this size makes for a nice display with a minimal footprint.
So let’s get started and I hope you enjoy the project!
Supplies . . .
- Parchment paper – to protect your work surface
- Aleene’s Tacky Glue
- Tweezers
- Craft Knife
- 1 2 3 blocks or similar items for a 90-degree angle tool
- Acrylic Paints
- Printed brick paper or Texture Paste
- Miniature lighting or a tea light
- Ranger Distress Ink – THIS is a nice set to have with colors I use a lot – Black Soot for this project
- Small stencil brush for applying distress ink
Petite Properties does a pretty good job with instructions but it’s always a good idea to read through them and identify all of the pieces before you begin. You should also take time to get an idea in your head of how you want to finish your little house.
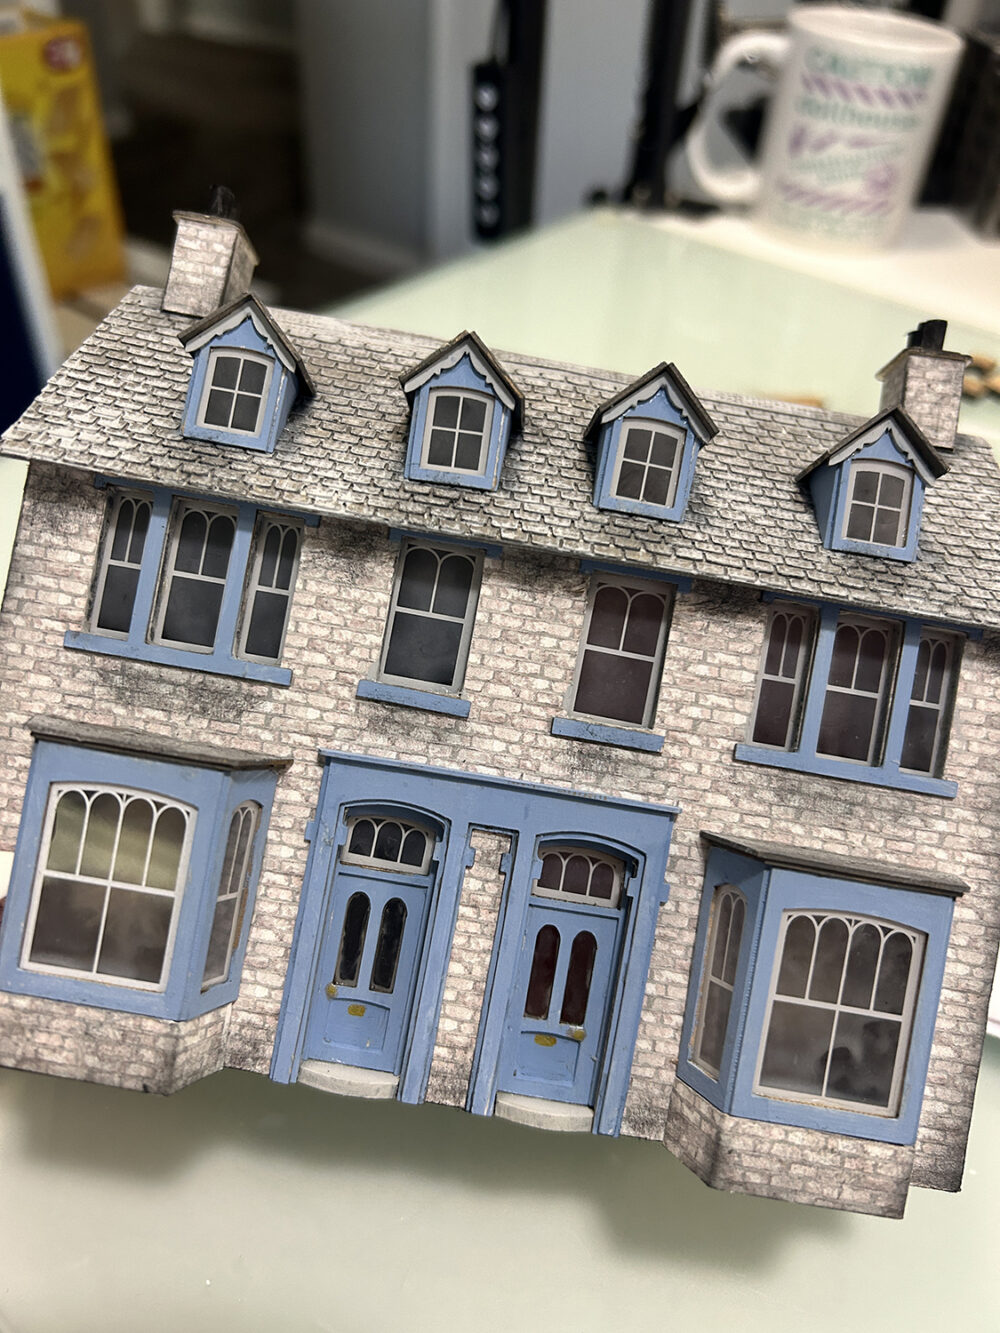
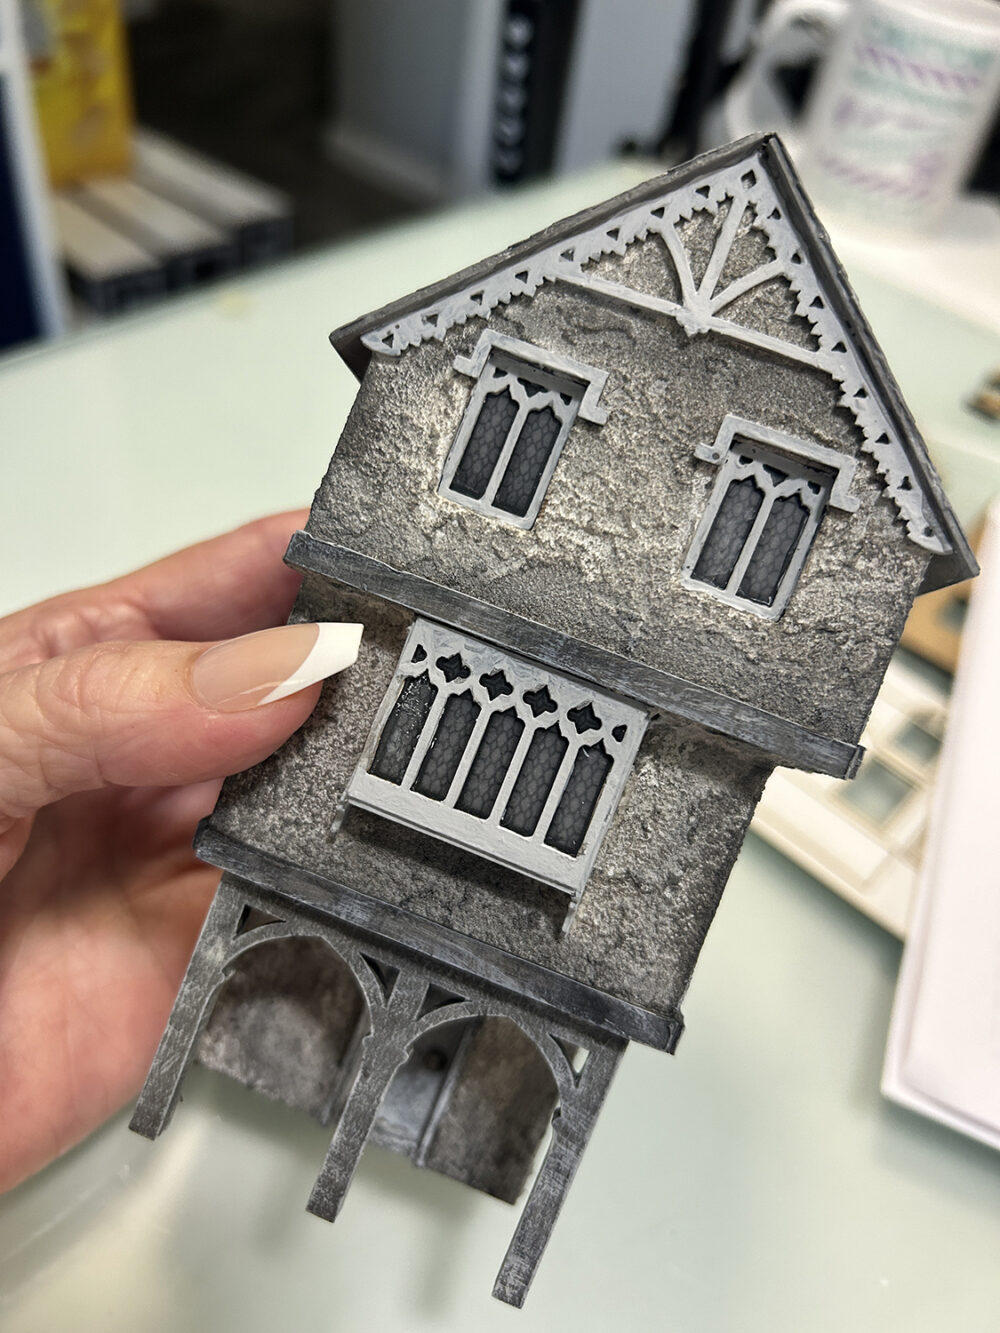
My two favorite finishing methods for these tiny structures are printed brick paper (left) and texture paste (right).
Keep in mind that the texture paste will need drying time. The thinner the texture the less time is needed.
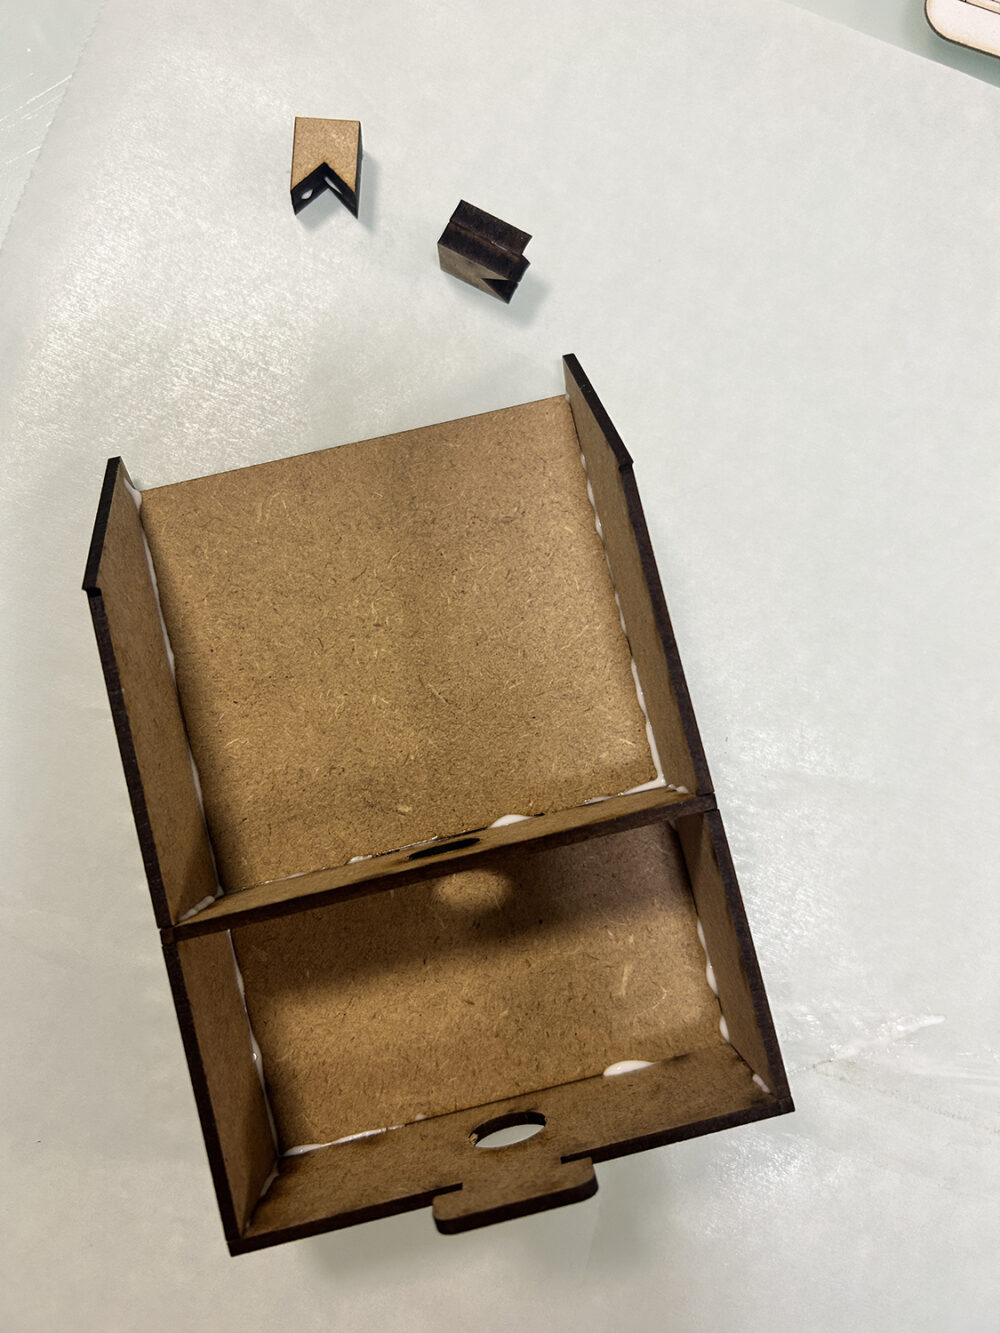
Place a piece of parchment or wax paper on your work surface and begin building the main structure to the point you see here.
Be sure to punch out the circles in parts A and D (these are holes for lights should you want to light your little house.
You can also glue the two chimney pieces together (there are two chimneys built from two pieces)
There are no decorations on the back or sides of this part of the structure.
Because the front of this house is so busy I’ve decided to use my brick paper on it.
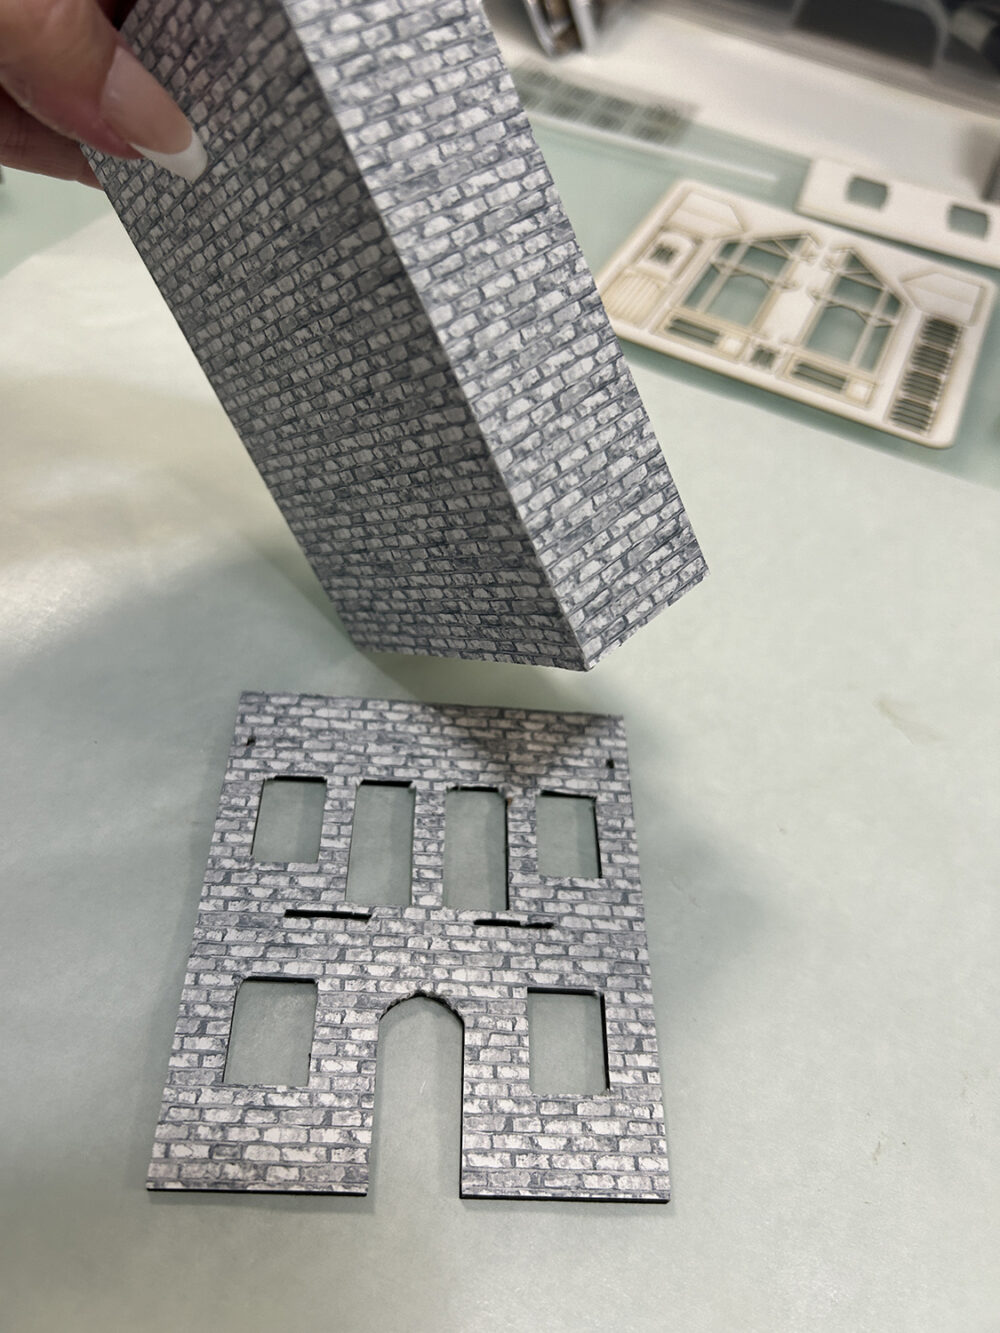
VIP NOTE: When applying brick paper to the front section, leave about 1/8″ on both the left and right sides. This extra will be wrapped around the edges after you glue the font onto the backside edges. Glue a solid sheet onto the front section and then use a craft knife to cut out the window and door areas.
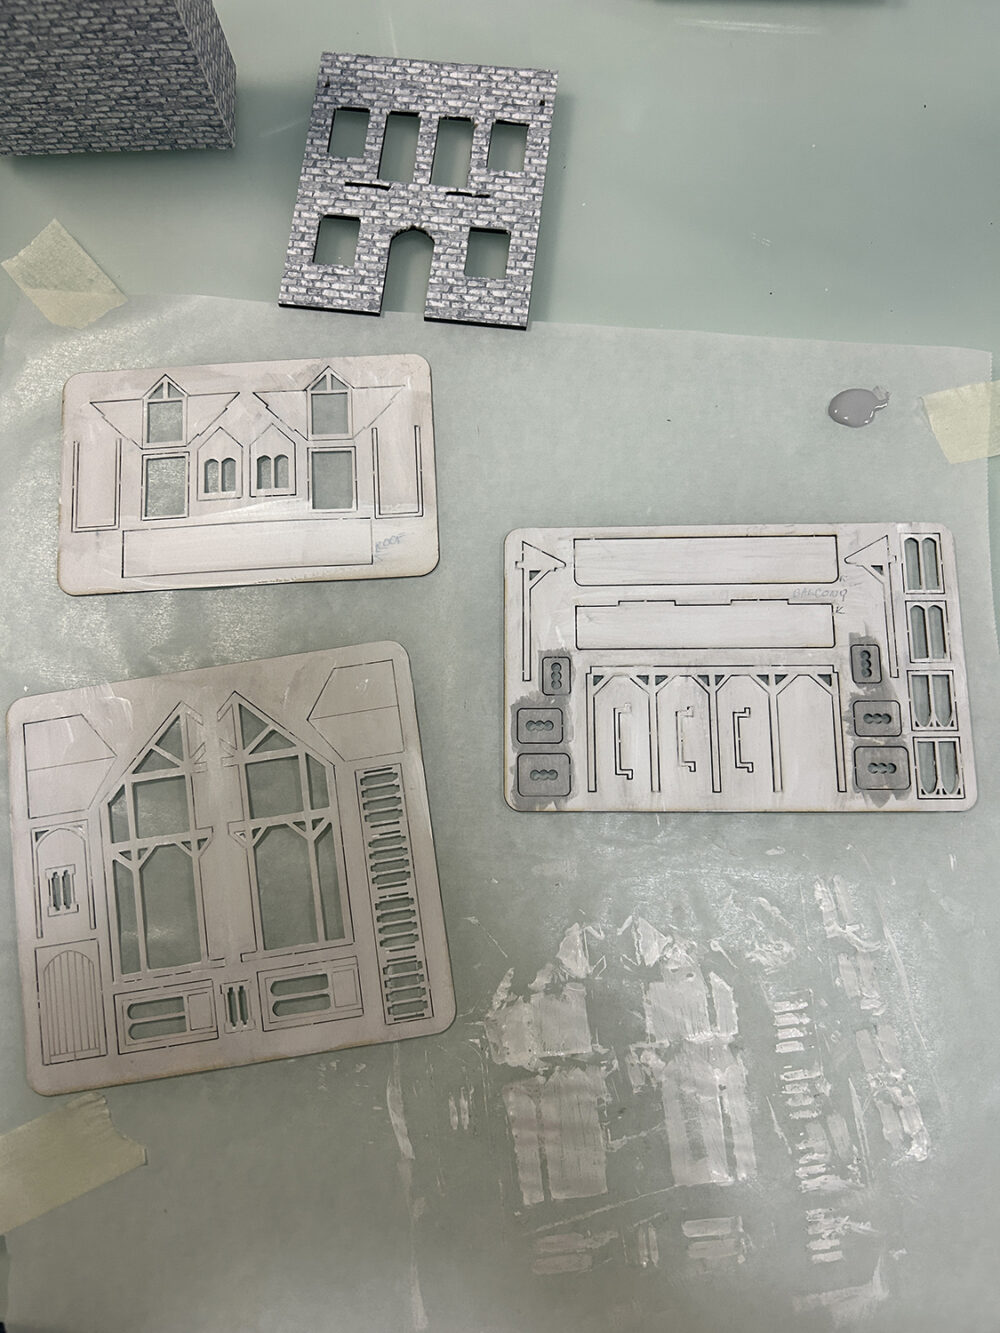
Now is the time to paint all of the accents on the white card material. I’ve used white and then grey for the chimney parts.
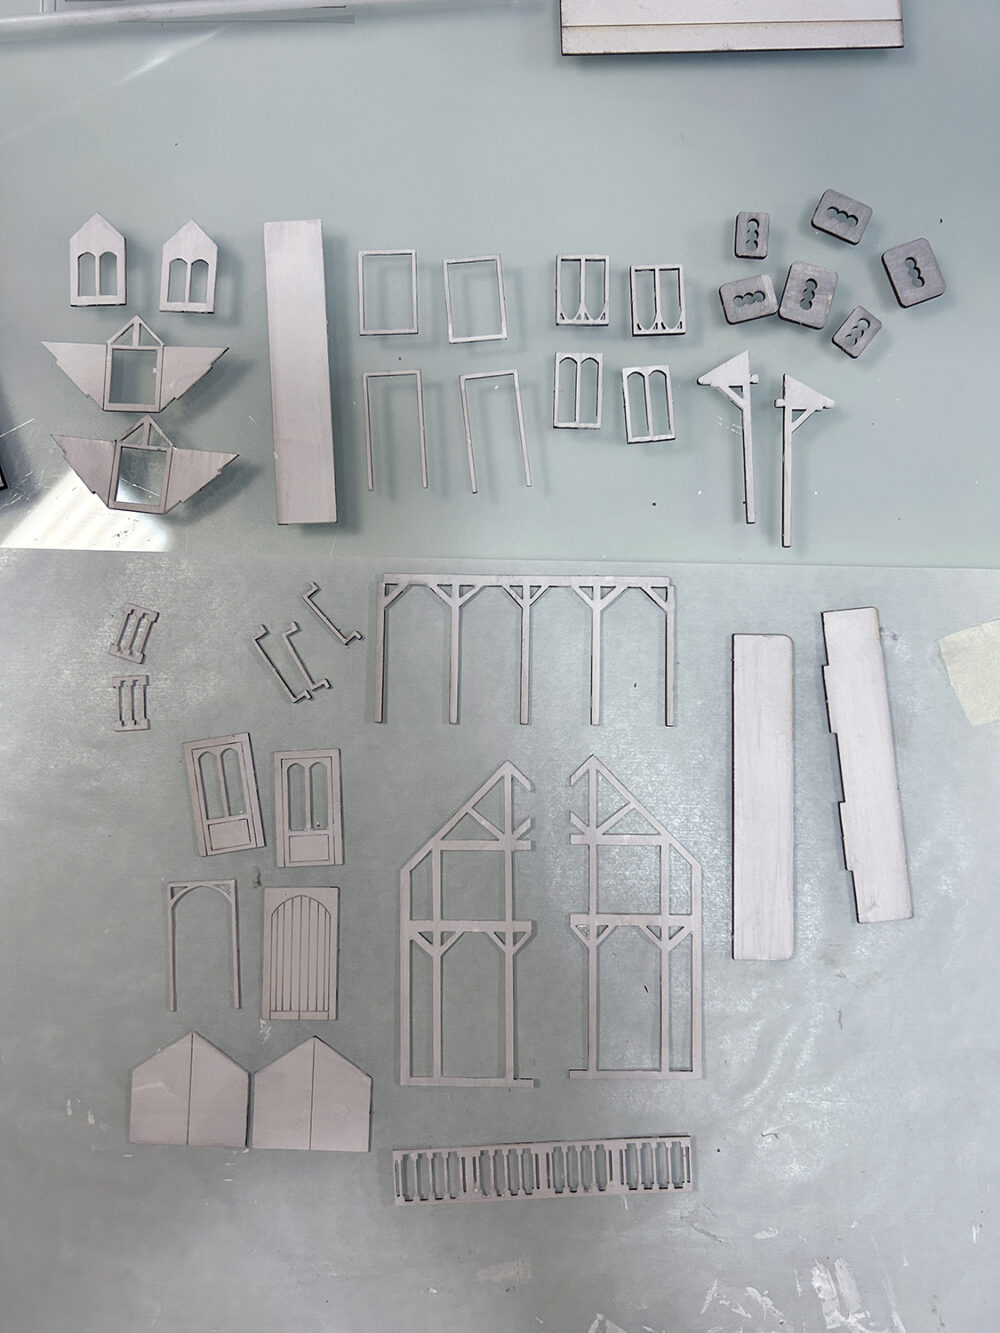
Let dry then use a craft knife to slice the tiny tabs holding all of the pieces in place to the card. File any nubs that might be left on the pieces.
Cut the window glazing sheet into parts and match them up with the windows.
I like to glue the windows to the glazing sheet and then trim off the excess. I seem to get them straighter this way. Just be sure to let the window dry before trimming!
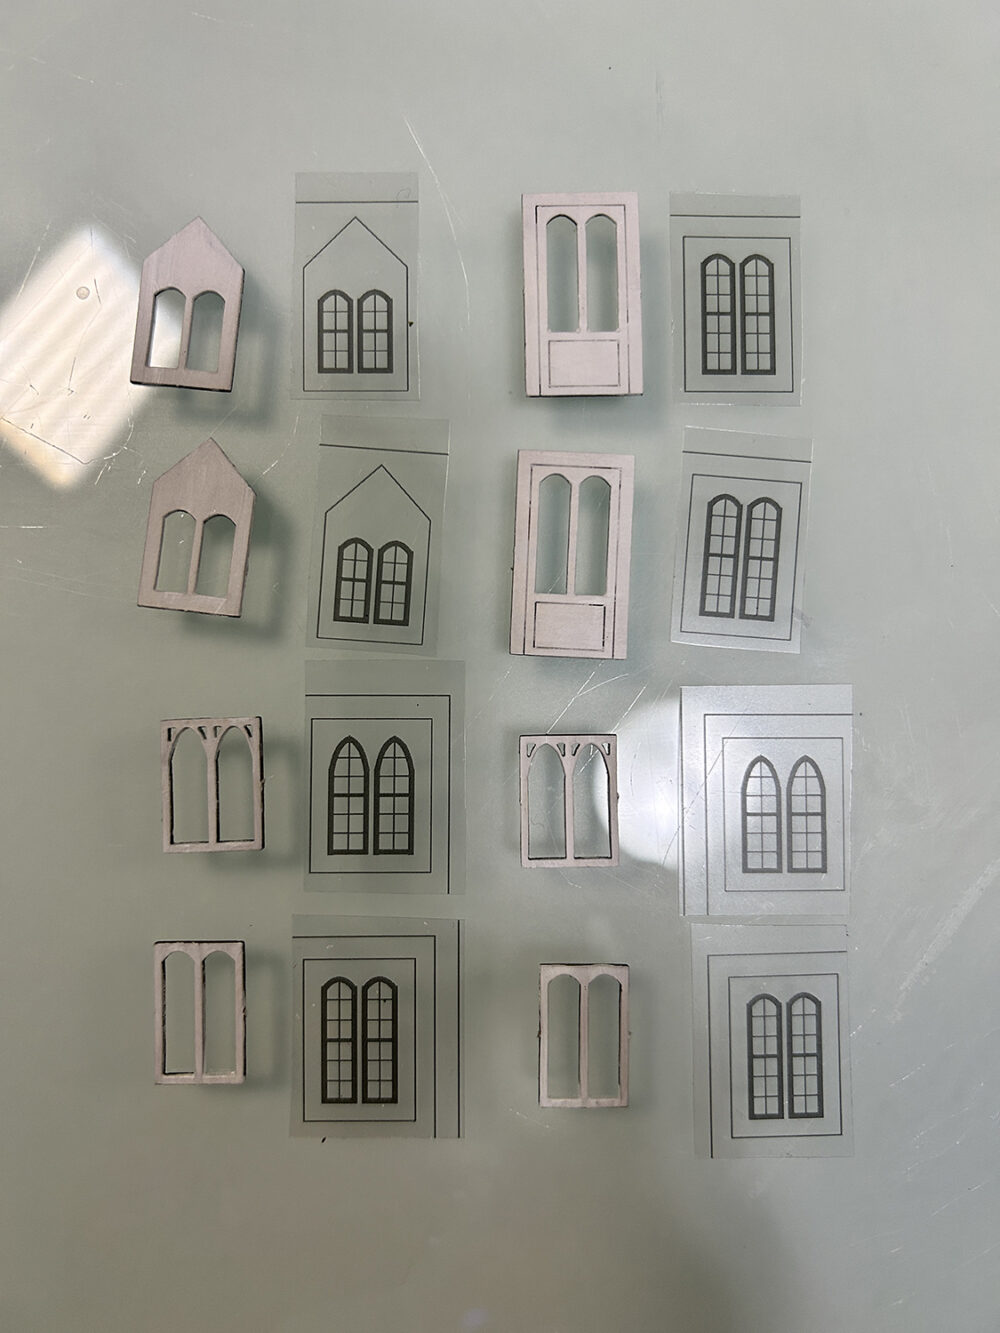
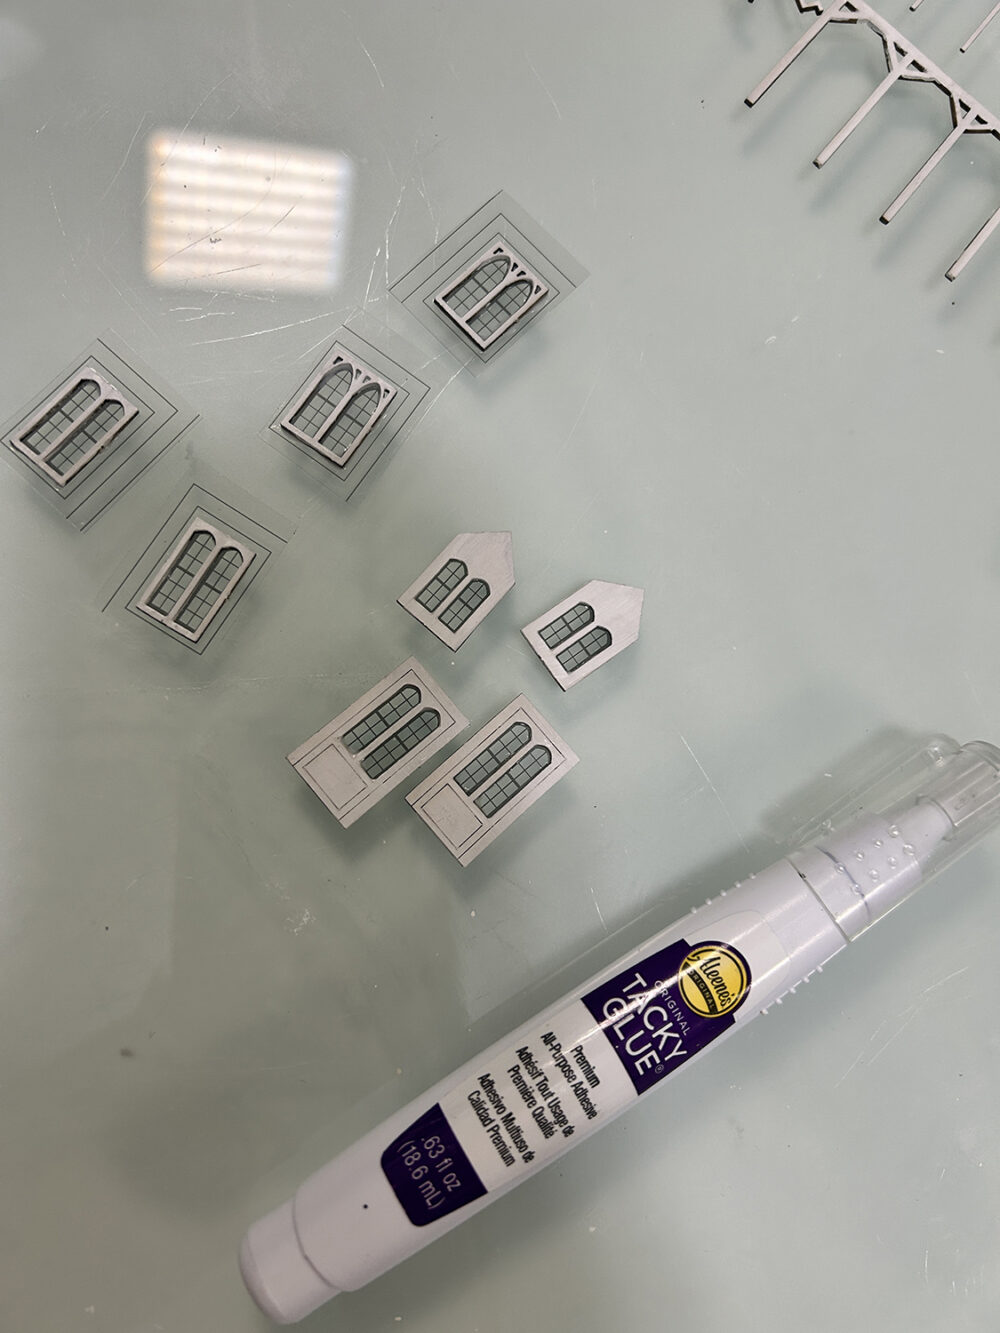
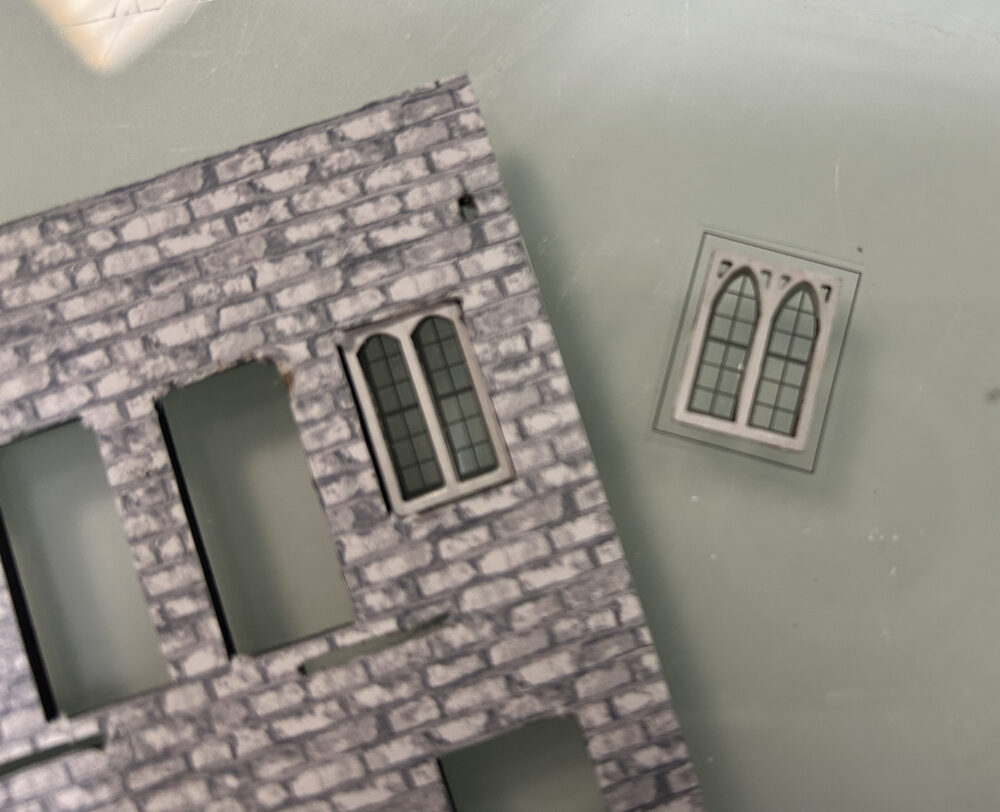
Note: Trim on the inner lines as these are inset and glued from the backside of the front!
Glue all windows in place and let dry. Next, add the window frames to the front side.
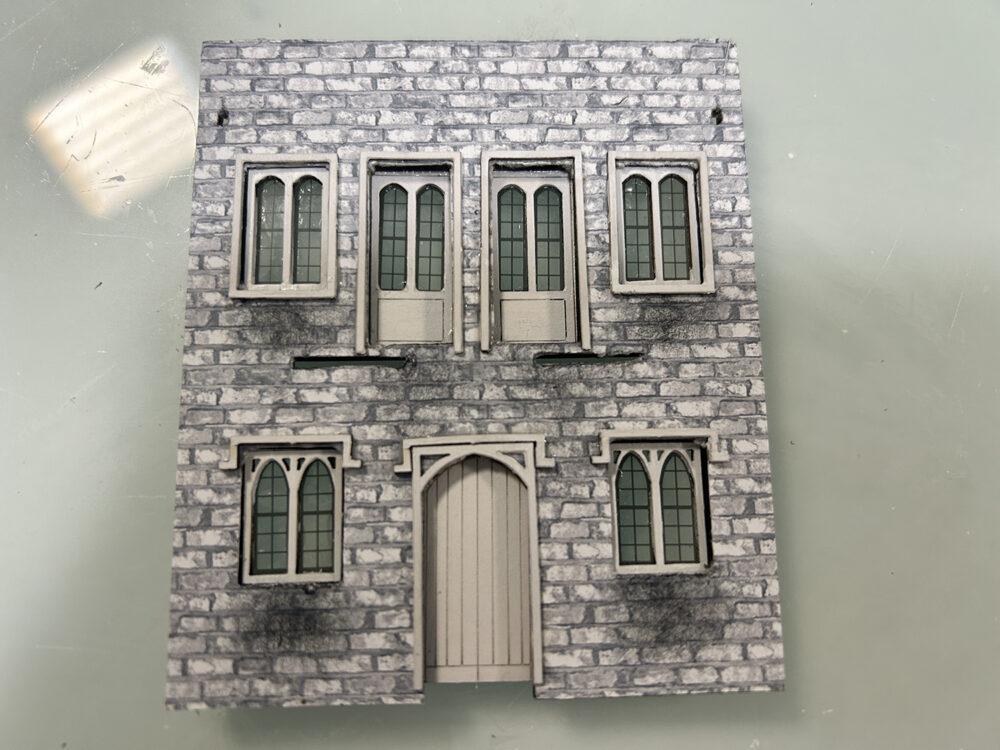
Notice in the above right image, I’ve added some distress ink below all of the windows. You will want to distress the front of the structure at this time as it would be difficult to do after the balcony has been added.
Following the directions, glue the two flat floors of the balcony together then glue it to the front of the structure. Note that you might need to test fit the tabs into the two holes before trying to attach it.
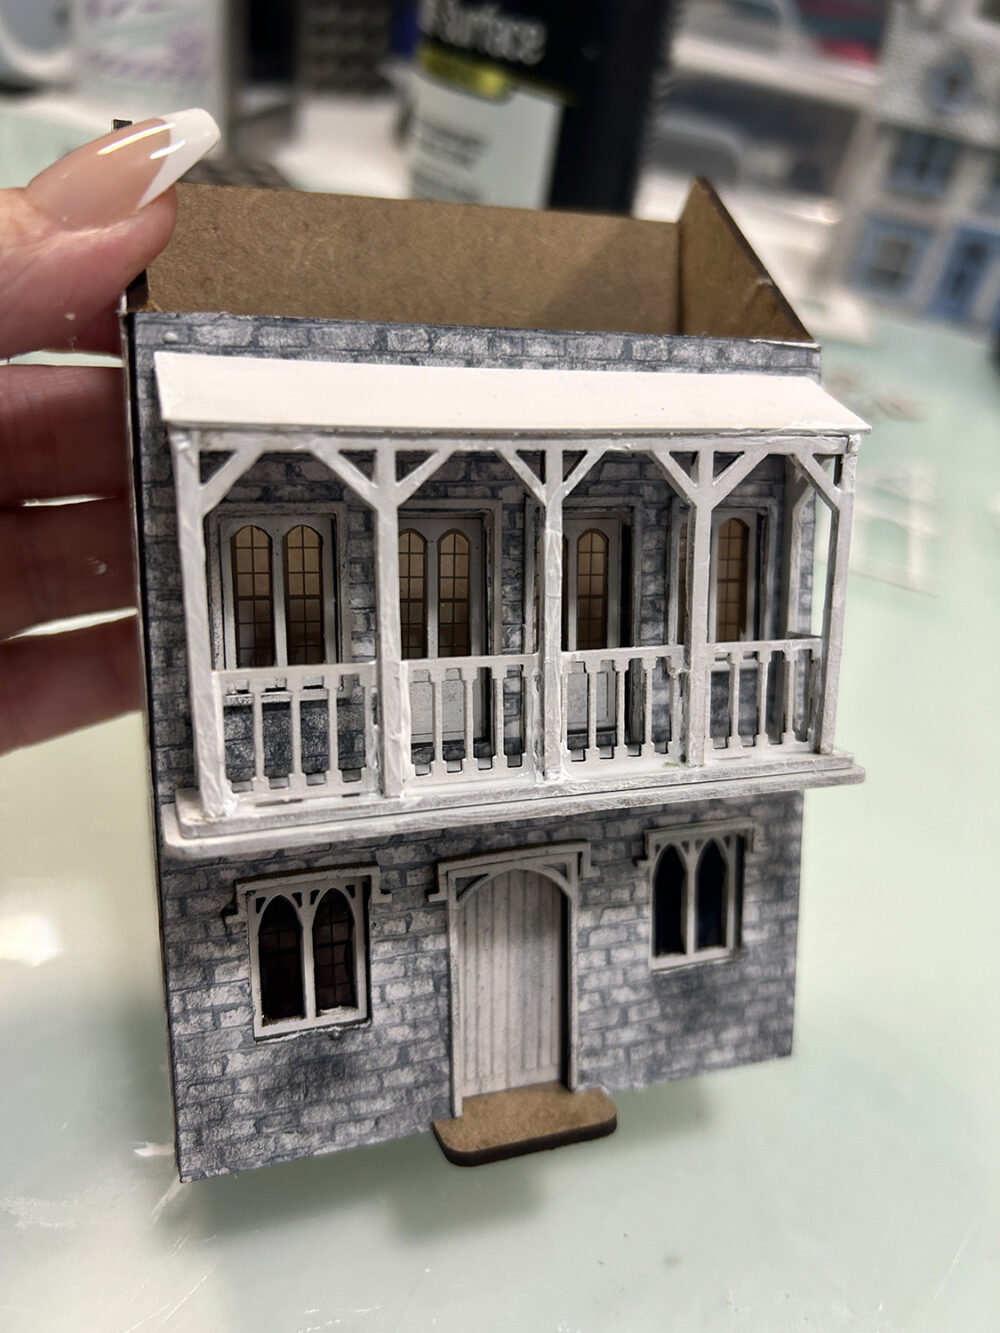
Now would be a good time to glue the front section to the back section. Test fit as you might have to file a bit due to the added thickness of the brick paper.
Now you can construct the balcony railing. Let glue dry then paint the inside of the railing before attaching to the front.
NOTE: I found it easier to attach the front part of the balcony railing on first and the glue the left and right side pieces in.
Lastly, glue the balcony roof in place.
Finish building the chimneys by adding the three little top parts. Be careful to line up those holes! Normally the white straw found in the kit will fit into those holes. Mine did not but it was not a problem to simply glue the straw pieces onto the top.
Build the two dormer windows per the kit instructions and set them aside. Touch up areas with paint as needed after you have folded those sides.
Now add shingles to both the balcony roof and the main roof being mindful of the dormer window openings. Glue the main roof to the structure.
Glue the dormer windows in place then glue their roofs on.
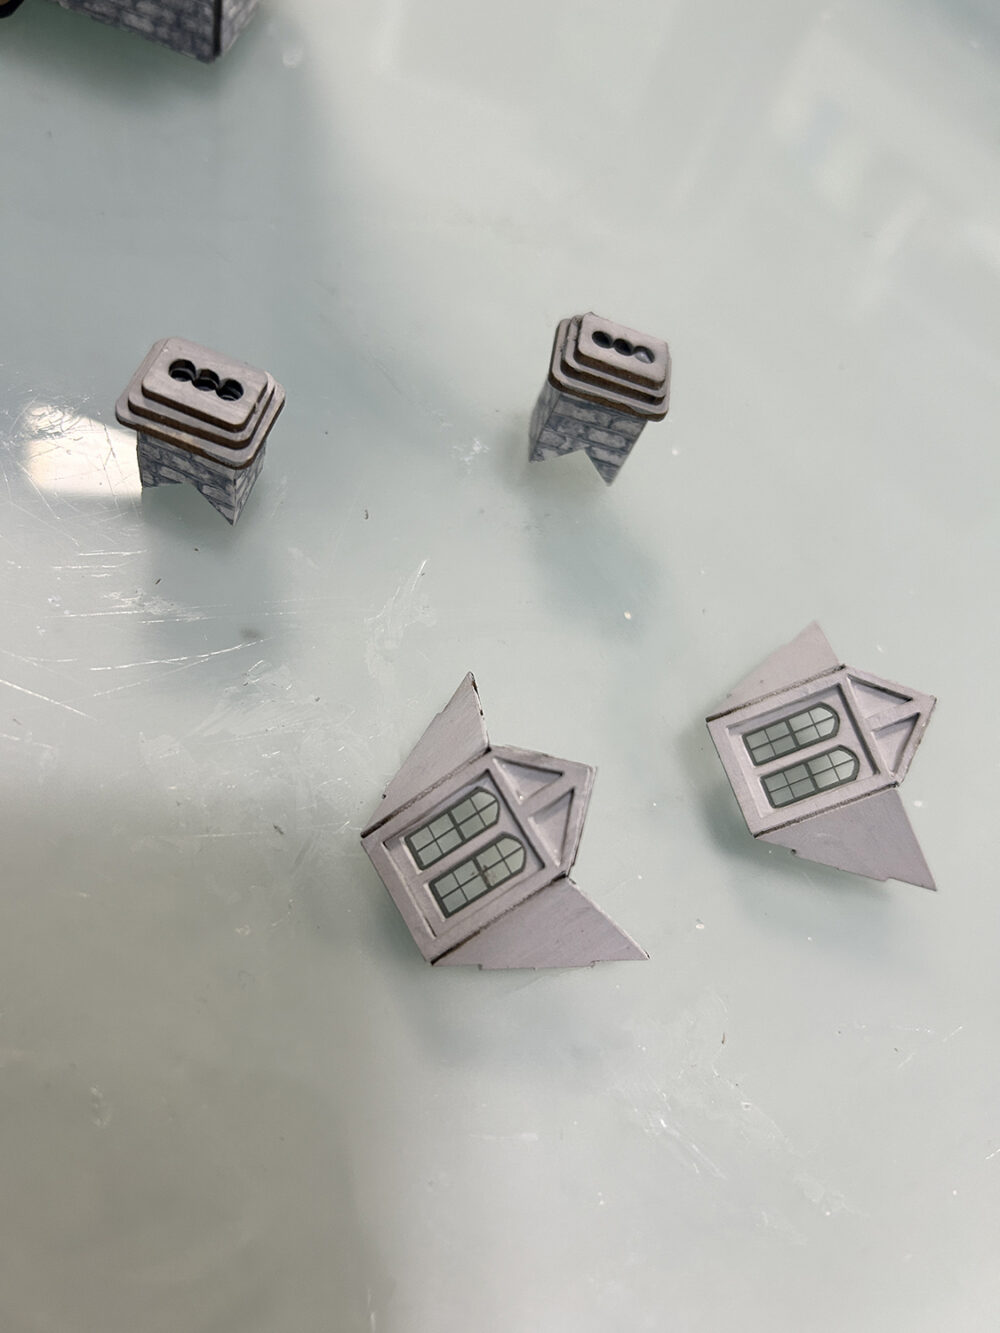
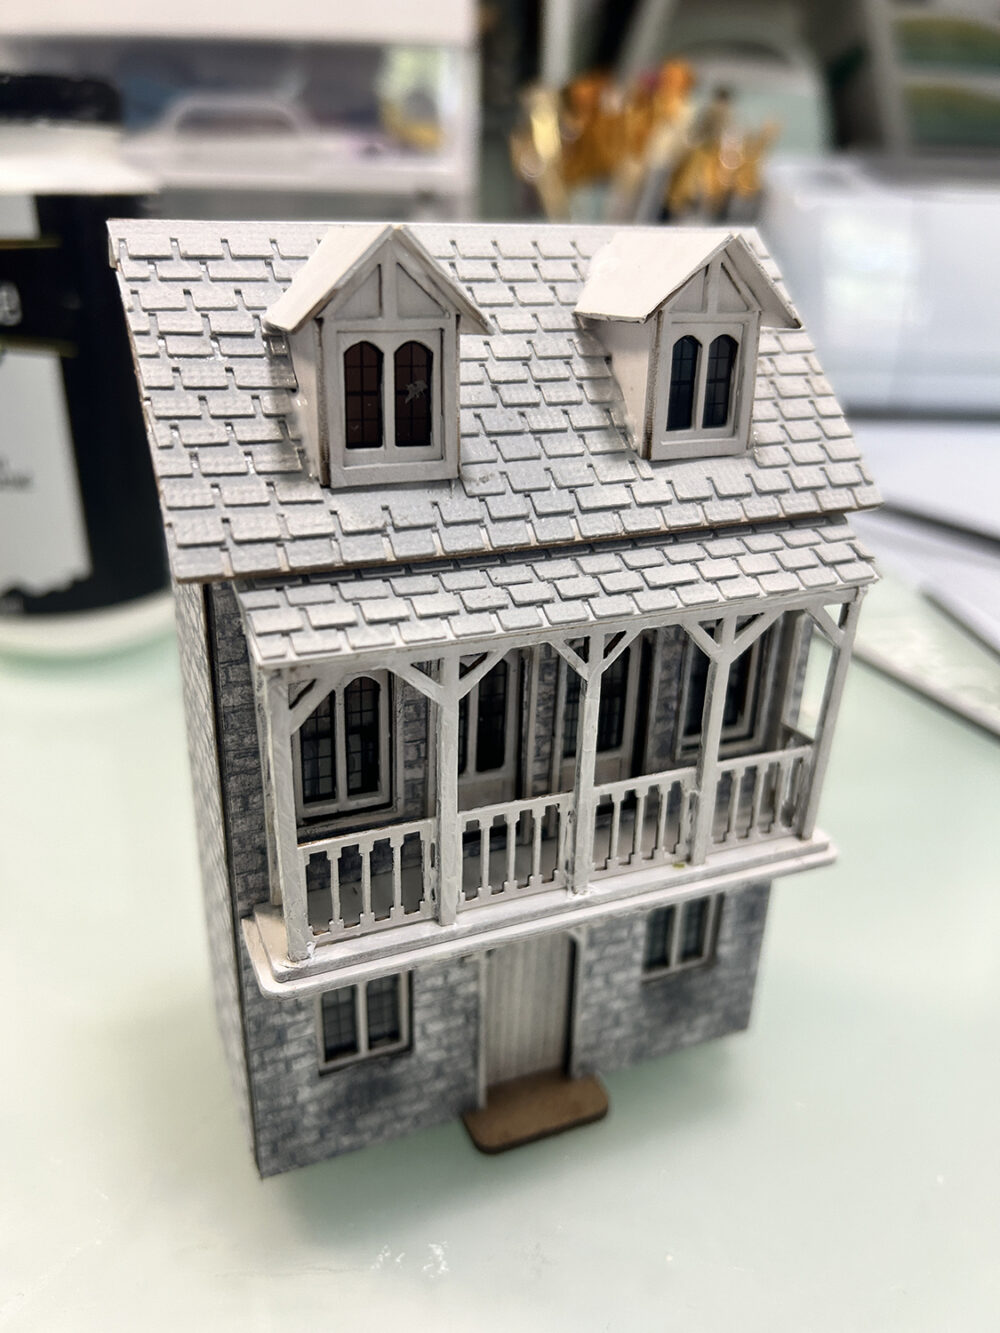
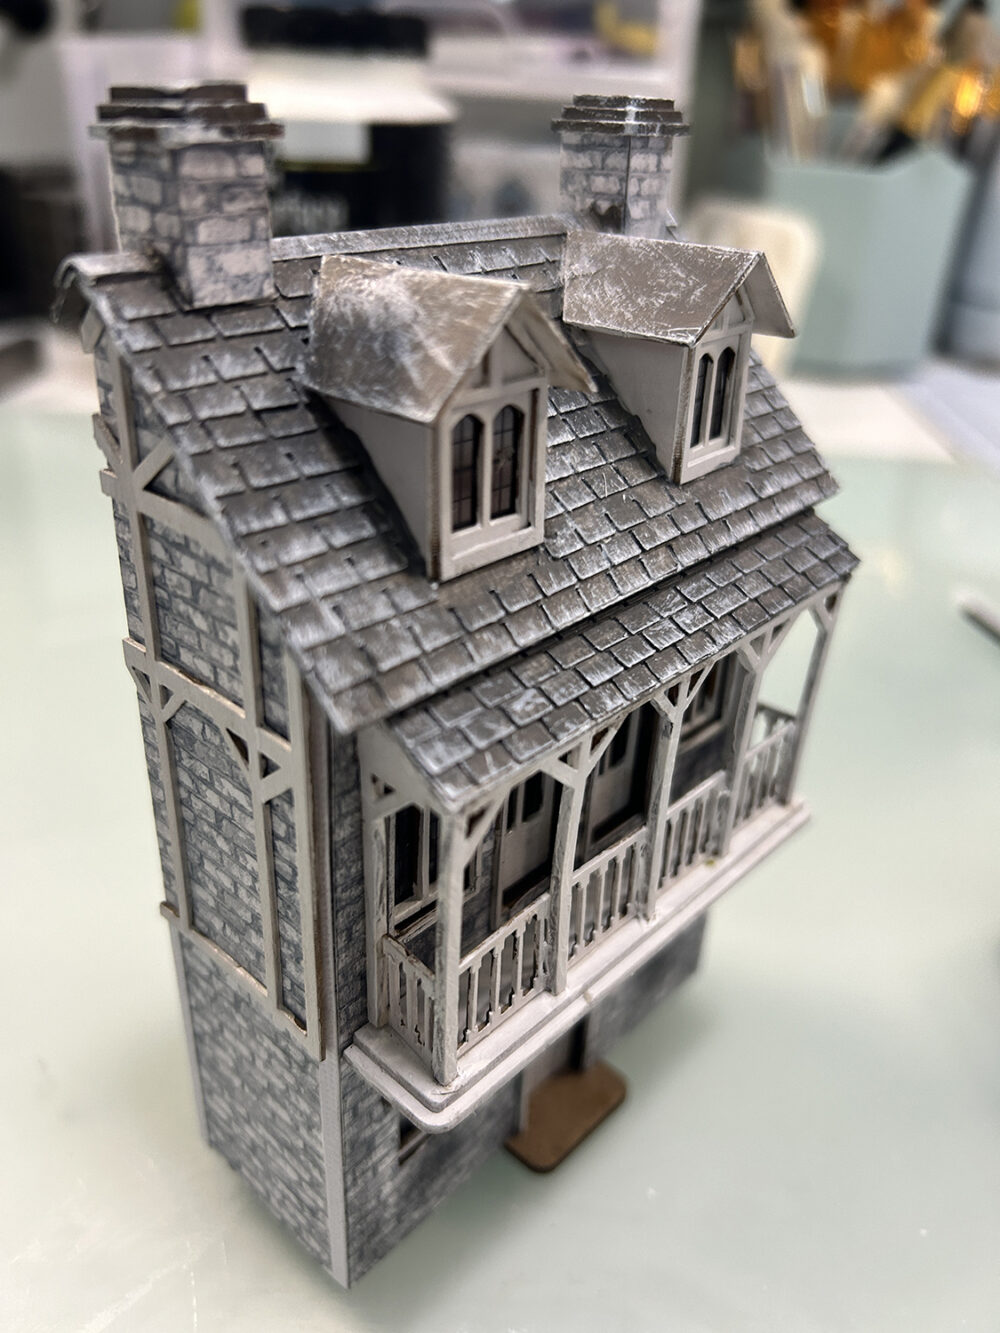
Glue the chimneys and side decorative pieces in place.
Paint the roofs with a medium grey then dry-brush them with white paint using a stencil brush with very little paint.
Use the black distress ink and smudge it all over the piece to create soot. Cut chimney pipes and glue in place.
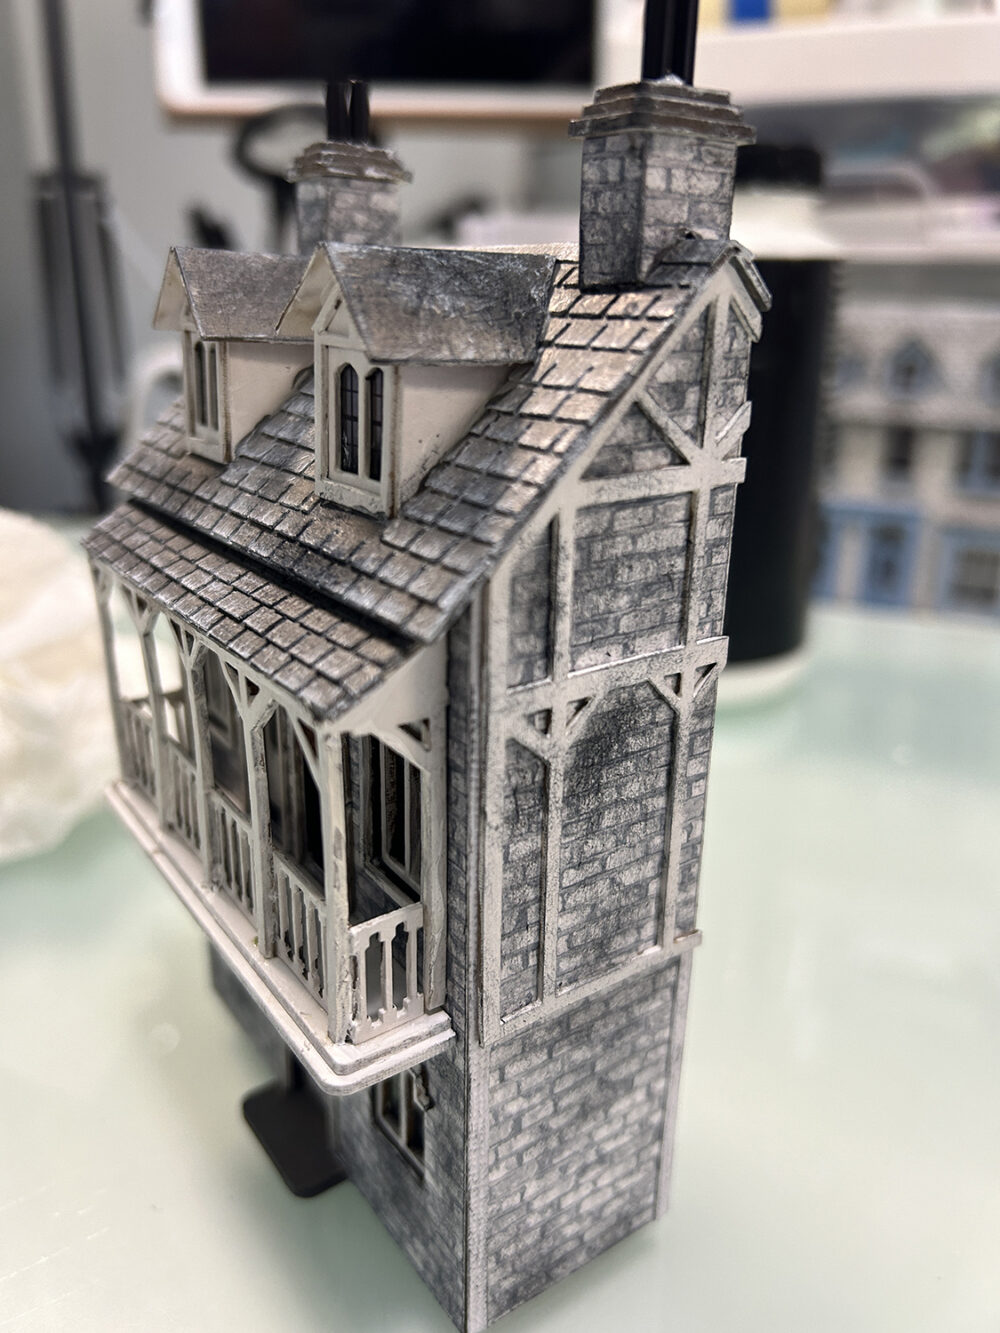
Paint the doorstep a medium grey then dry-brush it with white and add a little smudge of black distress ink in the center close to the door. You can use a tiny flat-back bead for a doorknob if you like. When you are happy with the project, spray the entire piece with a clear matte sealer. This will frost the windows so that when the house is lit you will not see the empty inside areas.
Here’s a look at my finished house.
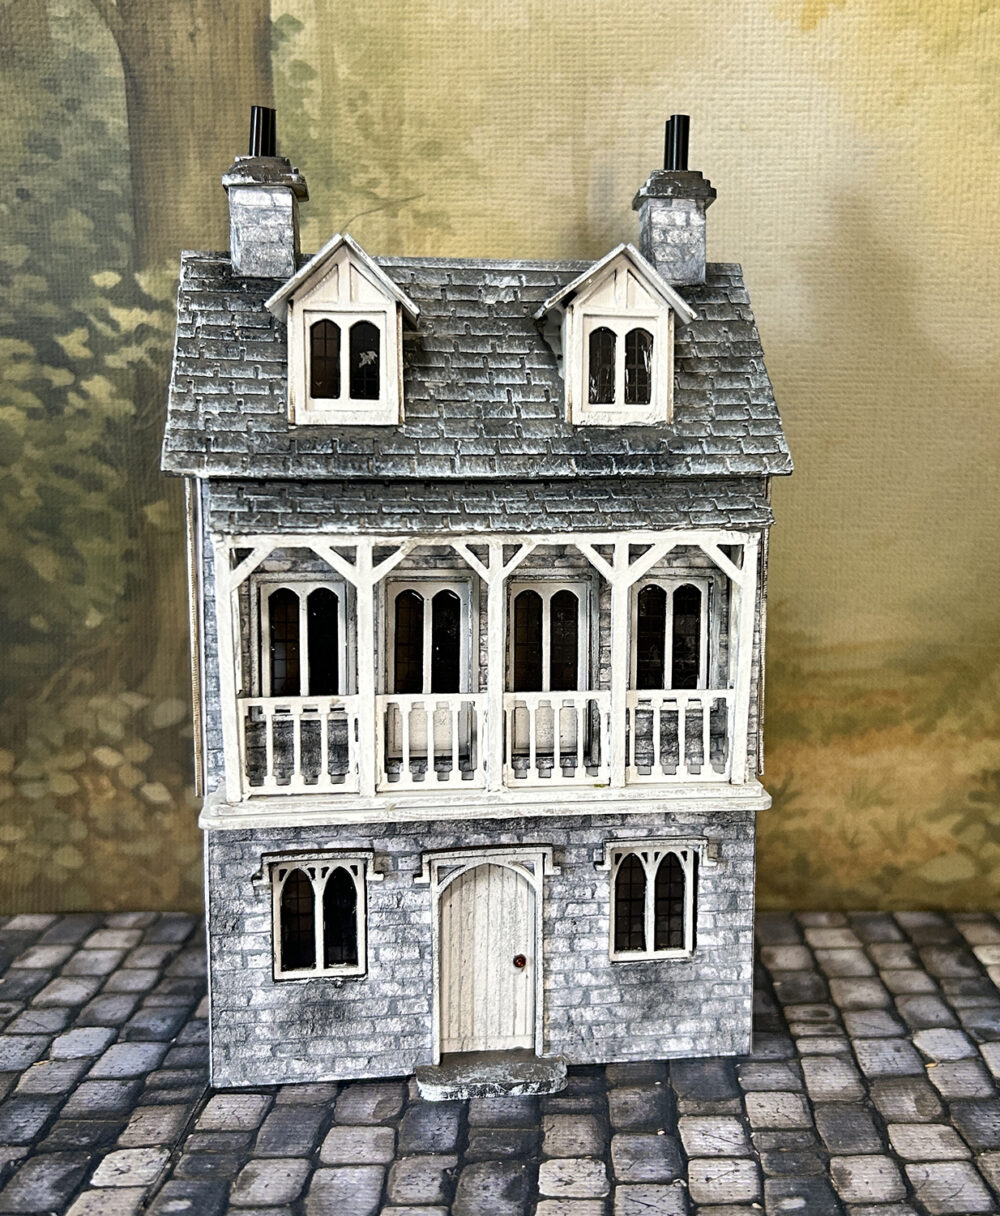
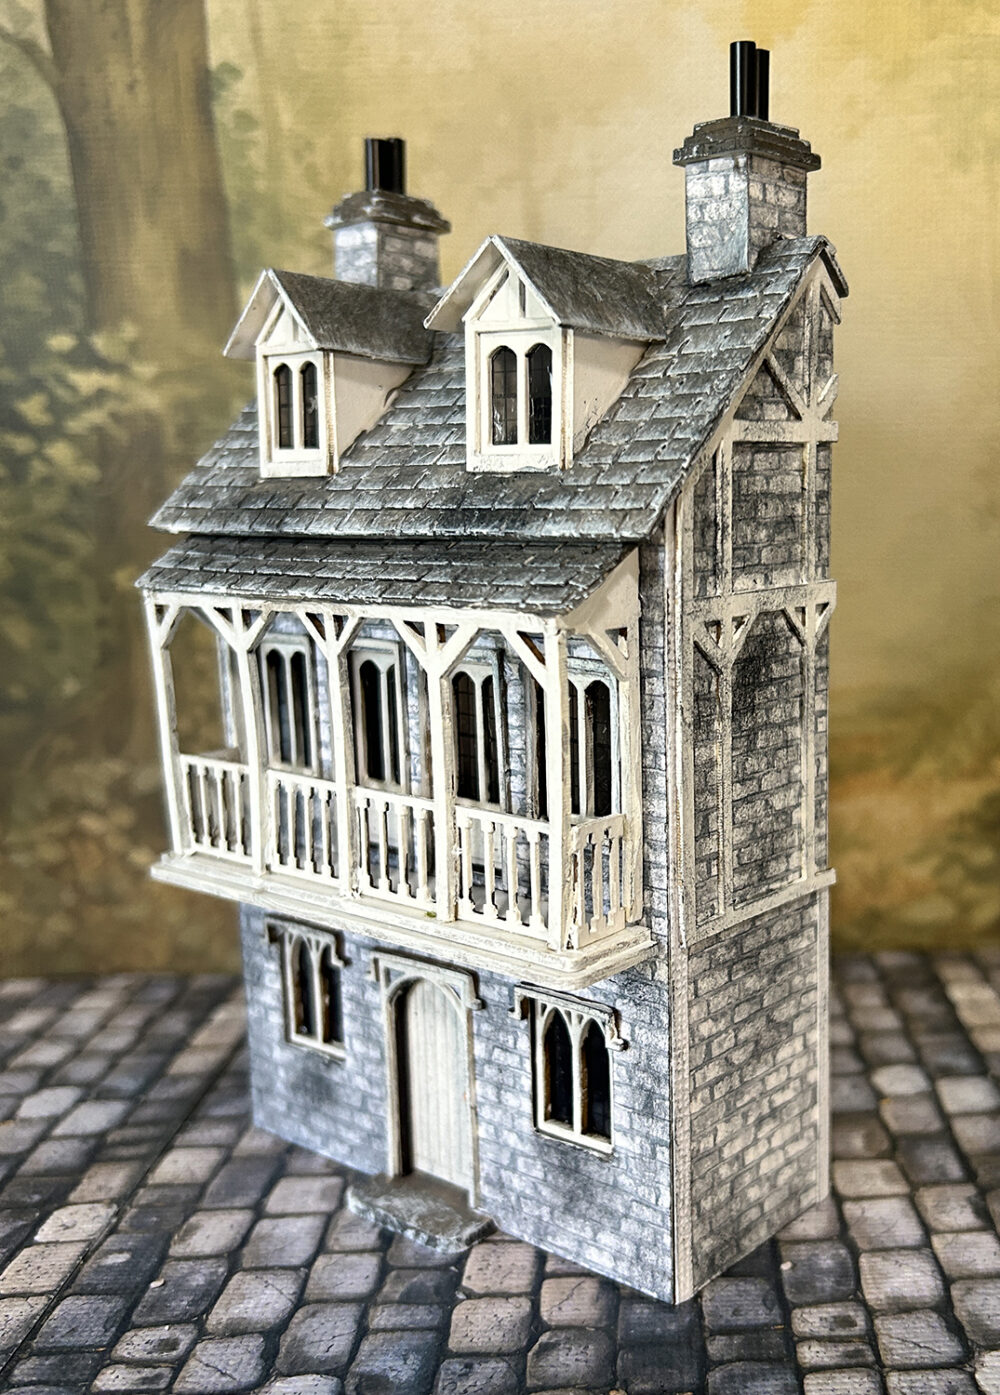
Once again I do hope you had fun building this little gem and that you will hop over to Petite Properties and take a look at their other 1:76 scale offerings!
Thank you to ALL who have visited and participated in this year’s Craft Along series!!! I’m so thankful for all of the lovely emails and comments received through the series!
Have a blessed holiday season friends!
Teri


Leave a Reply
You must be logged in to post a comment.