Several years ago I ran across a YouTube video by Emily280881 for an original mini album that I fell in love with. At the time she didn’t have a tutorial on it but I knew that I wanted to make the album. So after contacting her and getting her permission, I made a tutorial for the album and posted on my blog. Since then, I changed over to a WordPress Blog and had a computer crash – loosing the entire tutorial file. Well . . . running across the video again, I knew that it was time to remake the tut and a new Pinwheel Album – as Emily called it.
Another descision I’ve made is to try and use products in my stash as well as my Cricut Maker for as many projects as possible this year. With that thought I’m making a challenge to you all to do the same. Each month I’ll be posting a special project and hopefully you all will join in and make the project with me! I also hope that you will post your projects on The Covered Chipboard Group page!
So let’s get started.
First, here is a list of materials you will need . . .
- 6 sheets of 12×12 thick cardstock (you will want to use a good quality cardstock)
- 6×6 paper pad or other papers for covering and decorations
- 1/4″ score tape (double sided tape) or other adhesive
- various other embellishements (can gather these later on)
Preperations . . .
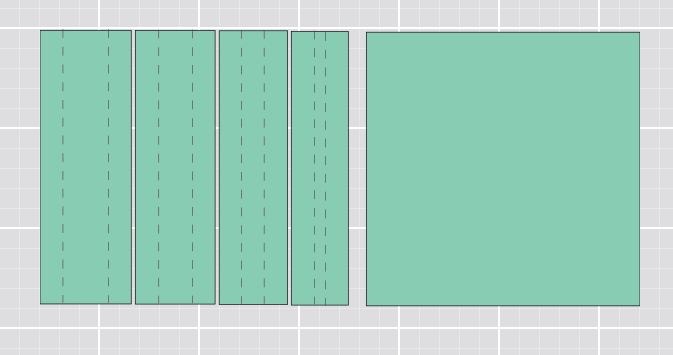
From one sheet of cardstock you will want to cut the pieces listed below. You can use my Cricut File link below for cutting if you wish.
- 6×6 square (bottom base)
- 6×2 rectangle (hinge)
- 6×1 3/4 rectangle (hinge)
- 6×1 1/2 rectangle (hinge)
- 6×1 1/4 rectangle (hinge)
For each of the hinges, score a line from top to bottom, on the long sides, 1/2″ in from the edge (score lines are marked on the Cricut cut files but you will need to hand score them as well).
For each of the four 12×12 sheets of cardstock you will need to score from top to bottom at the 6″ mark, rotate the cardstock and score again at the 6″ mark. On the bottom half of one score line, cut – on the score line – from the bottom up to where the two score lines intersect. Move over just a sliver and cut again from bottom of cardstock up to the middle score line. You are simply taking a sliver of the cardstock away to help in the folding of the entire sheet. Repeat for remaining 12×12 cardstock sheets.
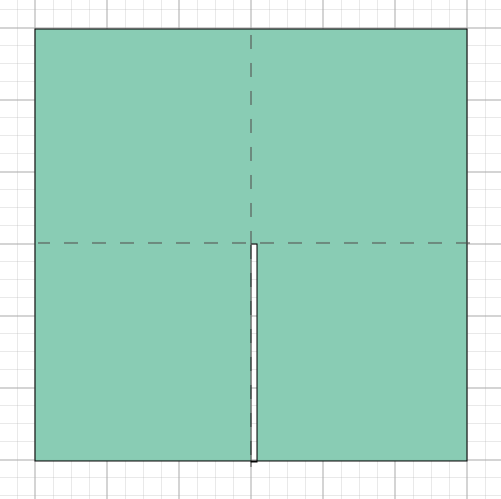
Here’s an example below. It might be hard to see the cut out sliver but you can get an idea from seeing the taken away piece on the white paper towel below.
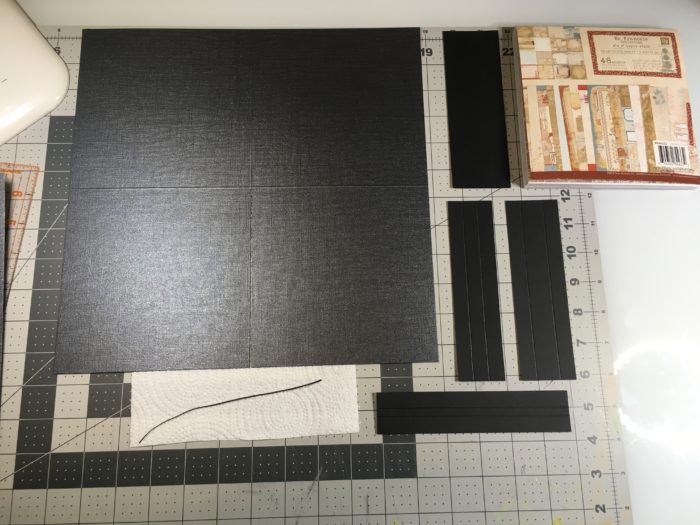
Now you need to fold all of the hinges on the scored lines as seen below.
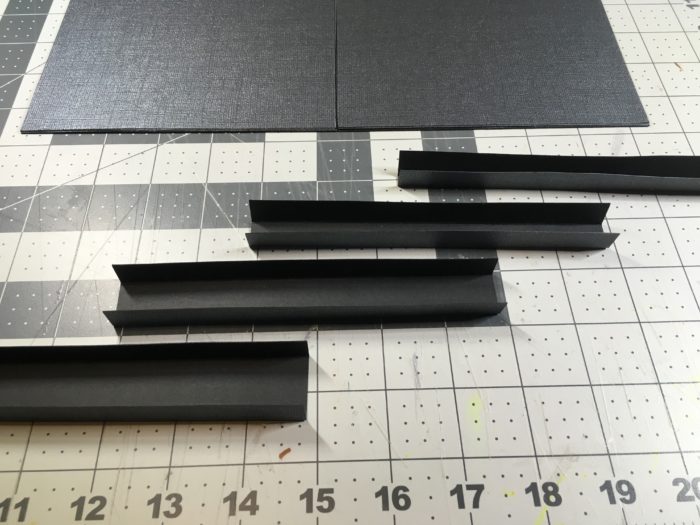
Working with each of the hinges – one at a time in the order shown below – apply score tape/adhesive to one of the half inch sides and attach it to the 6×6 back cover/base. If you are using 1/4″ score tape, you might want to apply first one strip of tape, peel off the backing then apply a second strip to cover the entire 1/2″ area.
NOTE: Do not let the tape overlap onto the scored line!
- 6×2 Spine hinge – attach to one side of the 6×6 cardstock back cover/base
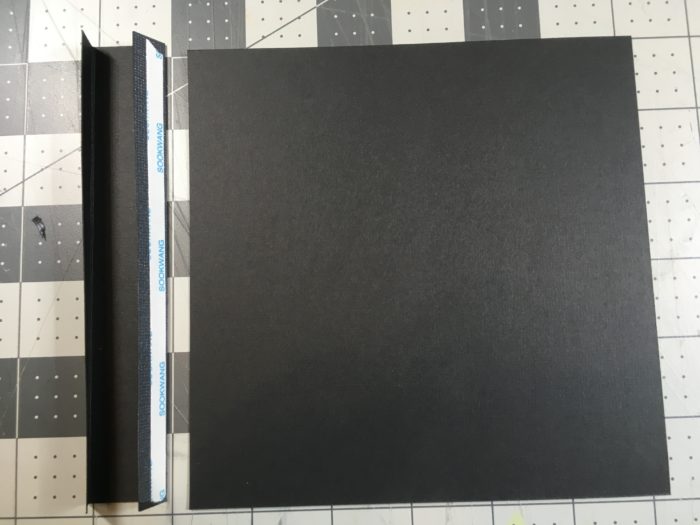
NOTE: Do not let the tape overlap onto the scored line!
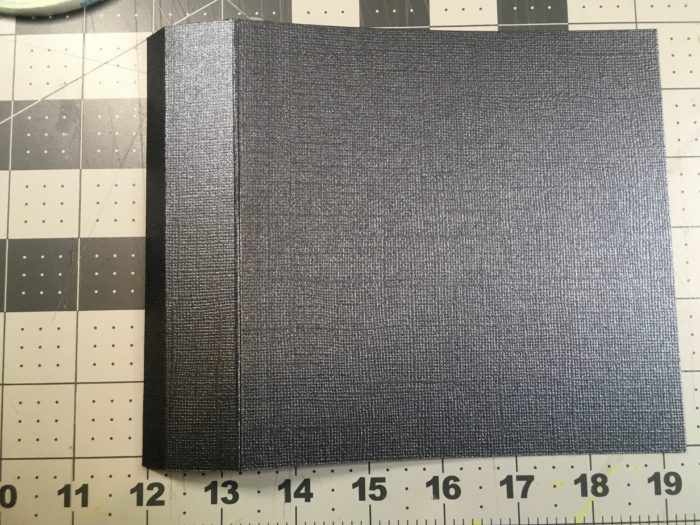
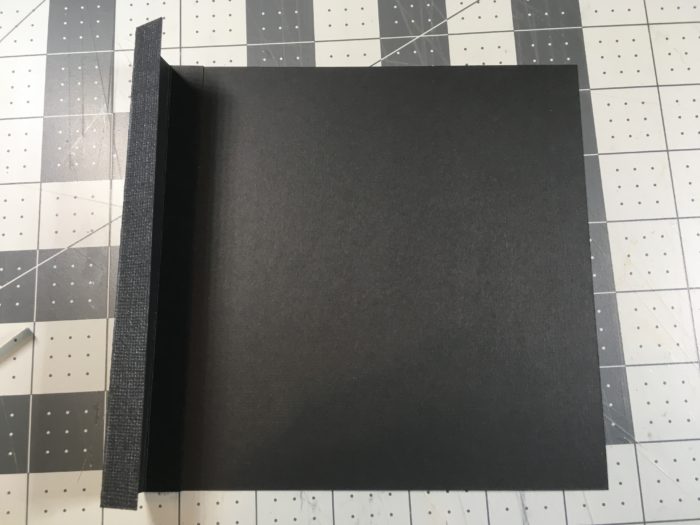
2. Attach the 6×1-3/4 hinge to the bottom.
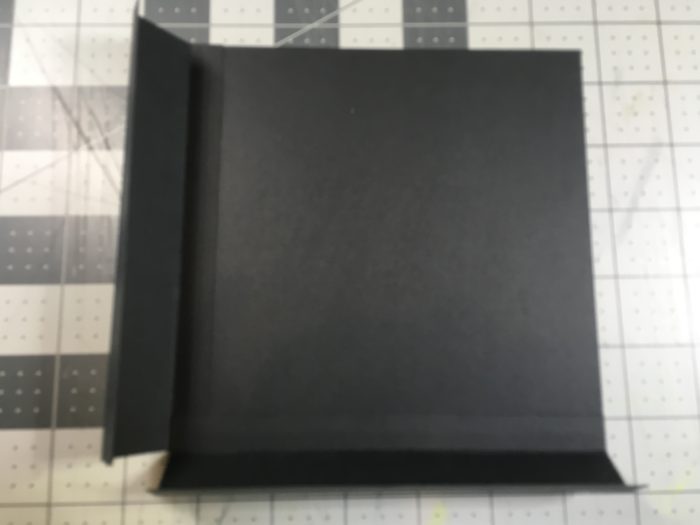
3. Attach the 6×1-1/2 hinge to the right side.
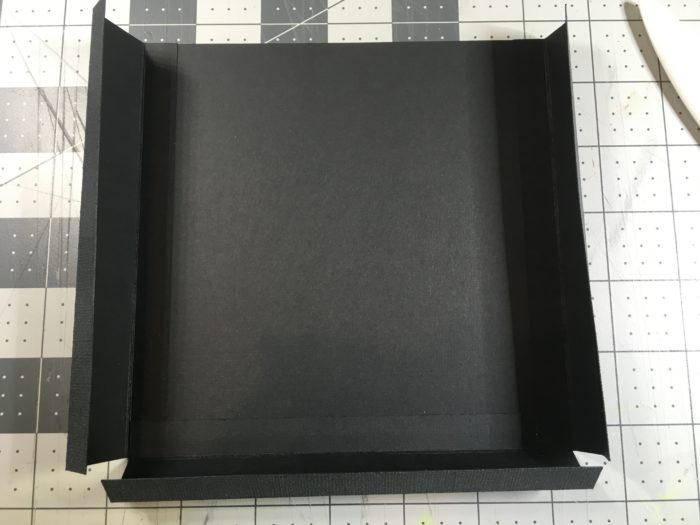
4. And finally, the 6×1-1/4 hinge is attached to the top side.
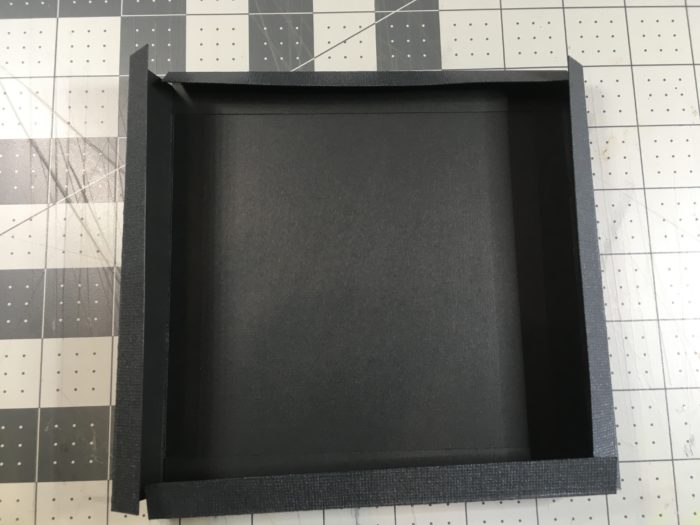
NOTE: Keep in mind that the 1″ wide hinge is the “spine” and should be at your left side.
Now it’s time to add the 12×12 sheets into the album.
- The first sheet will be attached to the left side (spine). Fold the spine out then attach the sheet to the “inside” of the spine. You want the sheet to open by folding out to the left, then downward. So you will attach the sheet with the slit on the right side as seen below.
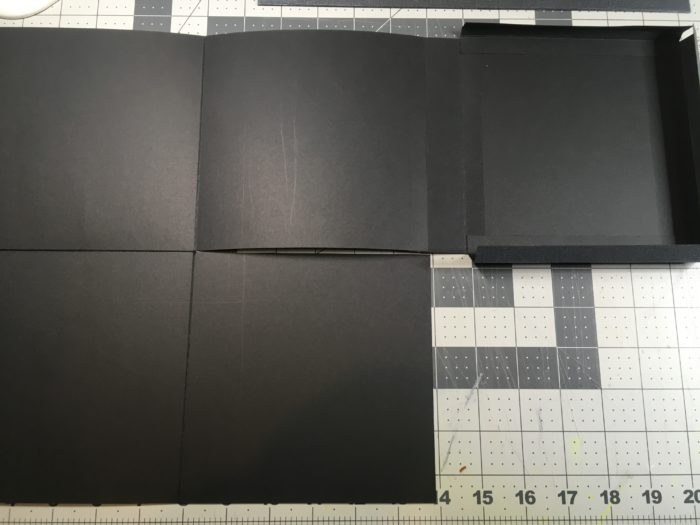
The page will then fold up and over when closed and creates the front cover of the book.
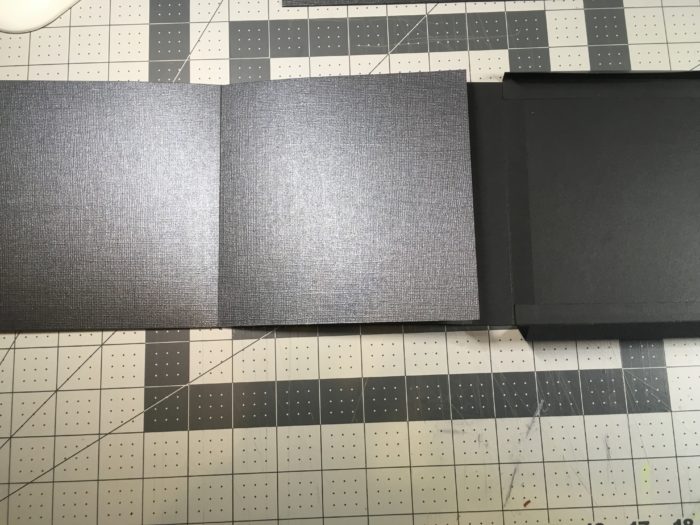
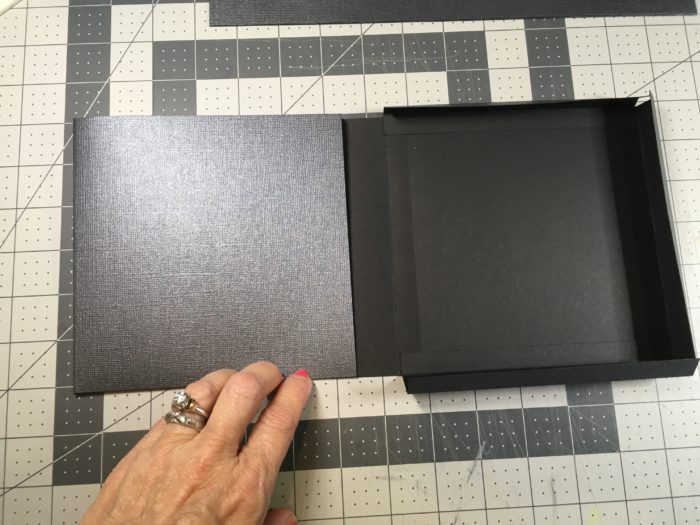
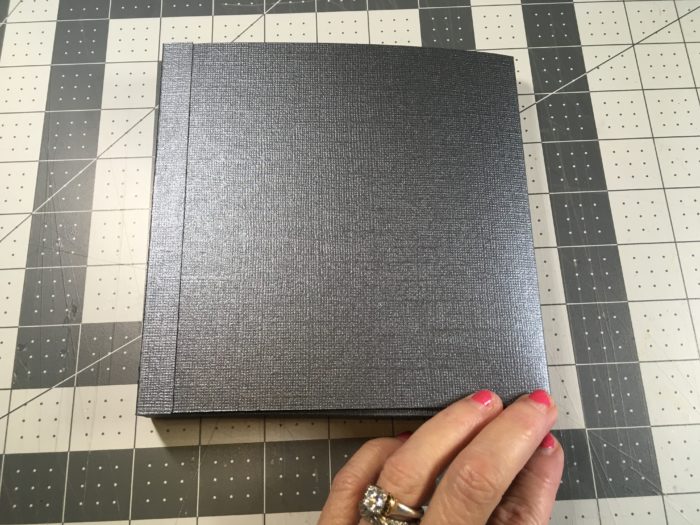
2. The next page will be attached to the bottom hinge with the split at the right side.
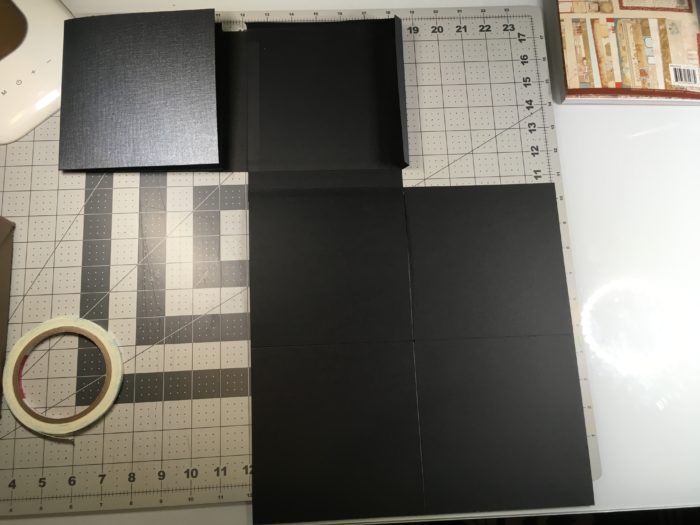
The page then folds inward to the left and upward.
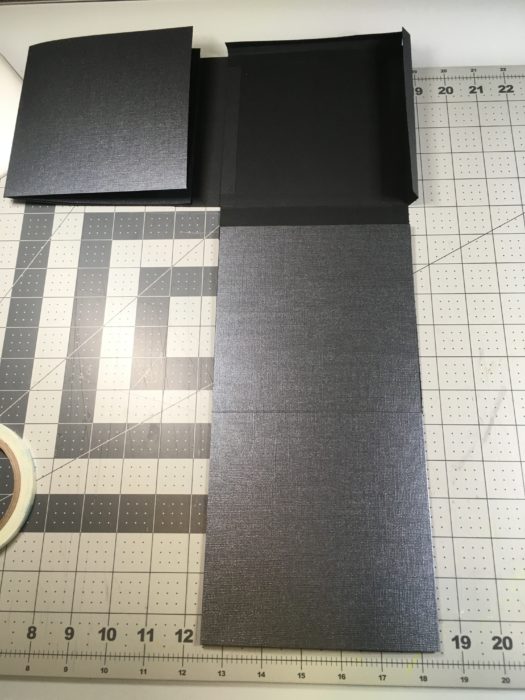
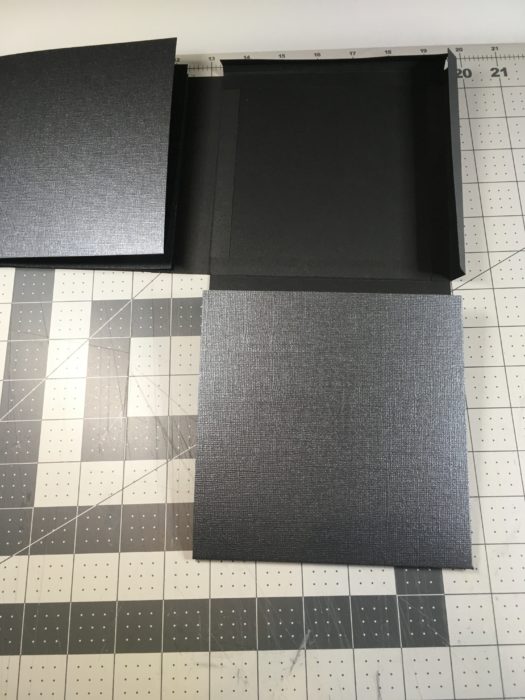
3. Next attach the right side page with the slit at the top of the page.
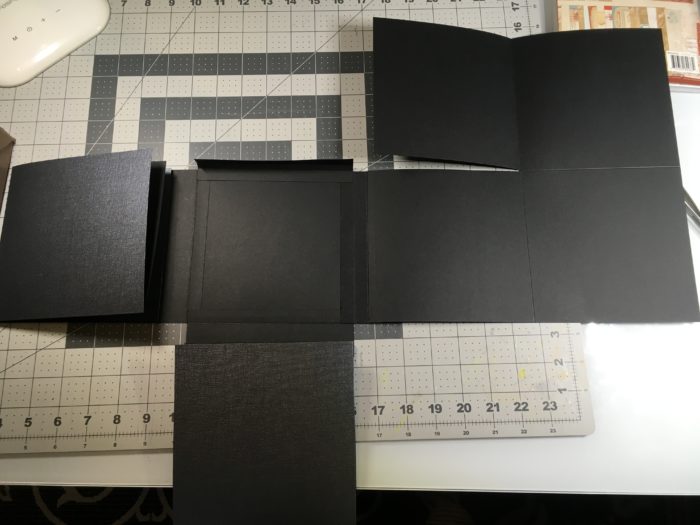
The page will then fold down and to the left.
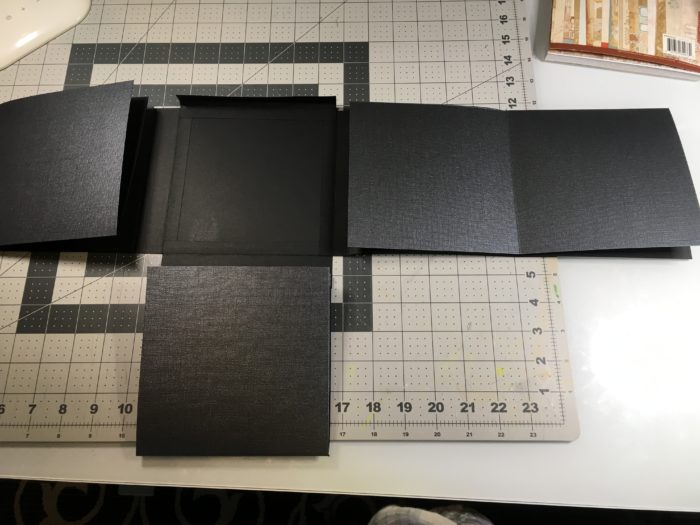
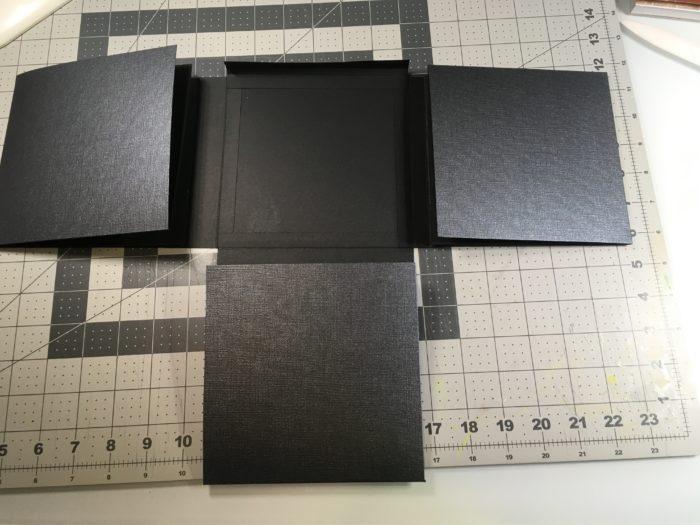
4. Lastly, attach the last page to the top with the slit on the left side.
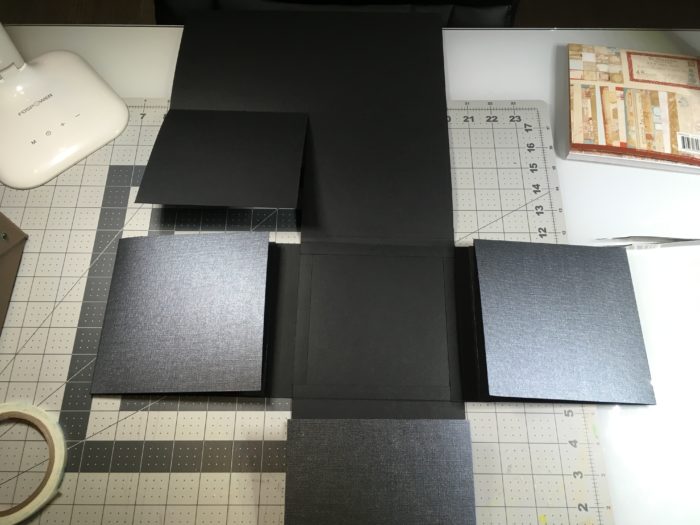
The page will then fold down and to the right.
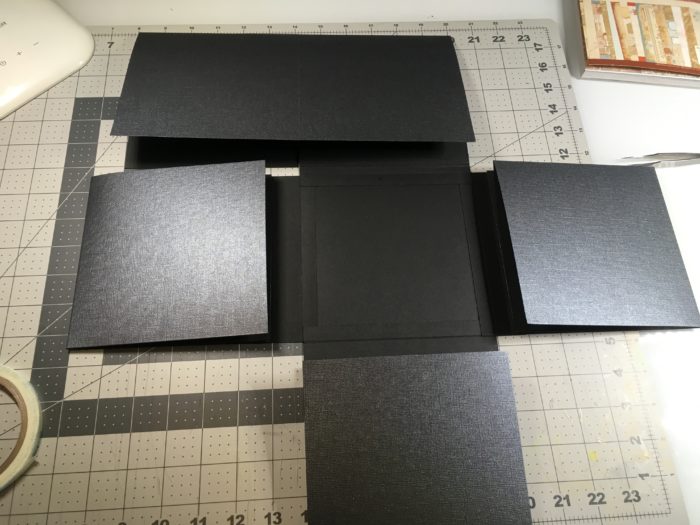
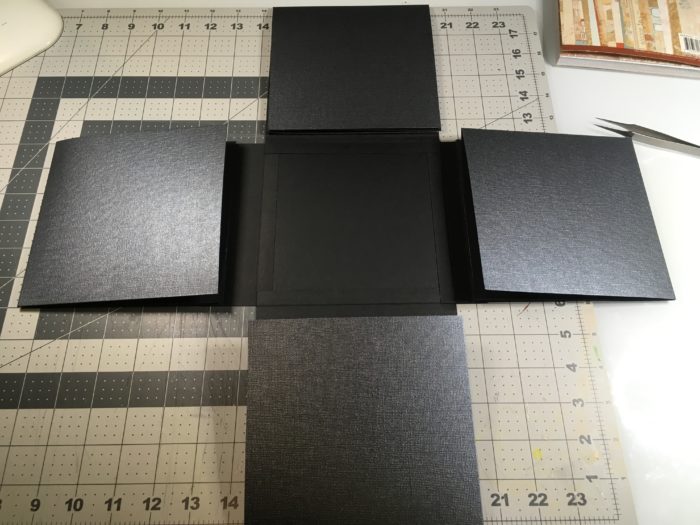
So now the album will fold into the center back/base as seen below: top down, right side inward, bottom upward, left side to the right.
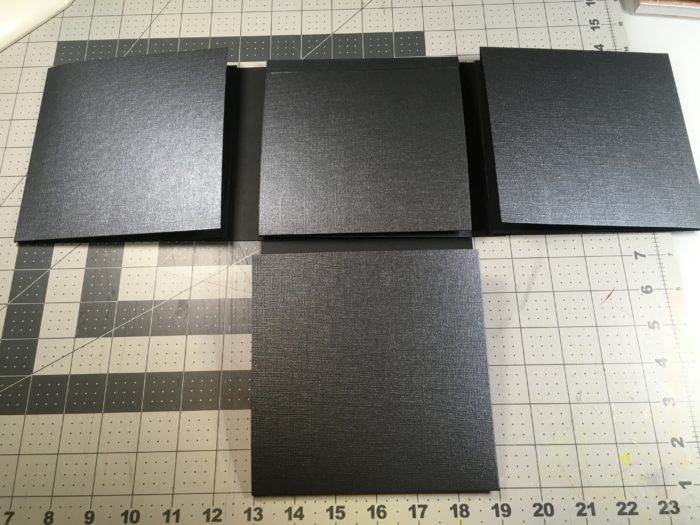
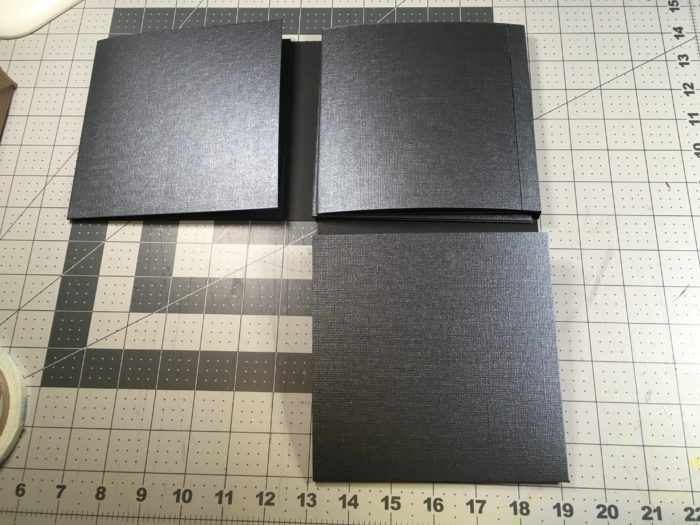
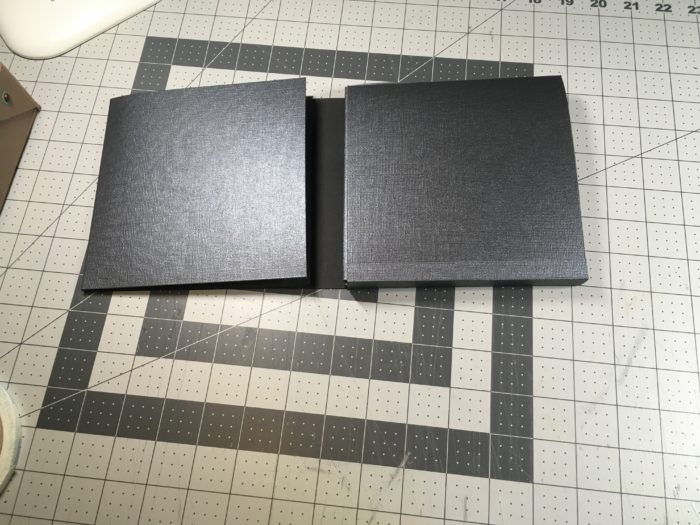
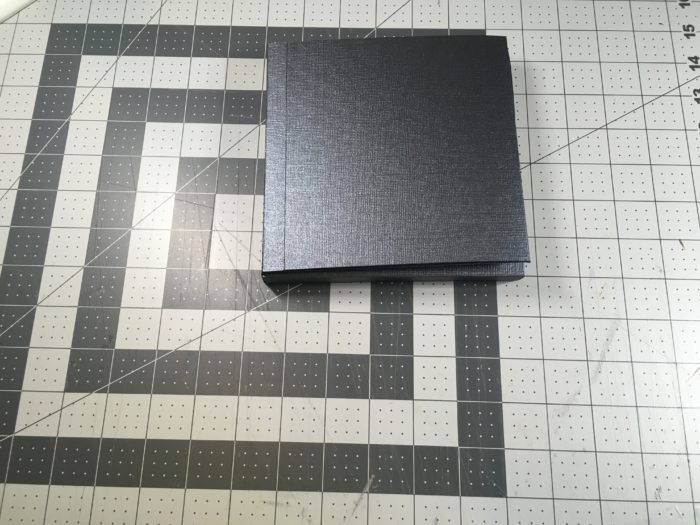
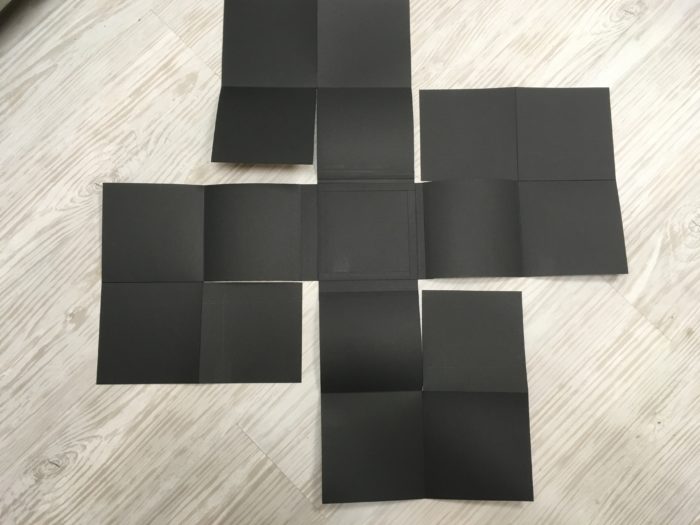
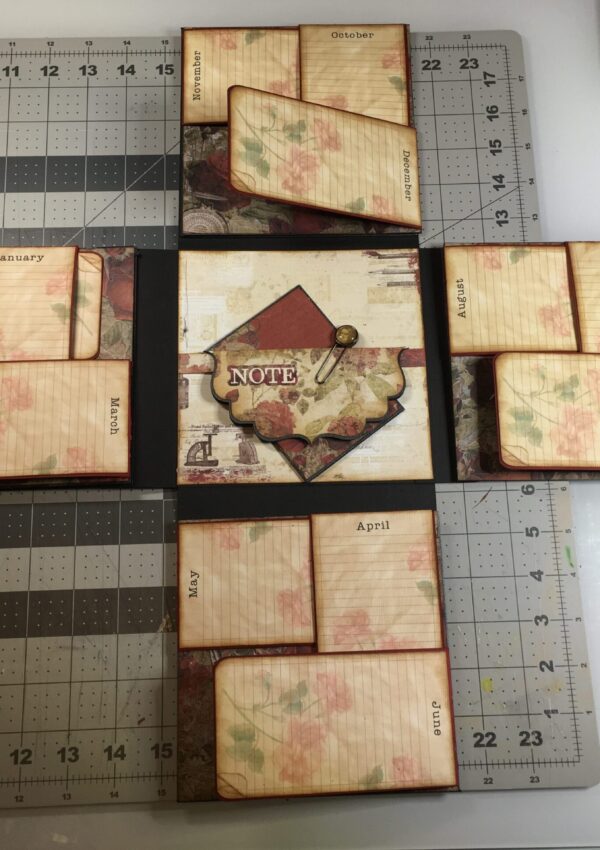
Here’s a look at the entire album folded out.
I’m going to end this tutorial here and leave you with a look at Emily’s Pinwheel Album finished . . . BUT . . . I want to let you know that I’ll be doing something very special with the album over the next couple of weeks. So . . . if you just want a mini album and have decorated these before, be my guest and finish it as you like. If you want to create something special you might want to wait till my next post or two!
Happy Crafting!



Leave a Reply
You must be logged in to post a comment.