Hello again,
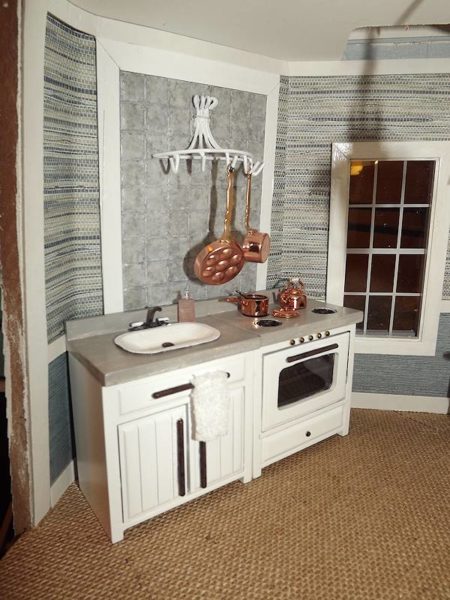
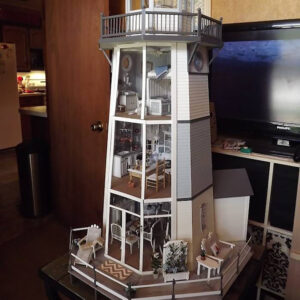
I’m now beginning to decorate the kitchen and thought I’d post this little project for you to try. The stove and sink have really only one wall they can be placed on due to staircases. These also don’t fit flat against the wall because of the slant to the wall and visually needed to be anchored. This was done by creating a large backsplash tile area which also gave me a nice place to hang the pot rack I so loved.
Here’s what the finished area looks like and how I created it.
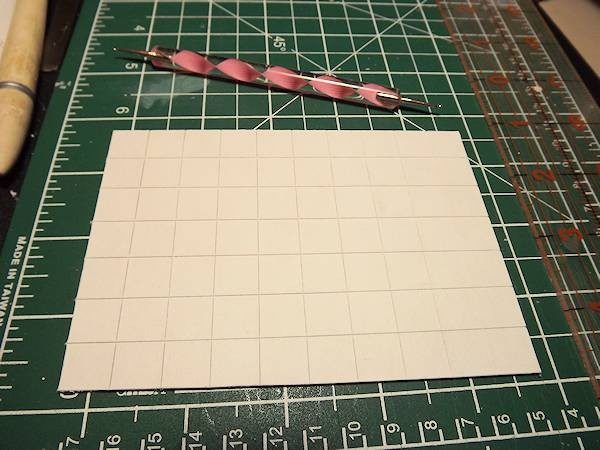
Begin with a piece of white chipboard the size of your area then score it with a craft knife, every half inch, both directions.
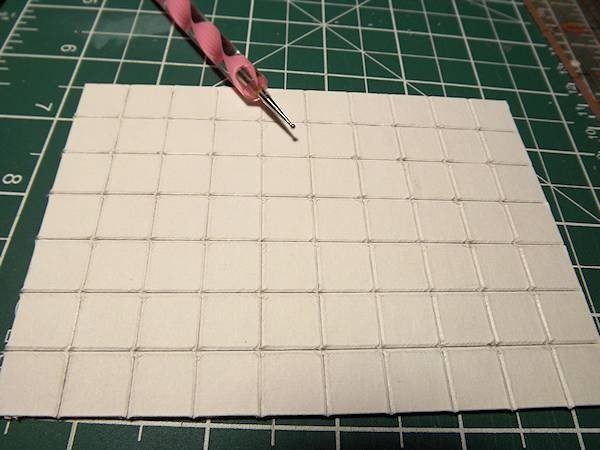
Use a ball end tool to run along all score lines, pressing firmly to create a depression for grout lines.
Sponge paint the entire piece with a minimum of 3 colors, working from dark to light then once dry, add Liquid Glass to each single tile, trying to keep it out of the grout lines.
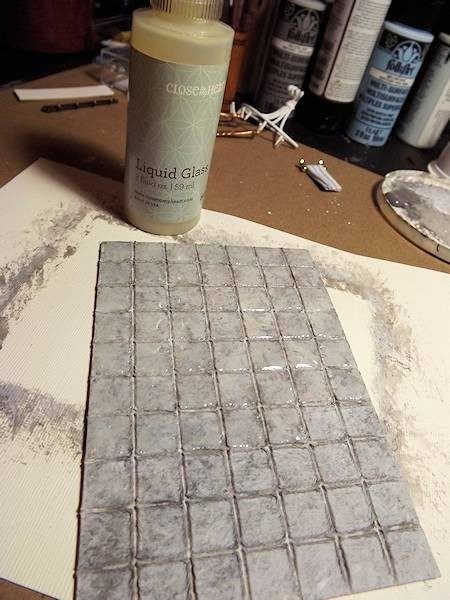
Lastly I glued this piece to a sheet of thin chipboard and added the white chipboard trim around the edges.
The pot rack was first glued to the tile then secured with a piece of wire that runs to the back of the entire piece.
Next . . . the stairs …. which have been a pain in my thoughts since the beginning when I discovered that the openings were in the wrong place (grin). I’ve come up with many an idea on what to do about these but just didn’t care for any of them. Stairs always get me in dollhouses. It’s logical that you should have them but they always seem to be placed in the most awkward places to me, unless they are a grand entry. So, after seeing some pull down stairs in a mini site, I decided this would be the easiest way to deal with the stair opening in the middle and top floor while not taking up any room.
Here’s how I created the appearance of a pull down staircase . . .
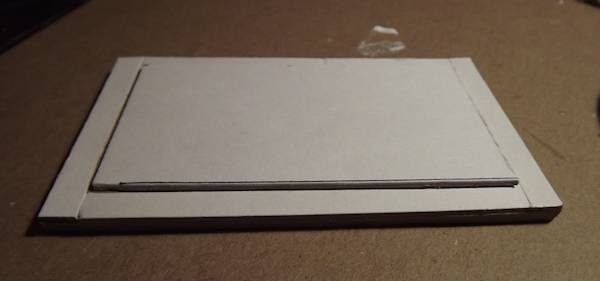
Ive cut and glued three layers of chipboard together then added some trim and an extra piece of chipboard on top. Paint the entire piece white.
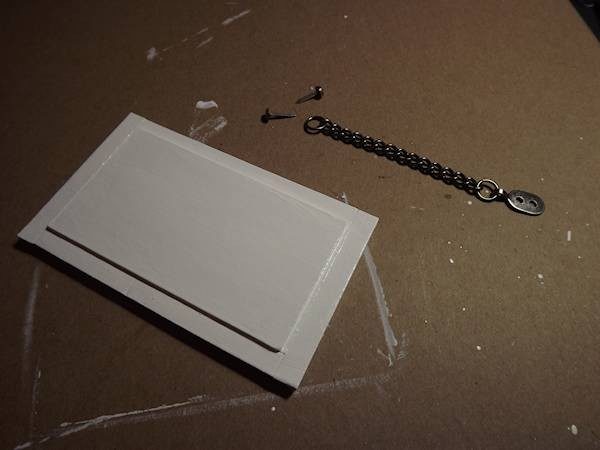
The metal pieces are from my stash of scrapbook metals, most likely a Tim Holtz item. The flat oval part was glued to the door area then the brads glued to the holes on the flat metal piece, after I cut the brad prongs off.
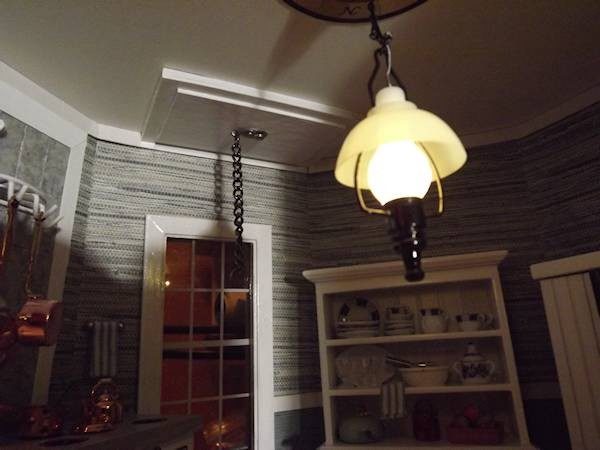
And finally, the entire piece was glued to the ceiling in the kitchen.
and for the floor above . . . stair railings
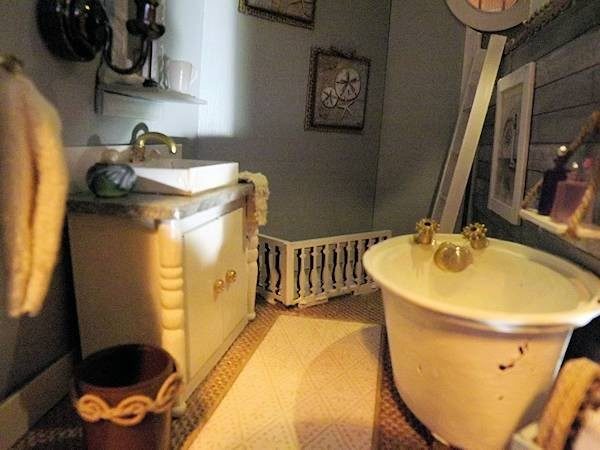
Next I’ve dressed the hutch, stove, sink and table with various minis for a lived in look.
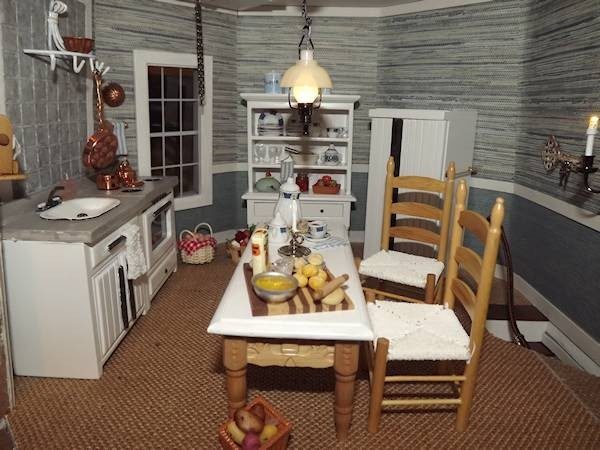
So that’s all for this time. I’ll be moving on to the living room next but am waiting on furniture before I can post more on that.
Till then . . .


Leave a Reply
You must be logged in to post a comment.