Making a brick wall for your mini display is super easy when you use XPS Foam! Here’s a quick tutorial for you to try . . .
Materials
- XPS Foam (alternatively you can purchase at your local hardware store)
- Ruler
- Pencil
- Kraft Knife
- Aluminum foil (rolled up into a ball)
- Acrylic paint
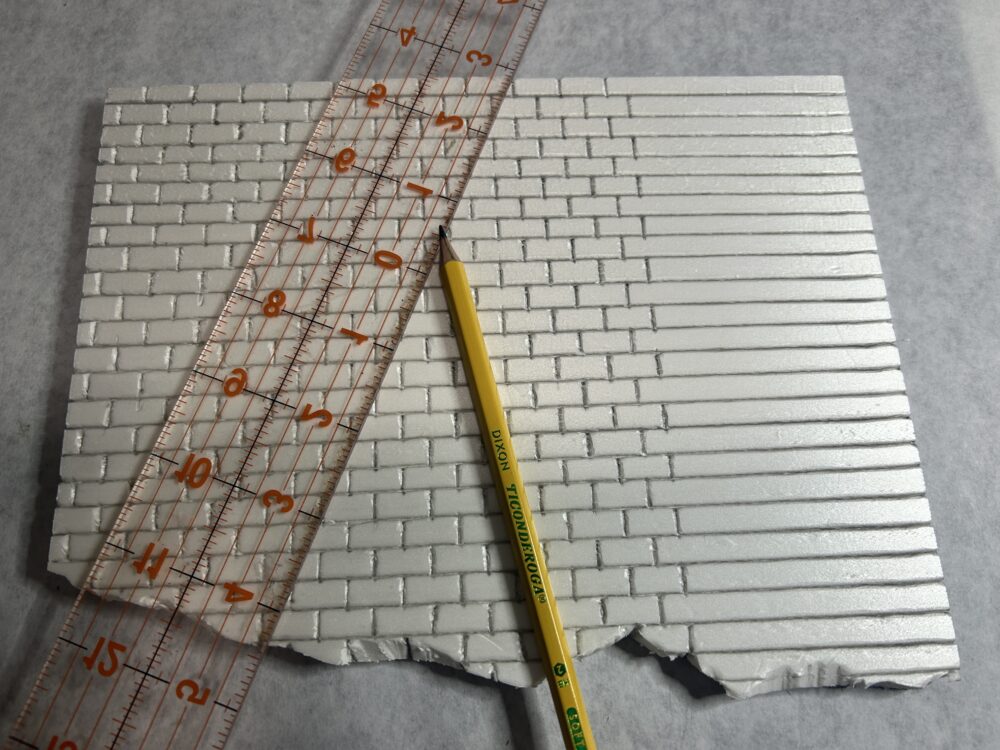
- Use a ruler and pencil to score horizontal and vertical lines in the foam. Stagger scored lines by 1/4″ on alternate rows for similar bricks.
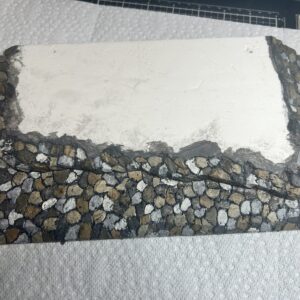
NOTE: This same method can be used to create a stone wall by simply hand-drawing the stone shapes in the foam.
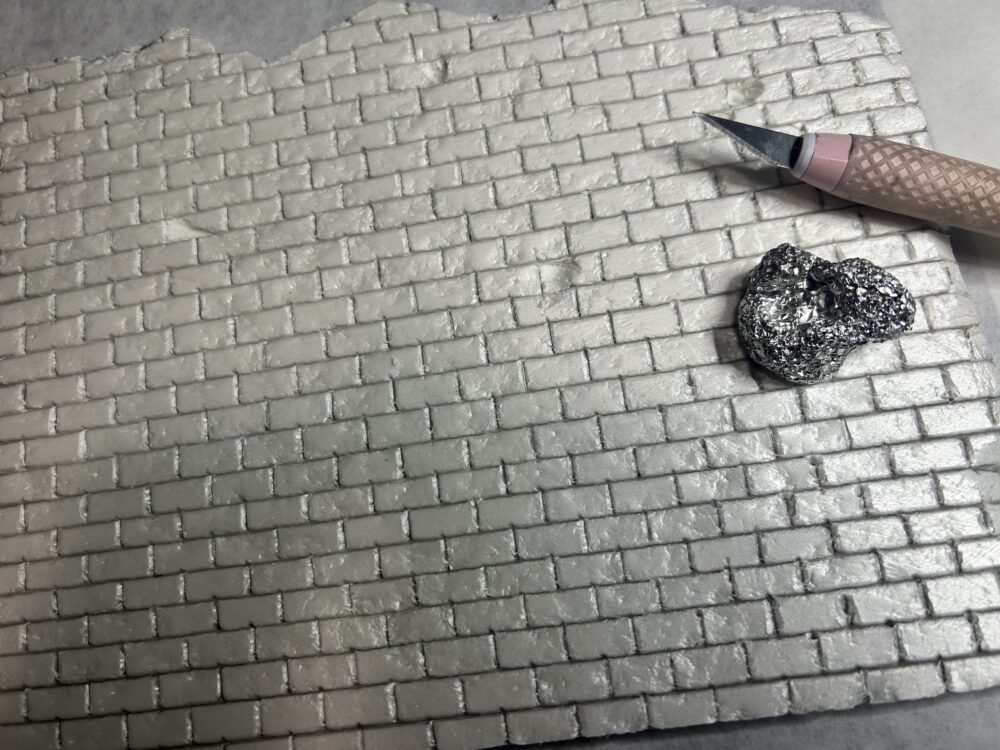
2. Use a craft knife to trim small pieces out of the foam on the top, sides, and front as seen at left.
3. Press the aluminum foil ball into the foam on all sides of the wall that will be seen to add texture to the bricks.
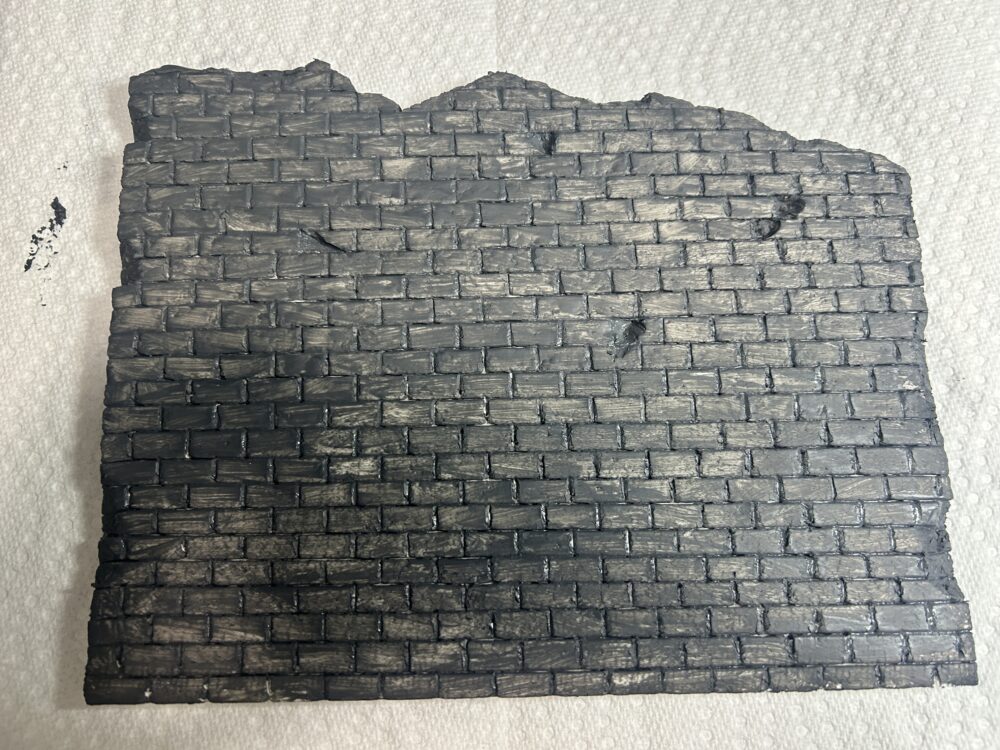
4. Paint the entire piece with dark grey acrylic paint being sure to get down in all of the cracks. Let dry completely.
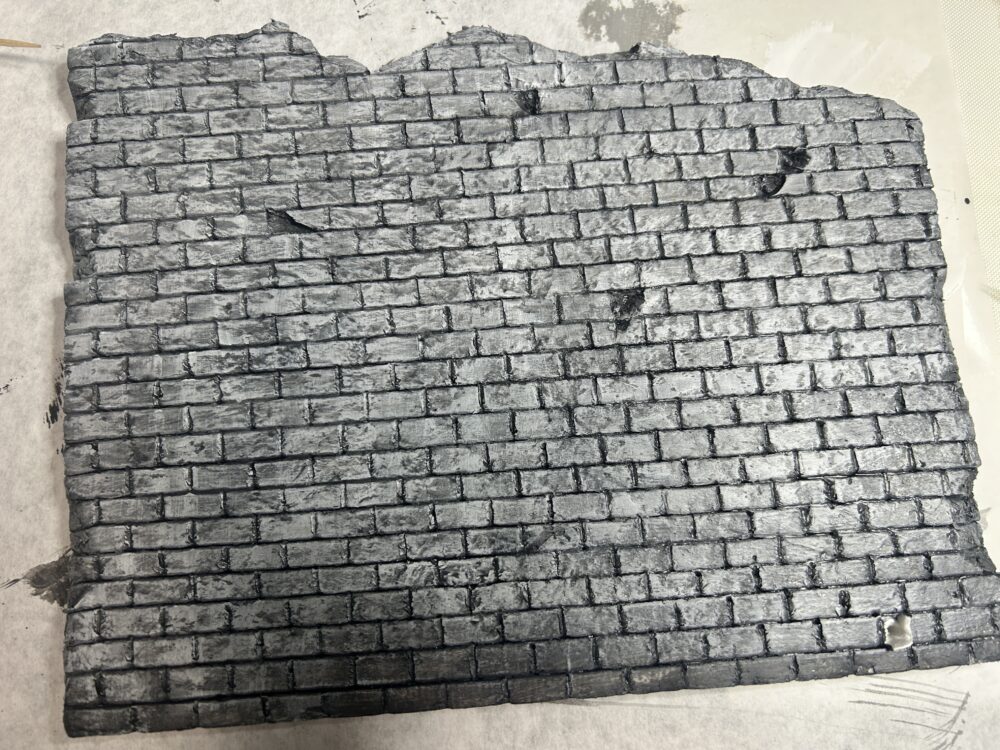
5. Dry brush the top surface of the bricks with a medium then light grey paint till you have achieved a look you are happy with. Let dry then add a wash of watered-down black paint over top, patting it off with a paper towel as you work. Work on small sections at a time. When done, spray seal the entire piece with a matte spray sealer.
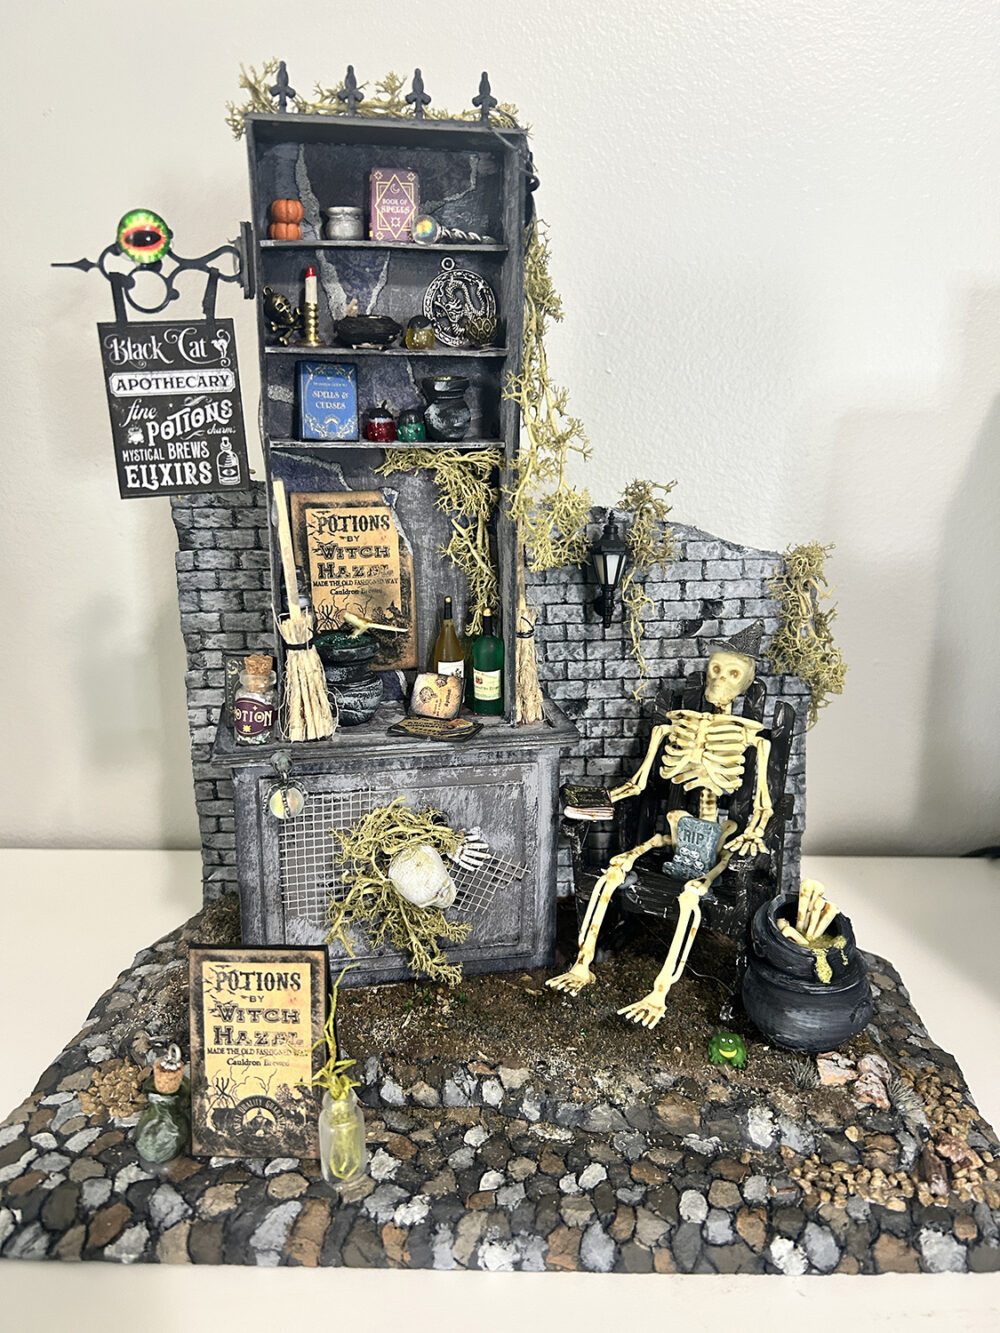
That’s it! Your brick wall is finished. You can further enhance it by adding some greenery or moss in various spots on the wall. Below is my finished wall and the project I’ve used it on.
The cabinet was created using a portion of my Steampunk Grandfather Clock kit.
Happy crafting . . .
Teri


Leave a Reply
You must be logged in to post a comment.