Cutting File Design by Teri Hanson © 10/1/2020 – for personal use only
Soooooo as you can tell I finally got around to making a paper cutting file for my popular Vintage Stove! Pick yours up today in my SHOP and I hope you enjoy the project!
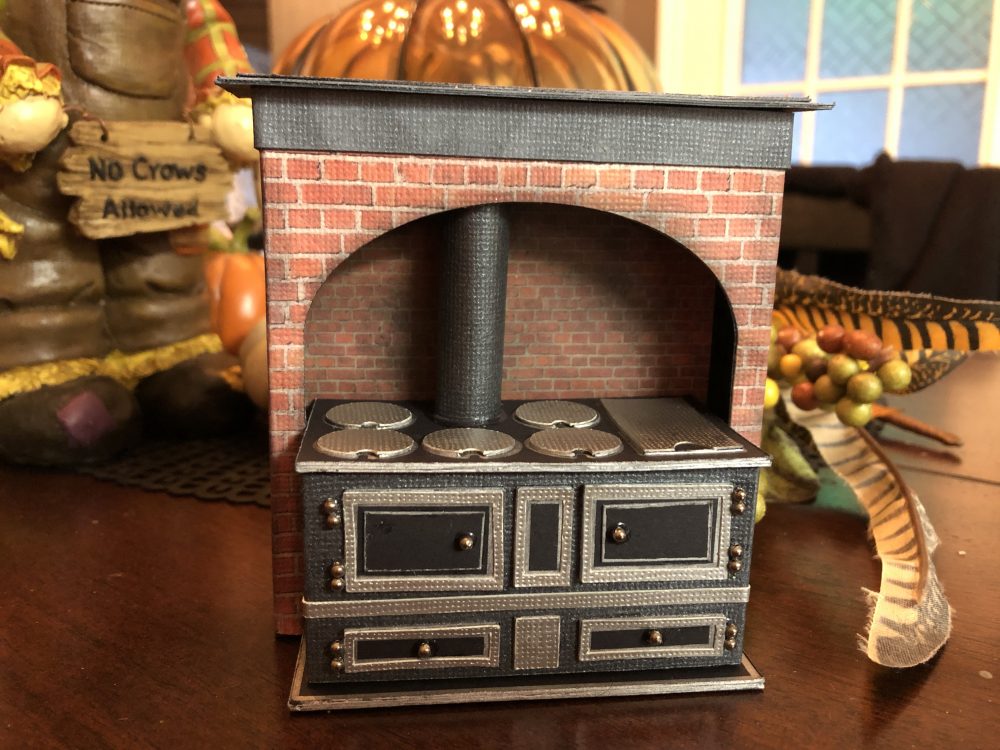
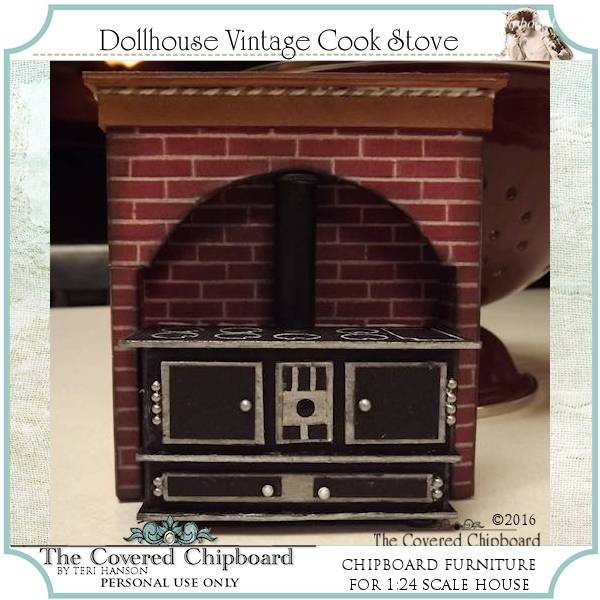
Above you can see the original version which was made from chipboard. The PDF option is still available in my home shop here if you prefer that over a cutting file SVG/DXF version. As you will see I’ve made just a few minor changes to the design.
FINISHED SIZE: 4″ high by 4.5″ wide by 1.75″ deep
The following applies only to the Cutting Files version HERE
Before we get started I want to bring to your attention the “Extras” file inside the download. I’ve given you two options for finishing both the top and front of the stove. One uses only the plain materials while the other adds drawn shapes to the materials giving you a guide to place the pieces as well as an added visual effect. Note that for the draw option you will have to manipulate the extras files somewhat. You can see how to do this in the video on down the page. There is also a wrap piece option for the front of the stove included.
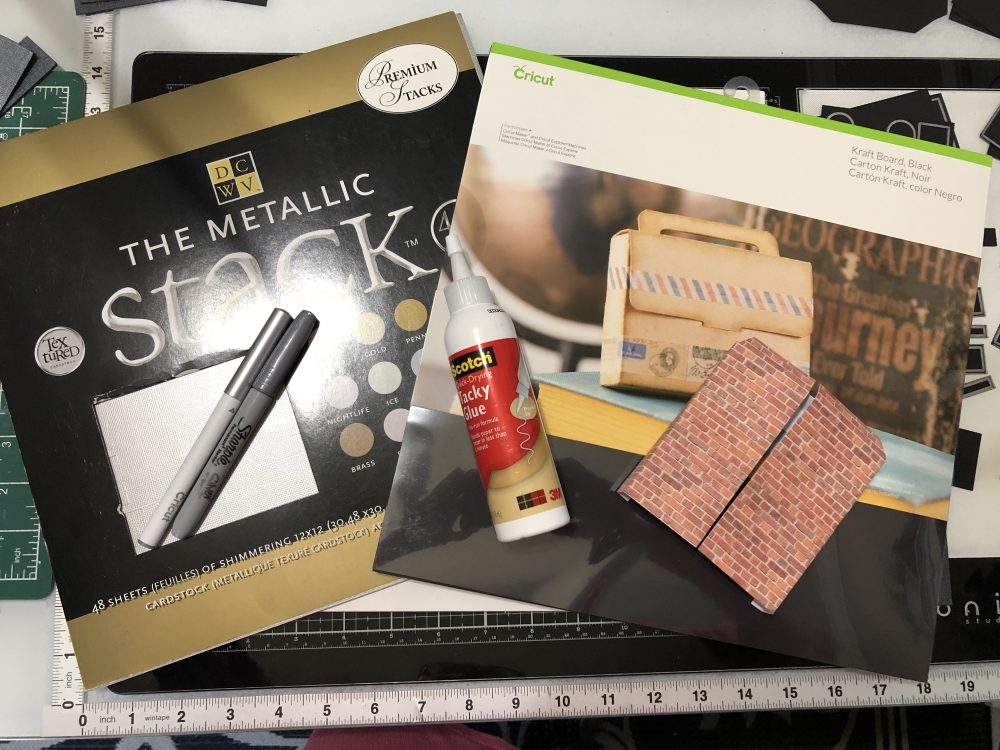
Materials . . .
- Cricut Kraft Board – black (2 sheets)
- AC Black Cardstock (scrap for stovepipe)
- Printable brick paper – or make your own bricks if you like
- DCWV Metallic Stack textured cardstock (1 sheet or scrap of silver) – or other silver metallic cardstock
- Silver metallic Sharpie pen
- Cricut Silver pen – Medium Tip 1.0
- Scotch Quick Dry Tacky Glue
- Optional . . . tiny flat back black pearls or gems (for knobs)
Cutting Guide Key . . .
Remember that files will need to be sized once uploaded to your canvas! In most cases you can simply set the Width and the height will be correct. Always double check the file sizes with the included PDF.
Also remember that you need to change any solid fold lines to “score” lines!
Be sure to watch the section about the “extras” file in the construction video!
Ok so let’s get started! Just follow along with the construction video below.
Final Notes . . .
- If you build the project just out of cardstock, I suggest a thicker type or you may need to double up on some parts for sturdiness.
- In the end I wound up adding a piece of kraft board: 1″ by 3.25″ to the underside of the stove area that sticks out from the surround. This was needed for balance and to keep the project sitting level.
- You could also add small beads to the bottom as feet.
- I would also cut two strips of the brick paper to glue inside the surround on the left and right sides as you can see these from the side, unless it will only be viewed from the front.
- Finally, if you want to go the extra mile, poke a small hole in the back, up under the middle and add a small light! I’ll be doing this when the stove is added to a roombox (more on that later – smile).
Thanks for checking out the project and I hope you are inspired to give it a try!
Happy building . . .



Leave a Reply
You must be logged in to post a comment.