
©2025 Teri Hanson/TheCoveredChipboard
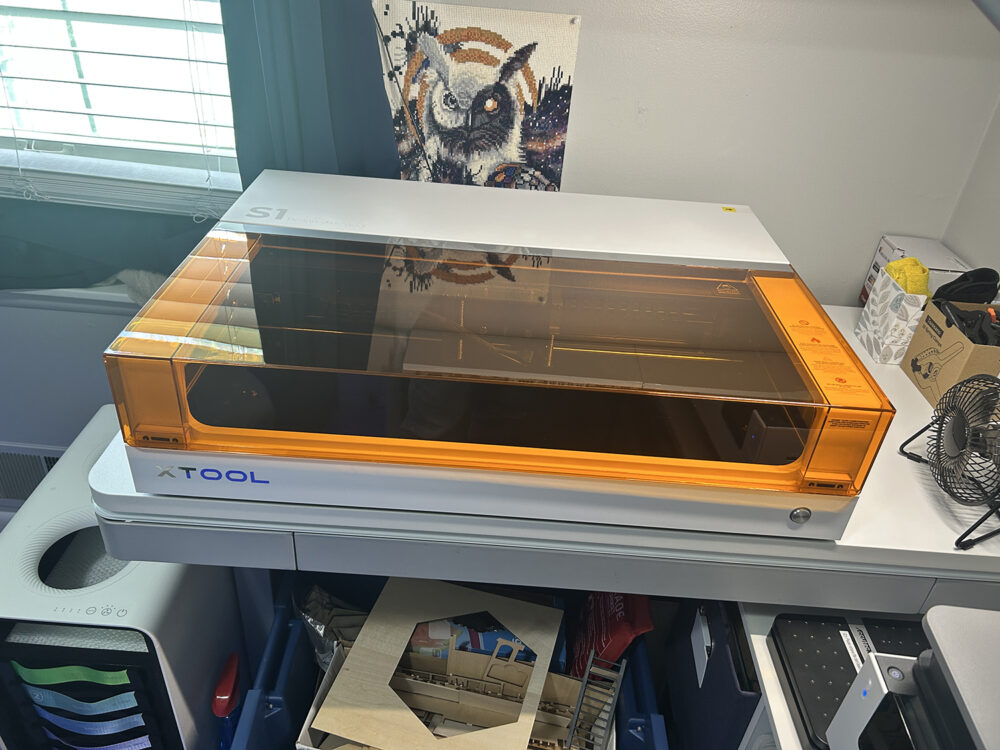
IT’S HERE!!!! My new XTool S1 laser arrived today and has claimed a spot in my craft room. I’m so excited to get started and use it to create more miniatures and kits. In future posts and videos I will be documenting how I’m using the machine and how well it works. For now, here’s a look at the machine and what came with it.

Many have asked why I chose to go with XTool over other laser brands. The simple reason is that after using their M1 introductory machine, I have come to trust the quality of their machines and their customer service. The fact that the software is easy to use was also a bonus. Don’t get me wrong . . . there was a bit of a learning curve but nothing more really than what you might have experienced when you got a Cricut machine or a Silhouette machine.
Because there are a gazillion videos online on unboxing and setting up the machine, I won’t be showing that here. If you want to see how EASY it was, this is one of the best videos I’ve seen on it.
Which laser should you get . . .
XTool offers several Diode laser machines, and how you plan to use the machine should determine which one you should get. Prices vary, mainly based on the machine and the wattage of the laser head. XTool frequently runs sales, so if you are not in a hurry and know the machine you want, keep watch around holidays on the XTool website. You will also find that most machines are available in various packages, including different accessories.
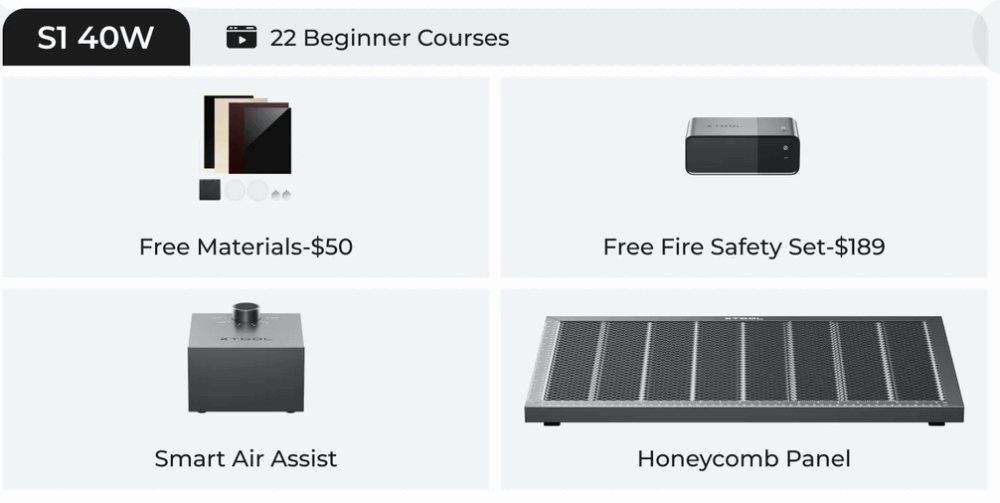
For the S1 machine, I chose the basic package, which included: the honeycomb, the air assist, and the fire safety set. Every machine will include a materials package for making a first project or two.
The S1 has a 10w, 20w, and 40w laser head to choose from. Because I’ve used the M1 in a 10w, and wanted both a larger cutting area and to make faster cuts, I chose the 40w option. The S1 also offers you the ability to swap out the laser heads for different power and usage, which was another reason I selected this machine.
Some things to consider . . .
Let’s back up just a bit, back to when I purchased the M1 as my first laser machine. The main thing you need to consider in purchasing a laser machine is how you will be using it. I put this choice into two categories: 1. those who want to make a variety of crafts in a variety of materials, as well as wood, for themselves and/or as gifts. 2. those who want to work with wood and other materials to create items for a small business.
Please note that the following is simply my own personal experience and thoughts. While I do have experience with the M1 machine, I have not worked with the M1 Ultra but have watched a multitude of videos on it and read countless Facebook group posts about it. So take what you will from my journey, and do be sure to do your own research!!!
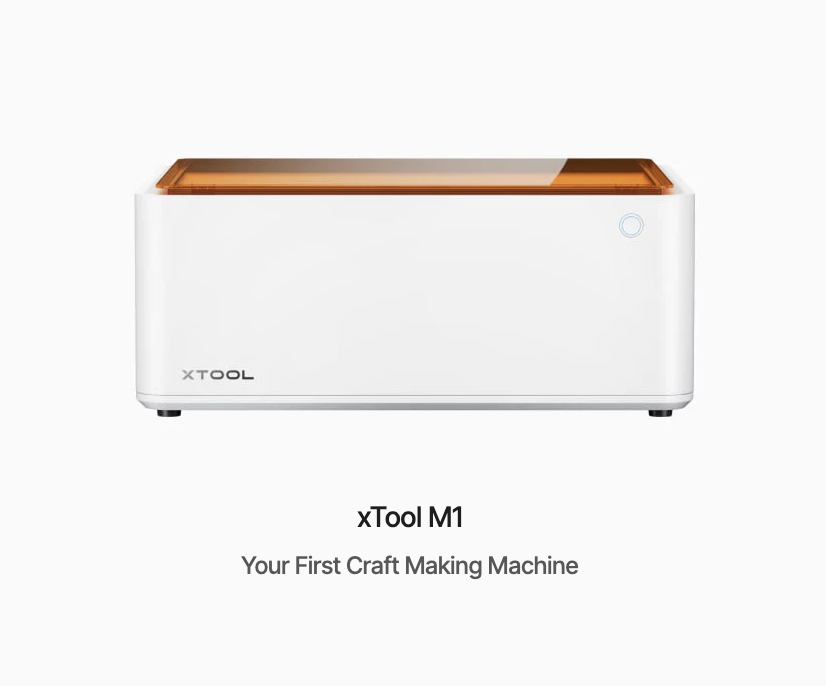
The M1 . . .
I started out with the M1, which is a 10w machine. While it suited my purpose at the time, and was a great introduction to laser machines, I soon discovered that the cutting time was much too slow for business use. I also found that the cutting area size was smaller than I needed, and I wound up with a LOT of scraps.
While both the M1 and M1 Ultra machines are class 1 lasers meant for home use . . . there are some very important things to know before purchasing!!!! They are designed to be safe for use under normal operating conditions, in your home, and the laser module is completely enclosed during operation. That said, if you choose to get and attach a riser base to either machine, they are no longer class 1 lasers. Adding a riser base creates gaps around the base of the machine, allowing harmful smoke and fumes to leak out. NOTE: I discovered this with the M1, I’m not sure about the M1 Ultra, but I tend to think it would be the same from various posts I’ve read.
The purpose of the riser base is to allow the use of the honeycomb and air assist. The riser allows you to move the honeycomb up and down, allowing you to cut/engrave thicker materials based on the wattage of the machine. Using the honeycomb and the air assist is pretty much a necessity for cleaner cuts, eliminating all, if not most, of the char on wood. With the M1, the only way to do this is to add the riser base to it.
What I discovered was that I am very sensitive to the smell (in my opinion and others, it’s a pretty bad smell), and knowing that the fumes are very harmful, I had to find a solution in order to run the machine inside my office. I first added a zip-up enclosure to put the machine inside of which helped some, but eventually wound up purchasing the XTool AP2 Air Purifier for a good bit of change. I not only have the air purifier hooked up to the machine, but then have also vented the air from the purifier out of the window. This kept any and all smoke smell and fumes out of the room. It is also important to note that the higher the wattage on the laser head, the more smoke will be created. So you need to consider that you might have additional costs beyond just the laser purchase. I believe this to be true no matter what brand of laser you chose to purchase.
In conclusion . . . if you have a tight budget the M1 is a good machine to look at. Just be sure and consider if you will need add-on items as mentioned above. I found it an easy machine to learn and use and believe for the crafter it’s a good choice.
Cutting area is about 11.75 wide by 0.875 inches tall using a 12×12 sheet of wood.
Maximum material thickness is 8mm.
Cutting area is about 11.81 x 11.81 inches on a 12×12 sheet of wood.
Maximum material thickness is 10mm with the 20w laser head.
Both machines can cut a wide variety of materials such as . . .
The xTool M1 and M1 Ultra can cut a wide range of materials, but keep in mind that different materials could add to the smell and smoke. You can find a complete list of materials on the XTool website, but please research these before attempting to cut or engrave them!!!
- Wood: Basswood, plywood, and other types of wood.
- Acrylic: Some colored, and opaque acrylic. DIODE LASERS WILL NOT CUT CLEAR ACRYLIC OR SOME COLORS OF ACRYLIC!
- Leather: Various types of leather.
- Fabrics: Many types of fabrics, including felt and velvet. WITH A CUTTING BLADE LIKE CRICUT
- Paper: Various types of paper and cardstock. WITH A CUTTING BLADE LIKE CRICUT
- Metal: Coated metal, painted metal, and electroplated metal.
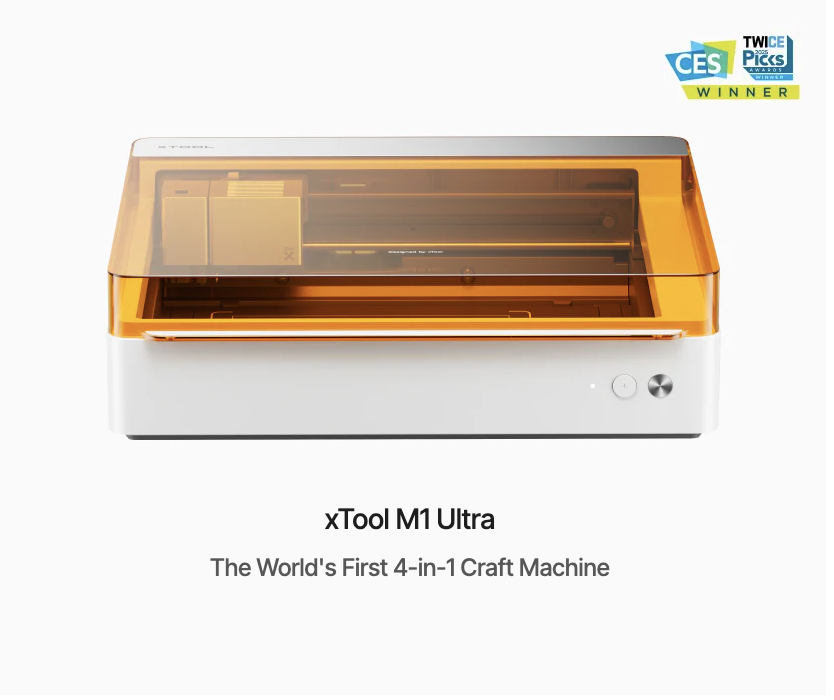
The M1 Ultra . . .
Much of what I stated above may ring true for the M1 Ultra. Again, I do not have any experience with this machine. It was intended, I believe, to eventually replace the M1 machine and is geared more to the all-around crafter making items for themselves and/or gifts. It also does much more than cut/engrave wood and could possibly take the place of several other machines in your craft room. Watch this video below to get a good idea of what this newer machine can do.
My opinion is that if the M1 Ultra had been available when I purchased the M1, I would have picked the M1 Ultra instead.
So that should give you some things to think about if you are looking for a laser machine. I will leave you here for now. Keep watch as I should be making more posts soon as well as adding some of my own videos about using the S1 machine!
In the meantime, you can see a bit more info on the S1 machine HERE on XTools website.

Till next time . . . happy crafting,
Teri!

Leave a Reply
You must be logged in to post a comment.