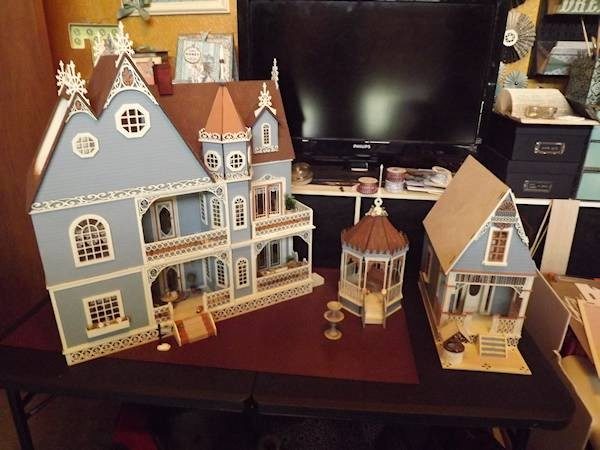
This past year I asked for and received, from my kids, a miniature dollhouse kit. I thought it would be something fun and relaxing to do in my spare time. A new hobby, just something I’d admired from afar and thought I would have fun with. Little did I know that it would start me on a wonderful journey and change the direction of my current home based business. Since beginning the project I’ve become hopelessly addicted to this tiny world and all that it entails. I now not only have the original house but a Gazebo and Guest House as well as several other projects I’ve designed and created from scratch!
One thing I’ve noticed, via miniature facebook groups and chatting with others is that most tend to get hooked on that very first project and most likely will have a lifelong addiction to the miniature world. You will probably never have just one project in the works at one time and will try making things so tiny or elaborate that you never dreamed you could make. This hobby is not only fun but challenging and very rewarding. I’ve found it to be a very relaxing hobby that keeps the brain and hands active.
You will find yourself looking at everyday objects in a different way seeing suitcases as houses, tree limbs as posts or furniture bits, beads and buttons as lamp bases and perfume bottles.
Being a newbie myself, there are many things I’ve discovered and realized along the way, as well as mistakes and choices I’ve made. Hopefully this information will help other newbies not make the mistakes I did or help them decide the best way to get started in this hobby.
Your first miniature project . . .
Not everyone starts this hobby off with a full blown dollhouse. Many begin with a small single theme or room project created in a small space or room box. You can create miniature scenes in lanterns, teacups, suitcases or simple boxes. These are mostly a one room scene based upon a theme such as a garden scene, boutique, parlor or other room of a house. Even the Gazebo I have would have been a great starter project. Starting this way gives you a good idea of what all goes into creating a scene, teaches you about scale, and is a project you can finish in a relatively short period of time. In hindsight I wish I had started with a room box just to get the feel of things.
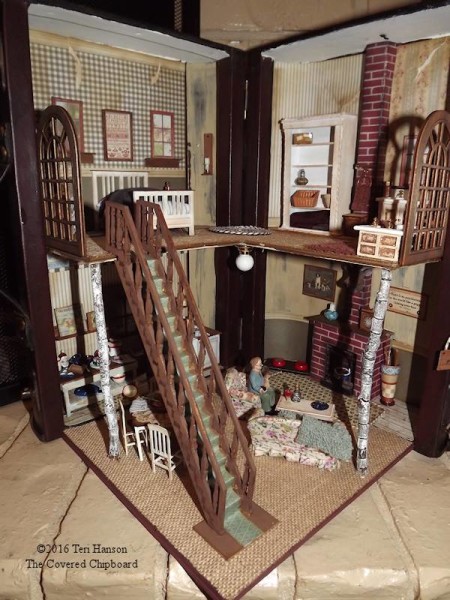
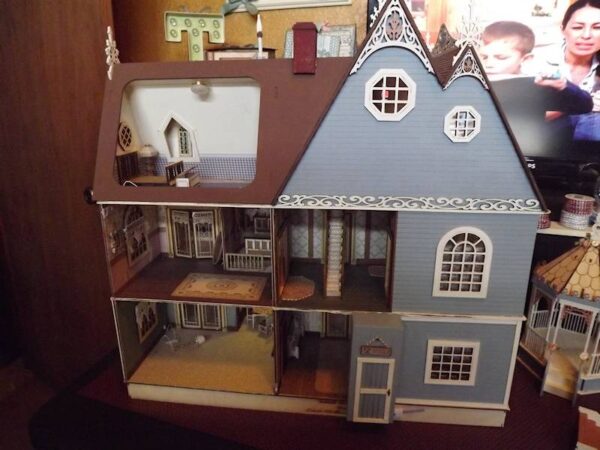
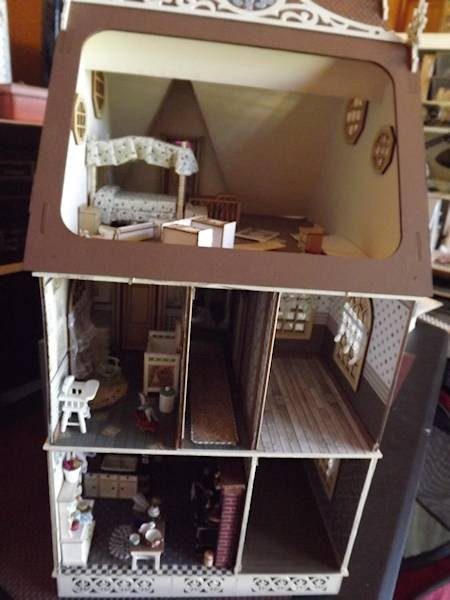
As you can see below, my first project was a full dollhouse and a complicated sort of one as well. There are many rooms at different angles with four rooms and an attic space on the backside as well as four rooms, a hallway and attic space on one end of the structure. Personally, I think this is a big undertaking for a first project.
Laser cut house: Jasmine Gothic Victorian with French Doors by laserdollhouses.com
Picking a dollhouse kit . . .
I am so glad that I picked a laser cut style house for my first full house project. A nice thing about this style of dollhouse, and the manufacturer that it came from is that all of the fancy trim, doors and windows as you see in the photos, were included. Everything I needed to complete the structure was in the box and I didn’t have to purchase anything but paint and glue. This is not the case with every dollhouse manufacturer! So when looking for your first house, do be sure to read or ask what all is included with it! Doors, windows and trim can add to the initial cost of your project significantly. Another nice thing was that the sides of my house were made to look like siding so I didn’t have to piece and apply clapboard siding to the structure where most houses have siding in sheets or will need to be added to the house sides in strip pieces.
Another thing to understand is that most laser cut houses are what they call “slot and tab” construction. These are, in my opinion, the easiest structures to put together and great for beginners. You simply have floors and walls that are held together with the slot and tabs then glued together. They go together rather quickly and easily. Most regular houses are not slot and tab where you simply glue the walls edge to edge.
Here’s a look at the first floor of my house, in the test build stage. As well as a close up showing no tabs visible outside of existing walls.
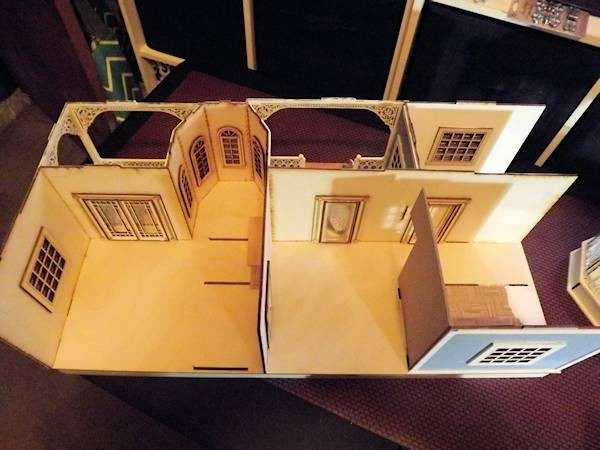

And let me say . . . not all “slot and tab” structures are equal! Look at the house you are considering and see if the tabs are flush with the slots or if the tab sticks out beyond the slot. Personally, I don’t care for those where the tabs extend beyond the slots. I think it cheapens the finished look of the house. Also look closely at the fancy trim . . . is it delicate or chunky looking? Again, personal preference but I don’t care for the chunky looking trim that a lot of manufacturers use. These things may or may not be important to you but they are things to pay close attention to and decide what you like before you invest several hundred dollars in a project.
You can see and read more about my Laser Dollhouse here.
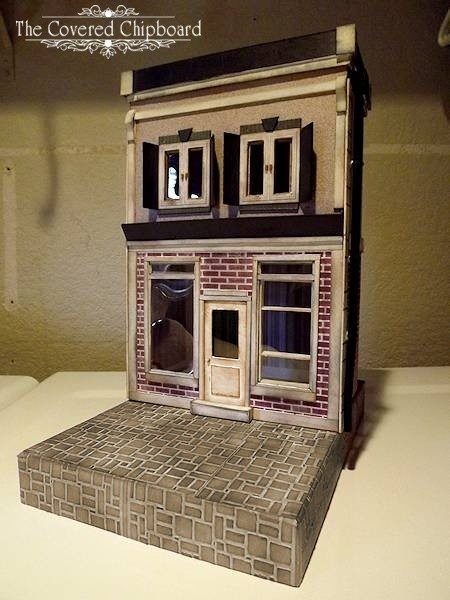
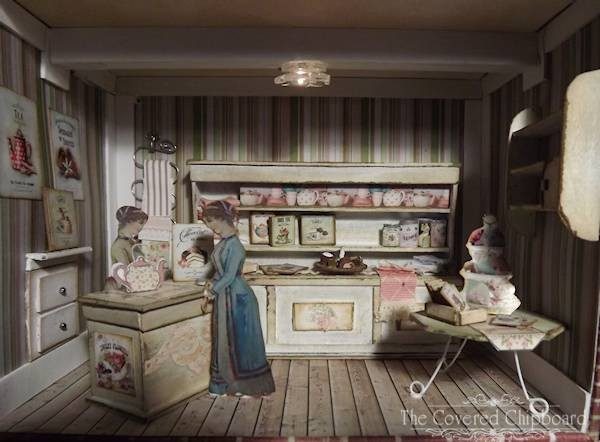
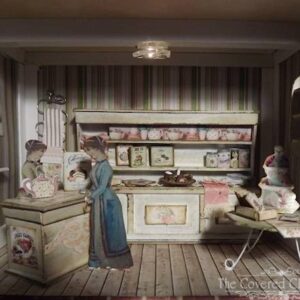
Not one for a house yet? What about creating a village shop? Here’s my Tea Shop project . . . It’s created from Chipboard and includes furnishings as seen below.
Choosing a scale for your project . . .
If you are new to the world of miniatures and Dollhouses you’re likely confused about scale, just as most newbies are. In fact, I’m still finding my way around the scale of things, since getting my first dollhouse. You might start out not being overly concerned about the correct scale being used in a project but as you work and complete projects, you’ll find that this becomes more important for the overall end appearance of your project.
As you purchase items for your project you will also find that not everyone’s scale is exactly the same. I’ve purchased several items over the past few months that were stated as a specific scale only to find them off a bit from other pieces in the same scale. A good rule of thumb is to always pay attention to the piece measurements and ASK the seller for the measurements if they are not stated in the product description.
For example, here’s a pic of two 1:24 (half scale) (1/2″ = 1′) scale chairs, each from a different seller . . .
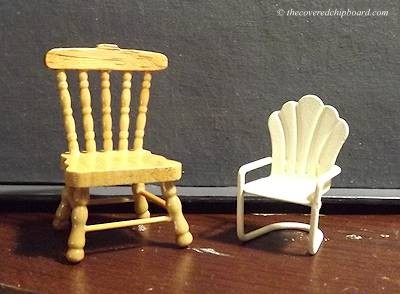
The chair on the left has a seat height of 5/8″ and back height of 1-5/8″ and a width of 1-1/16″ while the chair on the right is 7/16″ x 1-1/8″ by 3/4″. So which one is correct? Well here’s the tricky part . . . not all dollhouses are always “true to scale” so you need to go buy what will fit in your house or project. My first house was a laser cut house and though very close to scale, it isn’t “exact”. While the chair on the left is perfect in it, the one on the right is way to small. More often than not, it comes down to scale or an item being relative to your project unless you have built or purchased a structure that is “true to scale”. I’ve found that it also helps to purchase your furnishings from the same or same group of sellers.
Pros and cons, for me, of starting with a half scale structure were . .
- Pros – complete house was a lot smaller in half scale than it would be in full scale. Full scale would have probably taken up most of that table you saw in the picture! In half scale the house measures 24Wx12Dx25H. In full scale it would be 39Wx19Dx39H.
- Cons – finding furnishings for the house in half scale. Full scale is the most popular scale it seems and so I’ve found it very difficult to find decent furnishings for my house. One, the selection is pretty limited and two, most are not that great of quality and if they are, they are very well made and very expensive! It’s also very very hard to find accessories in half scale.
Half scale has been a little frustrating for me in terms of finding furnishings one one hand, on the other, it’s been a challenge. Sort of like a scavenger hunt but for furniture and accessories.
That said, I think for a first project / house I would, knowing what I do now, a full scale house or project to start with.
Furnishing your house . . .
The challenge, with half scale, has been to discover what furnishings I can make myself. You would be surprised what you can create out of everyday items. These might not be super detailed or super fancy but they can look very nice and well suited to your house when you are creating most of the items yourself.
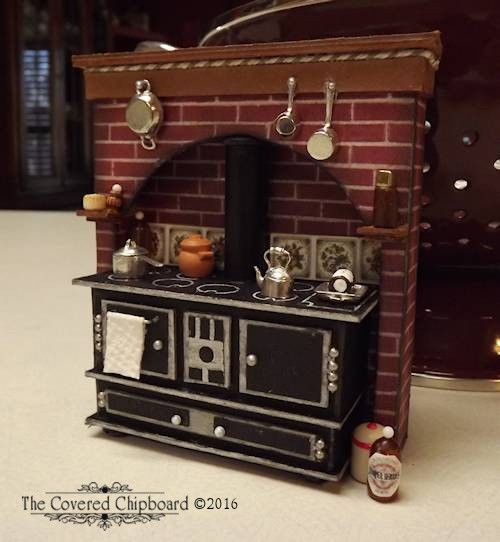
Here’s a good example . . . I wanted an old fashioned cook stove but the ones I found to purchase were either poor quality or pretty expensive. So I researched vintage cook stoves online and came up with the design for one below, creating it out of chipboard. I did purchase the silver pots and pans but the rest of the accents were created with paper or beads.
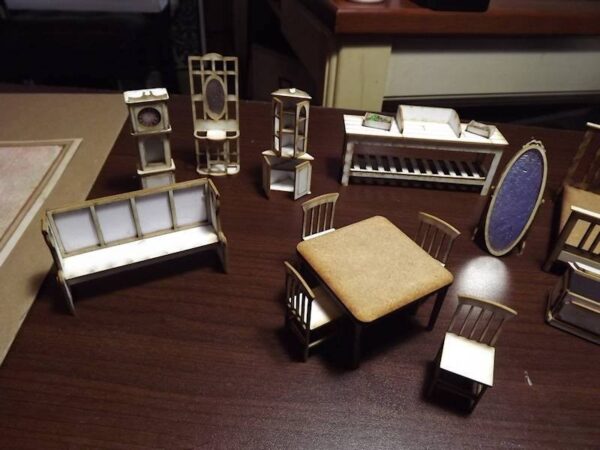
Another option is to find furniture kits that you can build. These are wonderful and I’ve had great success with them. There’s a place I especially like: Petite Properties. Not a huge selection but some nice pieces and the scale has worked well in my house. Furniture kits are often created with a thick mat board, cardboard or wood and a lot of shops now sell the kits. They can be painted or stained easily and are pre-cut ready for assembly. Below are some Petite Properties kits I’ve created.
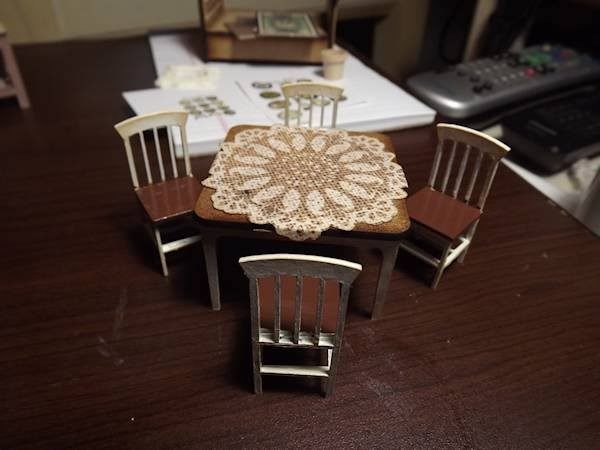
Here’s the table from the above photo after I’ve finished it . . .
So when you think in terms of scale for your project or house, you’ll want to decide how much time you want to put into furnishing it. Will you want to purchase everything or dive in and create or build furnishings.
Scale information . . .
Following is a little explantation of the most common and popular scales that should help you out.
- Full scale 1:12 one inch equals one foot in real life, sometimes called one inch scale gained a widespread acceptance among collectors of artisan miniatures when it was chosen as the scale for Queen Mary’s Dolls House. Most will start off with this scale.
- Half scale 1:24 one half inch equals one foot in real life, is gaining ground in the U.K. and Europe as a popular miniature scale. This is also a common play scale for children, as Playmobile houses and accessories are in this scale to go with the railroads and vehicles produced by Playmobile.
- Quarter scale 1:48 has become increasingly popular, especially in the U.K. This scale is similar to railroad “O” scale and building parts available for railroad buildings can be used for quarter scale houses. In this scale, a person 6 feet high in real life would be 1 1/2 inches (6/4) inches tall or almost 4 cm.
- Micro scale 1:144 has been called Dollhouse for a Dolls House Scale or Micro Scale. Buildings this size can be used as 1:12 scale dolls houses inside a 1:12 scale dolls house. This is very close to the British “N” scale railway size of 1:148.
From my online searches, you can find 1:12 and 1:48 or 1:144 scale items easily.
You can use the following to determine pretty much, the scale of your house or project . . .
- 1:12 scale with a ceiling height of 8-10″
- 1:24 scale with a ceiling height of 5-5.5″
- 1:48 scale with a ceiling height of 2.5″.
So there you go! I hope you enjoyed the article and that you are ready to jump in and choose your first project or house. Remember, above all else . . . have FUN! Take your time and enjoy the process.
If you are ready to jump in and make a shop, house or furniture . . . check out my shop for some fun projects created in chipboard! It’s an inexpensive material and a great way to jump into the world of miniatures.


Leave a Reply
You must be logged in to post a comment.