this later part of the year, after our state to state move, I decided to challenge myself and try some new techniques. One of those techniques was to start working with a material called XPS foam. Another was a form of paper mache I found on a YouTube site: Where the Gnomes Live. I’ve fallen in love with both techniques so you will be seeing more of these in future builds.
Firstly, using the foam I’ve made a tombstone for this mini display of Jack Skellington. Now if you have never tried XPS foam, it’s nothing like styrofoam or cheaper foam you get at the dollar store. You can find it in a multitude of thicknesses, cut it with a box cutter, exacto knife or a hot wire cutter for thicker pieces. Using a pencil or ink pen you can draw on it or carve it as I’ve done here. It also takes acrylic paint like a dream!
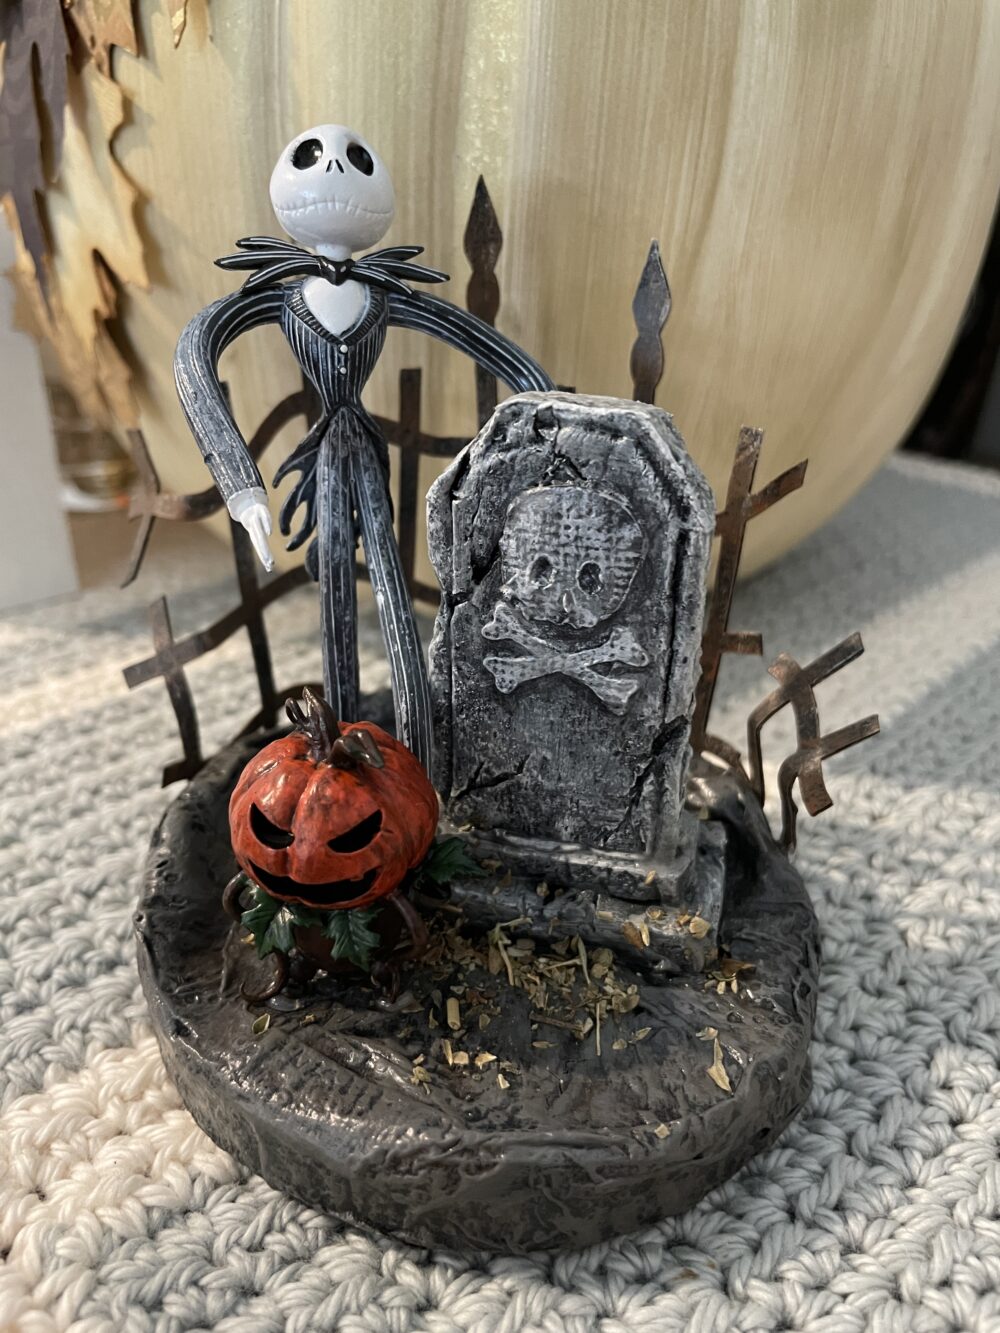
If you want to give this a try, pick up some foam at your local big box hardware store. Be sure and get a big sheet of it because I promise you’ll have tons of fun!
For the tombstone I’ve first painted the entire thing in black matte paint then dry brushed it with a medium grey and lastly a light dry brushing of white.
Do I love it? Yes but …. I could have made the skull better I think.
The fence was made from cardstock, the base is a technique I’ll talk about below and the pumpkin was 3d printed. Jack was purchased online, originally a keychain.
Next up is the paper mache technique. You should be sure to look up the site mentioned above and watch her videos on making trees! That is the technique used here. Basically you cover your base with aluminum foil creating high and low areas. Now cover all of the foil with masking tape. Finally make a mix of cheap elmers or other school glue and a bit of water. Add the water slowly till you get a paint consistancy. Tear up some sheets of paper towel, lay them on top of the masking tape and cover the paper towel with the glue mixture. Use your brush to sort of push the paper towel around and smush it to get the textures you see in my project below.
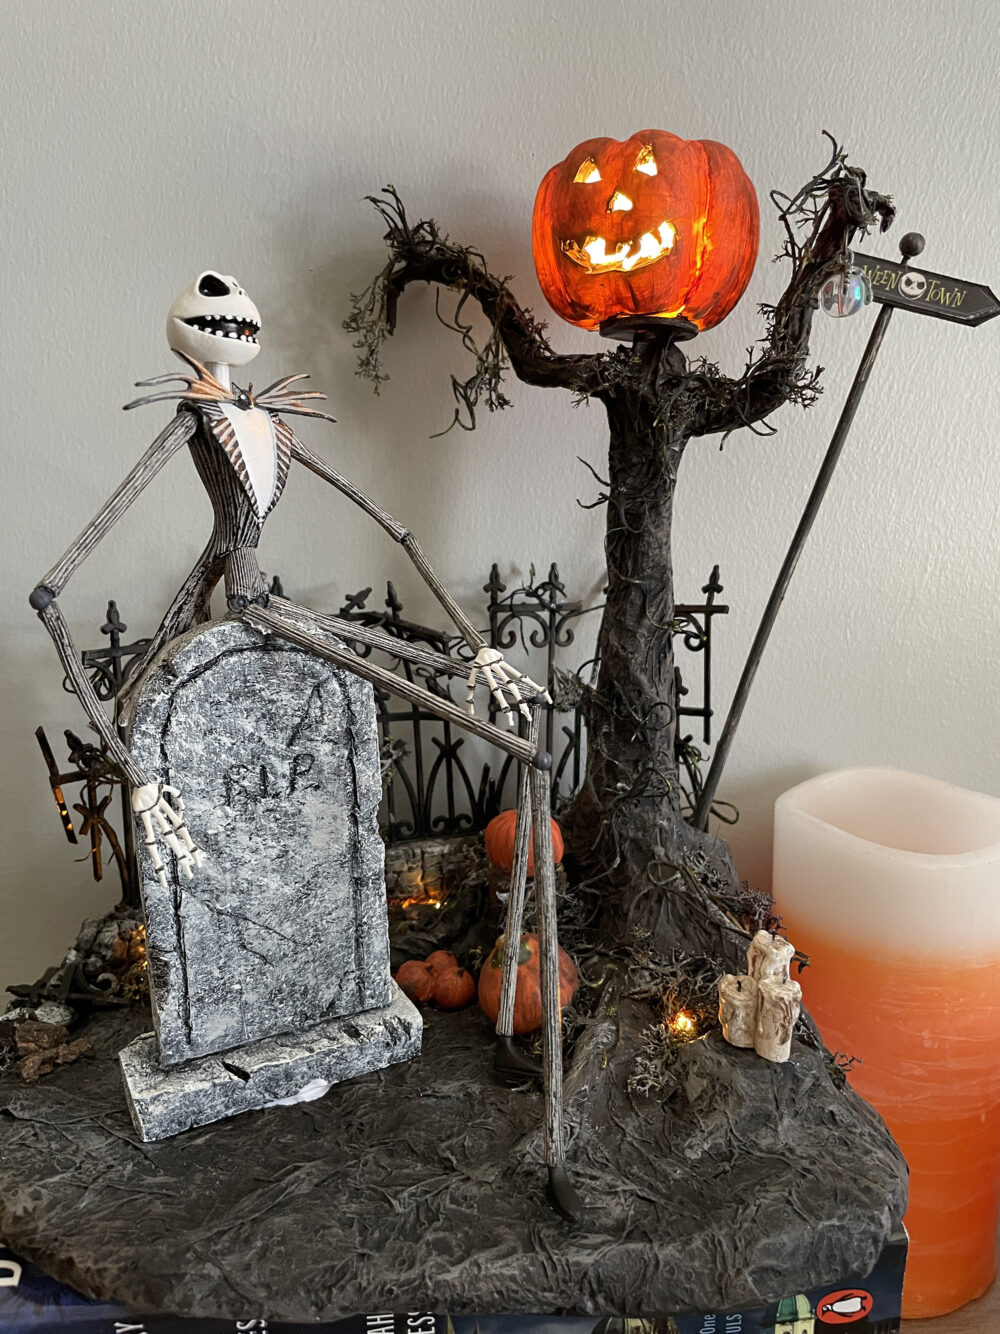
Once the base has dried cover it in black paint completely. When that has dried you can dry brush the base with brown, medium grey, and finally an off white. Just keep dry brushing until you are happy with the look.
The tree was created in the same manner with the foil, tape and glue. I used a paper straw with a wood skewer inside it to secure the tree to the base and hold the pumpkin head in place. The stone wall was made with the XPS foam, painted black and dry brushed. The fence sections were plastic from a previous build. The candles were made from glue sticks and the pumpkins were a store purchase. Add some moss and vines for texture.
I’m waiting on a large Jack Skellington figure to arrive before creating another tombstone or perhaps I’ll get adventurous and try sculpting his dog Zero and his tombstone house!
Making these little scenes do not take a lot of time and can be such fun as well as a distraction from life when needed. I do hope you will give these a try!
Last but not least . …
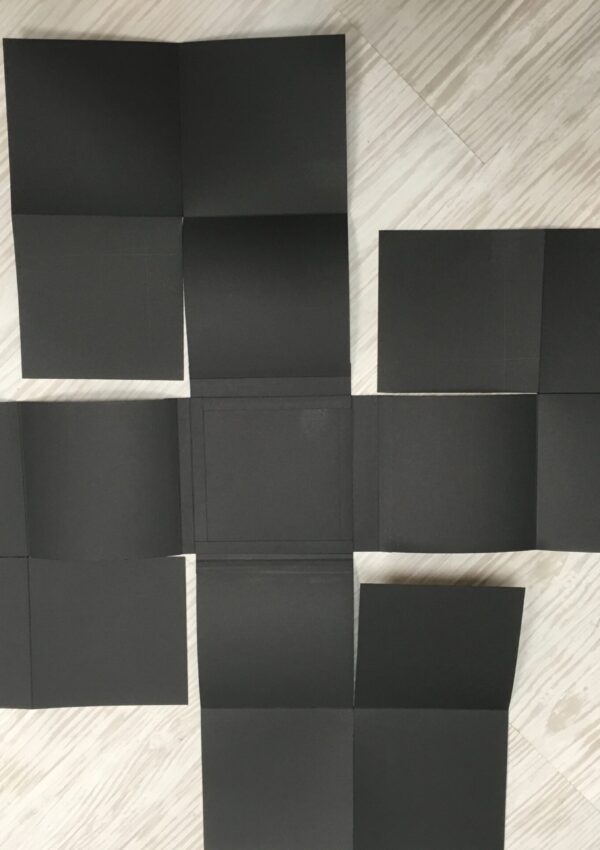
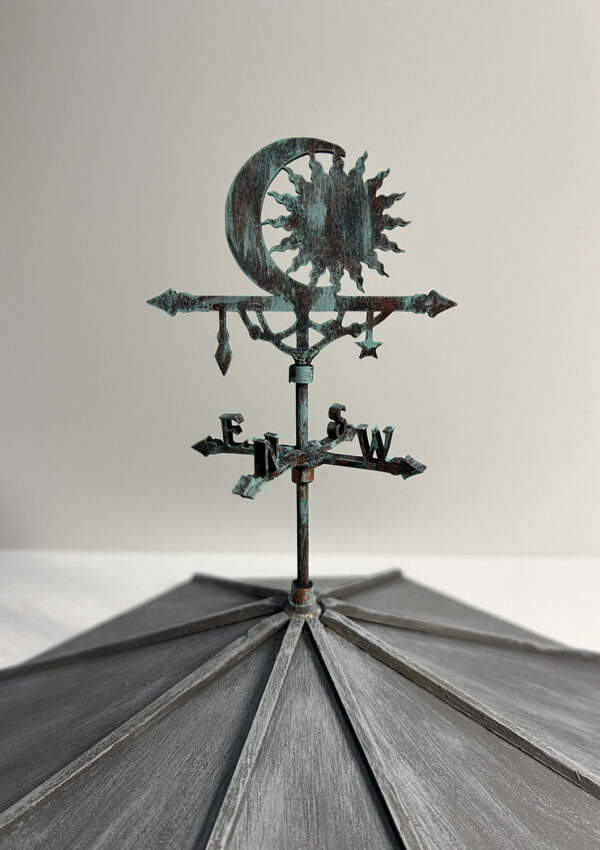
What is this mess? Sorry but you will have to wait till next time to know more!!!
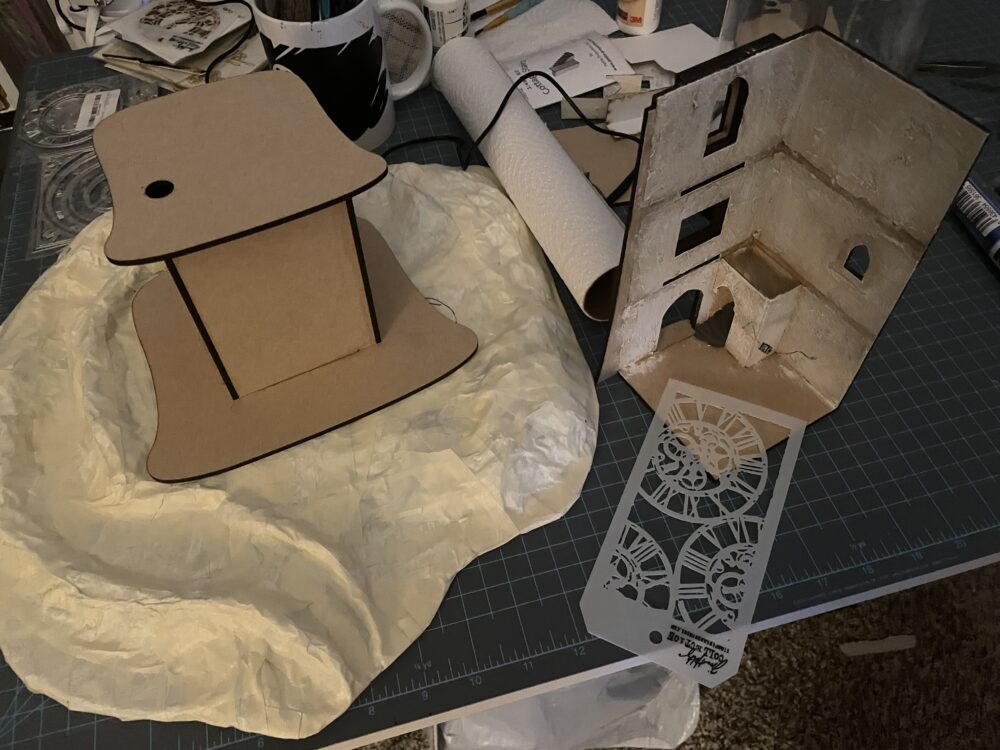
Till then . . . stay crafty!


Leave a Reply
You must be logged in to post a comment.