Welcome back to the Emily’s Pinwheel Album project! Today we are going to decorate the album and begin the special project I mentioned in my first post.
FYI . . . I’m using the patterned papers shown below but you might not be able to find these as they are no longer available. Again … part of this challenge is to use what you have in your stash. I would however suggest that you pick paper that is of cardstock weight, not the thinner style paper. Double sided papers are also suggested!
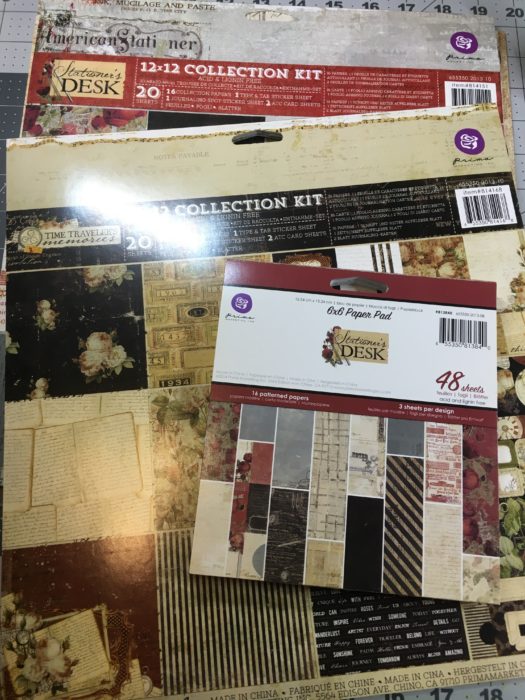
You will need the following materials . . .
- 6×6 paper pad (or cut pieces from larger papers)
- 12×12 size papers and cardstock
- 2 coordinating 1/4″ brads
- (2) 1/4×10 pieces of coordinating ribbon
- 1/4″ wide score tape or other adhesive
- Tim Holtz Distress Ink (I’m using the Vintage Photo color)
- scoring tool
Covers & Spine . . .
NOTE: If you would like to use my Cricut Design Space files for shapes you can find it HERE.
Begin by cutting the following from patterned paper and distressing all edges
- (2) 6×6 squares – trim a sliver 1/16″ off the top and left side – front and back covers.
- 2-1/4×6 rectangle – spine.
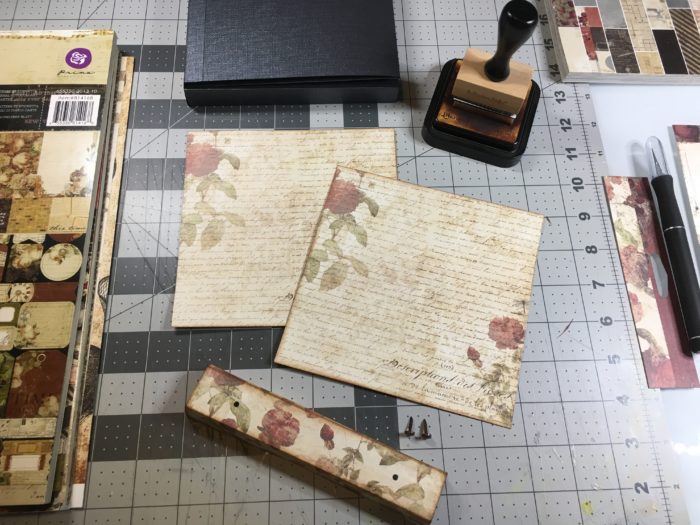
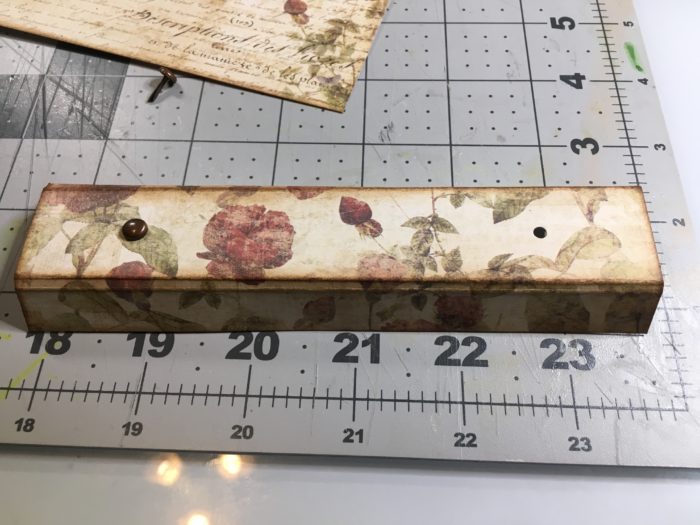
On the 2-1/4×6 rectangle, score a lines on the long edges, 1/2″ inward. Score again 1/8″ inward from previous score lines. NOTE: score on the wrong side of the paper then fold all score lines inward to wrong side. Distress on the folded score lines on the right side of paper. Measure 1″ from top and bottom of short edges and make a dot with a pen. Punch a hole on the dots. Brads will be placed in the holes.
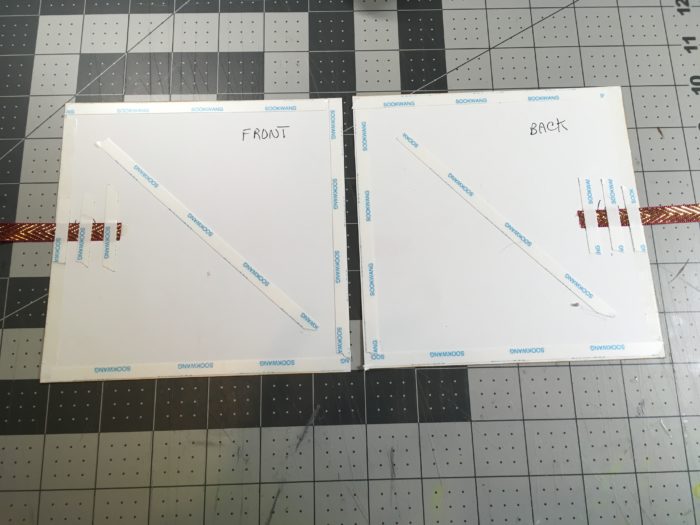
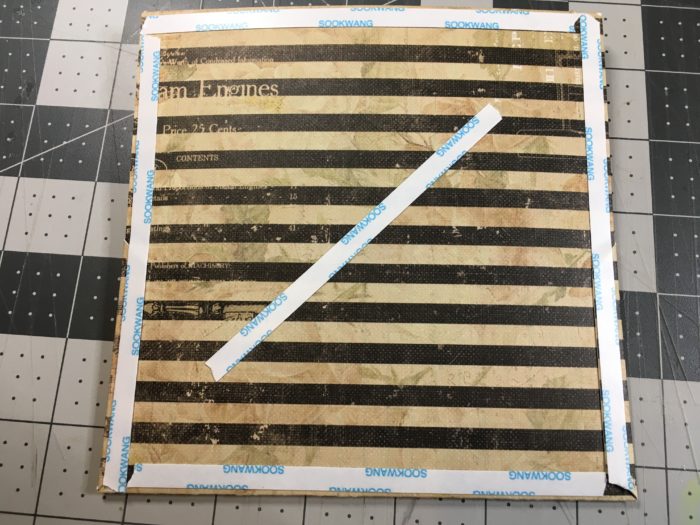
Add score tape to the wrong sides of the front and back covers. Attach one piece of ribbon to the right side of the front cover paper and one piece of ribbon to the left side of the other cover paper (this will form the album closure) as seen below. Place more score tape on top of the ribbon as seen below.
Attach covers to the front and back of the album.
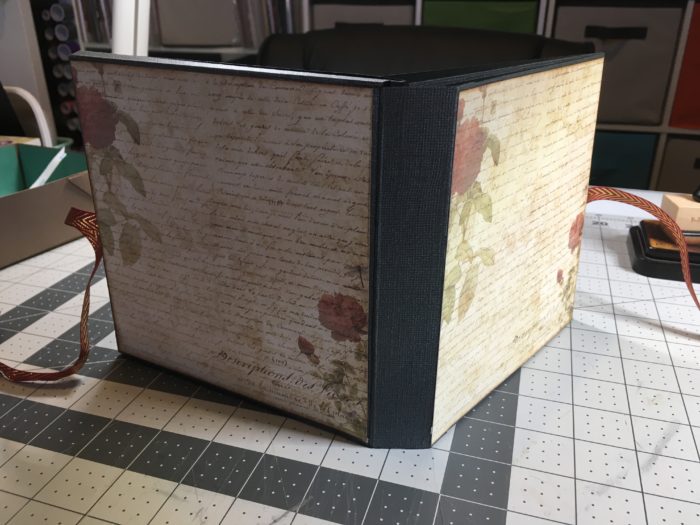
Add score tape to only the left and right 1/2″ sides of the spine. Use two strips of score tape to cover the entire 1/2×6 areas.
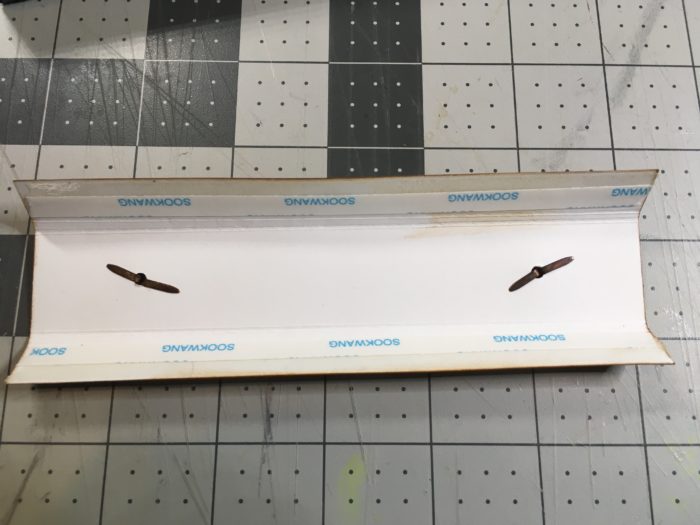
Attach the spine to the album as seen below. NOTE: the center area of spine is left unattached to the album.
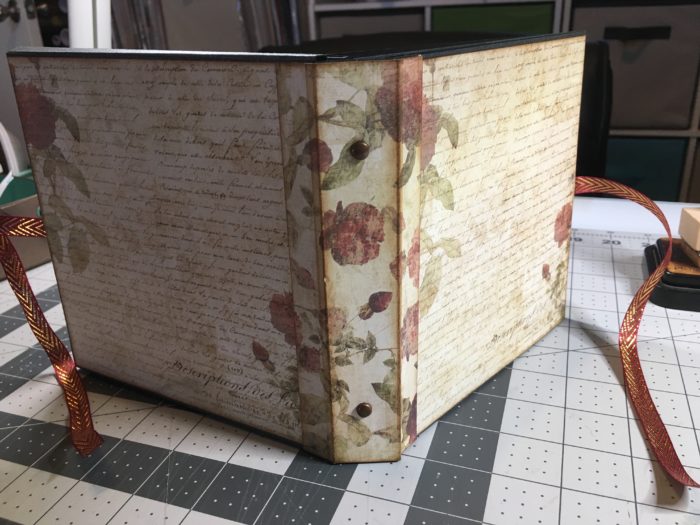
The reason the center of the spine is not attached to the album is to allow freedom of movement when the album is opened and closed. It also will allow your pages to lay flatter.
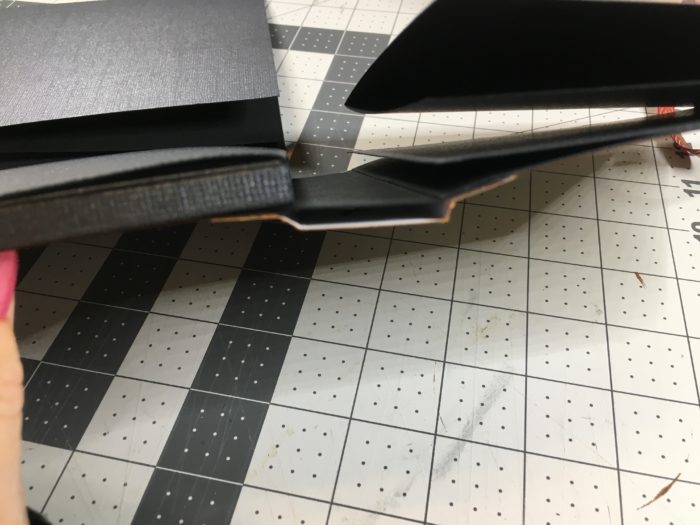
We are going to decorate the front of the album but for now, we want to work on the inside so that the cover won’t get messed up while we work elsewhere.
TIP: Keep in mind while decorating your pages, you don’t want to go crazy. If you overstuff the album with pockets and such, it won’t fit in the final special project!
Inside Center page . . .
Cut the following from patterned paper
- 6×6 square – trim a sliver off the top and left sides (when paper is attached to center area you don’t want it to extend over top of any scored lines where it might hinder the closing of the album.
- 1/2×6 strip of contrasting patterned paper
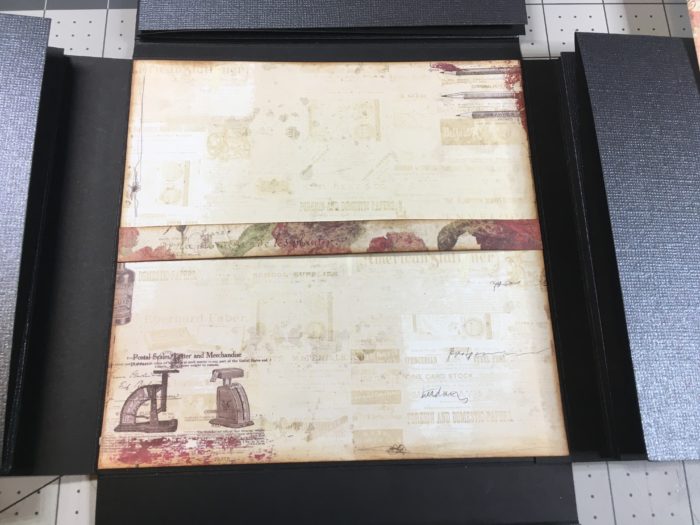
Attach the paper strip to the center of the 6×6 square with score tape. This forms a band where you can slide items inside. Attach the 6×6 square to the center area with score tape. Don’t forget to distress paper edges before you attach it!
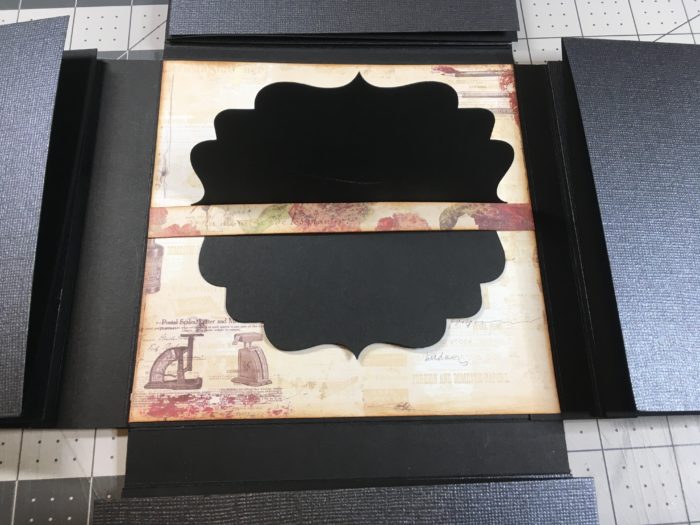
Now open Cricut Design Space and find a fancy shape that you like by clicking on Images then typing Shapes in the search area. I’ve chosen the image below. Size the image to 5″ square. Duplicate the shape then slice it in half as seen below. Add a score line to the full size shape as I’ve done. Then resize the half shape so it’s a tad smaller than the full shape.
The full shape should be cut from a solid cardstock and the half shape cut from a patterned paper.
Using the shapes tool, add a square shape then size it to: 6×4. Add a score line in the center. Add another square shape and size it so that it’s a tad smaller than one half of the 6×4 shape. Cut the 6×4 shape from a solid cardstock and the smaller shape from a patterned paper.

Fold both shapes on the scored lines and attach the patterned paper shapes on the top as seen below.
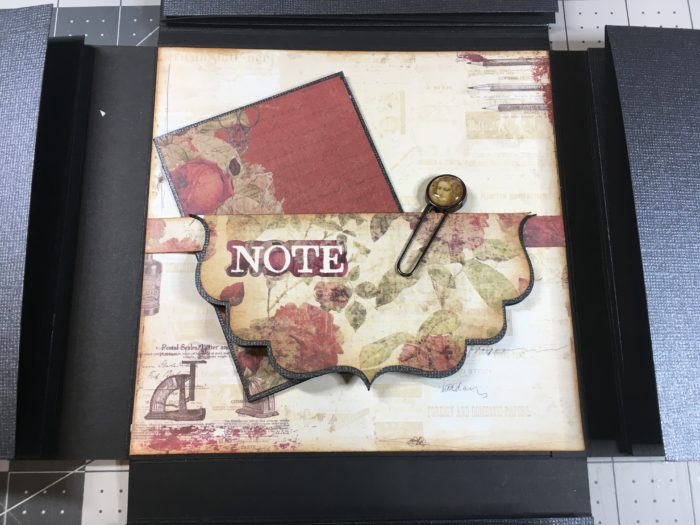
The fancy shape is then attached to the band on the base paper as seen below. In the above image you can see how I’ve used a metal paperclip accent to help keep the fancy shape closed. I’ve not done so but you could cut additional half size fancy shapes and attach them to the insides as well.
For those who are new to Cricut and Design Space, here’s a little video showing how I created the shapes.
Inside Sections . . .
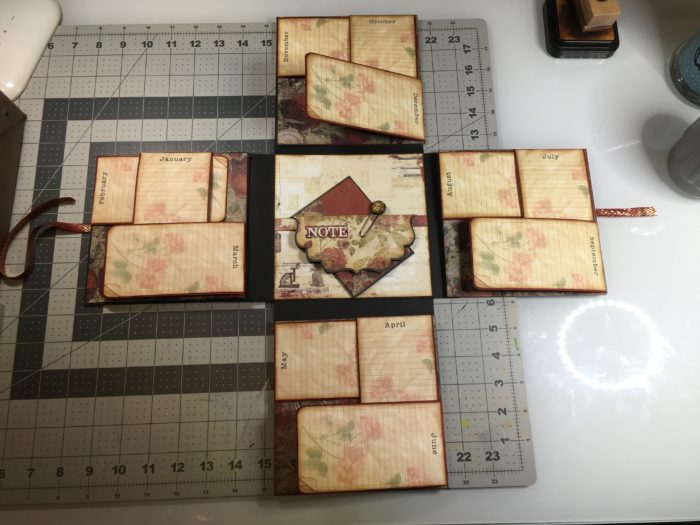
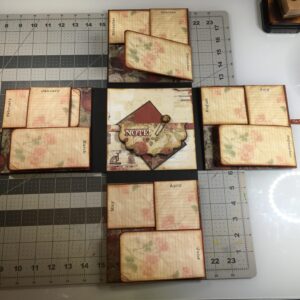
As you have seen by now, there are four main sections to the inside of this mini album. The special project will have a time theme to it so in order to relate the album to the project, I’ll be using each inside section as a quarter of a year. The first section (on left side) will be for Jan – Mar, second section (bottom) for Apr – Jun, third section (on right side) for Jul – Sep, and the fourth section (at top) for Oct – Dec.
Here’s a look at the four sections with the topmost page finished.
First you need to visit THIS page and grab the FREE Pinwheel Tags download file. Save the files to your own hard drive. You will be using these as a Print & Cut in cricut (for the monthly tags) and as a cut file (for the solid cardstock backs).
Start by cutting four 6×6 squares from a patterned paper. Trim a sliver off the top and left side of each square. Just enough so that when applied to the album page you can see a bit of the base page around the edges.
Once you have your tags and tag backs printed and cut, distress all edges then attach the tags to the backs as seen below.
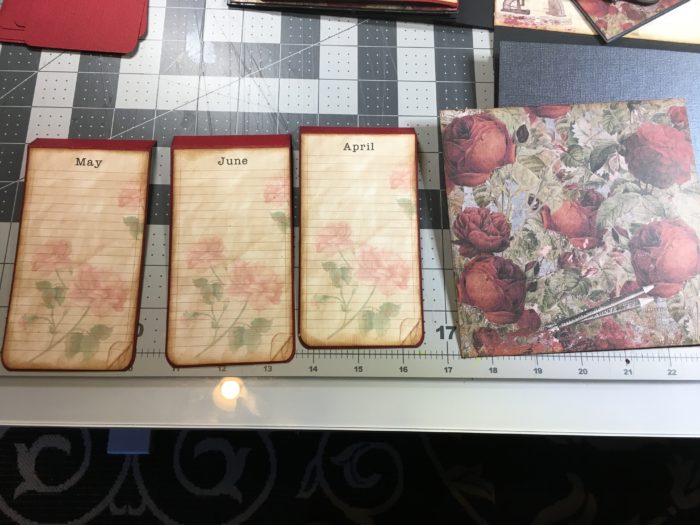
Fold down the top strip of the each tag as seen below. Add a strip of score tape/adhesive to the inside of the top edge as seen below, on every tag.
Three tags are attached to each 6×6 square as seen above and below. Finish by adding score tape/adhesive around the entire edge of the 6×6 square and attach to the album base in the order shown above for completed layers.
NOTE . . . the free monthly tag images are ready for printing. You can use a graphics program to print them out on your home printer, on 8.5×11 white cardstock – or – bring them into Cricut Design Space for a print and cut item. Here’s a little video below showing you how to bring them into CDS. Be sure that once uploaded to CDS, you resize the tags to 2.50 by 5 and adjust the black backing image to just slighty larger than tag. I’ve me ntioned this in the video as well.
Next we are going to cover the very back inside page, making pockets for storage. You will need four sheets of 12×12 paper that is printed on both sides.
For Cricut cutting . . . use My Pocket Page File
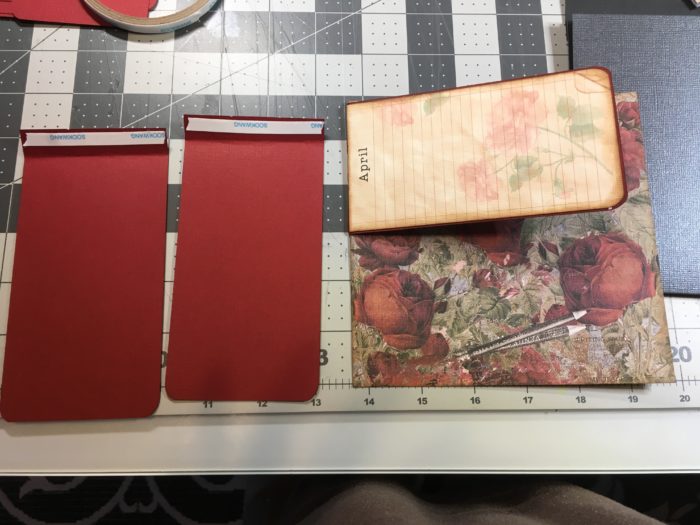
- Fold up the bottom section
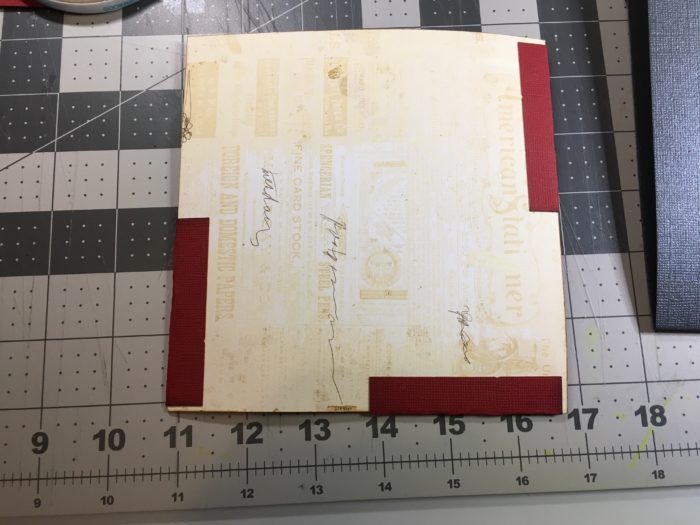
- Fold the side tabs towards the backside then add strips of score tape as seen below
- Fold side tabs to back and attach
- Distress all pocket edges
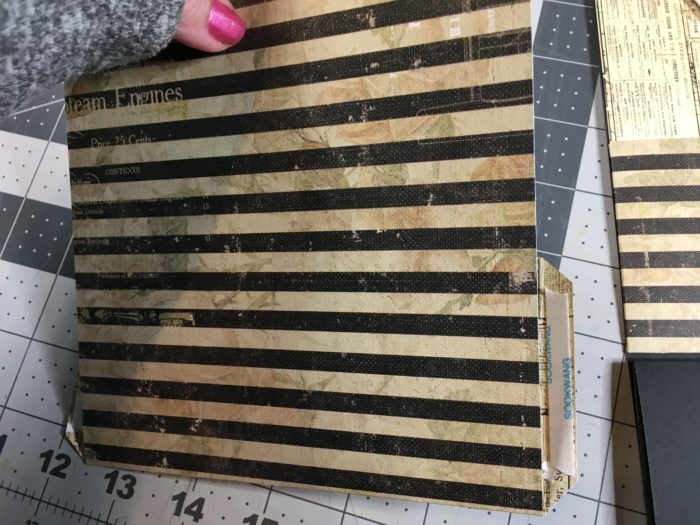
- Add score tape or adhesive to back of the entire pocket then attach to the album base page.
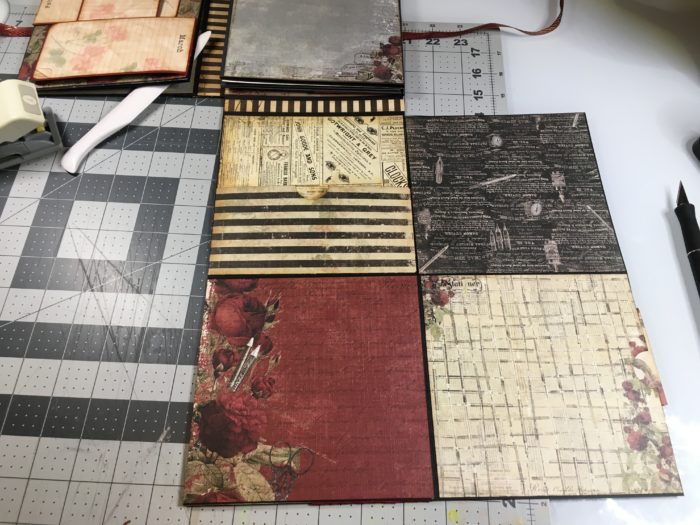
Here’s a look at all four pockets attached. If you like, cut strips of paper and apply to the center areas of all spines as well. Mine were cut to: 3/4″ w, 1/2″ w, 1/4″ w and 1/8″ w by 6″ l.
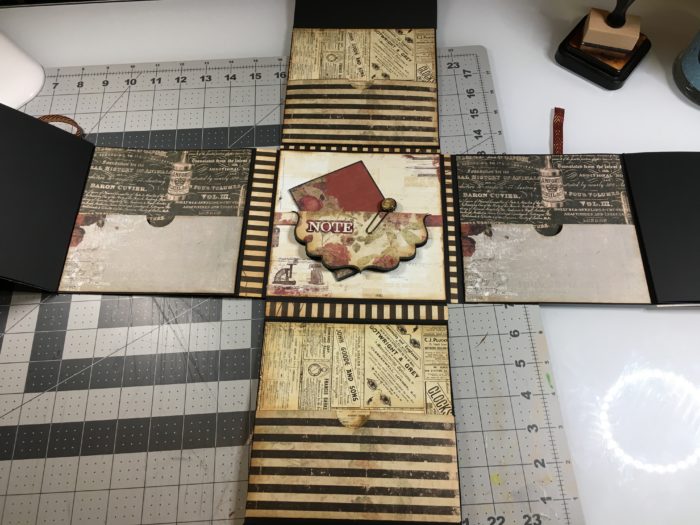
You will also want to cover the remaining three spines . . . only two are shown below but there is one more on the top section.
Thoughts . . .
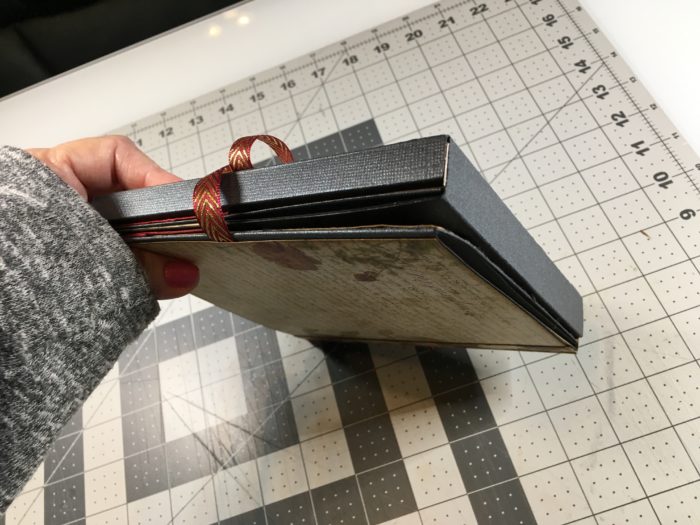
At this point you can see that the album is starting to get full so I’m not sure that I would add any further pockets or mechanical pages. I think that I would also start using a lighter weight paper if possible. One thought I had was to use a solid color or very light patterned paper that was ruled, and cover all remaining page surfaces. That way the album could become a very unique journal book or planner for a year.
You could still add photos along with the ruled pages if you like or journaling bits/stickers. You could also make simple pockets by simply punching a half circle finger hole on one side of the paper before covering a base page.
Last but not least, if you plan on doing the special project – to hold the album – I would keep the top simple as well. You won’t want to a lot of dimension on the covers or spine.
So that’s it for the album, for now. Hope you have been inspired to create your own and if so, I’d love for you to post them on the group! I would guess it might be a bit before I begin posting the next part of this project due to family things but keep an eye on the group or blog for updates!
Till then . . . Happy Crafting!


Leave a Reply
You must be logged in to post a comment.