Today I finished assembly on all of the doors and windows. Such tiny pieces but with a toothpick to apply glue, they were easily constructed.
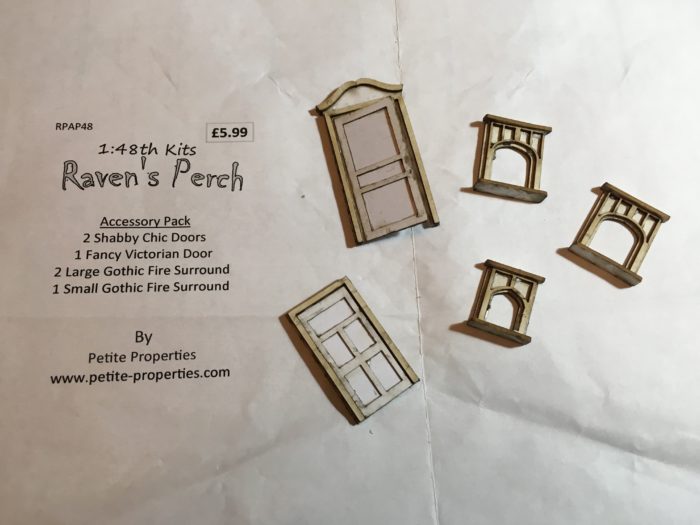
This first batch were from the Accessory Pack and for the inside of the structure.
The pieces below were included with the Raven’s Perch kit for the outside of the structure.
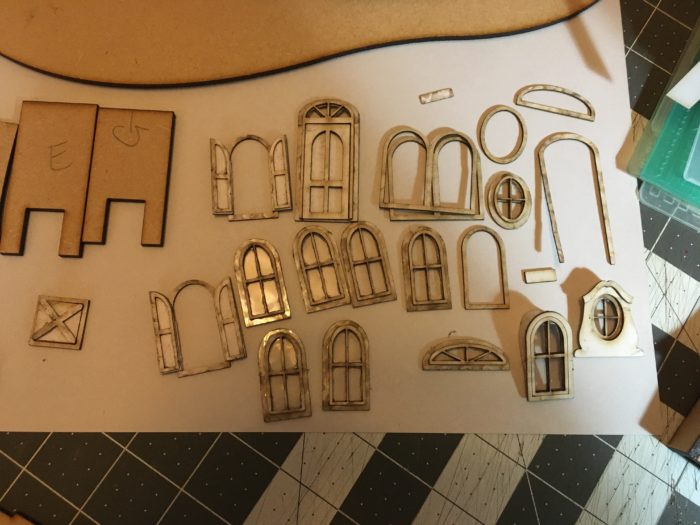
Materials used to finish doors and windows . . .
- Ranger/Tim Holtz Distressing Inks: Vintage Photo and Black Soot
- White acrylic paint
- Americana DuraClear varnish
Keeping in mind this is to be a haunted house, I want everything old and worn looking. Using a sponge dauber, I pounced on some vintage photo, then black soot distressing inks to each piece. Wait a few minutes for this to dry then using a very small amount of white paint, dry brushed each piece. Be sure to paint both sides!
Notice the fireplaces. Let dry and if you need more color (white) then dry brush again. Repeat as needed letting the pieces dry between coats. Set everything aside until time to install them.
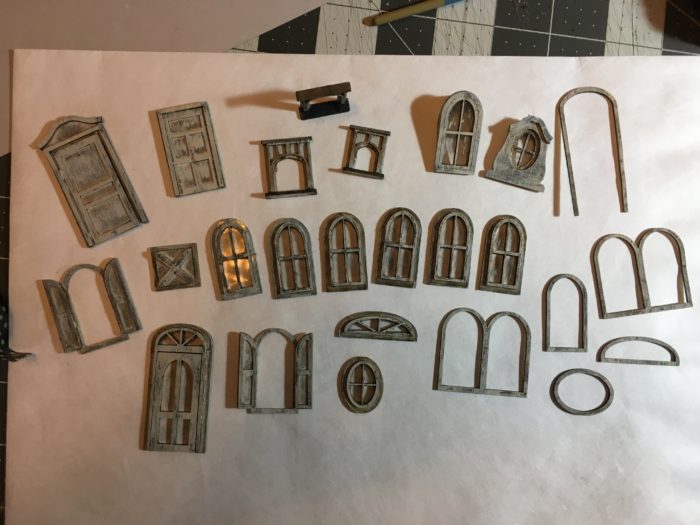
You could use this same painting technique on the iron section of the gates, as well as the railing on the front steps. I’m likely to use the technique on the remaining house trim and porch railings.
Update on wiring . . .
Earlier I mentioned that I’d be adding lights to the structure. For those who want to do the same, following is the information about what I’ll be using and where I get it all.
Product from: Evans Designs. www.modeltrainsoftware.com
- 3 Volt LED Lights in warm white. 1.8 mm with 14 inch wires
- 3 Volt DC Power Adapter. 1 Amp with switch. No battery. This adapter comes with a power jack and will run from 1 – 50 lights.
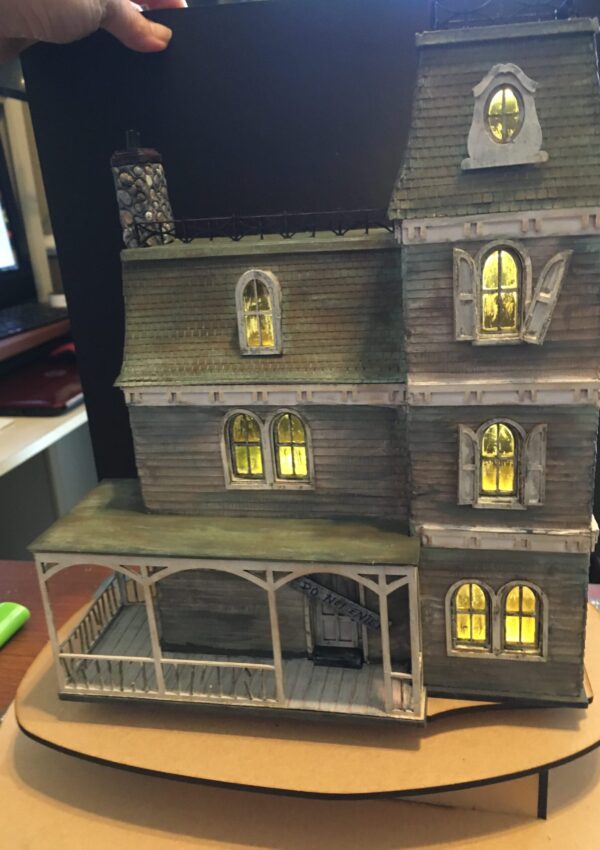
Don’t let wiring lights scare you! It simple to connect the wires and with the adapter, you can plug in the lights then use the switch to turn them on and off as desired. LED lights will last a long long time so no need to replace them like you must do with other type lights. The only additional tool you will need is a good hair dryer or heat gun.
Below you can see a diagram of how the lights are constructed. The power jack plugs into the adapter and has a single black and red wire. The lights will also have a single red and black wire. Using the shrink tubes, you connect all black wires from the lights to the black wire on the power jack, then all of the red wires from the lights to the red wire on the power jack.
Just slip a shrink tube on the power jack black wire then twist all of the black light wires to the black power jack wire. Make sure you twist them tightly and that they are secure. Slip the shrink tube up around the area where wires are connected to each other and use heat to shrink the tube around them, securing the connection.
TIP: Its best to check the connection prior to shrinking the tube. Just plug in the adapter and check that each wire is lit. Wiggle the wires gently to see if any go out. If so, twist the wires again to tighten the connection. Plug the adapter back in and test again. If all the lights are lit, shrink the tube!
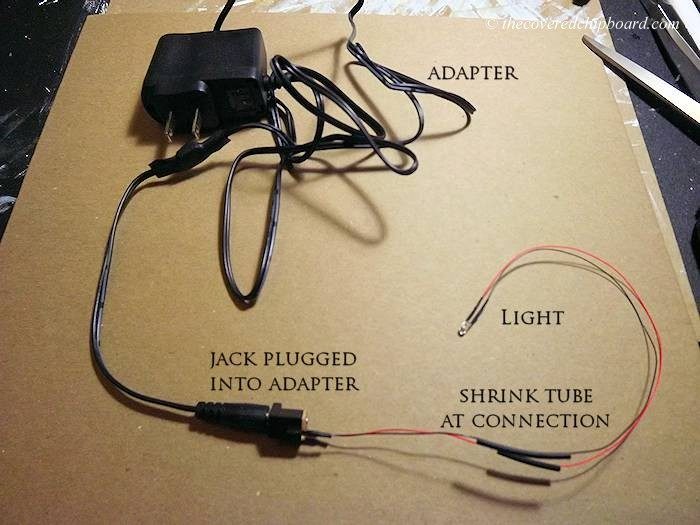
I find that it’s best to install the lights to the structure prior to connecting them all together. This lessens the amount of movement on the connection. With 14 inch wires, you should have more than enough wire to place the lights where you need them.
That’s all for this post, but stay tuned for the next installment!


Leave a Reply
You must be logged in to post a comment.