A Petite Properties build by Teri Hanson
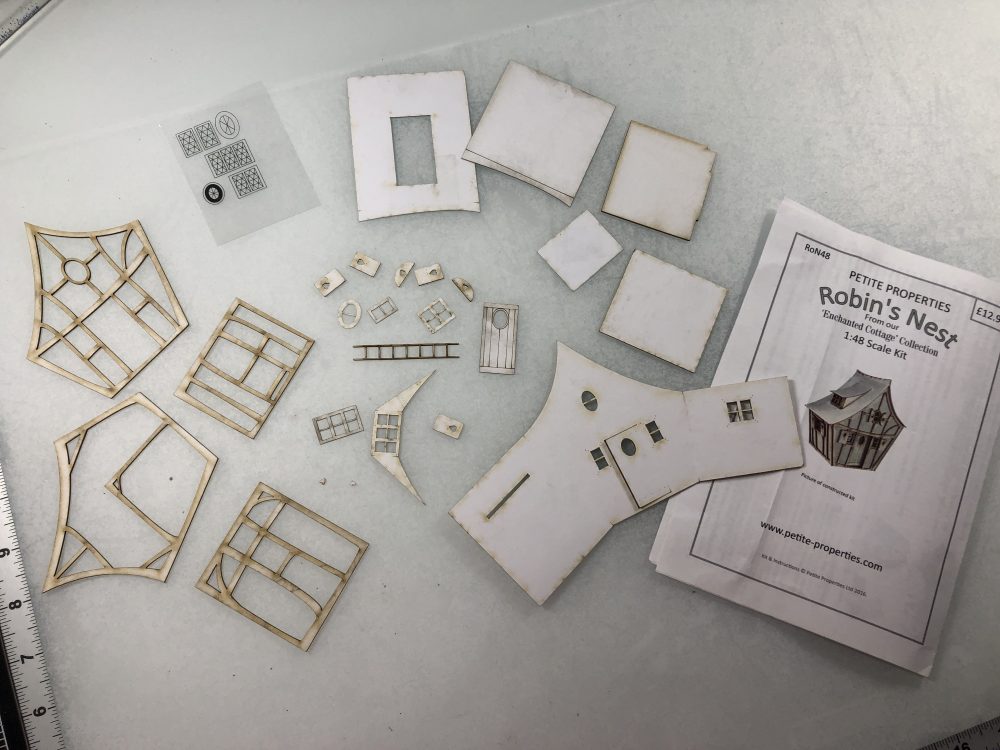
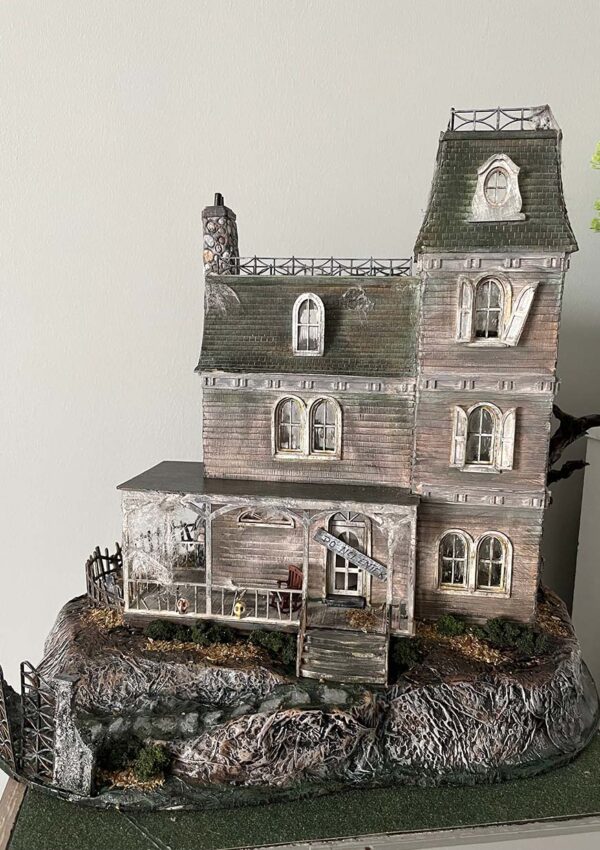
A while back I built the Woodcutter’s Cottage from Petite Properties. I also purchased the Robin’s Nest at the same time because they are the same size and I thought they would be cute on a base together.
So today I’m going to start on the Robin’s Nest and then figure out a base of some sort.
I use a lot of printable paper for bricks and other items. Here’s a link to get you started if you want to try this out. I always print on a textured white 80 to 110 lb cardstock on best printer settings. Just remember that most will be for 1:12 scale so you will need to scale them down.
Materials . . .
- Printed Brick Paper – found on Etsy – great file! I did have to reduce it for 1:48 scale.
- AC Cardstock – Rouge shingles – my own file – cut on Cricut Maker
- Scotch Quick Dry Adhesive
- Ranger Distressing Ink – Black Soot Vintage Photo is another fave color to use
- Folk Art Multi Surface Paint Town Square is one of my fave packs
- DecoArt DuraClear Matte Finish my go-to finishing material
- Kraft Board or thin Cardboard for flooring
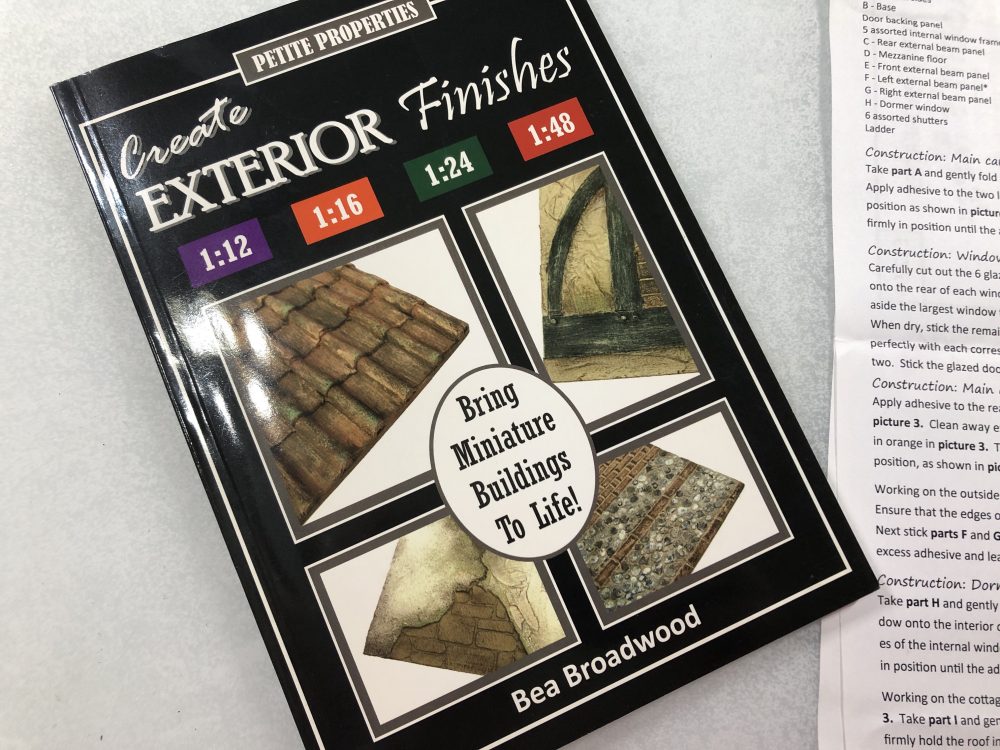
I also want to mention that Petite Properties has an AWESOME book for sale on finishing your miniatures!! Well worth the cost. You will also find a wide selection of mini furniture kits that are super affordable.
Check It Out and grab your copy today!!!!
Ok so let’s get started ….
Begin by spreading out all the pieces and identifying them. I find it best to do what’s called a dry build so that I have a good idea where each piece goes. From here I can make notes on what pieces get painted, where brick or wallpaper might go and so on. It’s always best to decorate as you go or beforehand with this smaller scale. If not, you might find that you can reach an area or that it’s difficult to paint without getting one color on top of other areas.
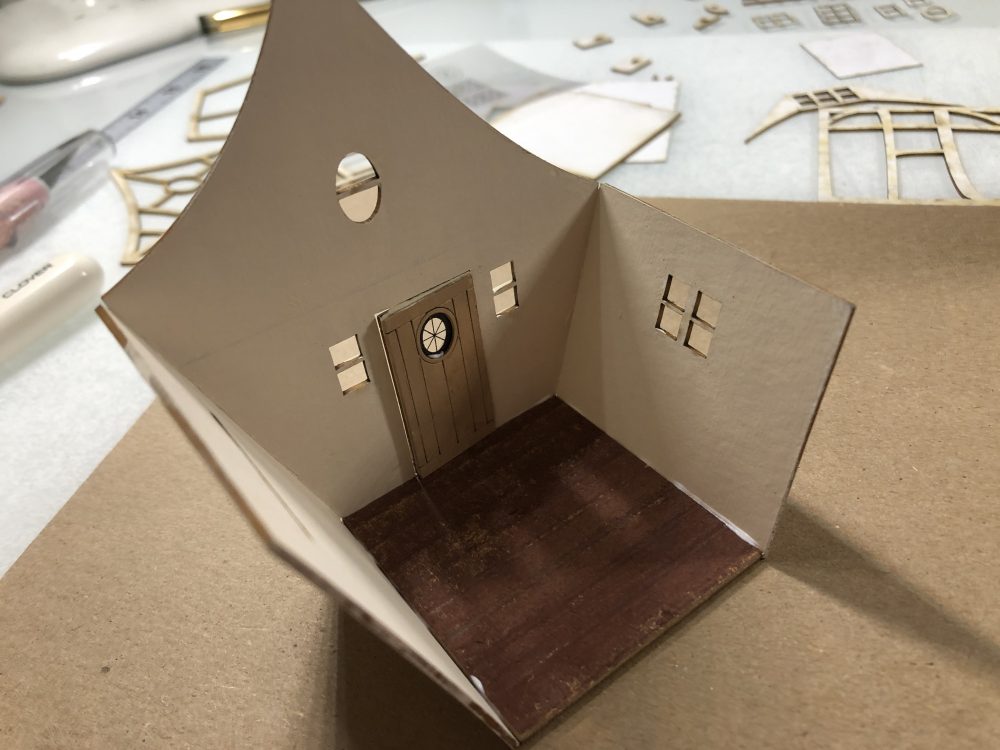
- Paint inside and outside of house with Folk Art Parchment paint
- Add wood flooring to the bottom floor section (see below on how I’ve started making flooring for the smaller projects)
- Paint the door for the inside part, as well as the outside door then add the glazing and glue the inner door in place
- Now add the flooring in place and set aside to dry
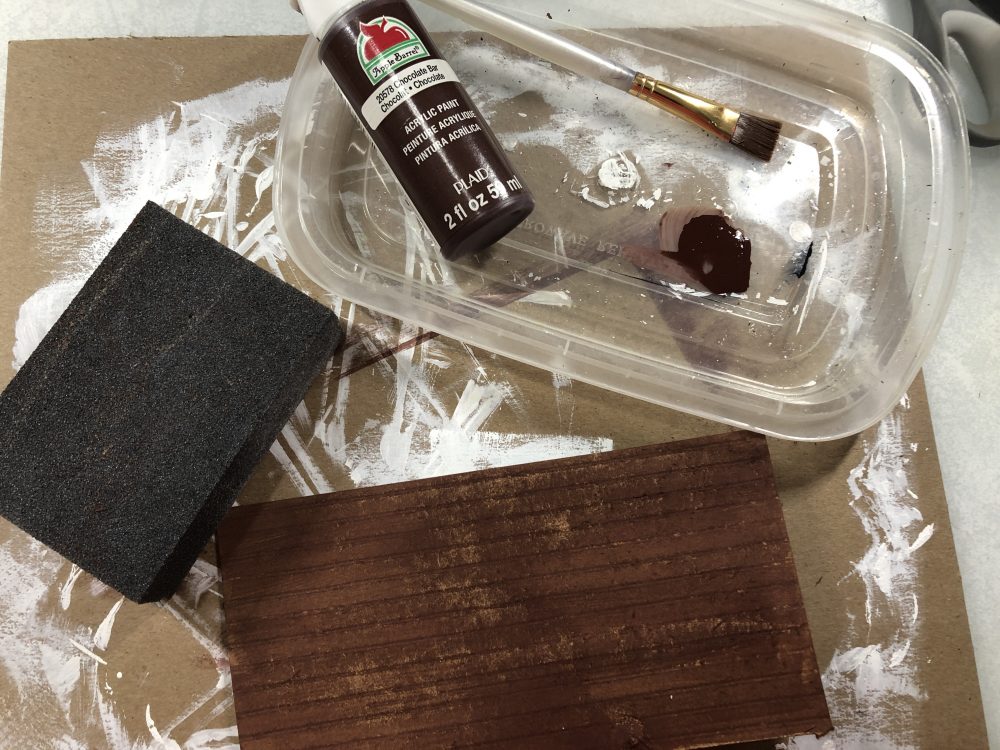
As to the flooring …. it’s thin kraft board that has been scored, painted with brown paint, sanded and finished with matte clear coat. Easy peasy and quick to make!
Now find all of the trim, windows, dormer and shutters. Paint all as desired. Note that the trim for the back/open side of the house needs to have both sides painted.
Painting trim is my least favorite part so I’ve been looking at other options. For this house I’ve used a brown Sharpie marker to color trim and windows. These will also be distressed once attached to the house.
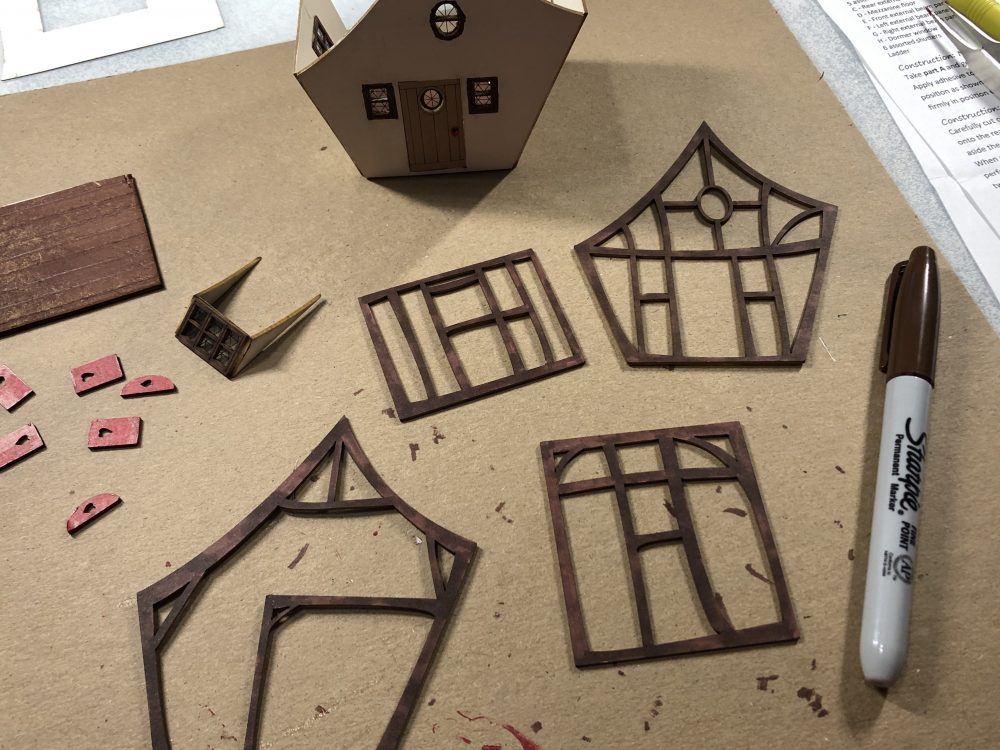
Make note …. the back piece of trim needs to be added near the end of the build. If not, you will find it hard to reach in and decorate the inside! You can hold this piece up next to the house to help you place the loft floor piece.
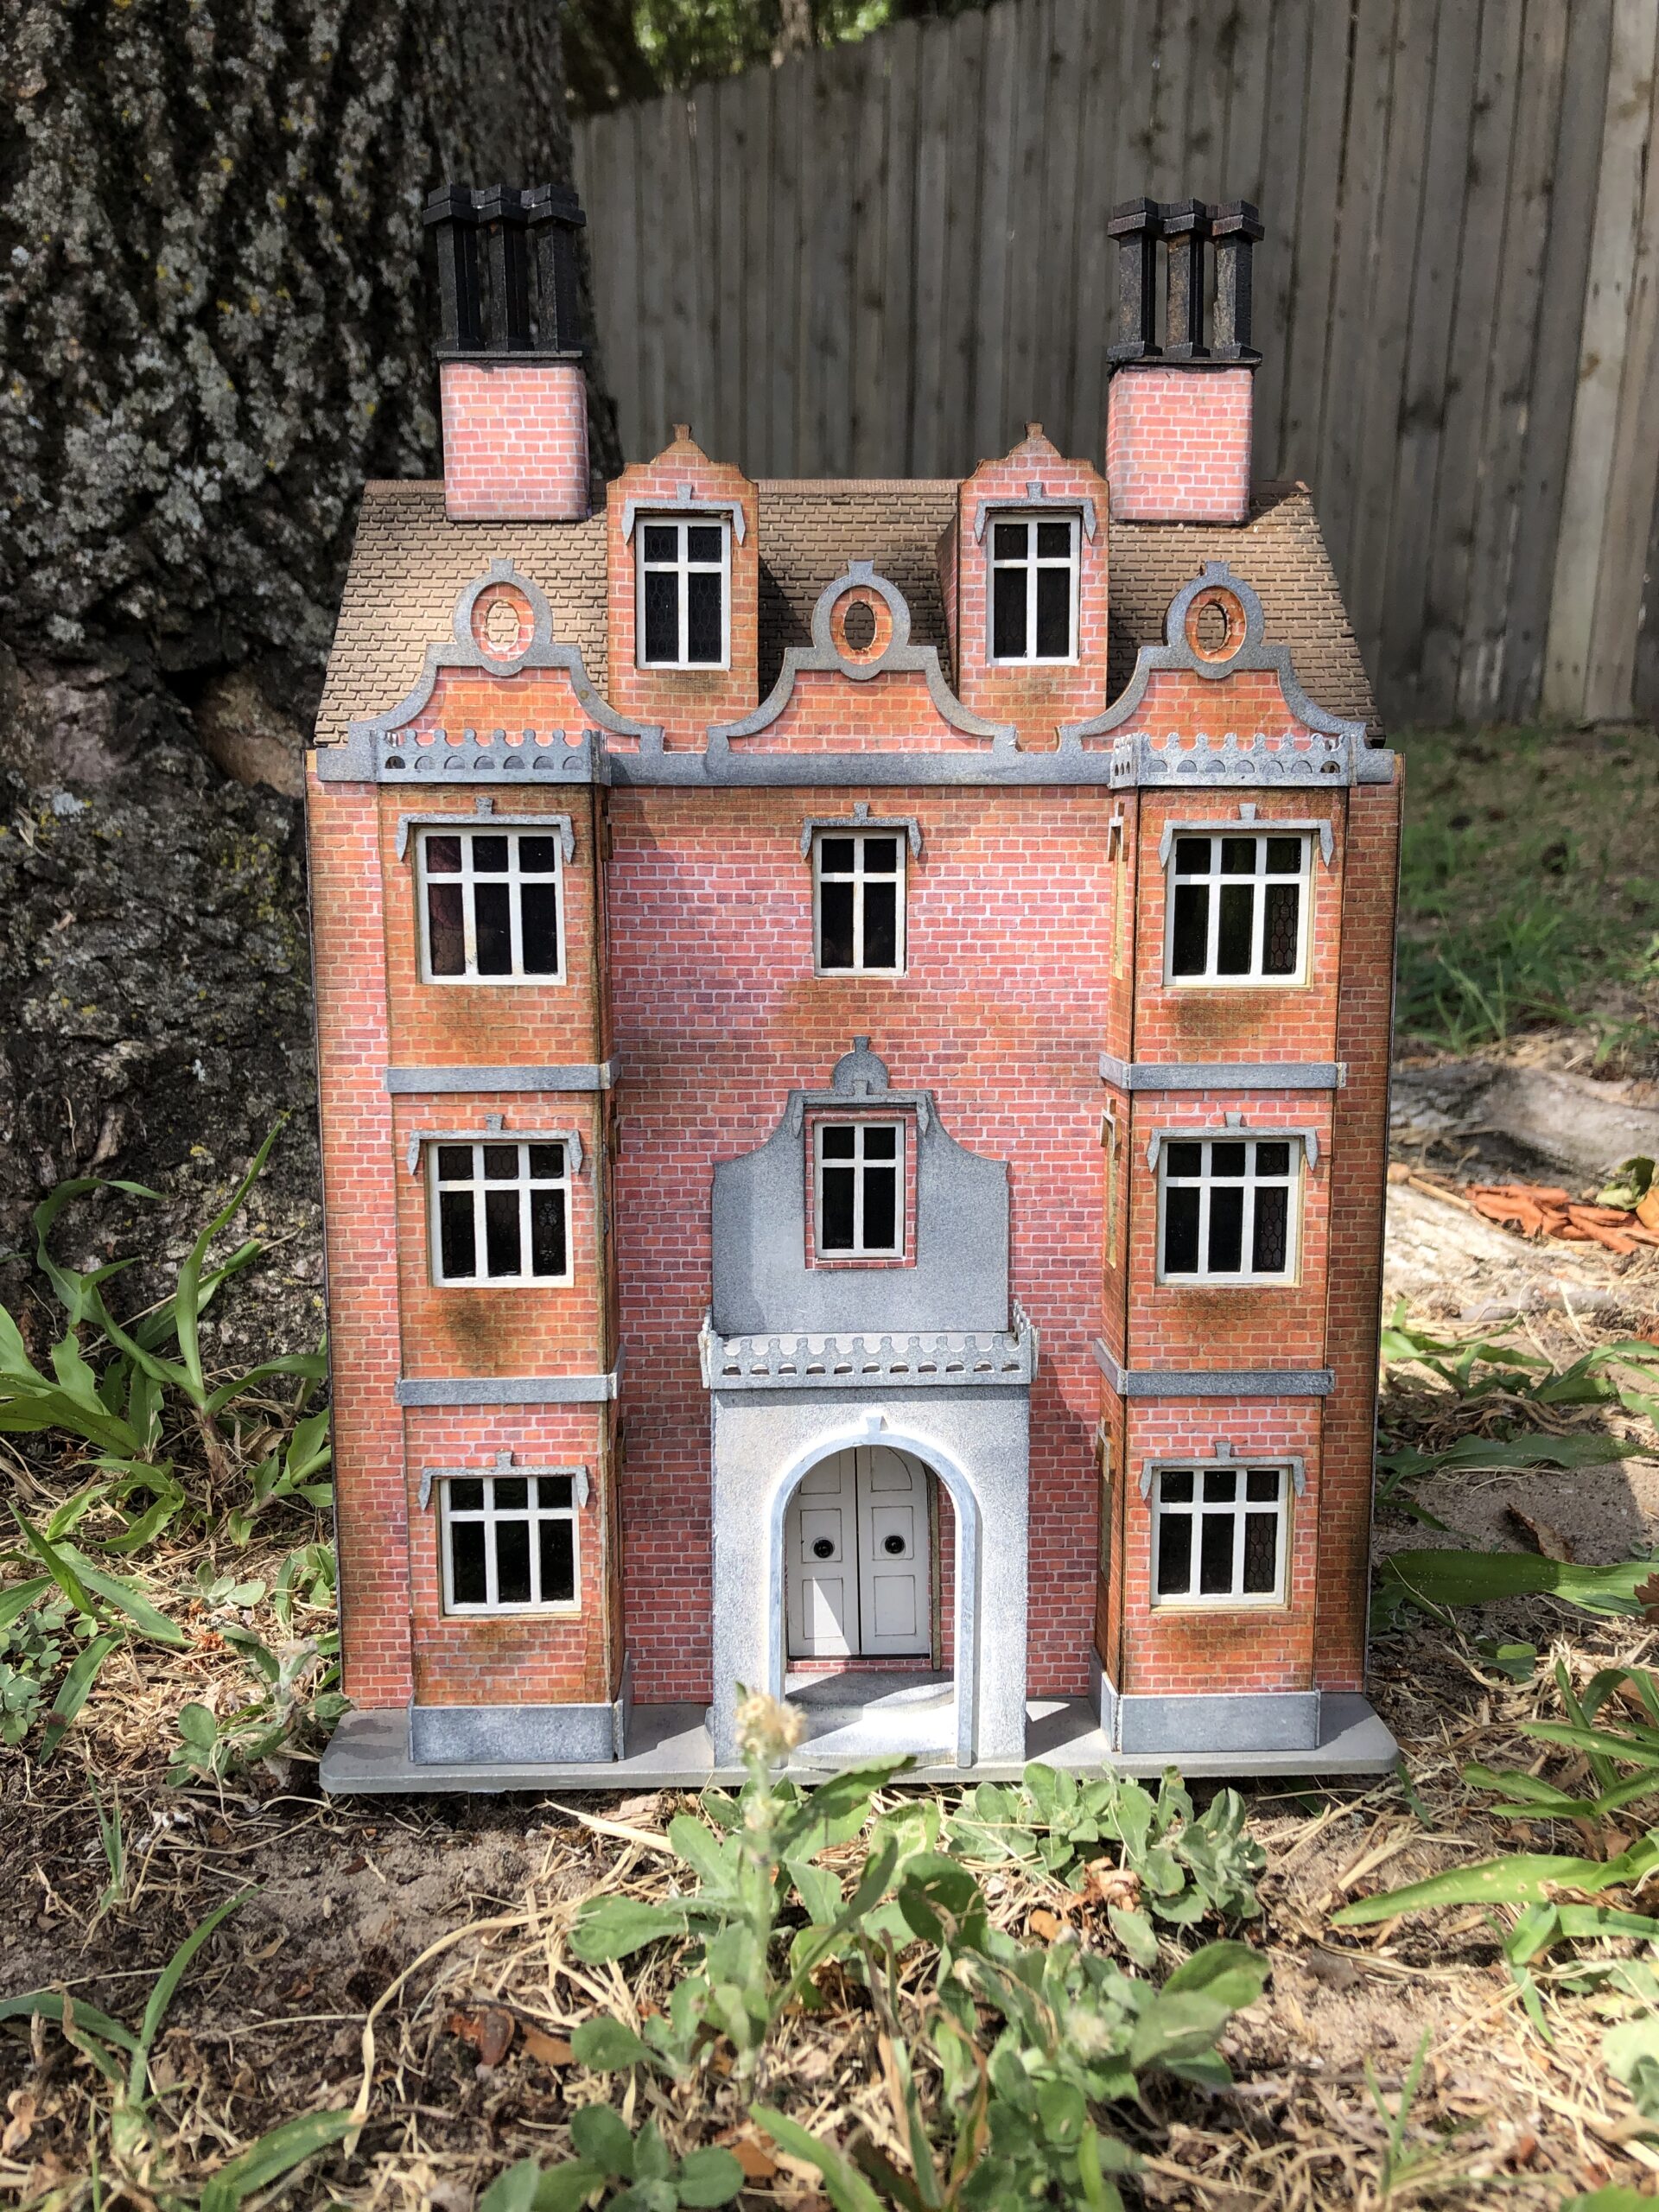
I decided to go ahead and finish up the Robin’s Nest without furniture inside. You can see the final images below of finishing. The inside was distressed with Vintage Photo ink.
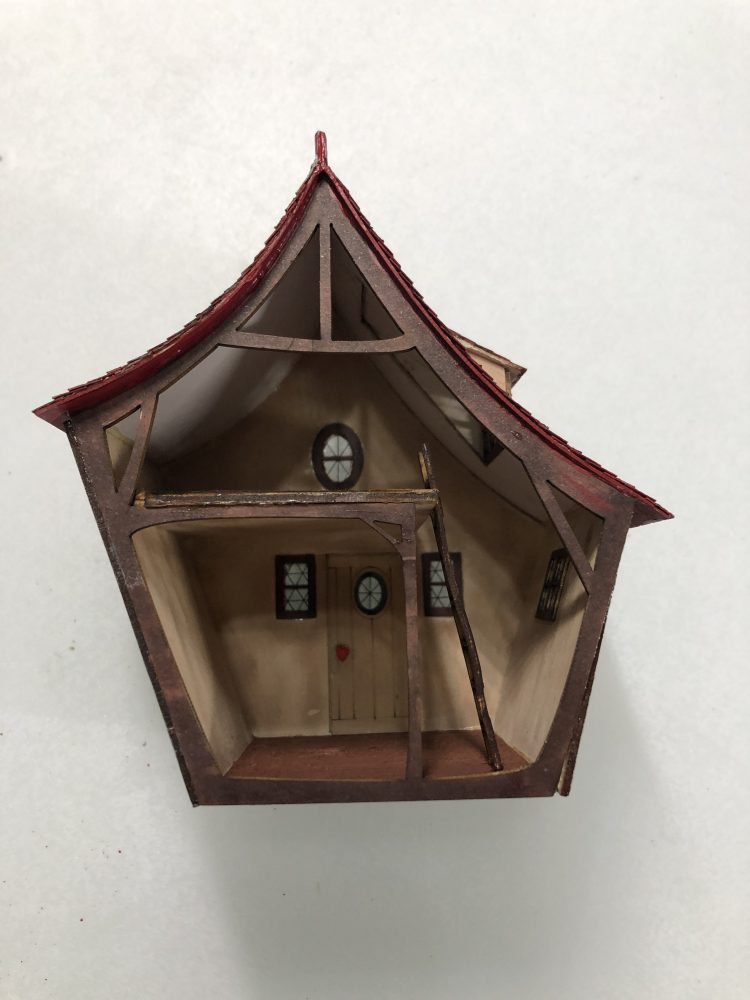
Once the back was glued on I added the roof, dormer and shingles.
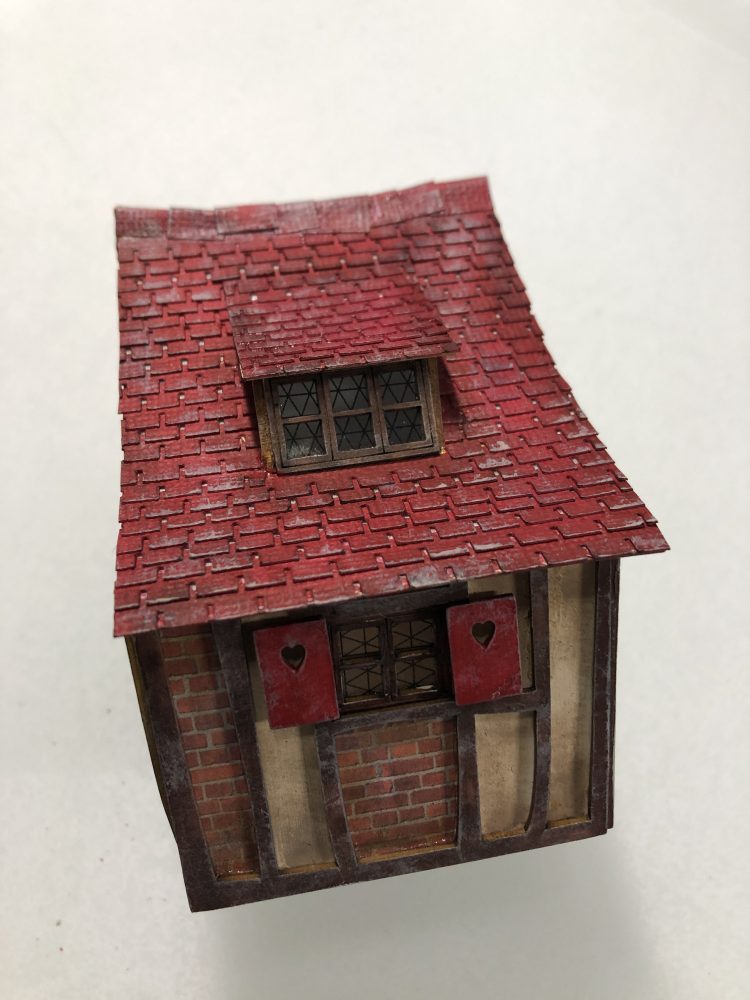
Here’s a closer look at the shingles
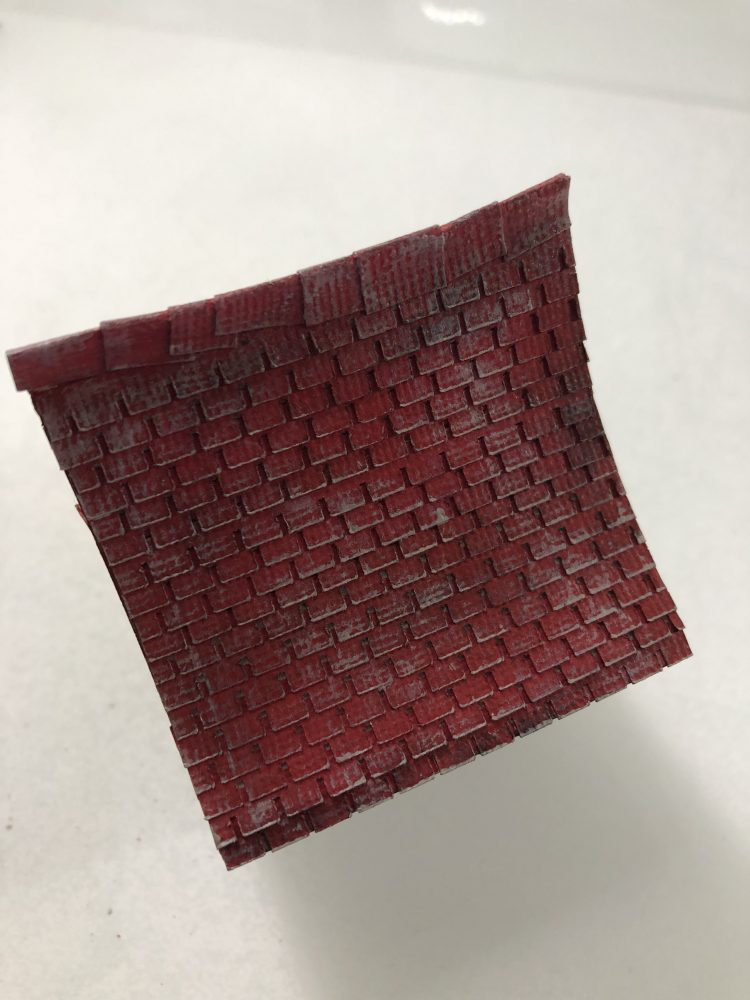
The shingles were cut from red cardstock then aged with Vintage Photo and Black Soot distressing inks. Lastly the roof was dry brushed with light grey and white.
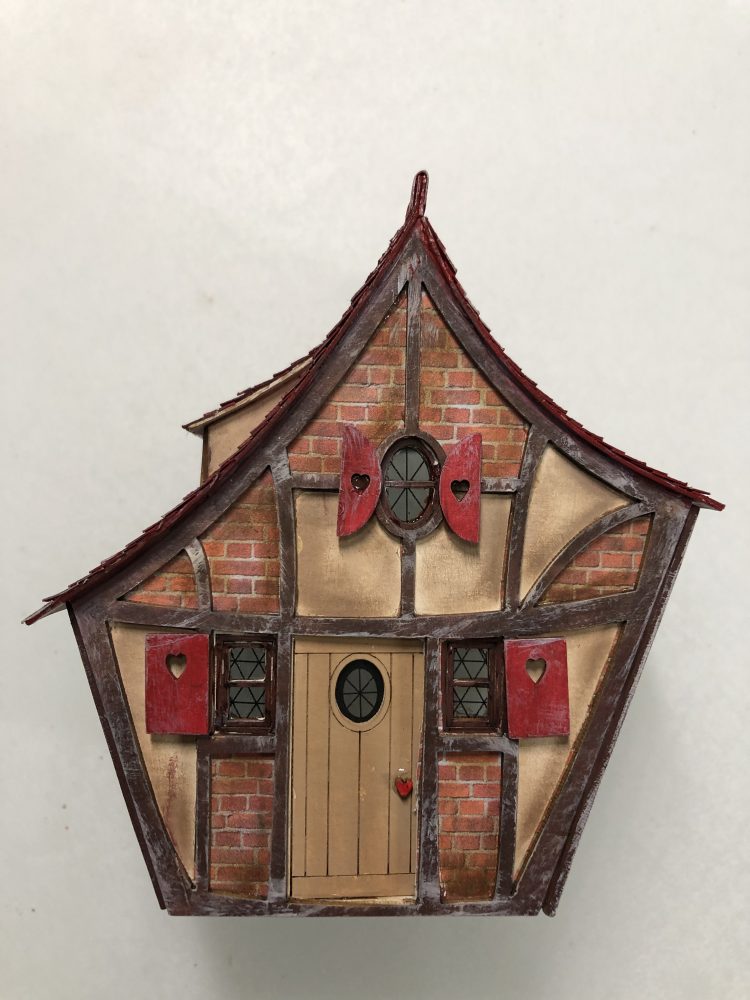
As you can see, when I added the brown trim I included section covered in the brick printed paper as well. I then distressed the walls, brick areas, trim and shutters with a light grey and white paint using a dry brush method.
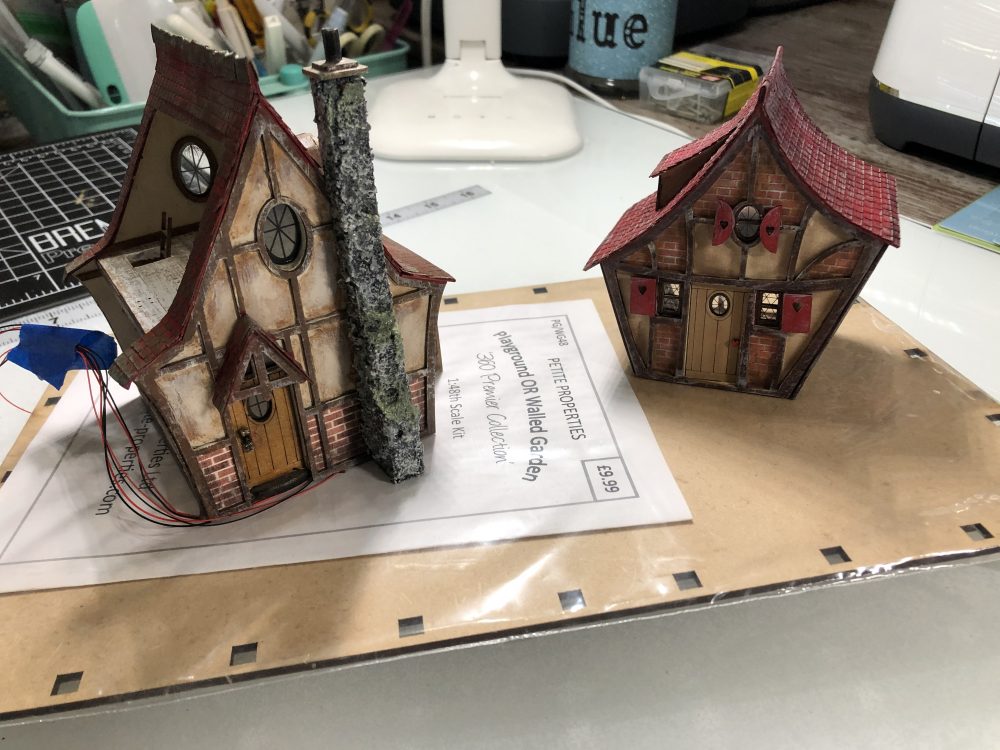
I’ll be attaching both the Robin’s Nest and a previously created Woodcutter’s Cottage on a base from Petite Properties as seen below. Watch for an update in the future!
Thanks for visiting and I hope you enjoyed yet another miniature build!
Teri


Leave a Reply
You must be logged in to post a comment.