So today I worked a bit on making some accessories for the Tea Shoppe. As most of you have discovered, it’s often difficult to find ready-made items for half scale structures. Why this is I have no idea because it does seem to me that there are a lot of us out there who like this scale. The most common response I hear is “it’s so small” – but – seems to me if they can have a ton of 1:48 scale, that 1:24 would be a breeze. For this reason, many of us are left to find creative solutions to what we need or to create our own objects. In many instances, this isn’t such and issue but with some items, it’s difficult unless you are a master craftsman. Following are some ideas I’ve come up with for our little Tea Shoppe that you can incorporate into your own shop.
Enjoy . . .
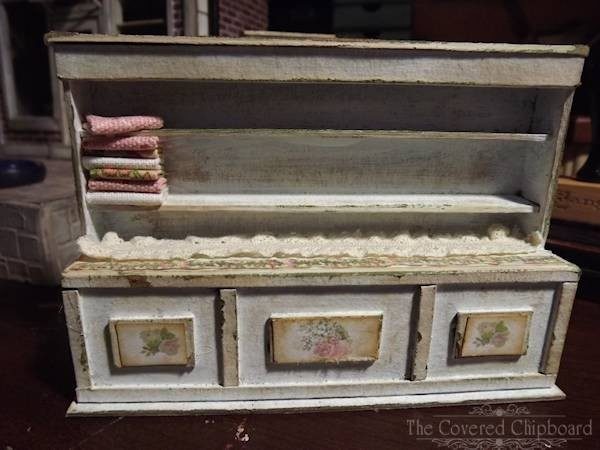
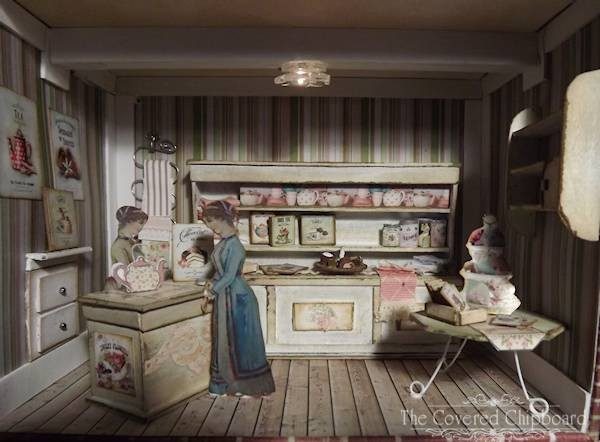
Here I’ve added a strip of lace trim to the bottom of the display unit, as a doily. You can also see where I’ve used bits of the wallpaper to accent the display.
Folded Tea Towel Stack . . .
You can see how I created the tea towels in the following illustrations.
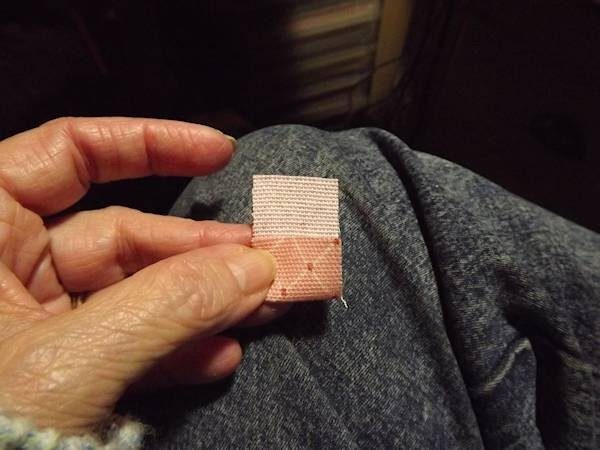
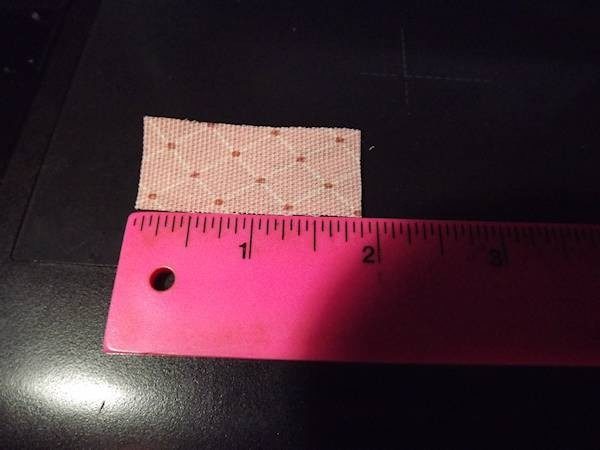
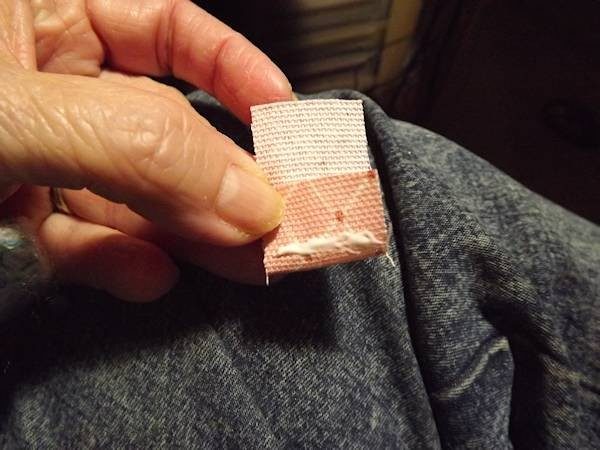
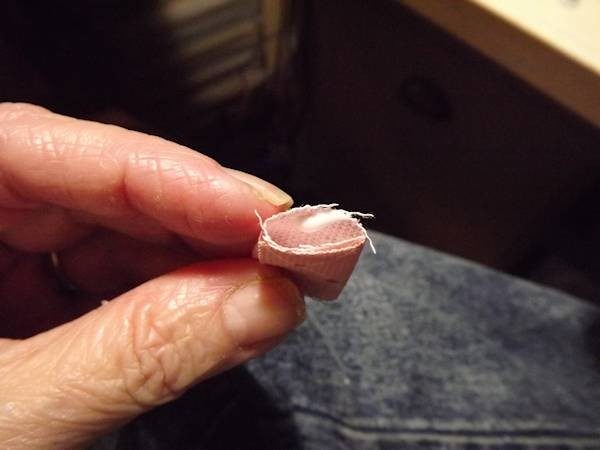
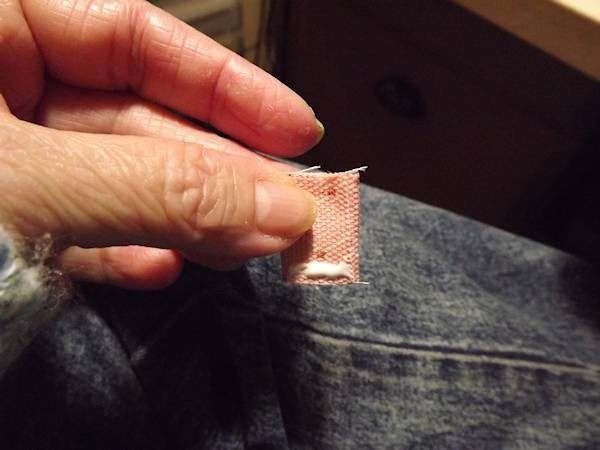
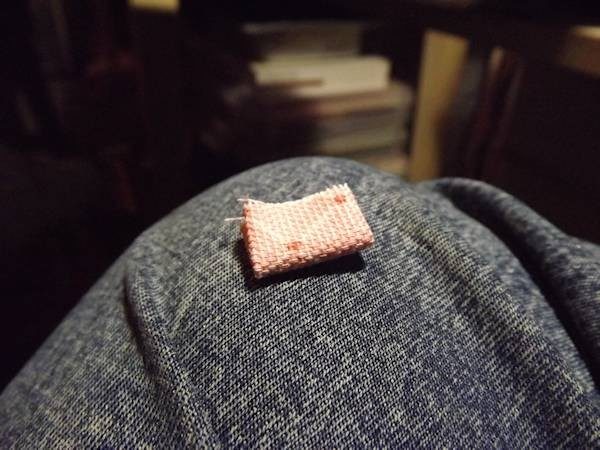
Create as many folded tea towels as you want then glue them together to create the stack.
Advertising items . . .
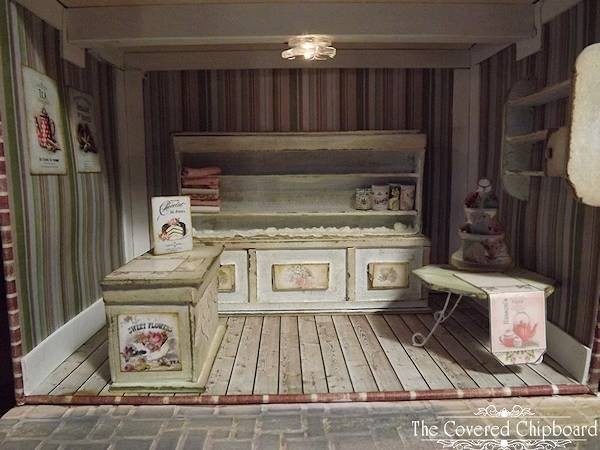
Surf the internet or check out Pintrest under “Vintage Tea” or “Vintage Tea Sets” to find tea related posters and other items. On the left wall you can see two posters I found. Other items are the signs on the side and top of the counter. Flat on the top of the counter is an image of a fold up cupcake box. I’ve sized it and cut away the parts not needed. It looks like a flat box on top of the counter. You could also have the box sitting on the counter as if someone was folding it up for use.
On the right side of the shop, the same box was used but just different parts of it to look like a linen item on the table. There is also a display of a teapot and sweets on the back of the table. I cut a small piece of a tiny glue stick to create a prop for the standing items then glued them to the back of the image. Cut the bottom end of the glue stick at an angle so the image leans back when stood up.
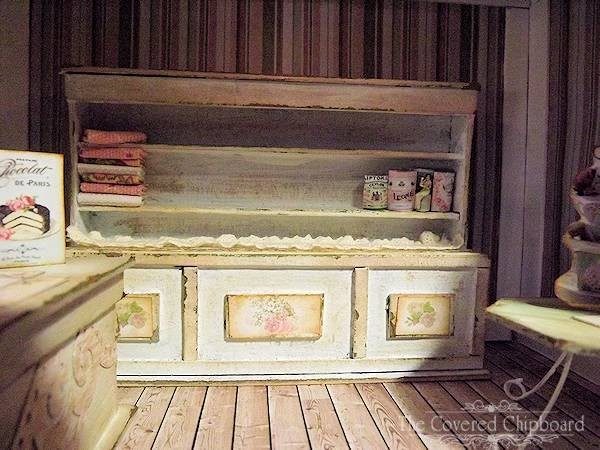
On the right side of the display you can see some tea cannisters I’ve created with sections of glue sticks and wrapped around paper images. Just print the images to size, cut out, and attach to small pieces of glue stick. I’ve painted the top of the glue stick to look like tin.
Update . . .
Here are a few more items you might try!
I found a tea shop sign online and sized it to about 1-1/4″ by 1-3/4″. Then I printed it on white matte cardstock, cut it out and made a chipboard easel to display it in front of my shop. The easel is 1-1/2″ by 2-1/8″ tall. Simply cut a rectangle that size, cut the area out at the bottom to form the legs and round off the top edges. Make a stand for the back, so the easel leans back a bit, with a strip of chipboard that is 1/2″ wide by 2-1/8″ tall. Glue the strip to the back of the easel about 1/2″ from the top.
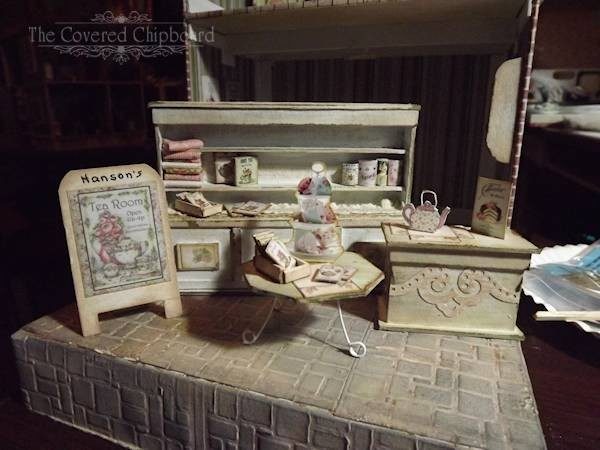
Glue the front of a tea tin image to a piece of chipboard, trim the chipboard to the exact size of the image, then add two more pieces of chipboard to the back. Paint the edges or use a marker to make the chipboard look like old tin. Glue into a shelf. You can see mine just to the right of the tea towel stack above.
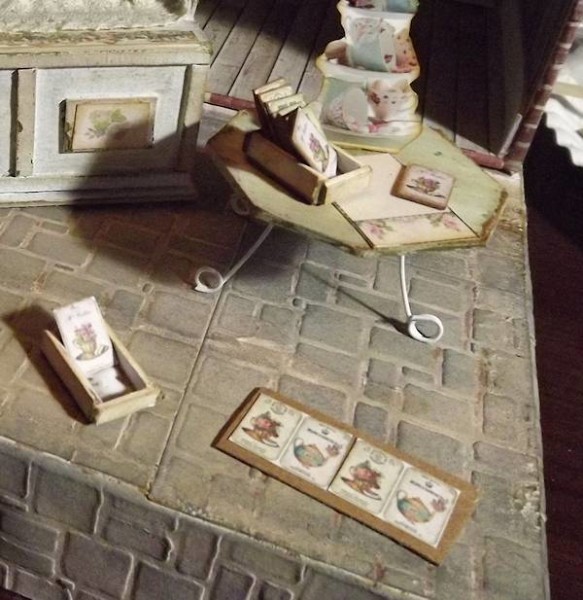
I found some tea tags online and with my graphics program, sized them down. Glued them to thin chipboard, cut them out and distressed the edges. I then made a tiny tray from chipboard scraps, it’s about 1/2″ wide and 3/4″ long, and glued the tea tags into the tray making them look like tea bag samples. Make a few extra and glue them to the small table as well as the larger display unit.
The hardest thing to find will be tea cups and sets or teapots for your shop, if you want them. One idea . . . purchase just one tea set or pot and display it the table or display unit in the back. Then you can fill in with other items. As of yet, I’ve not come up with a good way to create these items but I’ll keep thinking and looking and hopefully I will find something.
If any of you have ideas for other tea shop decorations . .. please feel free to add comments below!
UPDATE . . . just some more accents for you to try!
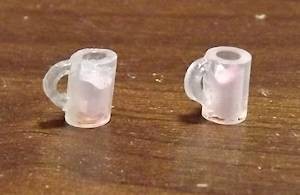
The little frosty mugs of pink lemonaide were created with clear plastic tubing. It’s about 1/8″ in diam, the glass was cut to 1/4″ tall and both the handles and very bottom were slivers of the tube glued into place. The handles are a sliver of tube cut into two sections. Add color to Liquid Glass and fill the inside of each tube.
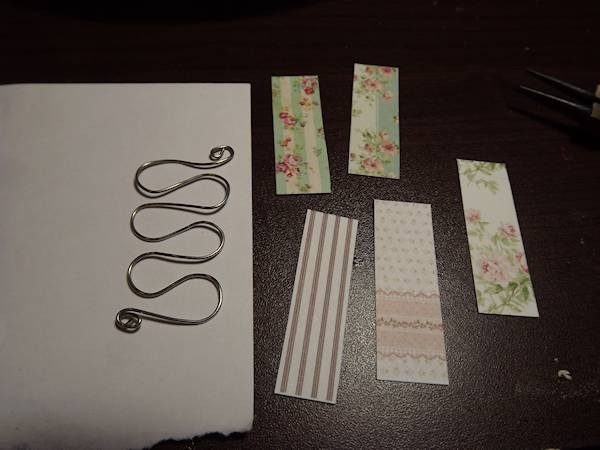
Use jewelry wire to form into a shape as seen above. I bent mine around the bottom of a marker and used needle nose pliers to form the top and bottom curls. Print and cut out paper patterns for use as the towels or use fabric scraps. Hang the towels on the rack, glue them in place as seen below.
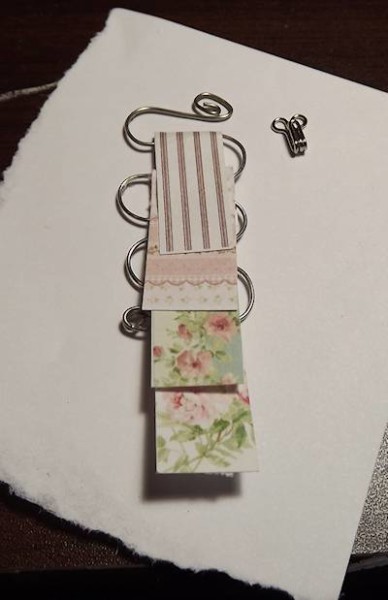
Use a hook, shown above, to hang the rack on the wall in your shop as seen below.
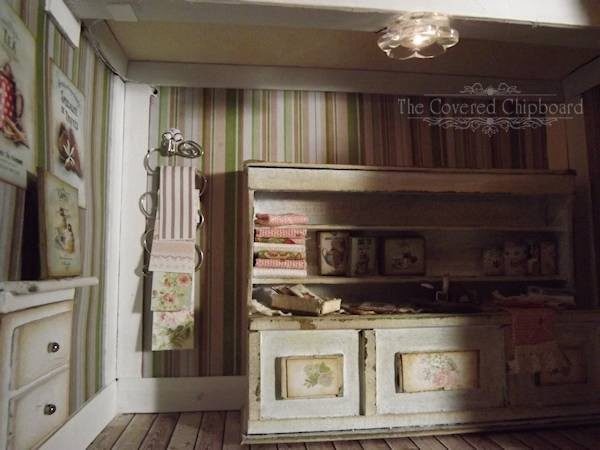
I used some of the flooring paper to create a name sign for the shoppe. Small strips of lace make curtains, remember you don’t want to cover to much of the large windows or you won’t see what’s inside! Plate images were used to make the Tea Time 2:00 and Open signs that are hung by tiny scraps of chain.
Lastly, for lack of a better idea, at this time, I found an image of tea items on display and used it to fill the top shelf in the larger counter. I printed the image, attached to light chipboard, leaving a 1/4″ strip of chipboard at the bottom to use as a stand. Just fold the exposed chipboard strip under and glue to the counter shelf.
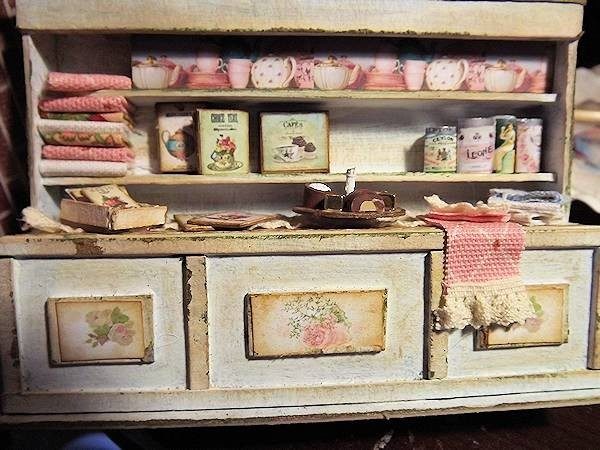
If I figure out something else, I’ll be sure and come back to update the post again. This was just a simple option for now.
One of the fun things about miniatures is that a scene, house or shop can always be changed or updated down the line. New items come out all the time or our skills grow in such a way that we can one day make items we want in a display.
Finish stuffing your large display and we’ll be done with the lower inside of the shoppe!
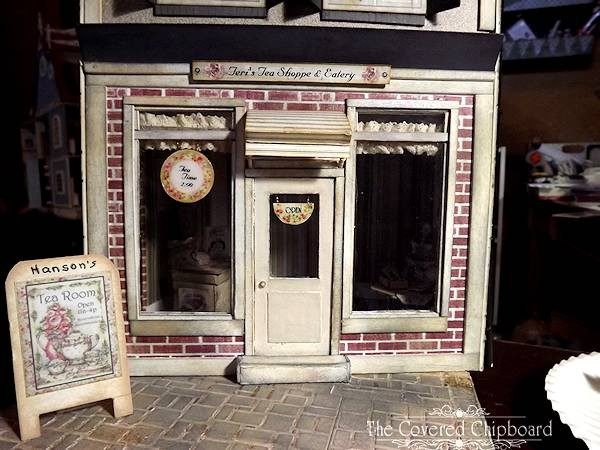
UPDATE . . .
Another little thing I’ve added to the shop . . . two nice paper doll ladies! You can find them as a FREE gift download at the Altered Effects website or just look on Pintrest for vintage paper dolls!
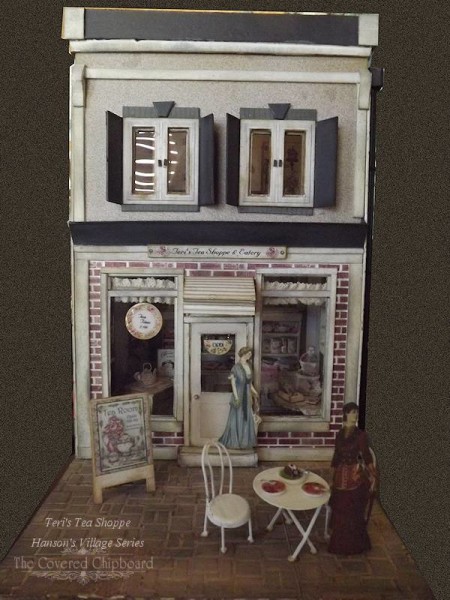
UPDATE . . .
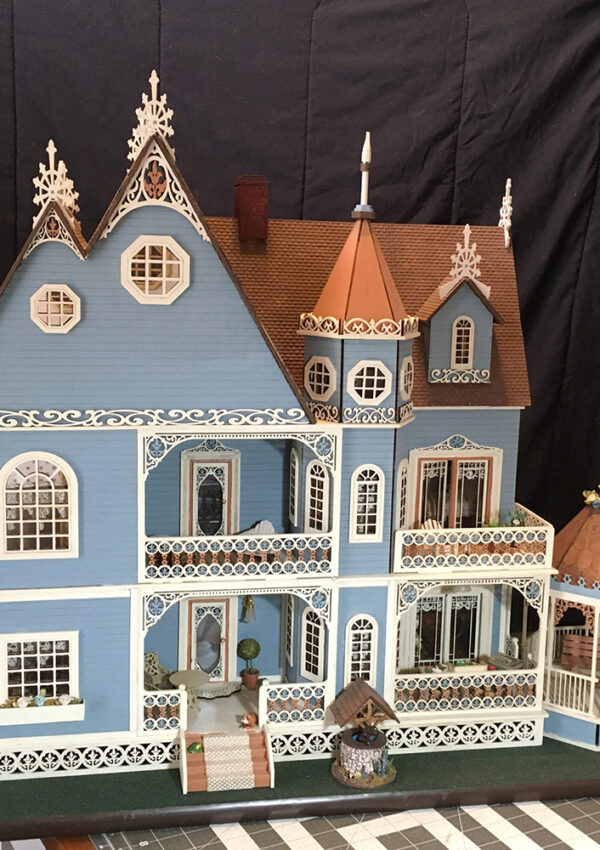
I decided to finish the outside front of the shoppe at this time, after finding the little table you seen in the photo below. I did have to cut the table and chair legs down just a tad to bring it closer to scale. Painting it white also helped with the illusion. More paper dolls, table accents and trimming the sign down a tad all helped.
Next I’ll be working on the inside and the upstairs portion of the shoppe so be sure to watch for a new post!
Till next time . . .



Leave a Reply
You must be logged in to post a comment.