©2024 Teri Hanson – The Covered Chipboard
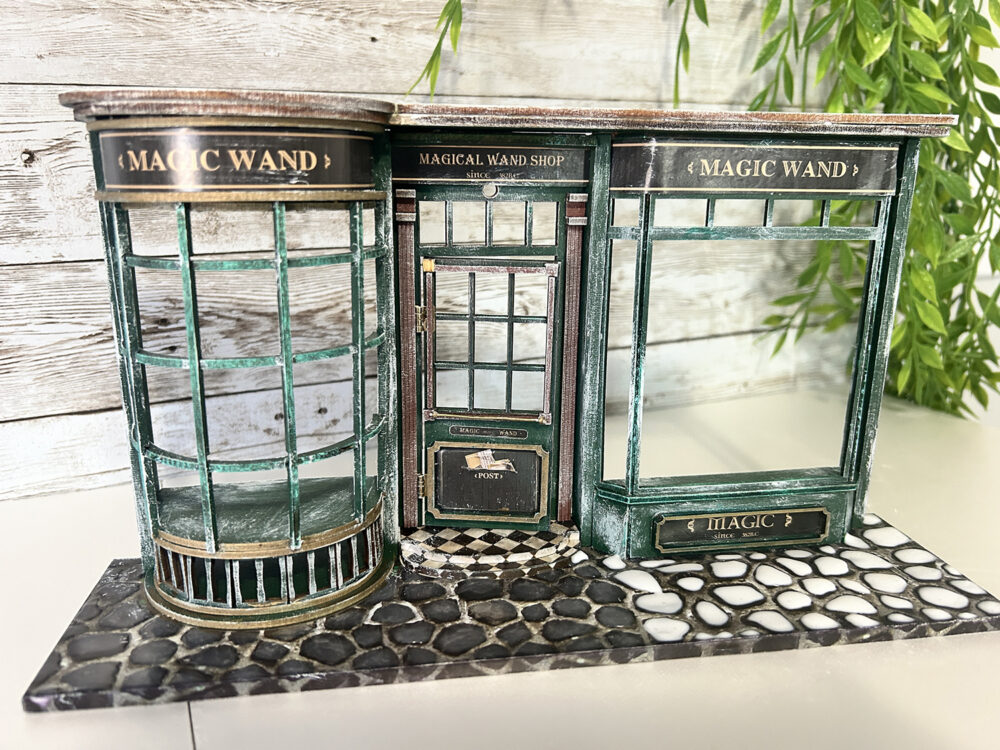
Welcome back friends! In part 3 we will be finishing up the remainder of the shop front, for the most part. There are a couple of things that will be left for part 4 when we finish the base.
So there will be two parts to construct this time: the front door, and the second shop window. I’ve added the video at the bottom of this page.
Let’s start with the front door. Here are the pieces we will be working with.

First, you will want to separate the door from the frame then be sure to sand any burs left on the pieces. I started by using the kit glue for the hinges thinking it was a quick dry metal glue. I was a bit shocked to see green glue (lol) and pretty quickly opted for using Aleene’s quick dry glue!
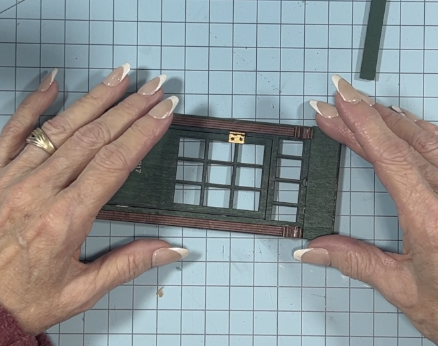
Glue on both hinges to the frame and the door. In the video, you will see me add the brown side trims but in hindsight, I think it’s better to add the top flat piece (B19) with the sticker and then do the side brown trim so you can see placement. It’s not very clear in the instructions.
B19 should be glued so that the top is flush with the top of the door frame.
Next, glue on all remaining brown trim, then add the stickers, then finally the metal door handle. This was not also clear so I used a piece of the gold metal wire from the kit and two tiny gold beads, on each end of the wire, for the door handle.

Glue the finished door to the side of the curved shop window and to the steps, only on the left and right sides – avoid getting glue on the door or if you want it to open and close.

Now while that dries, build the second shop window. This one is a bit tough. You will need to glue each of the main three parts letting each dry before adding the next.
Glue the three base parts and let dry. Glue the shelf top to the base part. Glue the three window sections in place and let dry. Glue the top shelf-type piece in place then glue on the stickers to finish.
Glue the window section to the side of the door as well as the base. Lastly, glue the thick end post to the window and base.
Next, you will add the two top pieces to the entire front section. You will most likely need clips to hold these in place till dry.
Once everything has dried, distress the shop front, outside, inside, and roof with the white acrylic paint just as we did the side windows on the back section.
Next is the base . . .

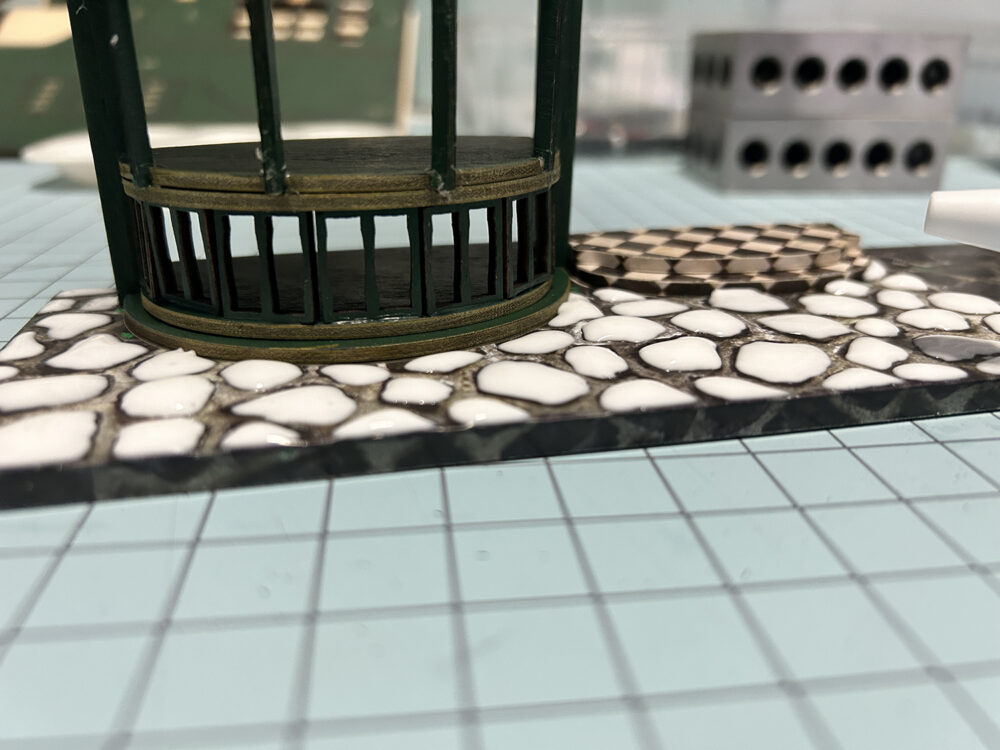
This is an easy option for those who might want a more dimensional look, and feel, to the base. Use glue to draw in the stone shapes, following the stone images, in a bit of a thick layer. Set aside to dry overnight. The glue will dry clear allowing you to still see the stones and you will have a raised look to the stones. No more flat paper look!
Now you need to spray seal the entire front section, inside and out, with the clear matte spray sealer. Spray the base as well!
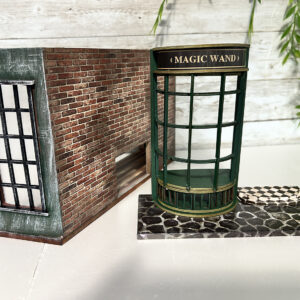
You can see what the finished base looks like in the topmost image. If you are happy with the base, you can stop here. If you wanted, you could use the grit paste over the entire base and then wipe it off of the stone tops for an even more realistic look.
In part 4 we will be adding some finishing touches to the front section including the hinges.
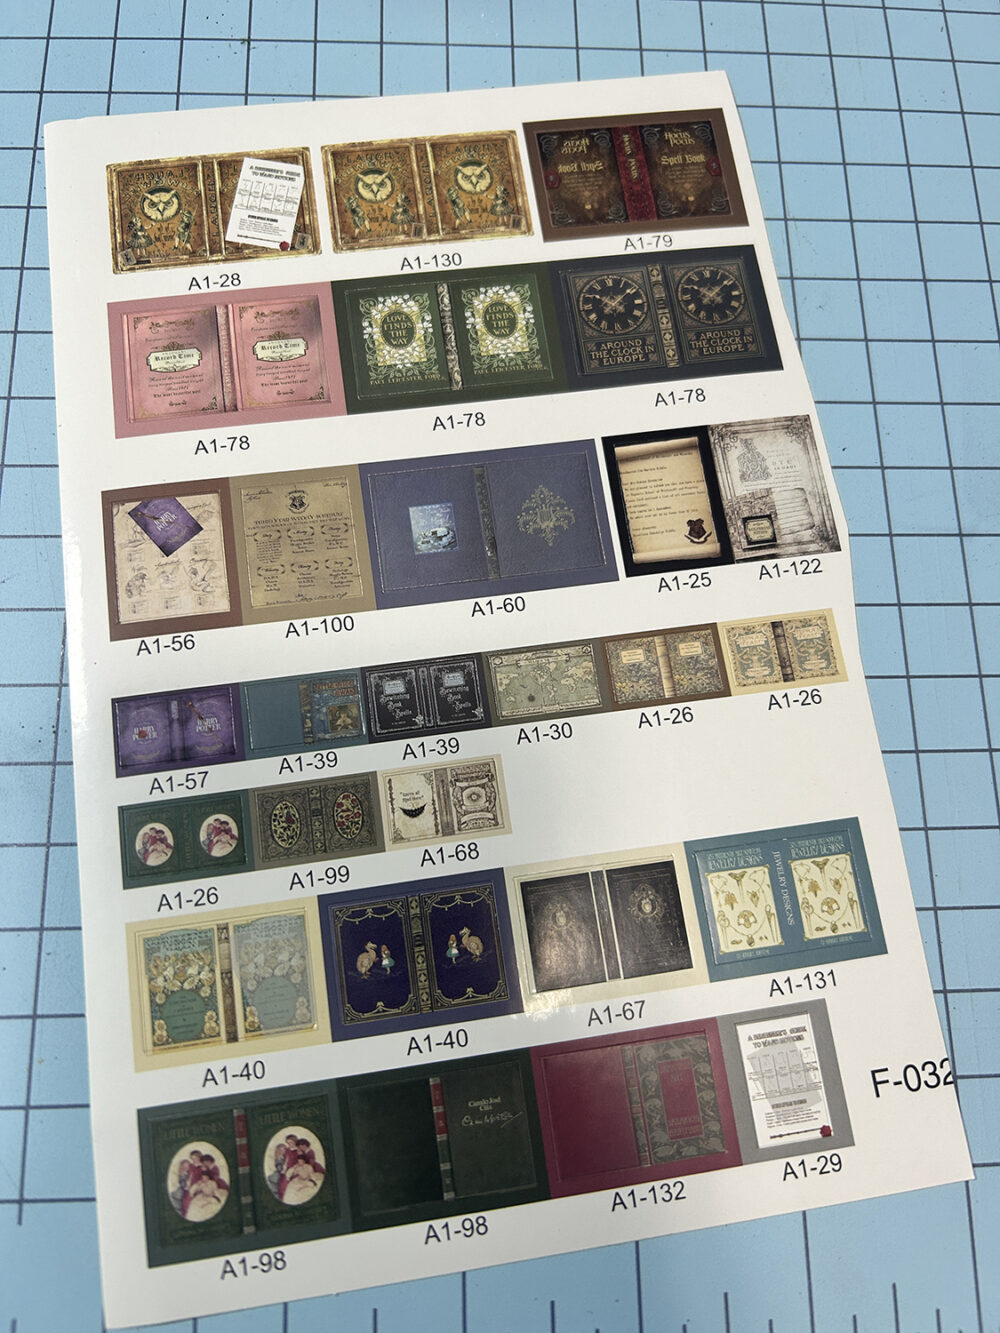
To prepare for part 4 locate the sticker sheet opposite. If possible, scan it into your computer then print off several sheets retaining the sizes. We are going to need a lot of books!!! You can also research online or google to find magical book covers you can use.
One final note . . . in hearing that the lights with these kits do not last long, I will be purchasing LED mini lights from Evans Designs online. This is a fantastic place to get lights for miniatures! They have a wide selection, great videos on how to use the lights, and very affordable. Here is a link to the miniature light kit I will be purchasing. The kit comes with 5 lights.
I’ve chosen the 3mm in warm white for a 9V battery. You of course can use what came in the magic shop kit if you like. This is just a personal preference of mine. I will be showing how to wire the shop using these lights.

Thanks once again for joining me on this craft-along journey! I do hope you are having fun and if you stray from what I’ve done to do your own version . . . I would LOVE to see the end results!!! Please feel free to leave a comment below or post your project on the group!!
Till next time . . .
Teri


Leave a Reply
You must be logged in to post a comment.