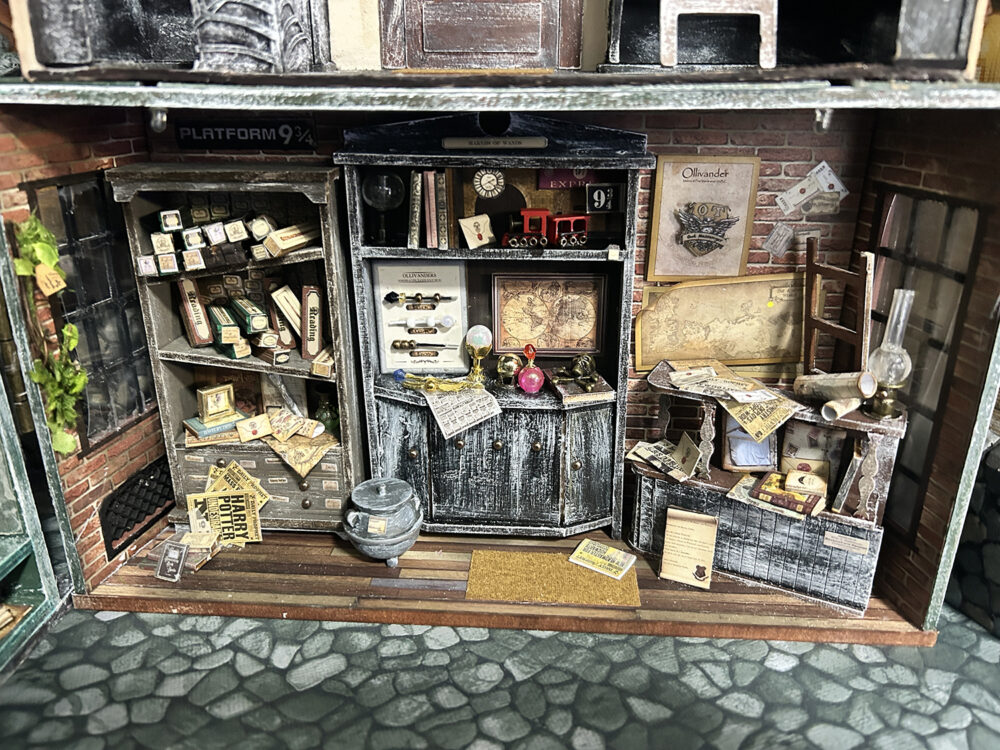
Today we are going to do some finishing work on the outside of the Magic Shop. From this point onward I will be building the inside accessories. These are pretty straightforward per the included instruction book so I will simply have a montage video for the final part of the build.
Lastly . . . don’t forget that the second Craft Along on May 1st will be a “build from scratch” structure that will go on top of the Magic Shop!!! More to follow on this.
Supplies needed . . .
- Ranger Texture Paste of Grit Paste (either will do and we will be using this again in the next project)
- Course pepper and salt mixture (colored fine sand will work as well)
- Medium Grey and Black Acrylic paint
- Plastic knife for an applicator
- Lights – my instructions are for the Evans Designs Mini Room Lighting Kit LP30 (PURCHASE HERE) NOTE the options I’ve chosen for the kit. You will also need to have a 9V battery to power the lights.
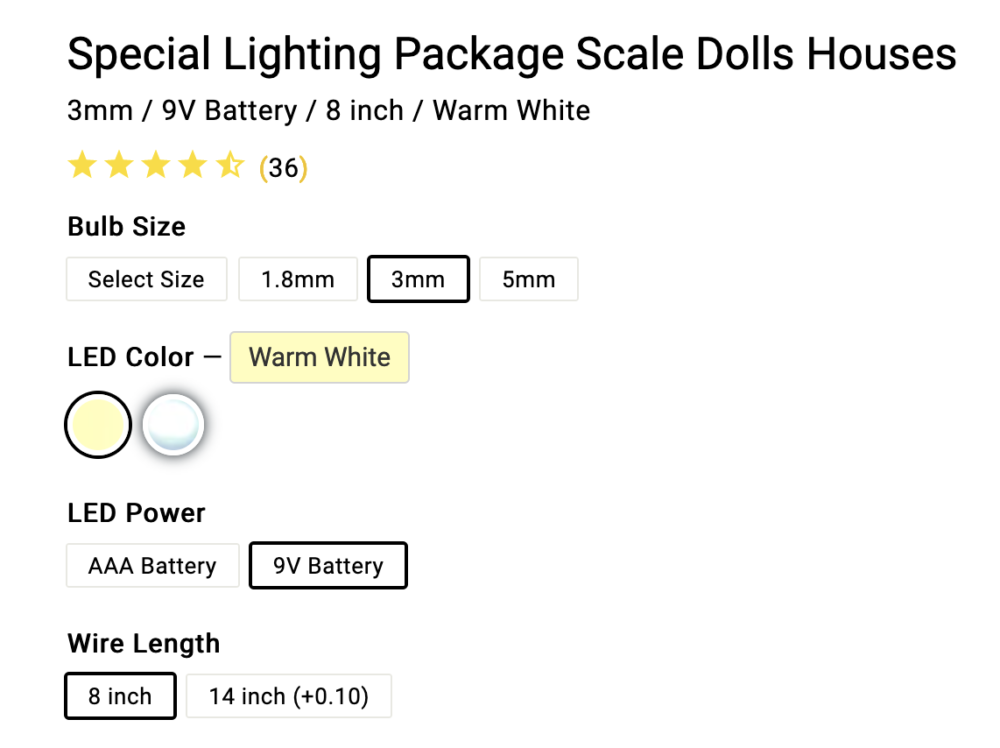

Lighting . . .
I will be using one light in the front, over the door, then two lights inside the back area. The final two lights will be used in the upper structure that will be built in Craft Along 2 – May 1st. The lights will be installed in place in the magic shop but will not be connected until the upper structure is finished and attached. So stay tuned for that part. If you will not be creating the upper section, you can find multiple instructions for connecting the lights at the Evan Designs website. I also have a post on the blog about using these type of lights for miniatures. There are also instructions at the end of the video below.
Here is the final video for part 4. The steps are simple so you should have no problem working from the video.
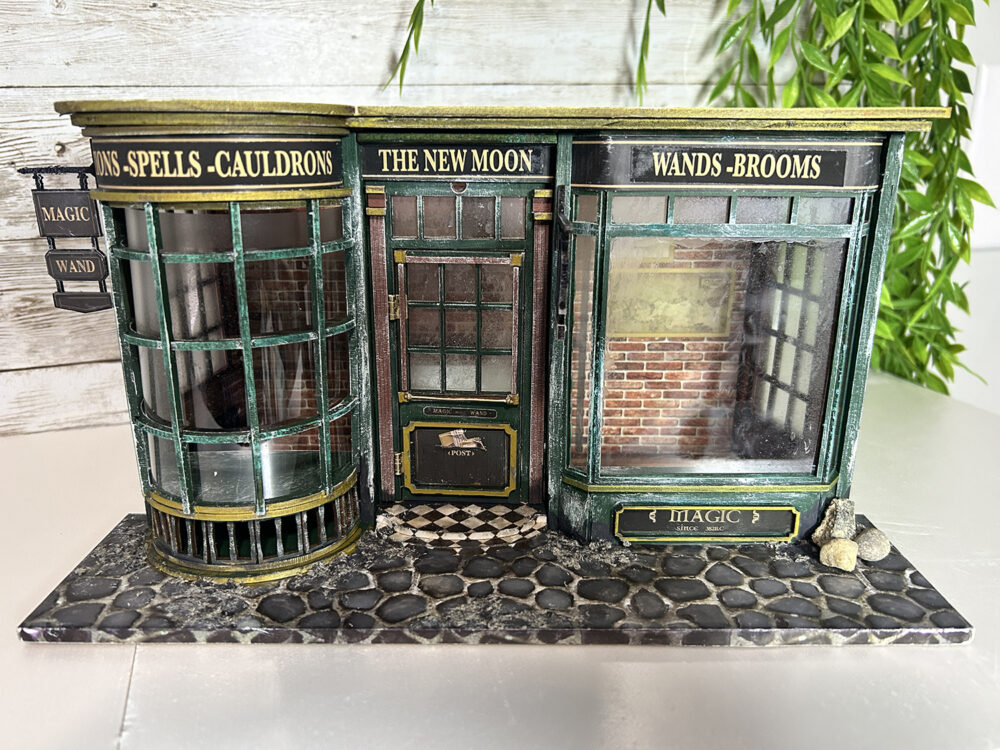
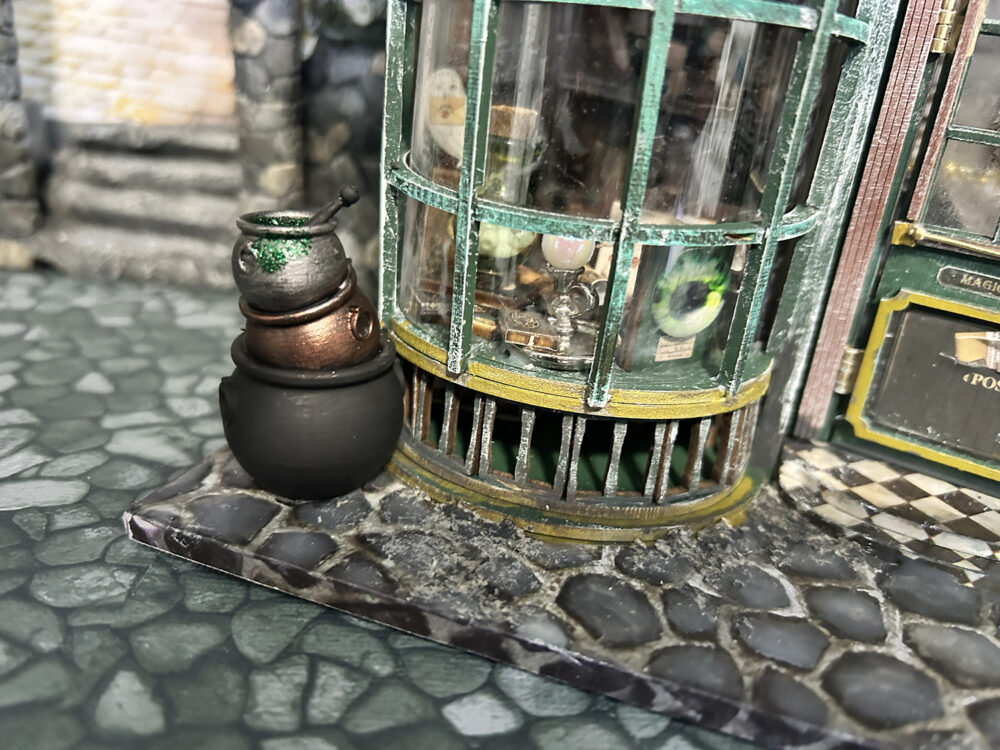
Here’s an up-close shot of the grit/texture added to the cobblestone base. You can also see where I’ve added a bit of black/grey paint around the lower parts of the structure to dirty it up a bit.

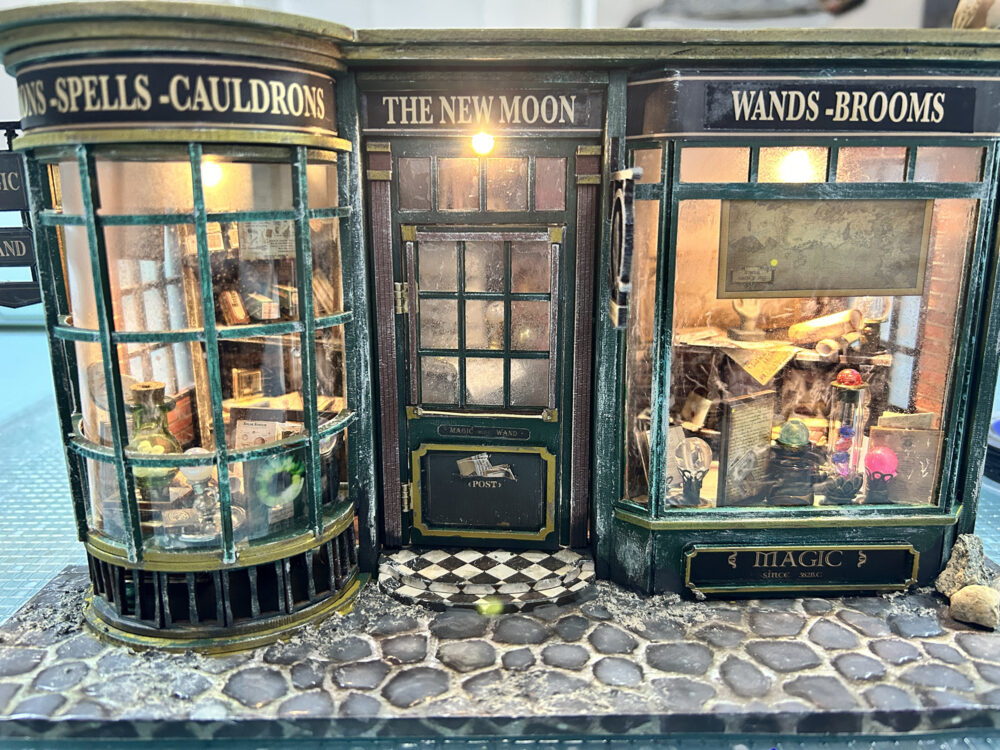
Here I’ve temporarily hooked up the lights so that you can see what they look like.
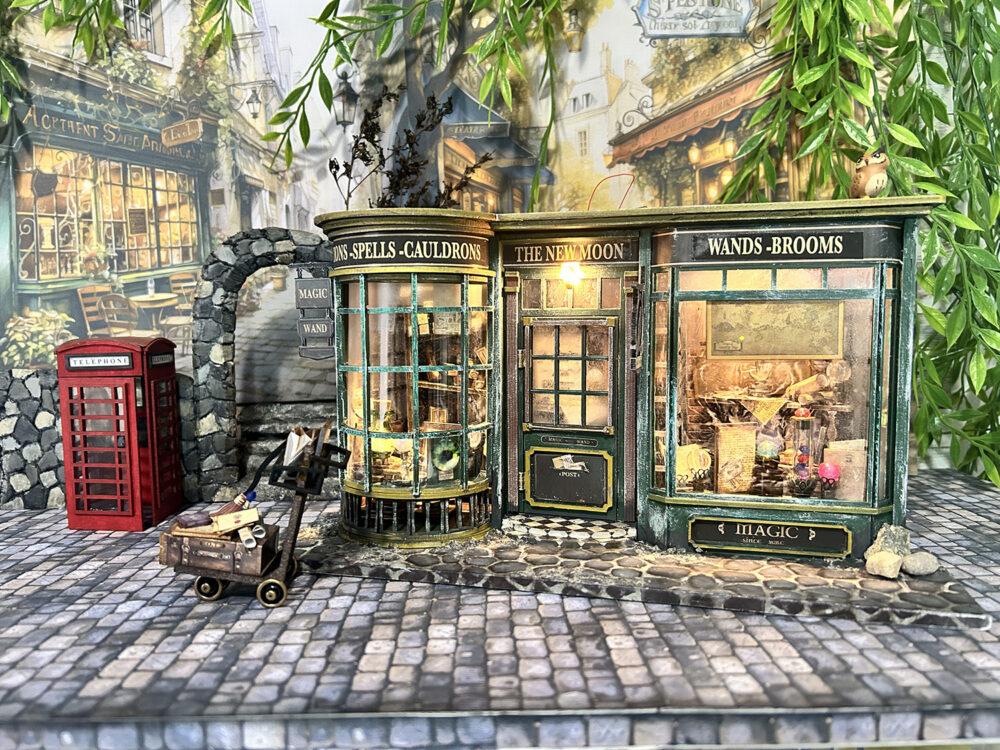
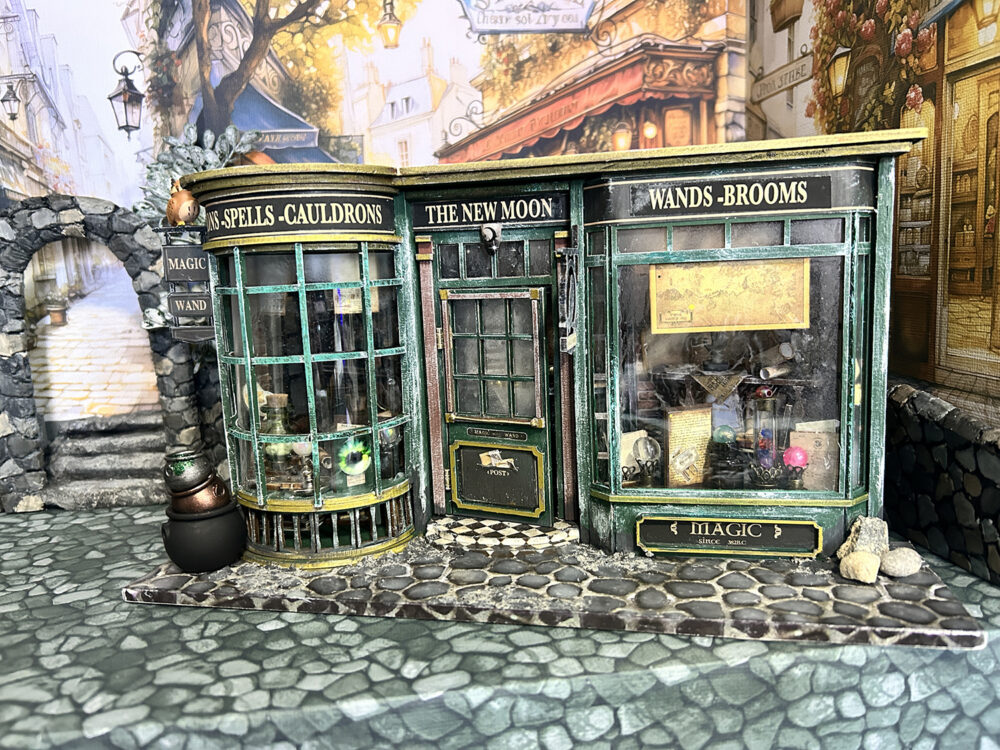
And here’s a final look at the Magic Shop lower section finished. Notice that I’ve created a temporary backdrop for photographic purposes. I like it enough that I’ll be doing a video and tutorial very soon on how to create this backdrop! Mine will be placed on a bookshelf and at some point there will be another shop created to go on the left side. Stay tuned for more on that.
I had to add a little something extra here . . . these fantastic cauldrons! Aren’t they just toooo perfect for this shop? I found them on Etsy – link below – and can’t say enough about how nice they are. Perfectly weighted, perfectly finished, and ready to be painted. I’ve purchased 3D items in the past and was less than happy about the quality but not with this shop’s items. Highly recommend this shop: ShopMiniDecorandMore

I do hope that you have enjoyed this craft along project with me. Please don’t hesitate to leave any questions you might have below in the comments as I would love to hear how you liked the process, if you liked or didn’t like the videos, and if you want to see more content like this from me in the future.
CREDITS
I created the backdrop for this project using printable art found on Etsy. I still have some dimensional work I would like to do with it but that’s for another day. I did however want to give credit for the art. These are great quality files with easy downloads.
- Cafe in Narrow Alley Clipart Bundle from Liededrom
- CobblestoneTextures Digital Paper from PatternOasisGallery
- ShopMiniDecorandMore Cauldrons
Till next time . . .
Stay crafty!
Teri


Leave a Reply
You must be logged in to post a comment.