©2024 Teri Hanson/The Covered Chipboard
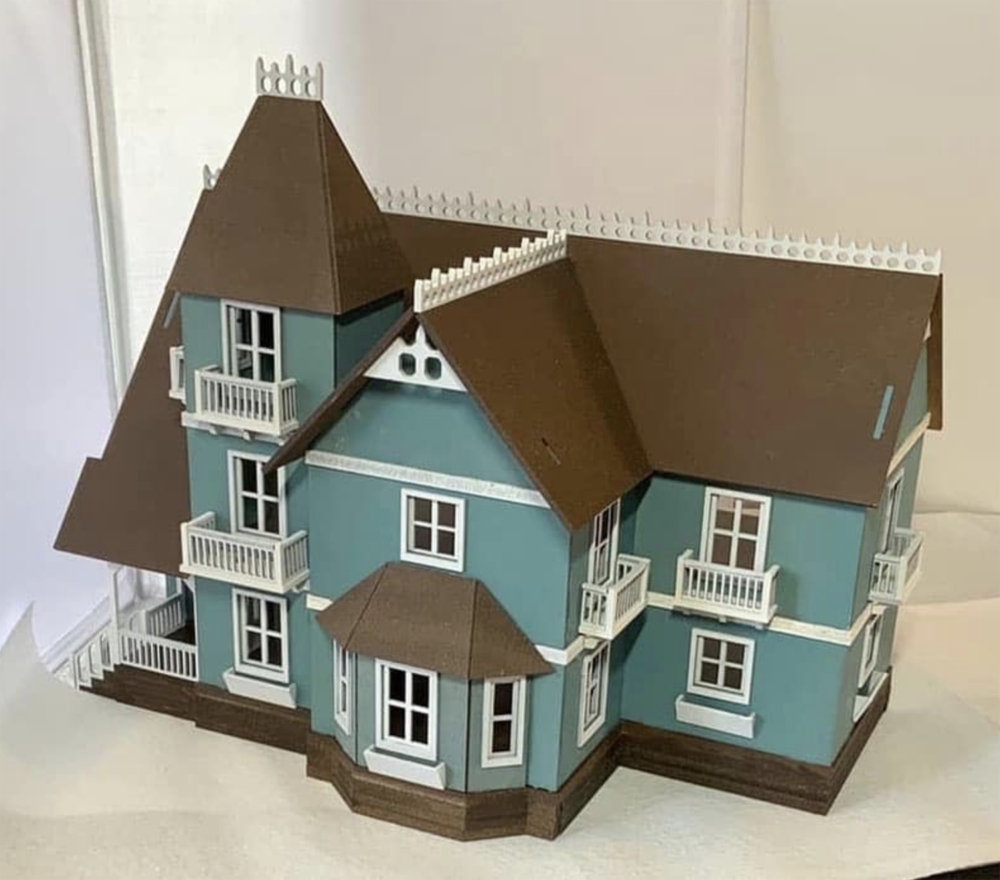
photo from JMann Laser Crafts
Welcome to another dollhouse build or rather a rebuild of a lovely Victorian house! This will be one of my longer builds simply because it will not be worked on daily. I purchased the house last year from JMann Laser Crafts as part of his ready-built samples knowing that I would eventually be taking it apart and making a few changes. And now it seems to be the right time to start on it. I hope that you enjoy the process and find something worthwhile along the way.
If you are interested in following my process, sign up for my newsletter so you can get notices of future posts!
First Floor
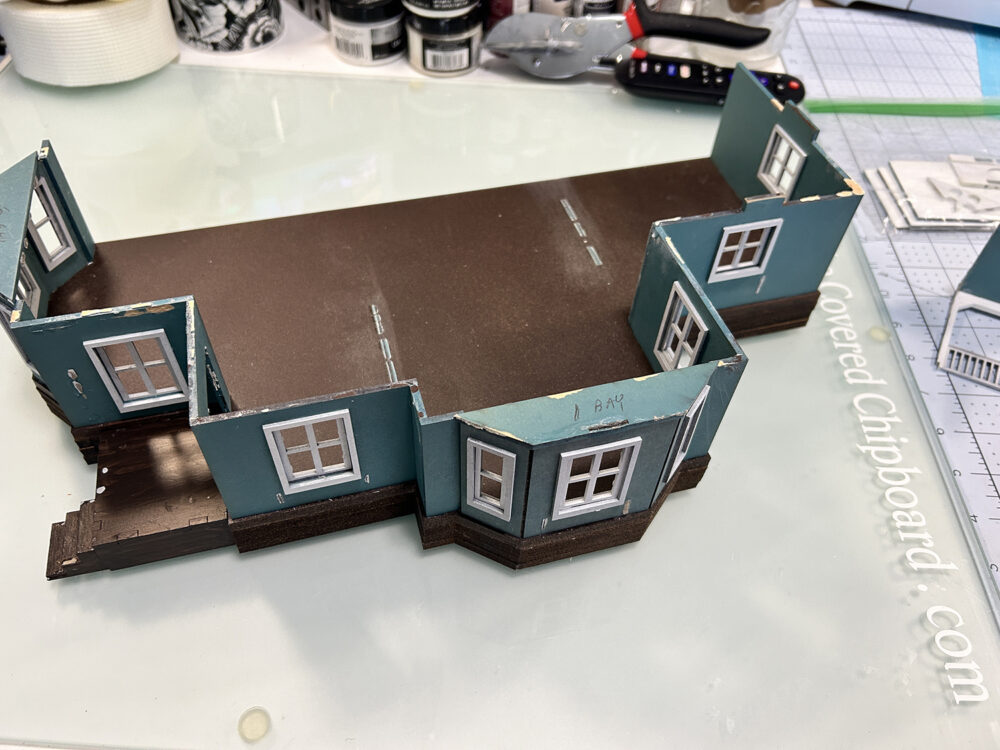
I’ve constructed the porch from cardboard scraps adding supports underneath and covering the edges on two sides.
The sides will be covered with lattice strips, railings, and a flat roof.
My first thoughts are to add an extra porch over on the right side which means I will need to remove a window and add a door.
Secondly, I want to add lattice around the entire bottom foundation. This will be created with several layers of cardstock.
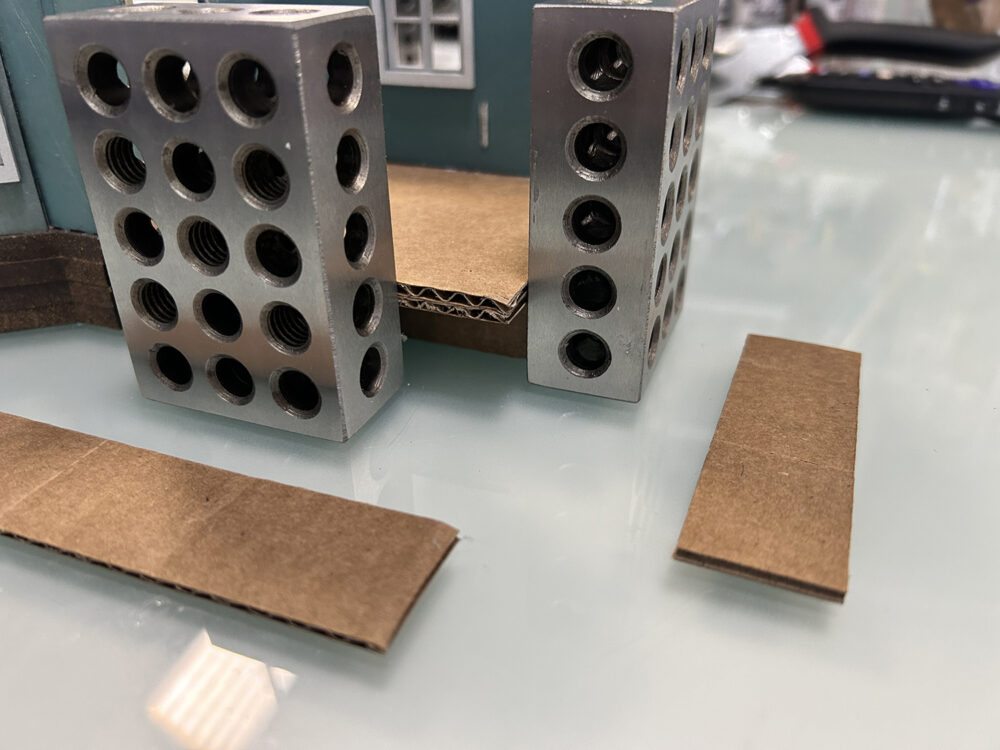
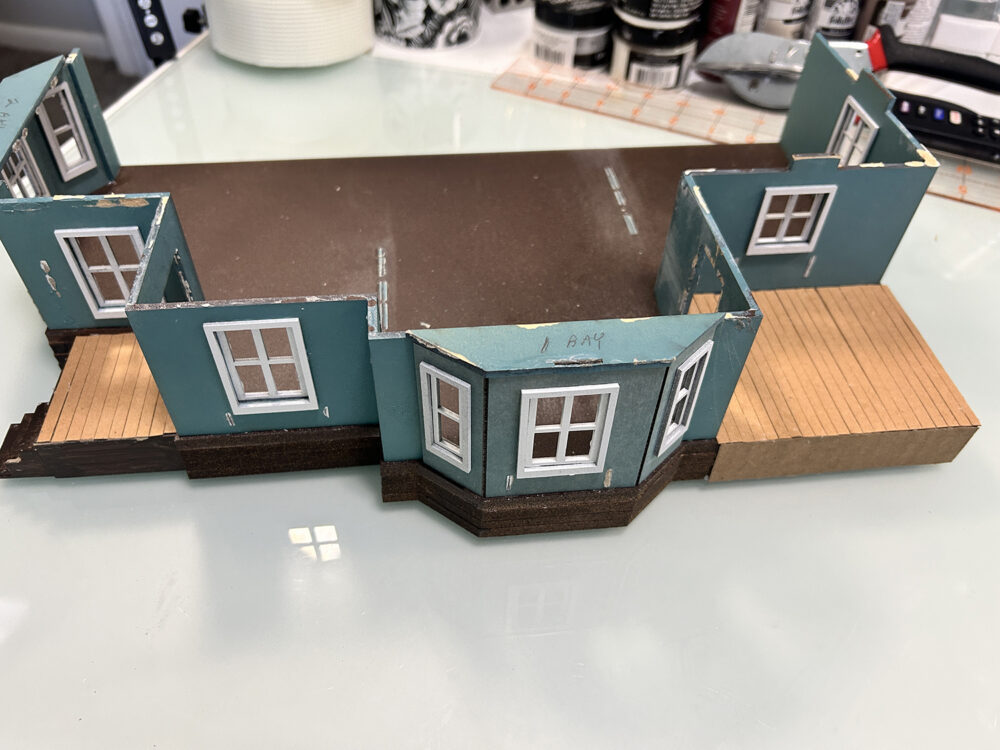
Floorboards made from Cricut Kraft Board strips are used to cover both porches. These will be painted at a later stage.
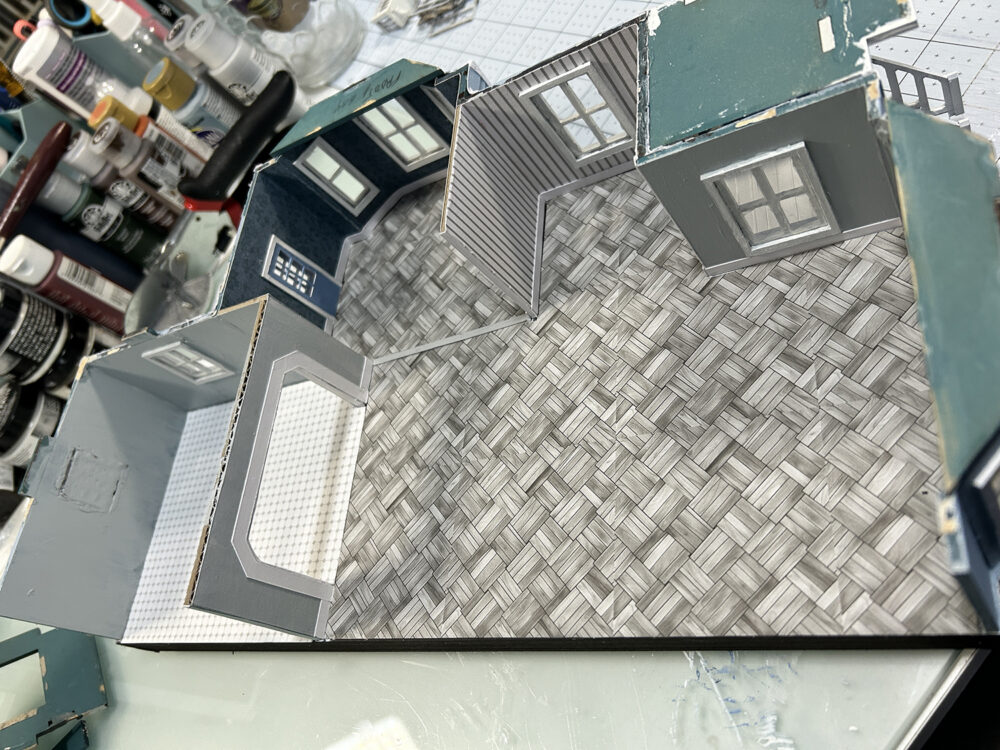
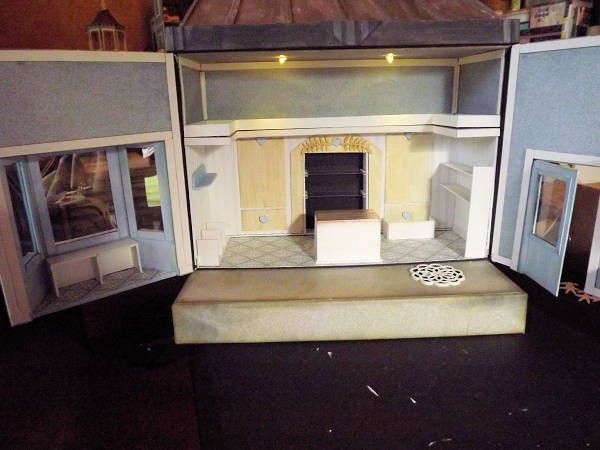
I’ve also removed the far back right window and filled the hole so that kitchen cabinets and stove can be placed along that wall.
My next step was to paint and paper the inside walls, add flooring, fill the kitchen window hole, and install the porch door. I’ve also finished off the walls with painted white baseboard.
Back to the front (below left and right), I’ve added the lattice and painted the porches. Using some Cricut corrugated cardboard I’ve created a finish for the lower areas of the base covering all of the dark painted wood sections.
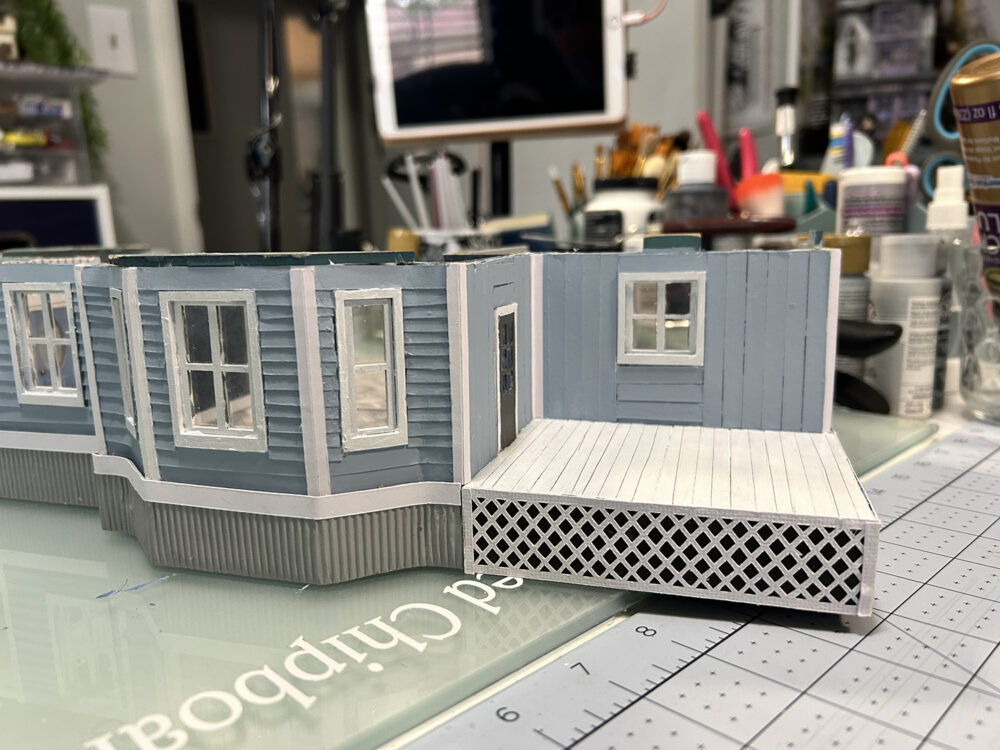
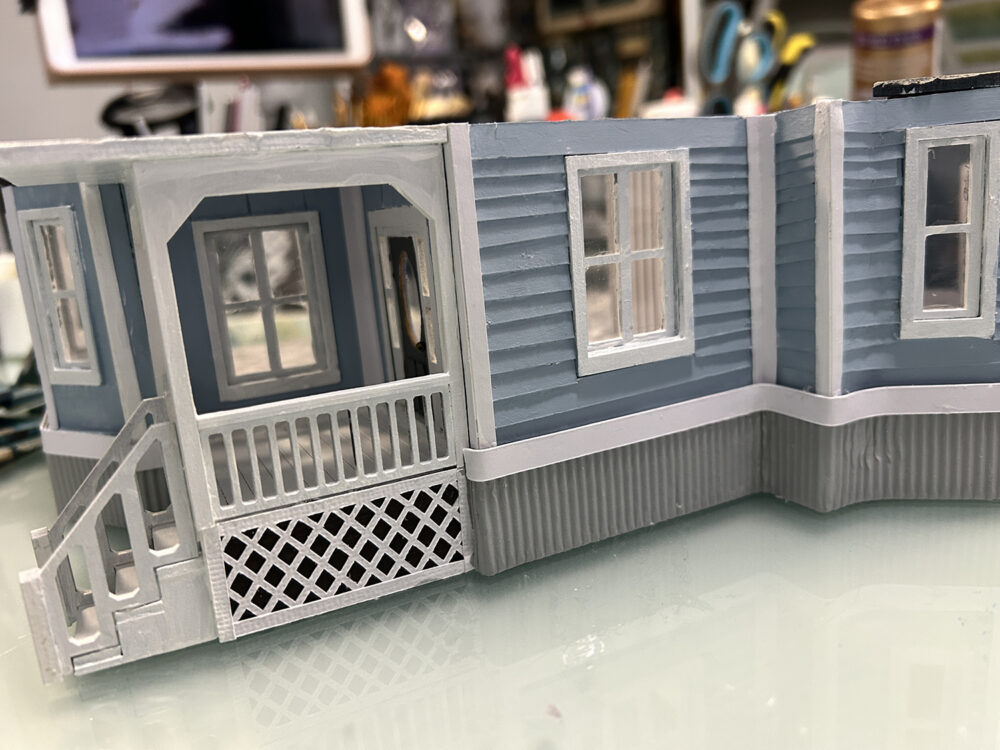
The siding was created with strips of white cardstock that were glued on and painted in a medium-light blue acrylic paint.
This completes the first floor setting the tone for the remainder of the build. I’ll start on the second floor next but will not permanently attach it to the first floor. I know that I want to add lights after the structure is complete and then will attach the levels together.
Stay tuned for Part 2 – the second floor – when time allows!
Till then . . . happy creating!


Leave a Reply
You must be logged in to post a comment.