
©2025 TeriHanson/TheCoveredChipboard
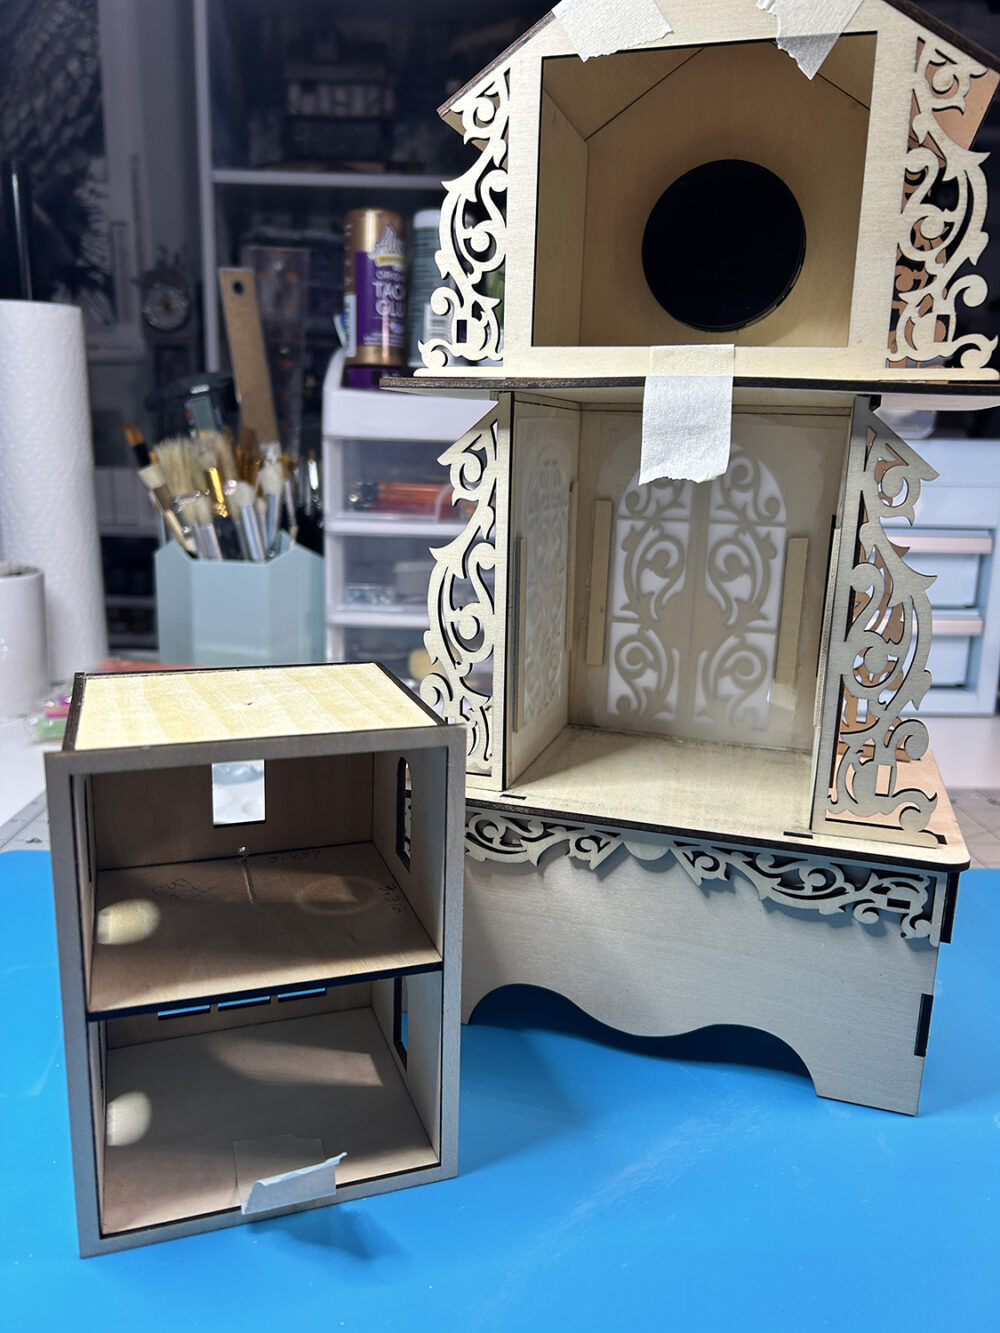
The Timekeeper Cottage was designed to have a removable section of two rooms if you like. The workroom at the top is stationary. In order to change out the lower section and have lights inside, there had to be a way to plug in and unplug two of the lights.
I have added links below to all of the lighting parts I’ve used in case you would like to do this with other miniature builds you have.
*The kit includes three lights and wiring for all rooms if you do not want to build the lower section to be removable.
A diagram is shown below for how to connect all of the wiring parts together.
OPTIONAL LIGHTING FOR REMOVABLE ROOMS – use links below. Lights come with 5 per package so you will have enough to create two additional room inserts if using only one light per room, with one light extra.
- Lights – 5 lights in the pkg, choose battery option you prefer, choose light color you prefer
- 3 Way Connector – you only need one of these – this part remains with the base structure at all times
- Battery holder with on/off switch – this part remains with the base structure at all times

HOW TO . . . attach the battery to start and check each connection as you work. Be careful not to let the black and red wires touch when the battery switch has been turned on!
- Plug the 3-way splitter connector wire into the battery holder – make sure that red wires and black wires are on the same side of the plug!
- Plug a connector wire into each of the three splitter plugs – make sure that red wires and black wires are on the same side of the plug!
- Add a shrink tube onto the red wire from the light, add a shrink tube onto the black wire of the light (not shown in diagram), twist the red wire from the light to the red wire of the connector wire tightly. Do the same with the black wires. Slide the shrink tube over the connection and use a heat source to shrink the black tube down to the wires to secure the connection.
- Repeat for the other two lights in the kit.
TIPS . . .
I love using these lights from Evan’s Designs! Visit the site for a wide variety of lighting styles to fit a lot of needs in miniature scenes and dollhouses.
Generally, I will use the 3mm LED lights in the cool white color. The lights can easily be colored with alcohol inks to suit your needs. You simply twist the wires together, add a shrink tube to secure the connection, and install the lights. You will also find a variety of battery packs with or without an on/off switch, a touch switch, and much more.
My main tip is that these lights tend to shine in a circle straight down. If you lightly sand the curved bottom of the bulb so it is flat, the light beam will spread outward and cover more area inside the scene.
I hope this all makes sense, but please feel free to contact me should you have questions or need help!!
Happy building,
Teri


Leave a Reply
You must be logged in to post a comment.