featuring “Woodland Cabin” from JManLaserCrafts
FIRST FLOOR BUILD
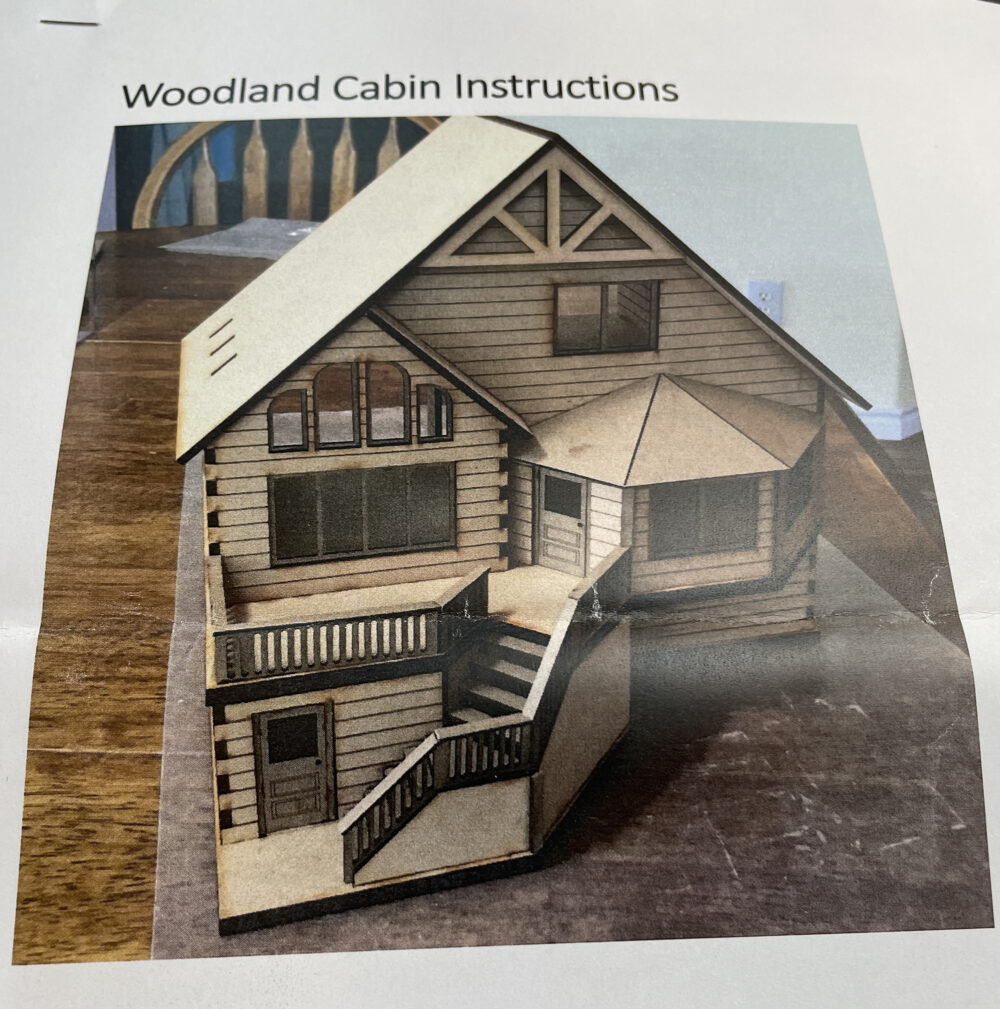
Several years ago I treated myself to this cute 1:48 scale cabin project. It’s sat on the shelf since and I had completely forgotten about it till this morning when I went hunting for a new project!! If you are also looking for a new year’s build, use the link above and browse his Facebook page. I’m sure you will find something unique and interesting to try.
Many of John’s kits are available with options such as smooth sides, and siding as seen above, with or without shingles, and he also has sheets of flooring and tile you can add on. Here’s a little look at the kit in parts. Quality materials and complete instructions make building his kits a dream.
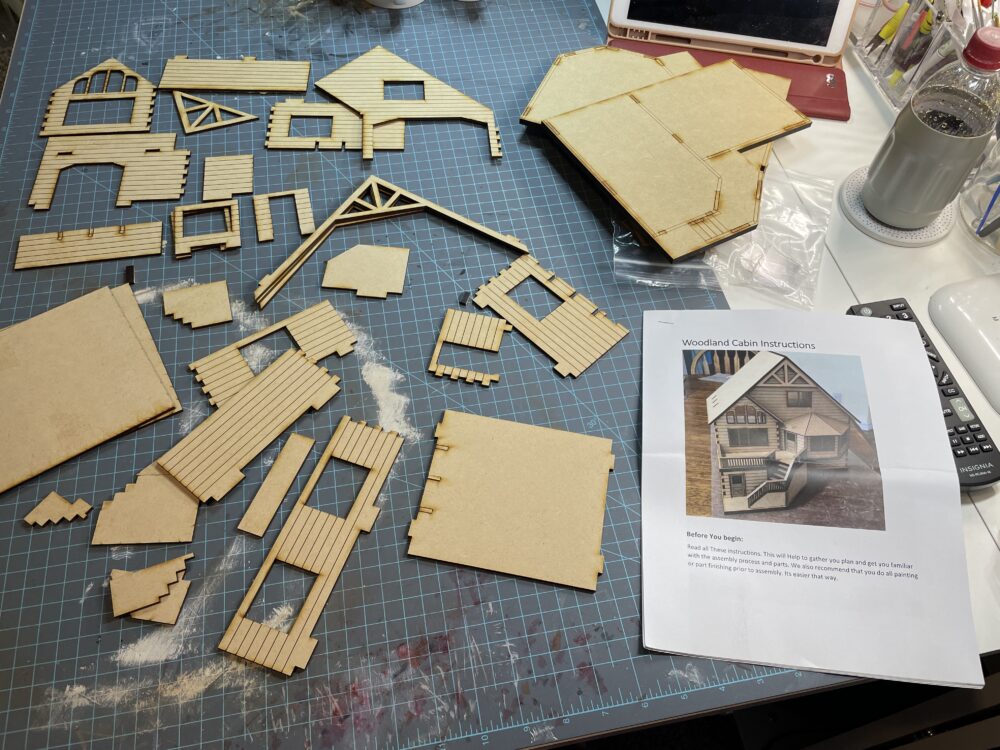
I love the new look of the black and white houses I’ve seen popping up around our area and have decided to go with that for this build. It’s been a while since I’ve done a detailed interior for a miniature and have decided to go all out with this one. I’ve chosen a modern farmhouse style for the interior. It’s going to be a fun one so grab a drink and enjoy the build!
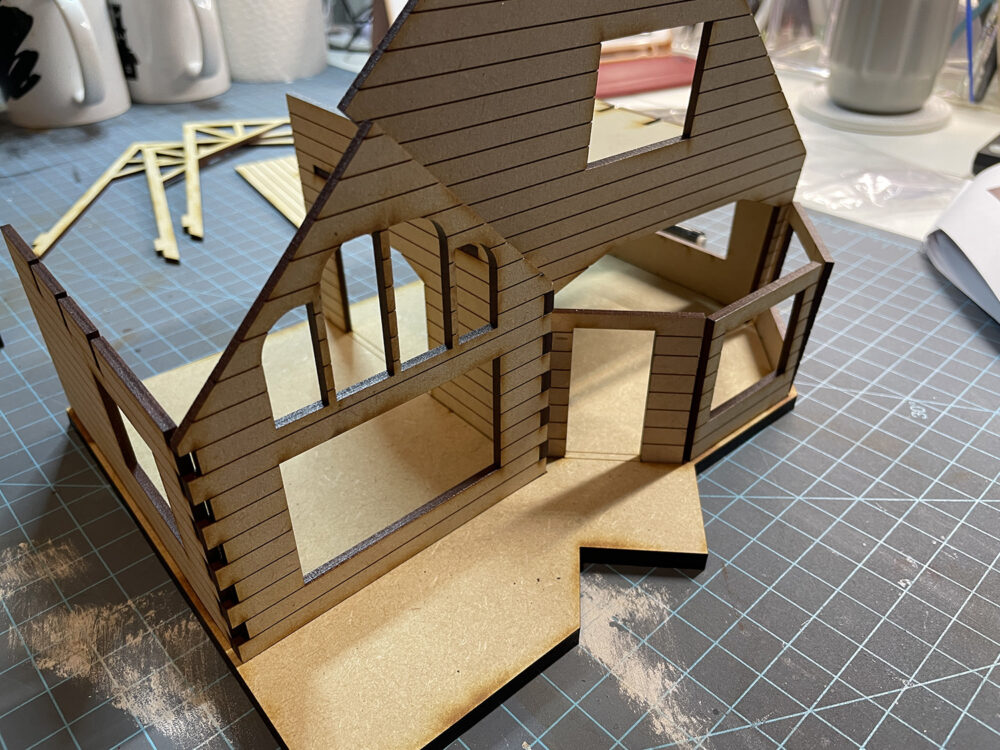
If you are new to building miniature houses, it’s always a good idea to dry-fit at least the main parts of the structure. This not only gives you a more detailed visual of the layout but also will help you plan the finishing part of the process. Much of the finishing should be done prior to gluing since it’s often difficult to get your hands inside when working on flooring or walls. Another tip is to finish one floor before moving on to the upper floors. This kit is perfect in that each floor can be built separately and then glued together afterward.
Here is a look at my dry-fit for both floors. I did find myself scratching my head at some of the directions so maybe this will help others.
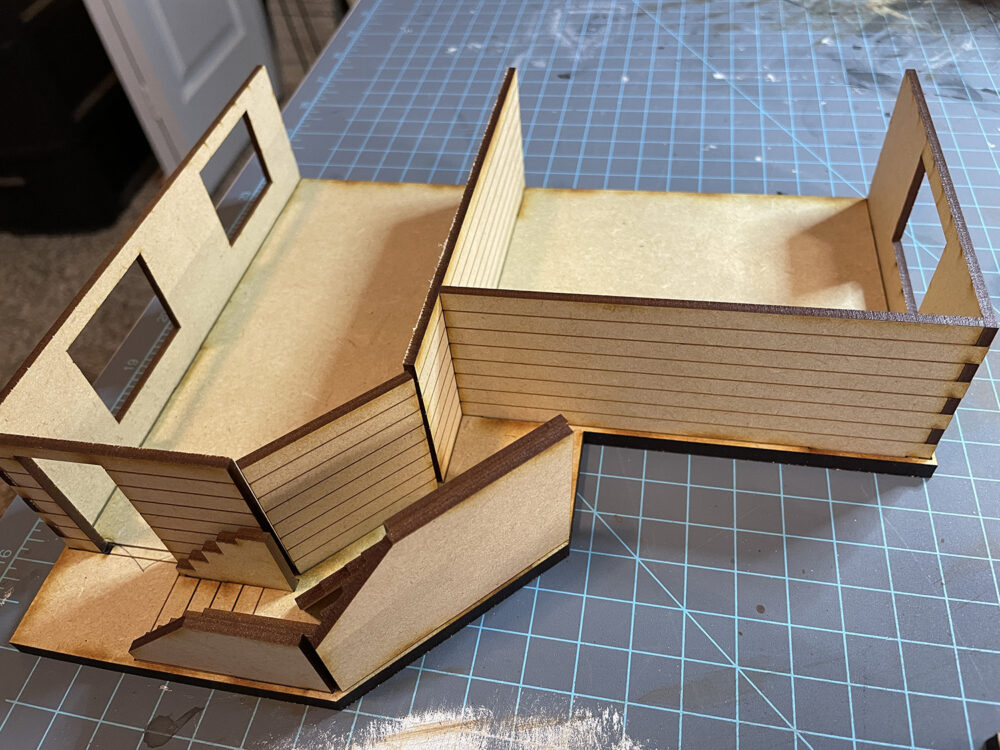
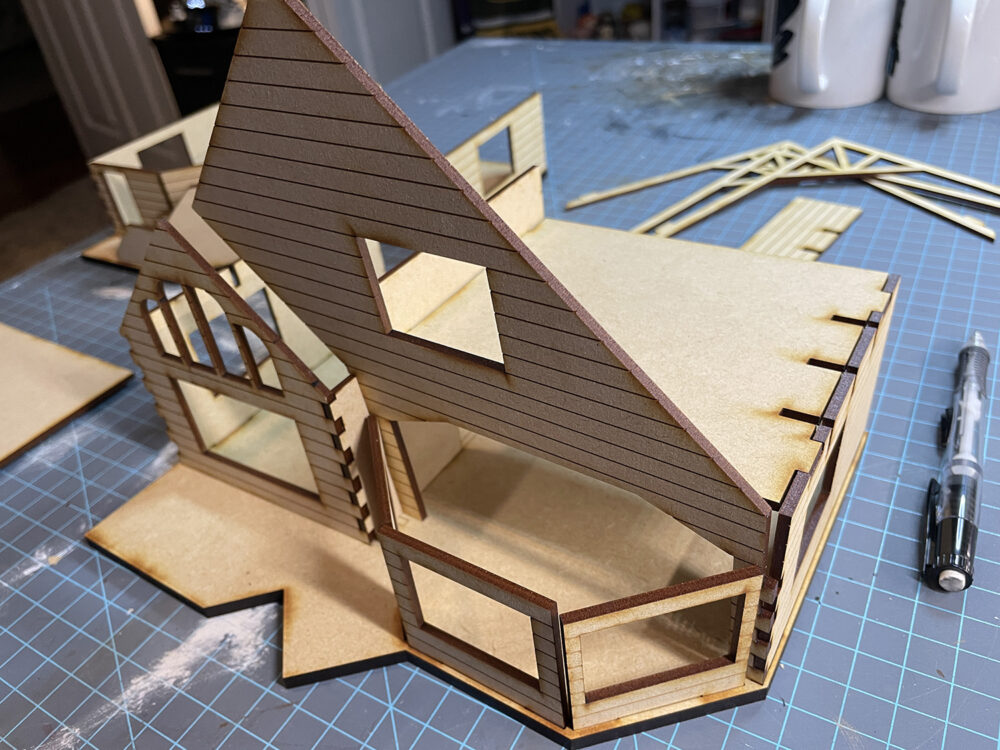
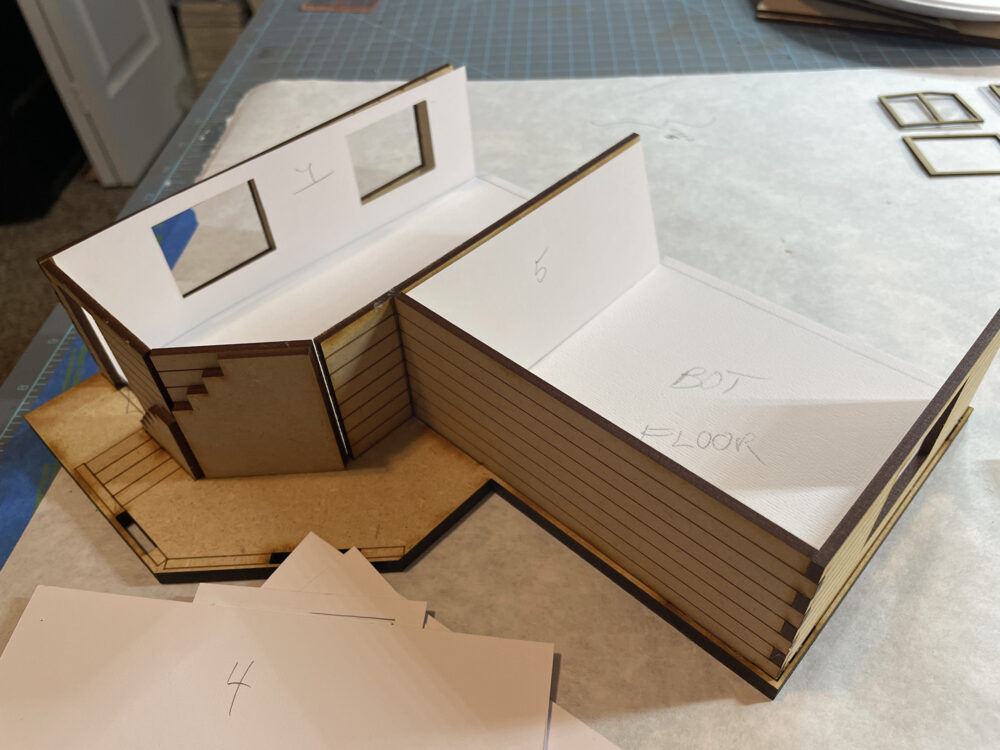
From the dry-fit, I can get an idea of where pieces go as well as finishing ideas. To start I’ve glued down some pieces in preparation for adding texture and made some templates for the floor and wall treatments. Notice that I’ve labeled or numbered the templates as well as the corresponding floor/wall.
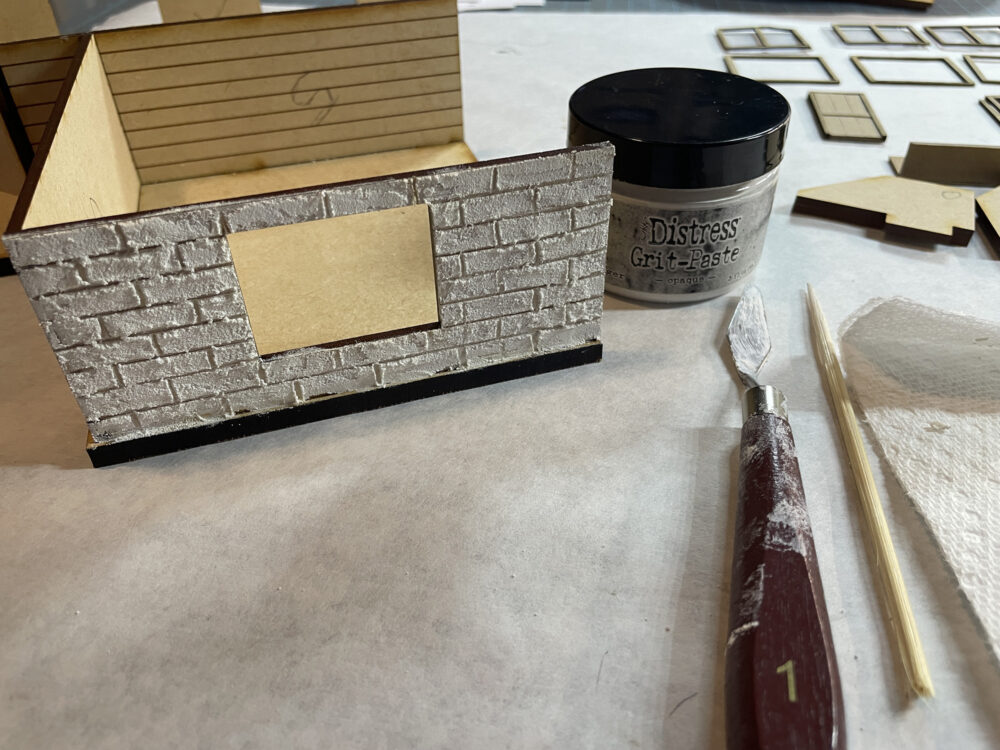
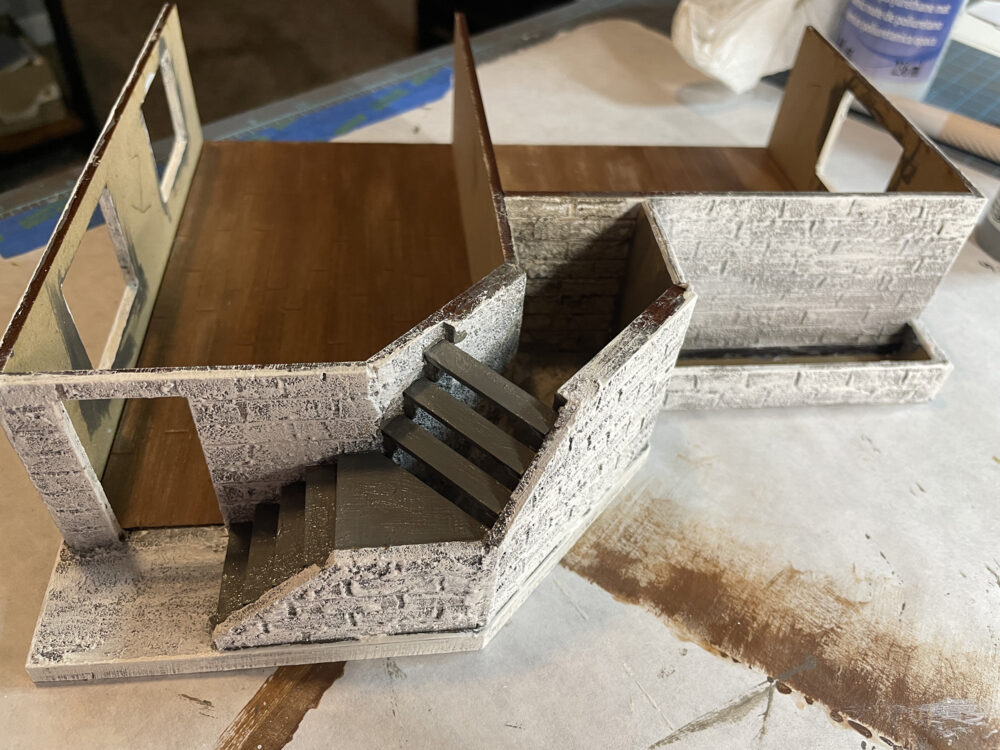
The lower section is the basement so I’ve decided to add a brick texture to all of these outside walls. I’ve used Ranger Distress Grit-Paste for the texture and carved the bricks with a wood skewer. This technique will be repeated on all of the lower section walls. Once dry I’ll paint it with acrylic paints then seal it with a brush on matte sealer.
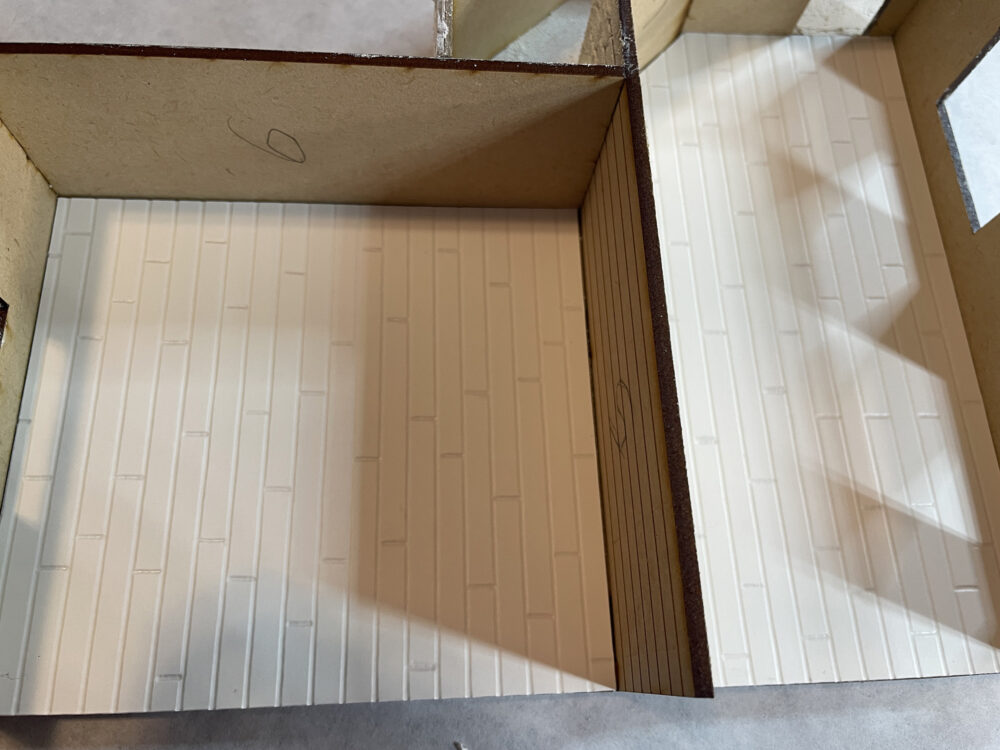
While the texture is drying I’ll be working on the flooring using the templates I created earlier. One mistake new mini makers often make at this point is to forget about door and arch openings that might be incorporated into the project. Some buildings have the doors sitting right smack on the base while others might be elevated a tad. More often than not they sit right on the base. If so, you have to account for the thickness of the flooring you add especially if you want to have a door standing open. Most people will create wood flooring using a variety of materials and gluing strips down individually. In my case, I’m keeping the door closed but I still want to keep the thickness of the floor to a minimum because the door sits inside the opening and is flush with the base. I’ve chosen to use Cricut Kraft Board in white and have scored it to keep it as a full solid sheet. This will be painted and then glued into place.
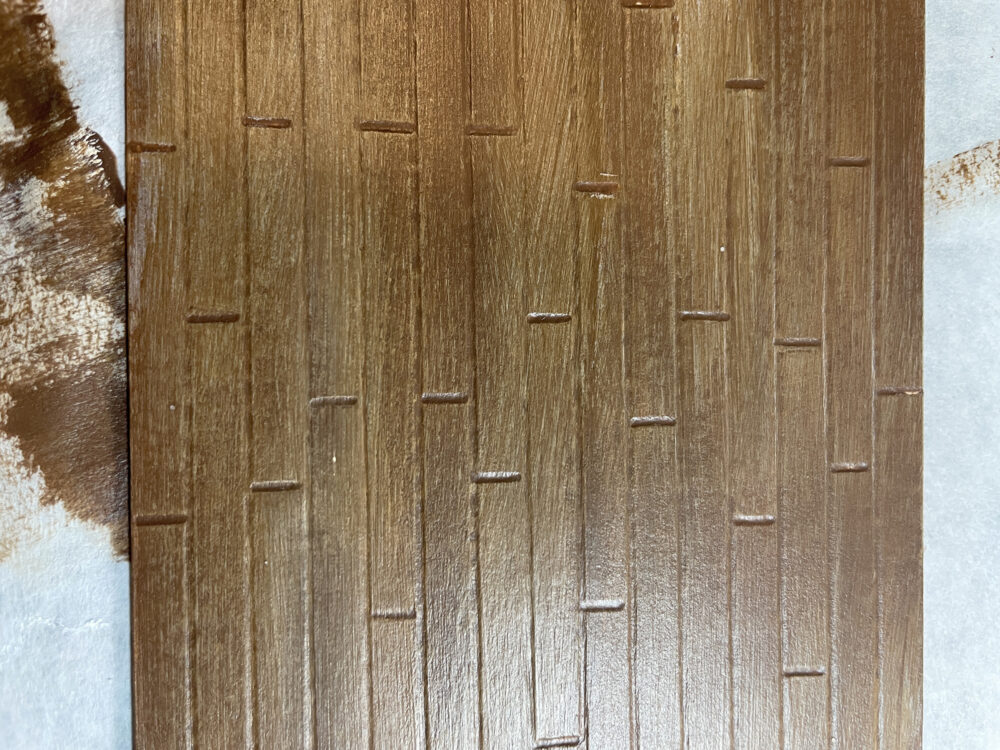
Here’s a look at the finished flooring before installation. A mix of brown, grey, and white paint was used on the floor with a final coat of a brush on matte sealer.
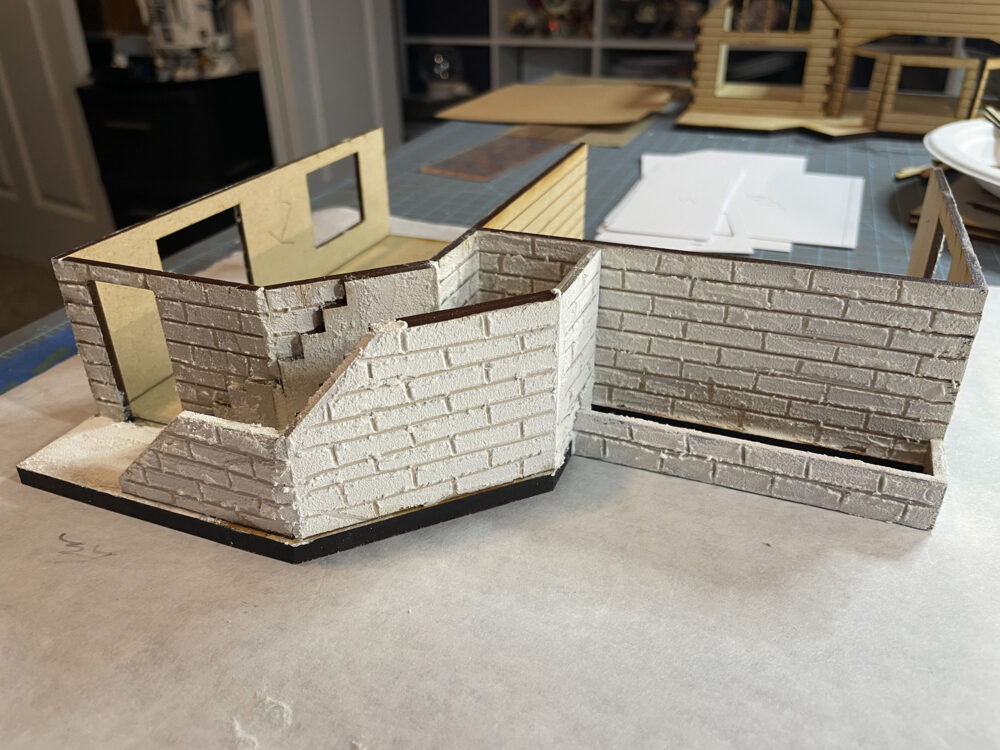
Now that the texture has dried I will apply a single coat of brush on matte sealer and then paint the brick using a grey solid coat and a dry brush of white. The sealer will firm and hold the texture in place and make it easier to get a nice base coat of paint on the surface.
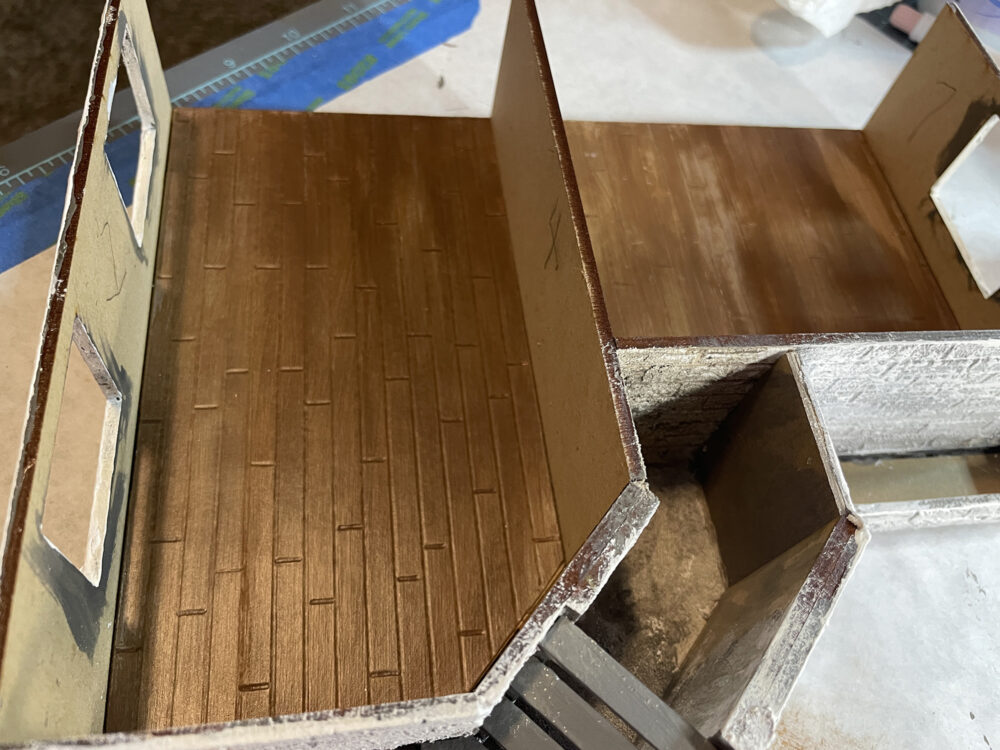
Here is a look at the finished brick, stairs added, and flooring in place.
Lastly, I’ve painted the door and glued it in place.
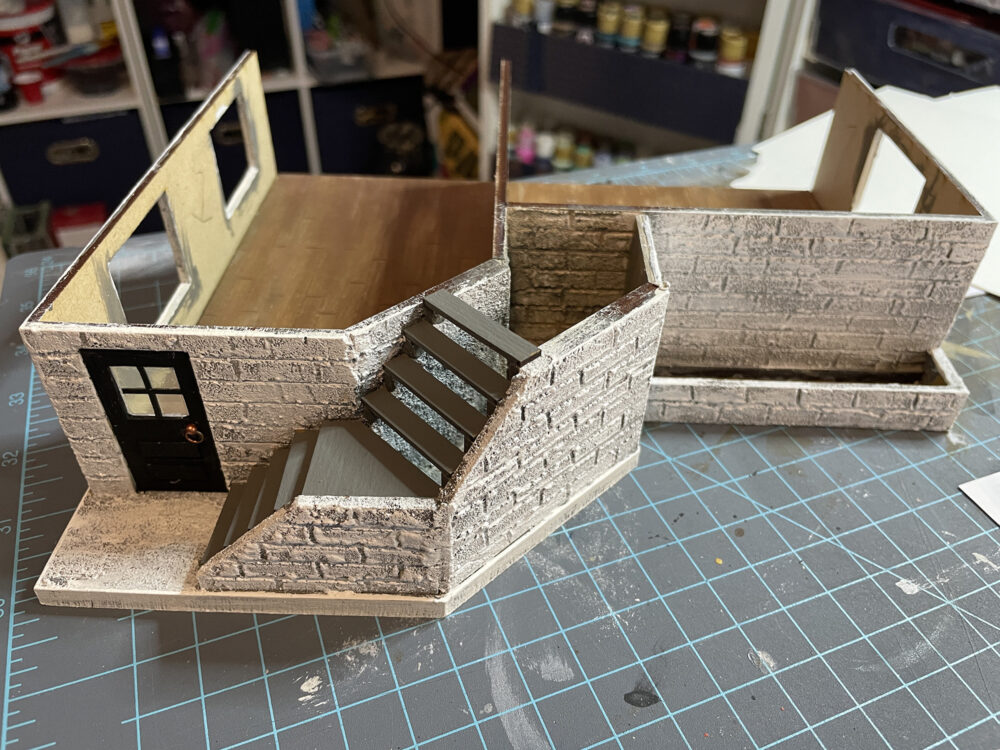
At this point, I’m going to stop working on the first floor and start gluing walls in place on the second floor. The windows will not be added till the inside walls are finished and put in place.
I hope that you have learned a few things from the build so far and that you will try adding brick to your miniatures using the method shown here. It’s really a very simple process and very rewarding when finished!
CLICK FOR Part 2
Happy crafting,
Teri



Leave a Reply
You must be logged in to post a comment.