Previous Post (Part 01)
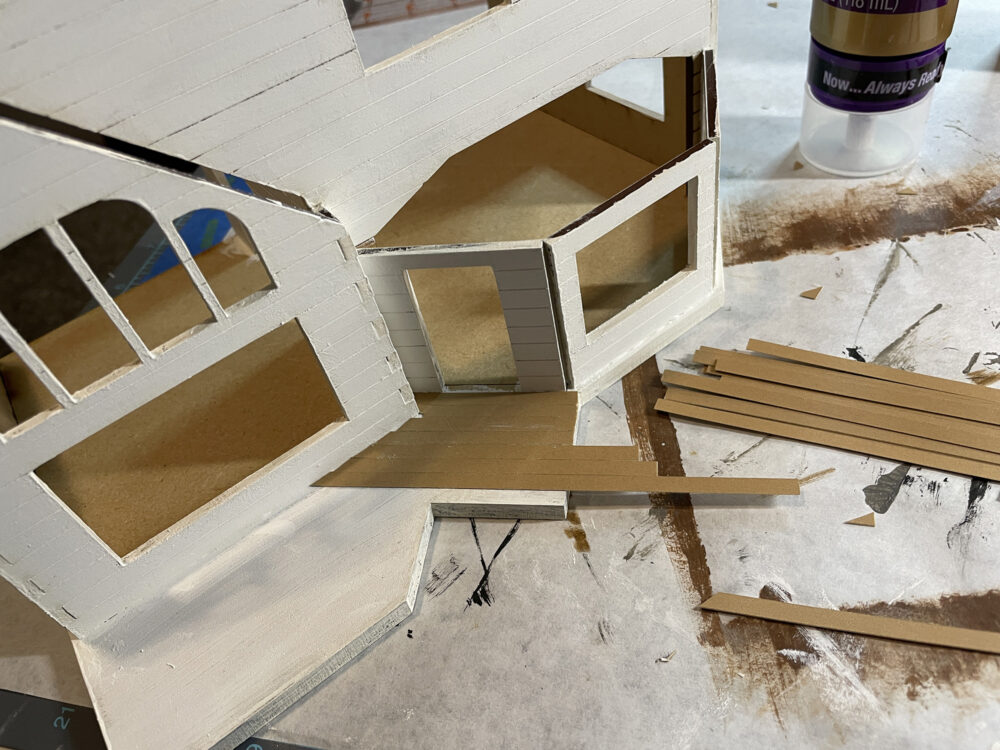
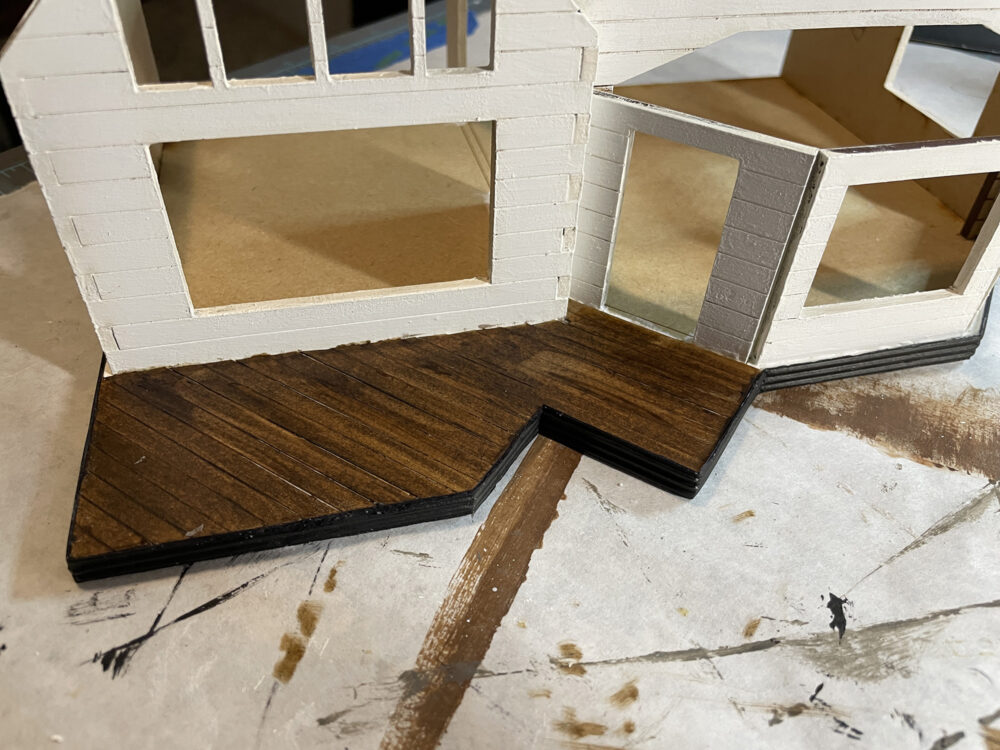
Welcome back! As you can see in the above image I’ve glued in the walls, painted the outside white, and am now creating a deck for the upper level. Using strips of kraft board I covered the deck area then colored them with a marker and sealed them with a brush on matte sealer. Strips of black corrugated kraft board were glued to the edges all the way around. These should work well with the black stair railings.
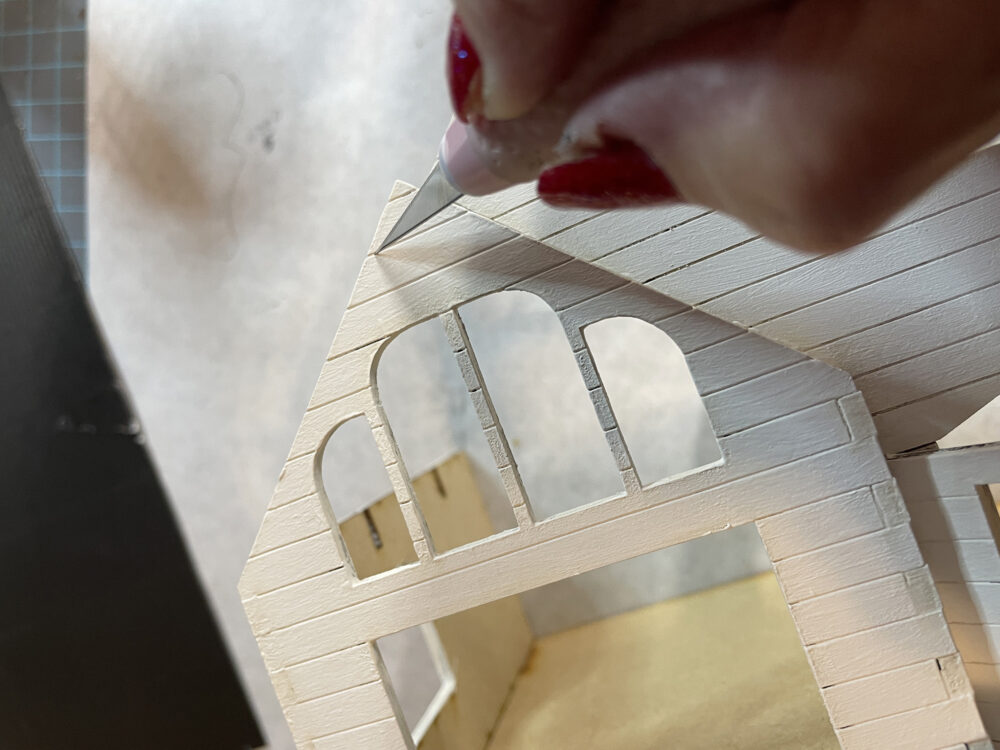
If you happen to find that the grooves on the outside walls have vanished a bit after painting, use the tip of a craft knife and very carefully run it along the grooves to remove a bit of the paint. When done, brush on a coat of matte sealer to seal and protect the white paint.
One note here . . . because the bay window is a bit of a narrow area to get into once the pieces are glued into place I suggest finishing these three little walls inside before gluing them into place. Any gaps that might appear between the walls can be closed up later.
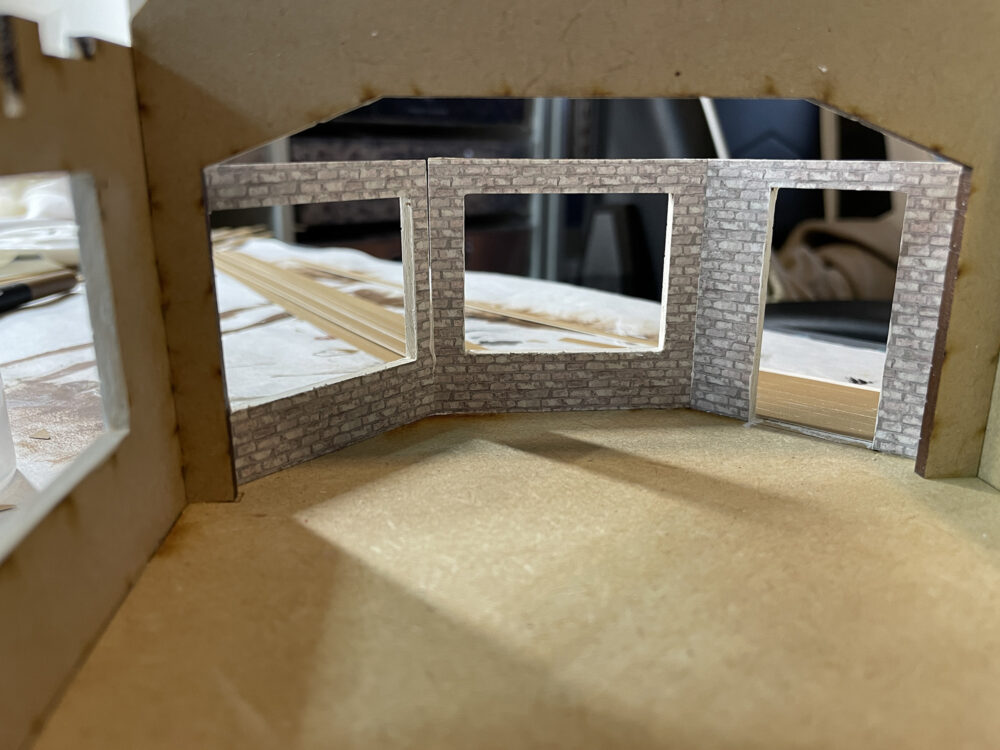
Using the templates I created earlier, I’ve cut brick paper for some of the walls, created Shiplap for other walls, and painted some walls. This completes the interior walls for now. My next step is to decide where the lights will go and how to hide the wires. This is the reason the upper floors have not been installed yet.
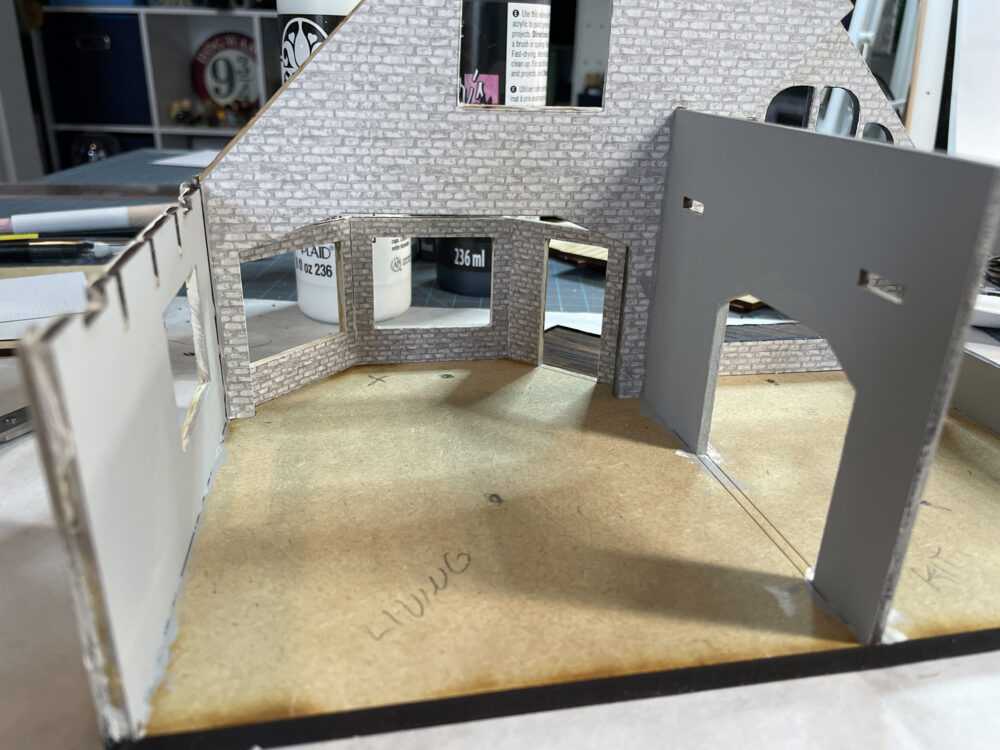
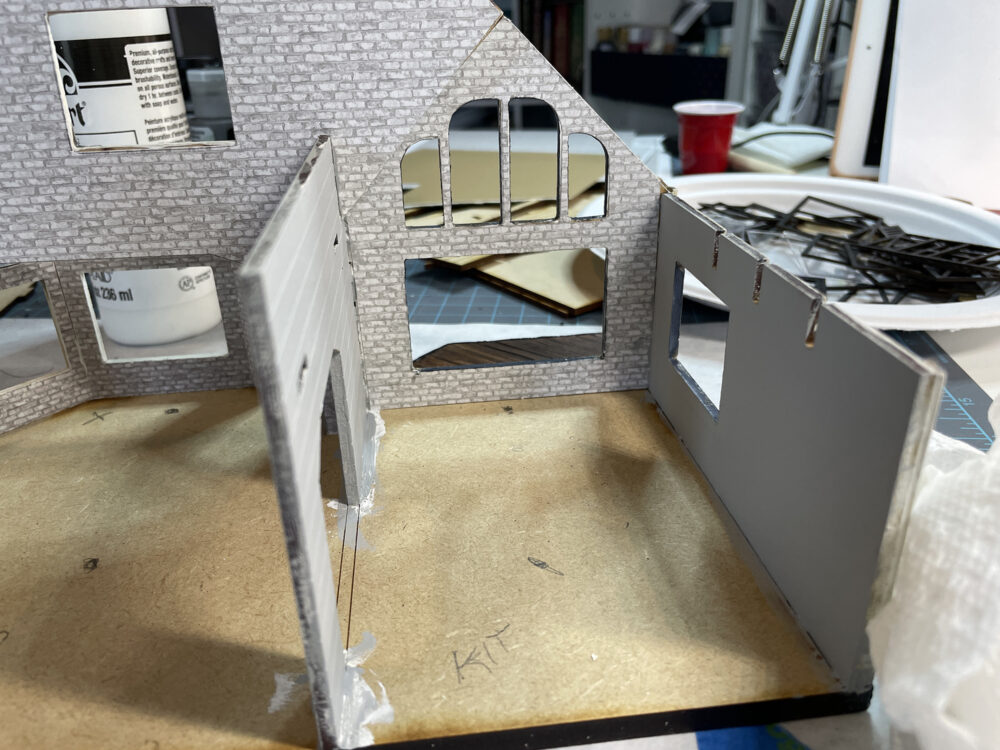
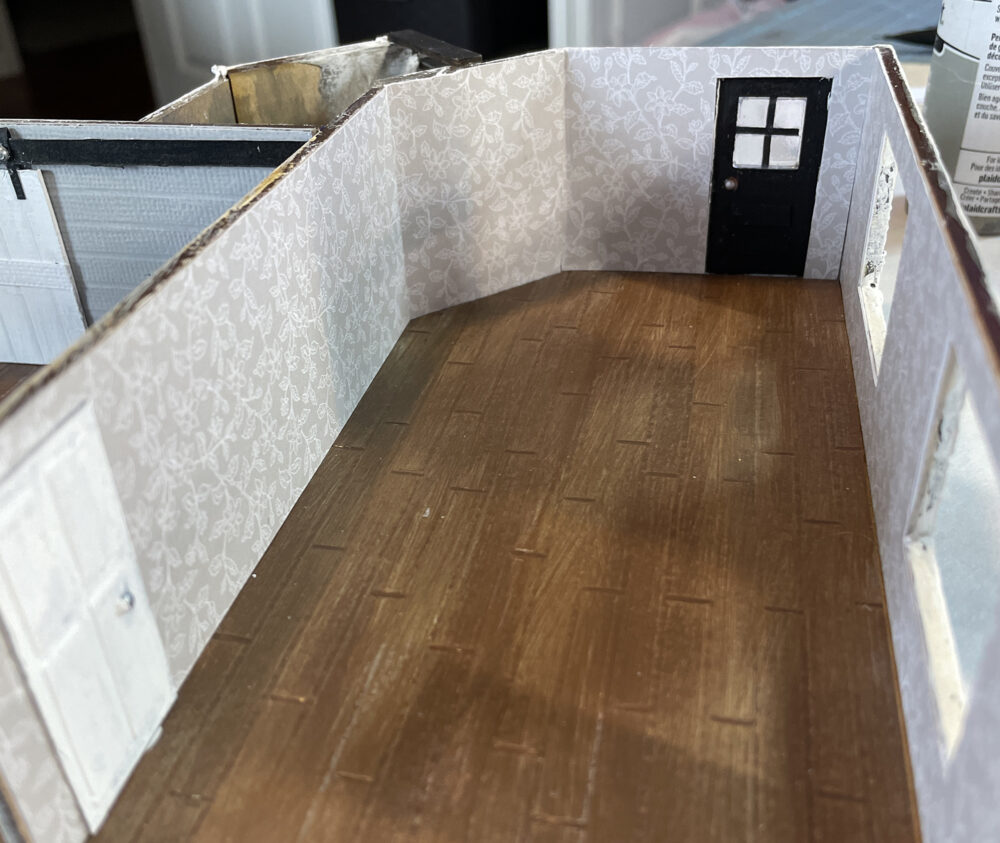
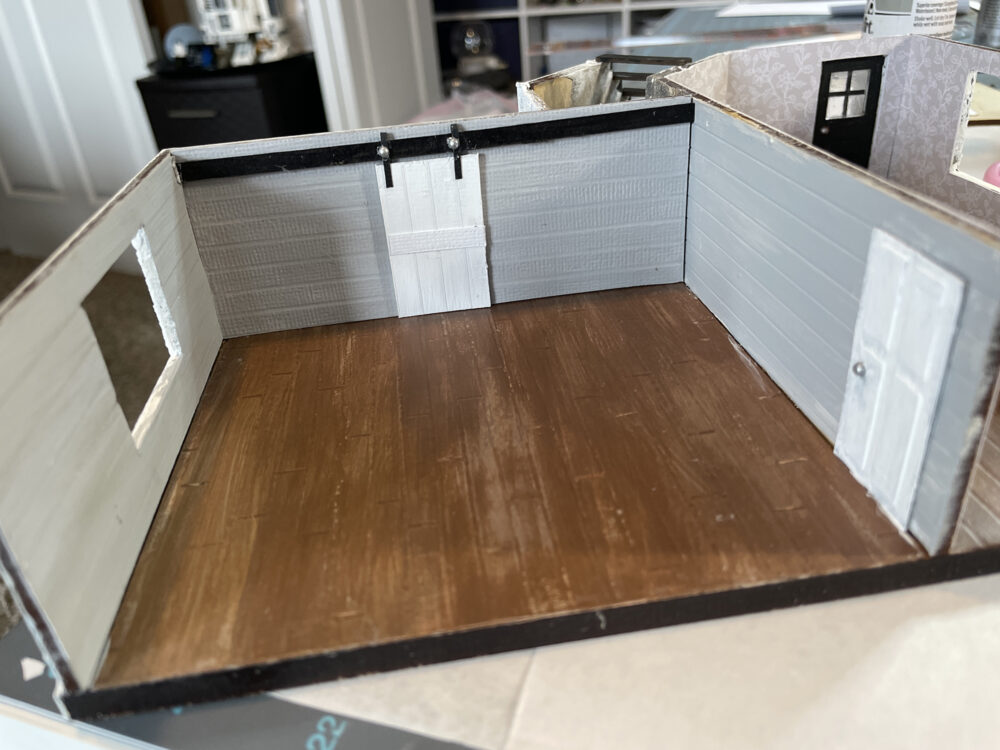
Before I get to the lights I need to complete the ceilings for the lower level. These will be painted white with some wood beams to help hide the wires for lights. I also need to make a second layer for the upper flooring so that the wires can be hidden. As you can see below I’ve cut channels into the first layer of flooring. Light wires will rest in the channels then the final flooring will be glued into place on top.
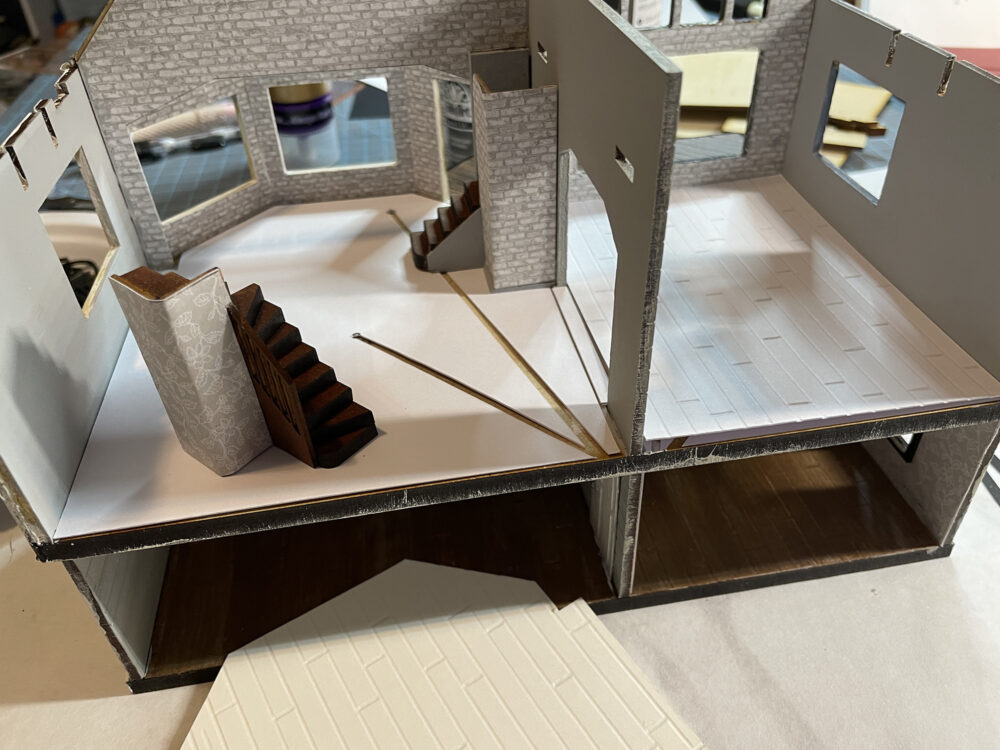
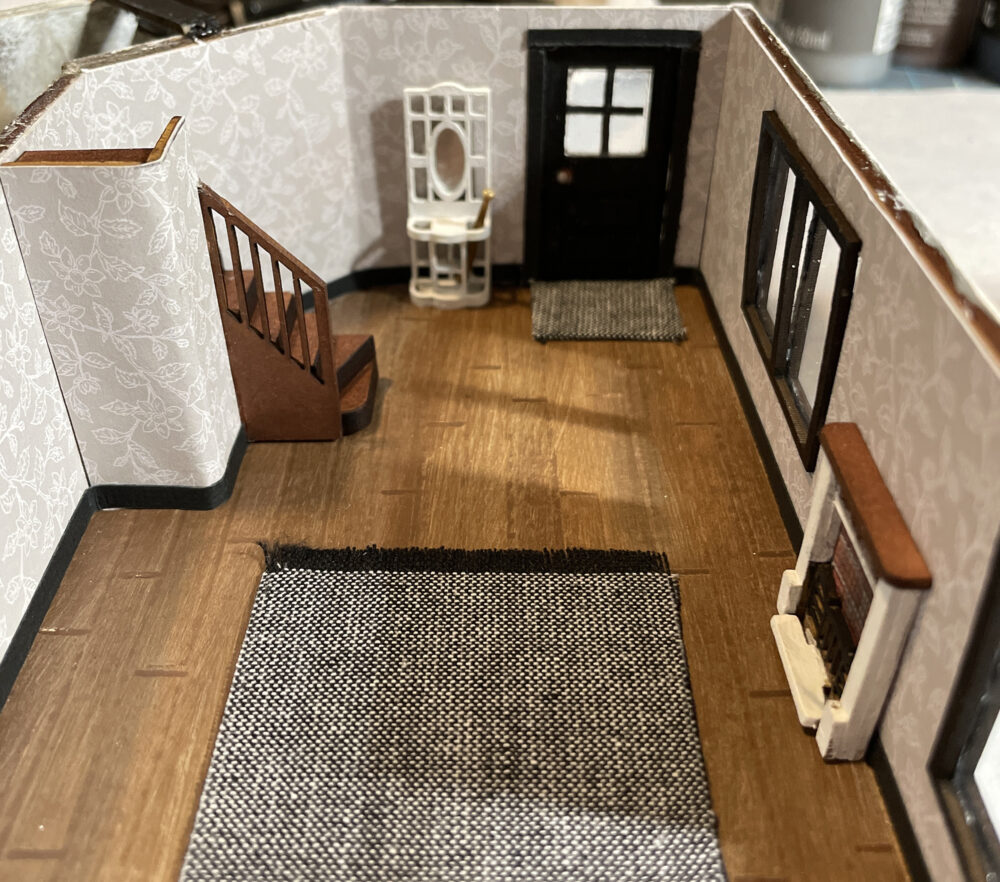
One of my favorite places to get 1:48 scale furniture is Petite Properties. Above and below you can see two sets of stairs I’ve built with their kits as well as a fireplace and hall tree. Super easy to construct and paint, you can find a variety of kits at this shop.
Below you can also see that I’ve created two rugs, one by the door and another in the main area of the room. These were created by gluing fabric to kraft board. The larger rug ends were frayed to create fringe.
It’s now time to take a little break while I wait on lights and some furniture pieces to arrive. Bookmark the page and watch for Part three to post when I can get some more work done on the project.
Till then, be crafty!



Leave a Reply
You must be logged in to post a comment.