© 2024 Teri Hanson / The Covered Chipboard
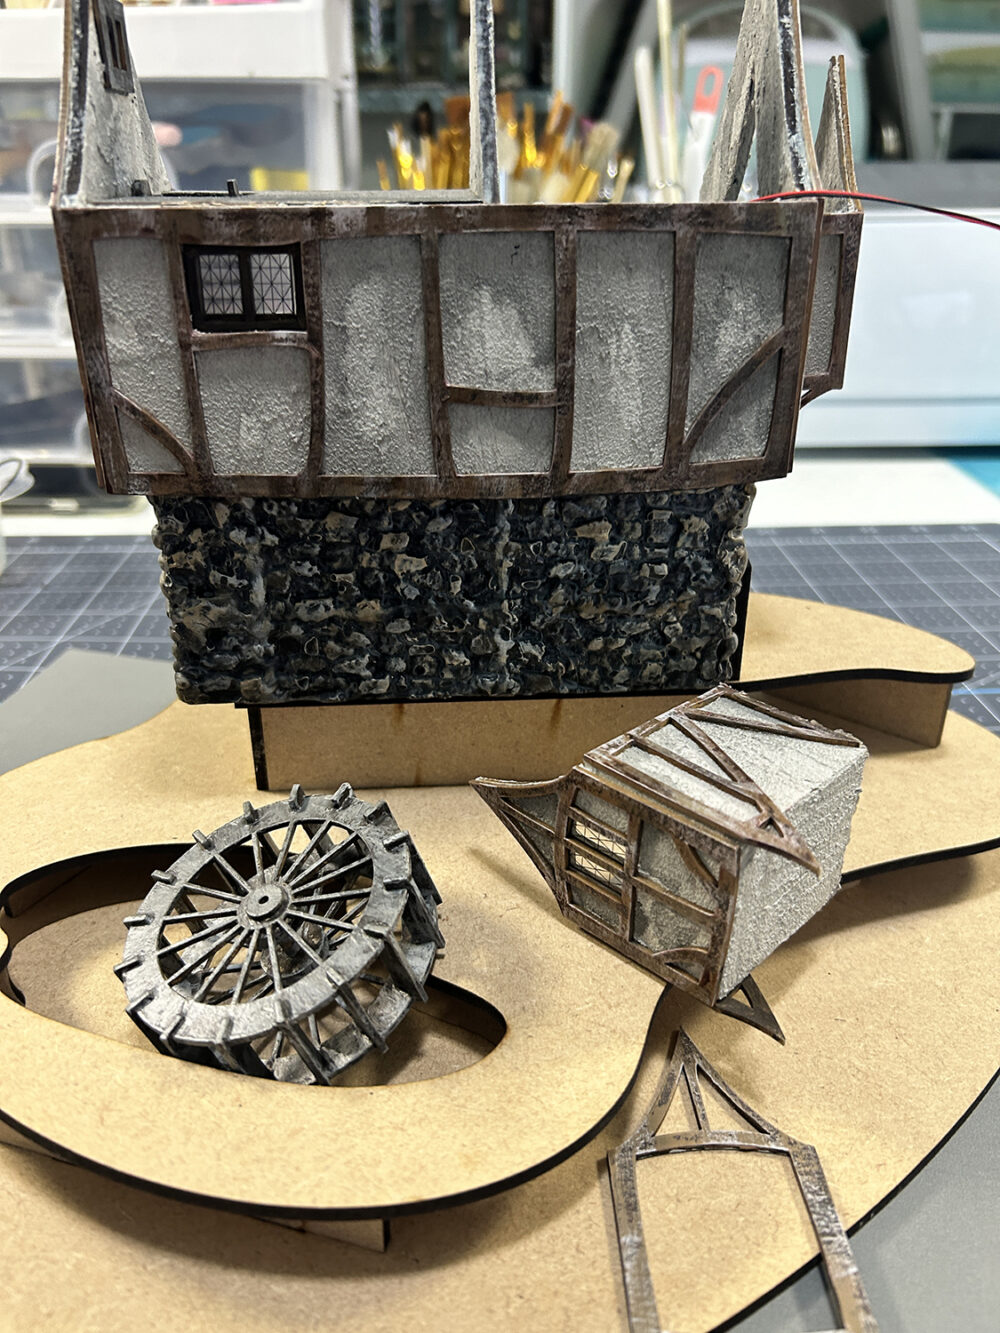
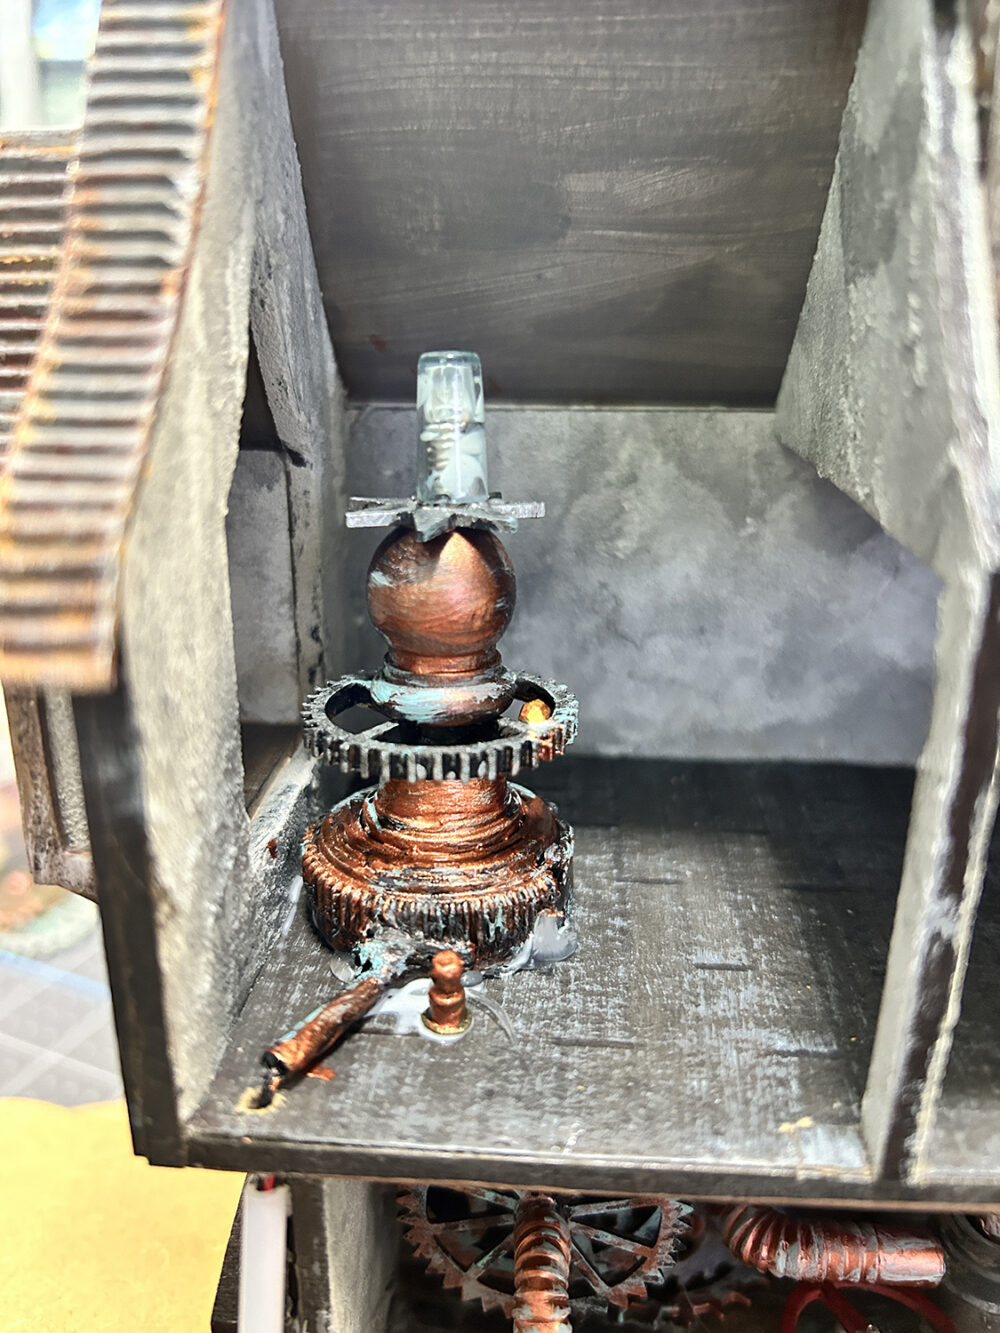
Welcome back! I’ve managed to find some time to get back to the Mill Pond Cottage. The ground floor inside has now been finished with a lot of gears and such. This is the working mechanical area of the structure. The upper floor will be the living quarters.
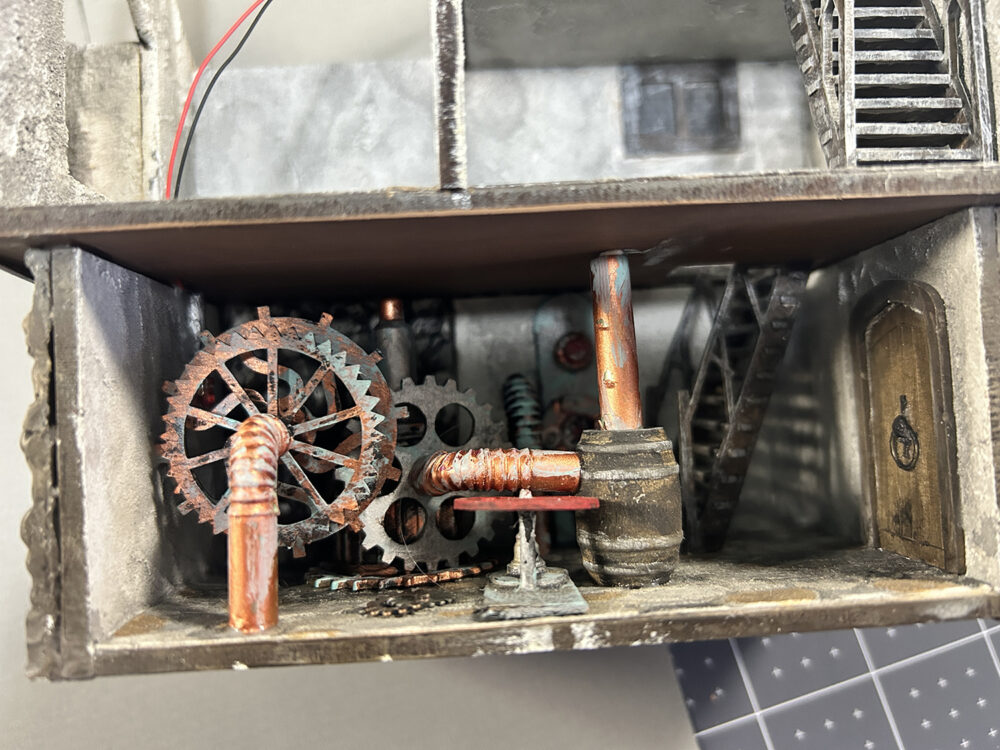
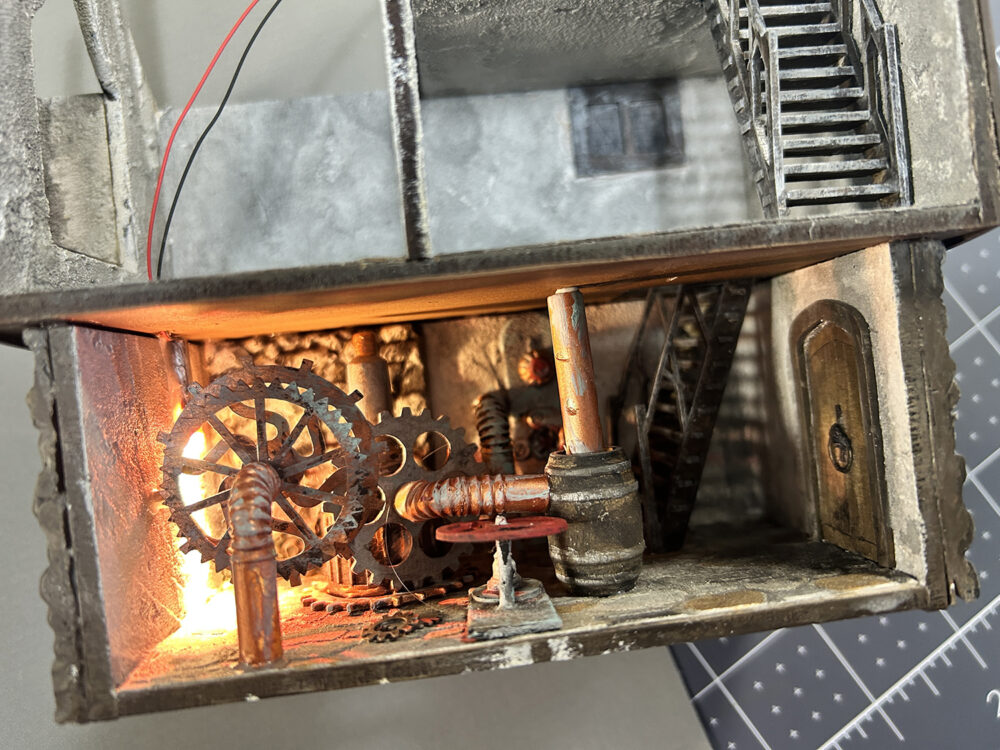
A light, that I tinted with alcohol ink, has been run behind the gears and up through the roof. The wires will be hidden later on. The mechanical parts were created from various wood scraps and items found in our house. I always look at items before throwing them away with the thought that they might be used in a miniature one day. It’s a good practice to get into. You probably will notice a bendy straw or two in there as well.
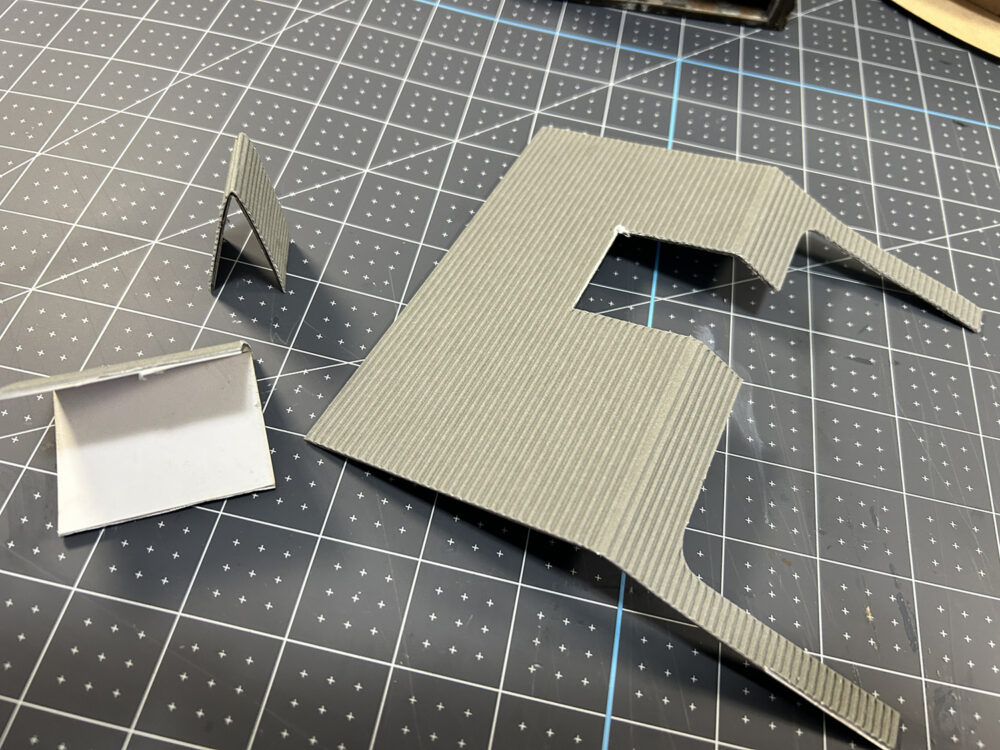
Next I’m going to exchange the roof parts from the kit with identical parts cut from the Cricut Corugated Cardboard material. I want the roof to have a metal finish when complete. To give the roof more strength I’ve glued the original roof pieces to the back of the cardboard.
Both sides of the roof pieces will be painted then glued into place. I have used Folk Art Matte paint in the following order on both sides of all roofs: Medium Grey, then dry-brushed with Coffee Bean. and used a mix of Cardinal Red, Pure Orange and a bit of Coffee Bean to create rust in various spots. A very light dry-brush of light grey was added on top. Here’s what the end results look like.
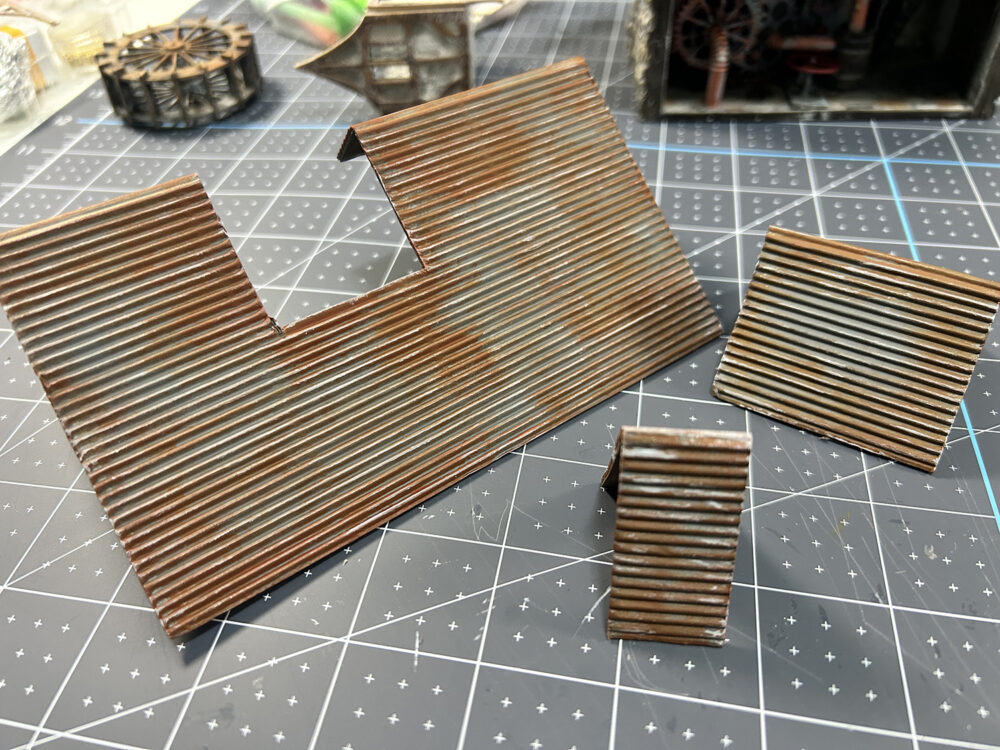
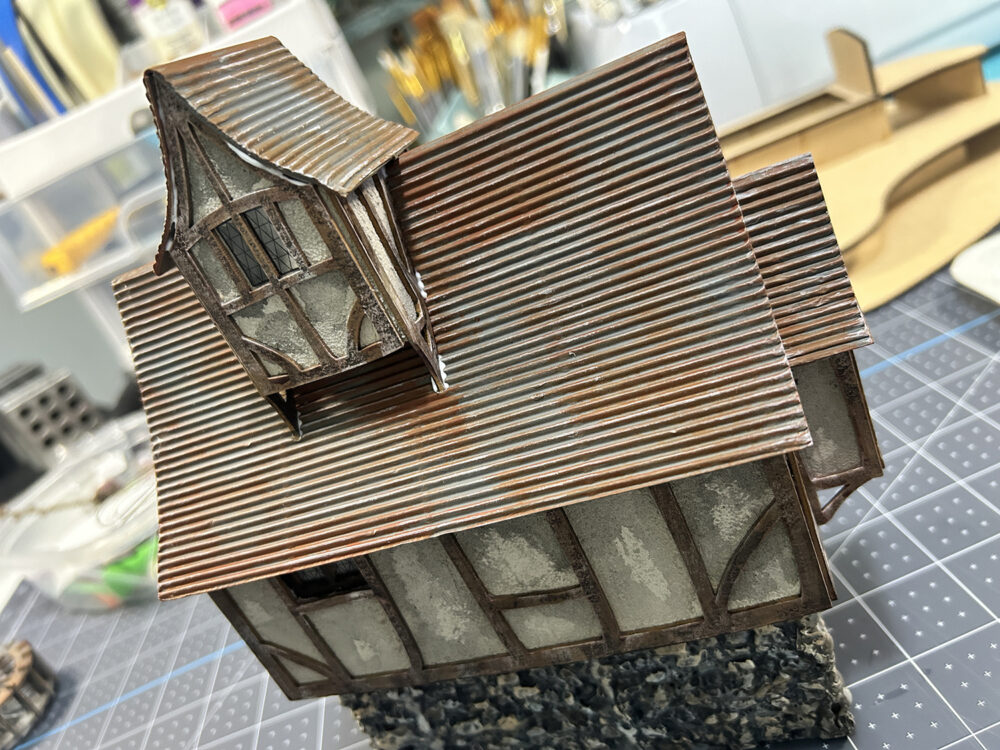
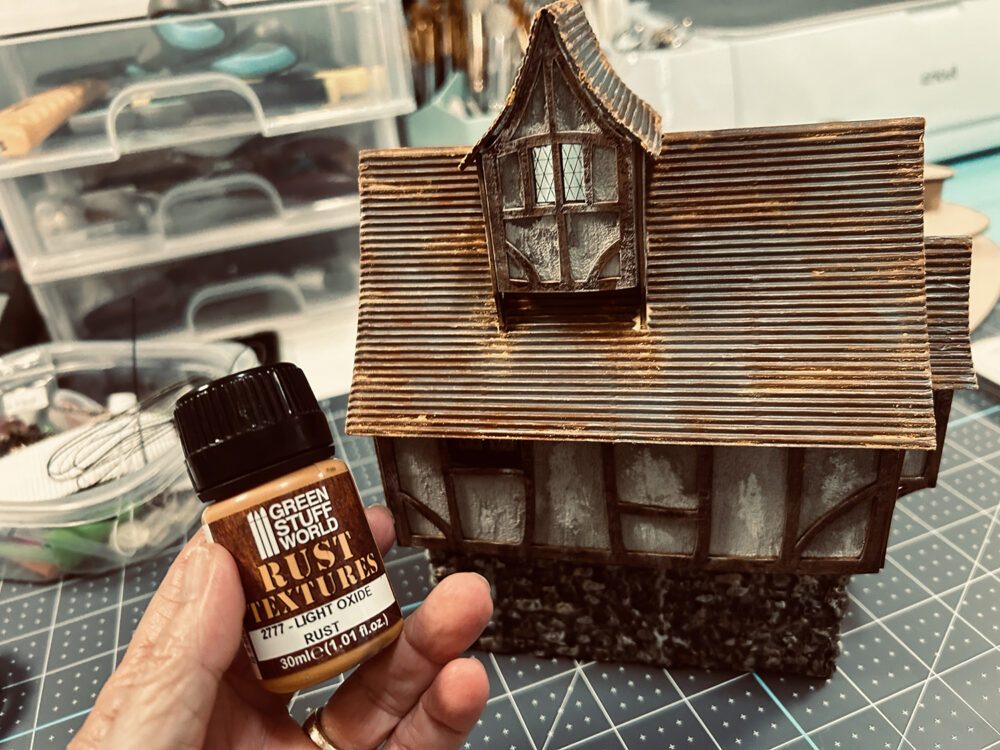
Below you can see how I’ve added more rust using a Rust Texture from Green Stuff World. You only have to use a tiny bit so the bottle will last a long time. I did however think it was to orange and came back over top of the entire roof with a dry-brush of pale grey which toned it down.
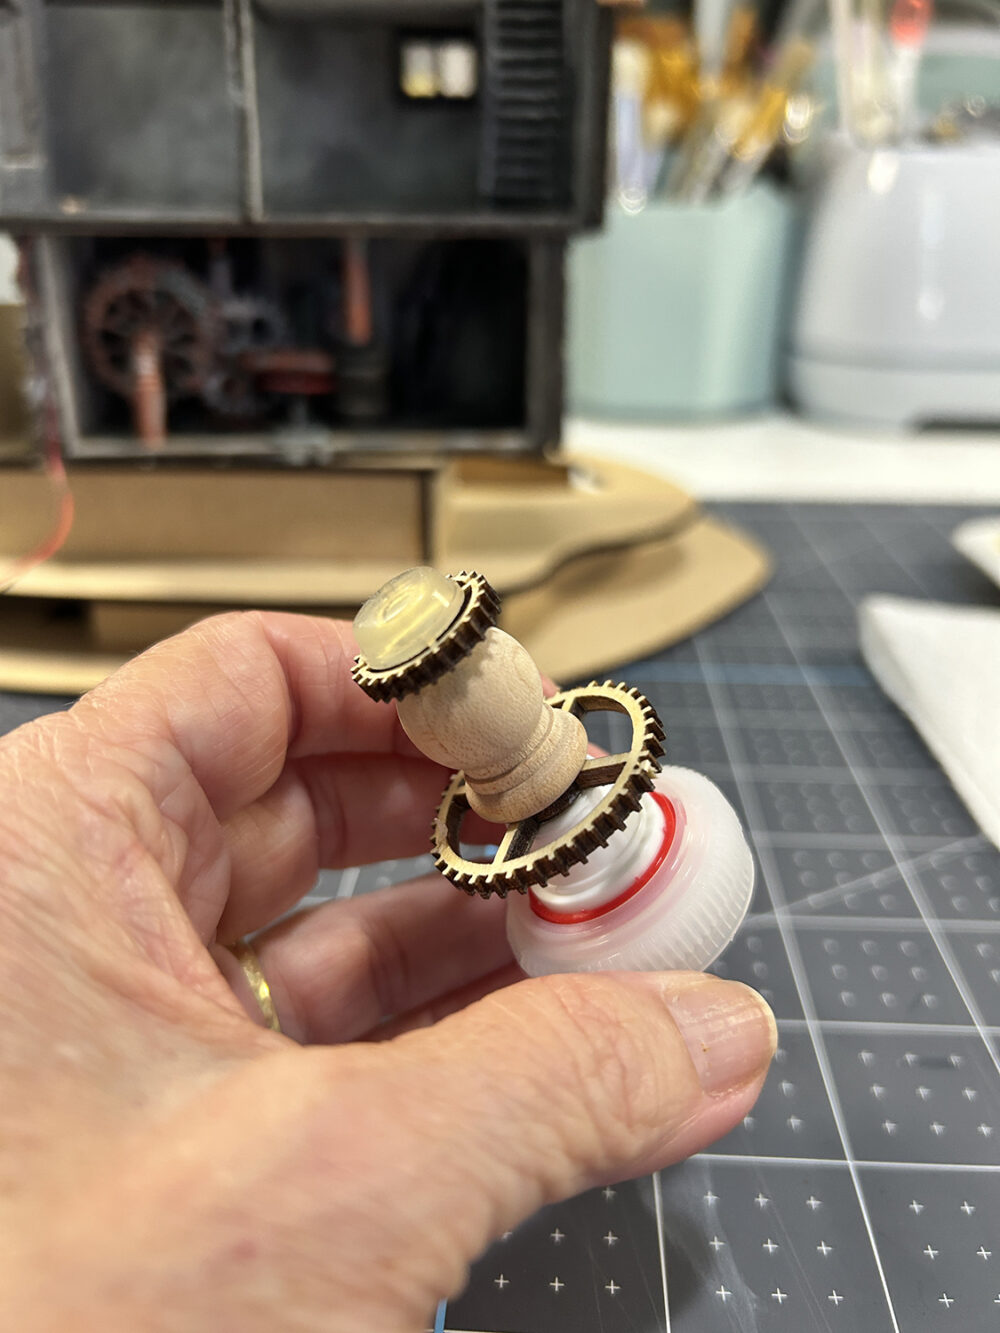
Here is an additional piece of junk that I’ve made up to go in the second floor. It’s a good example of before and after. Also a good example of how these bits can come in handy for steampunk building.
There is also a light inside the very top of the object.
At this point I’m going to glue the house to the base. I’ll be working on the base possibly going back and forth from the base to the inside furniture. For now I need to take another break but will update this post as the build progresses!
Thanks for stopping by and have a crafty day!
Teri



Leave a Reply
You must be logged in to post a comment.