This afternoon I thought I might talk a bit about various ways to finish your Chipboard furniture pieces. Painting is one way, and one I use often but sometimes you might want a stained finish and there are a few ways you can go about this.
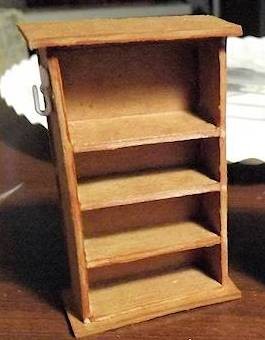
First, let’s look at the use of Alcohol Inks . . . for the shelf below I’ve used a Spectrum Noir Alcohol Ink Marker. These are available in tons of colors – but – they only sell them in 6 marker packages or larger. You can though, replace the pen nubs if they get worn down and they do sell refill ink for the pens. This is probably my next fave way to finish a piece. It’s just super easy to color the piece or pieces with a marker and spray it with clear sealer when finished.
One note . . . this will NOT go over any painted surface as it will ruin the nub! Plus you need to realize that the chipboard color will make the ink darker than the natural color is. I believe the marker color used on this piece was #EB4.
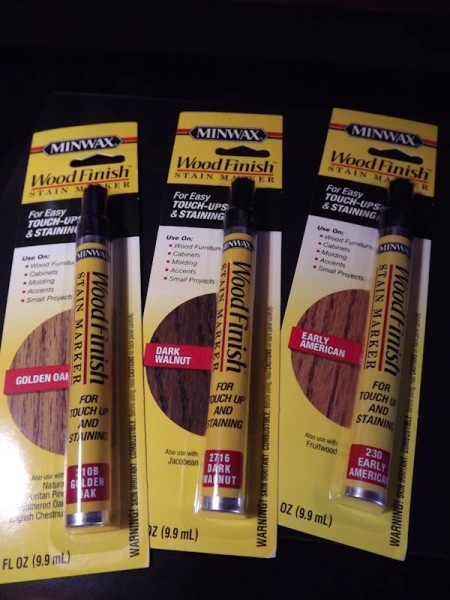
Another form of staining a piece is the use of MinWax Wood Finish Stain Markers which are available in a variety of colors. You simply shake the pen for a few seconds, remove cap and press down on a scrap surface till you see the stain soak into the end of the pen and then use just like you would any marker.
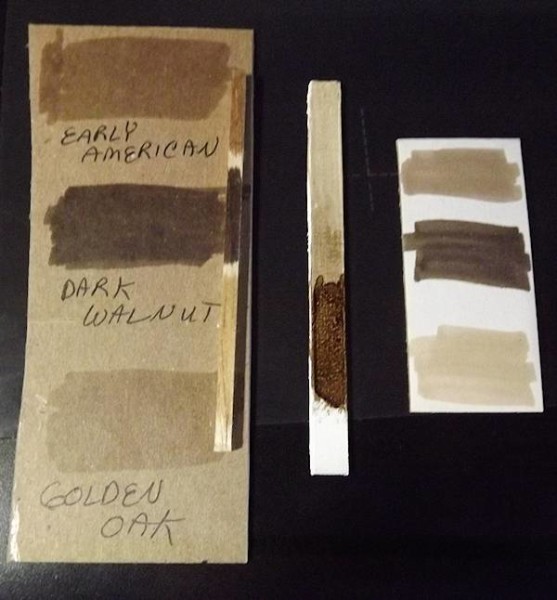
Here’s a look at this product on natural colored chipboard, white chipboard and a painted piece of chipboard. The little strip on the larger piece of chipboard is balsa wood. As you can see, the colors on the natural chipboard and balsa wood are pretty close to each other. The difference is that you don’t get that true “wood grain” with the chipboard.
On the painted strip of chipboard, kind of hard to see here but, the end finish is a bit glossy. It sort of beads up on the piece, as seen in the darker color stain. You can add the stain and then wipe it off on the painted chipboard for a subtle effect. I can see this as a possible way to create interesting flooring with strips.
I didn’t like the look of the stain on the white chipboard at all . . . looks to much like a marker on white paper.
With all of these methods, I find it’s best to add the stain in one long continuous stroke. If the color is not dark enough, you can add a second coat after the first has dried. With the alcohol ink, it dries almost instantly and will need to be sealed when finished where the minwax stain has it’s own sealer. Always store any kind of marker on it’s side.
One thing you need to know, with any of these products, especially the minwax . . . use them in a well ventilated space!!! These do have fumes that can be harmfull and if pregnant, I would not use any of these! Also do not use either around any type of flame. Also avoid getting these on your skin and in your eyes or mouth.
Lastly, you have heard me talk about Distressing Inks before and these can also be used on your chipboard. I use a color called Vintage Photo but they also have a Walnut that is darker. These are in the form of a stamp pad and you can buy refill ink for them. They last a long time and are pretty inexpensive to use. The con is that it takes longer to cover the piece, more often than not you need to keep adding ink till you get the color you want and you will need to do this pre-construction or you won’t be able to get into the cracks and corners. Distressing ink is applied with either a makeup sponge or a special stamp like tool with felt or a foam pad on the bottom.
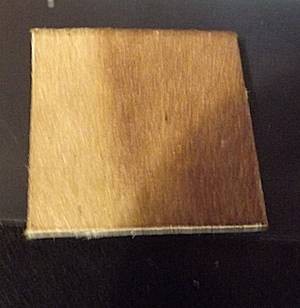
As seen below, the rubbing action of applying the distressing ink sort of pulls up the fibers on the chipboard, giving the appearance of wood grain. With a clear matte spray sealer, it’s a very nice finish if you don’t mind the extra time involved.
I’ve discussed painting the chipboard before but here’s a look at what you can do with paint . . .
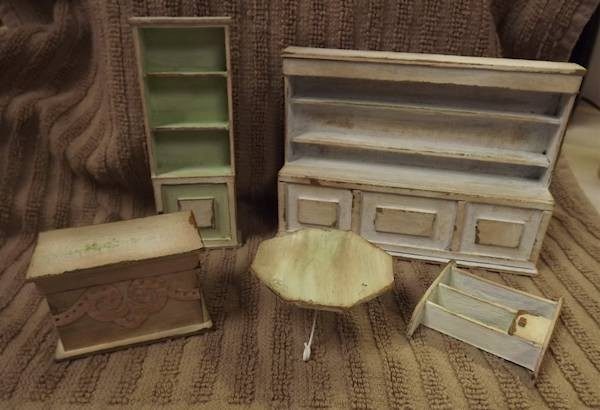
You can paint chipboard with any acrylic paint and with many layers. Just be sure to let each layer dry before moving on to the next layer. The more layers of paint, the stronger the piece will become when fully dry. You can dry brush one paint on top of another or sand a layer of paint to reveal the layer underneath, as I’ve done in the samples above. Once you are done with the painting and sanding, you can use the Distressing ink on top to get a more worn or aged look.
So have fun and play with finishes on some scrap pieces!



Leave a Reply
You must be logged in to post a comment.