Wooohooo at long last my battery powered light for this project have arrived!!! Boy sure takes a long time for an order to arrive from Canada to the US, I know it wasn’t that I was impatient! (grin)
Here’s a look at my lights . . .
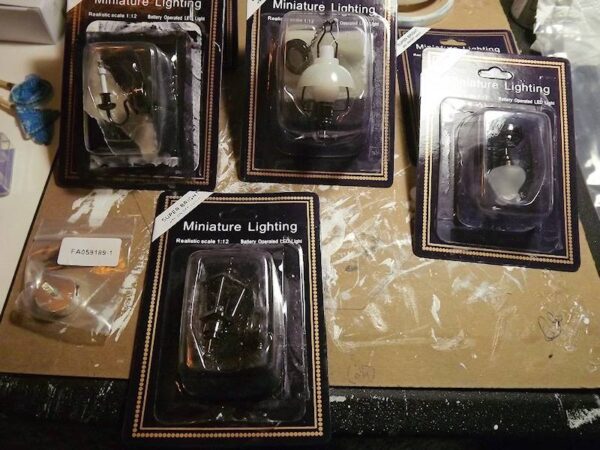
(4) sconces, (2) hanging swag lamps, (2) tulip ceiling lamps
Here’s the finished room with all the lights, trim and flooring in.
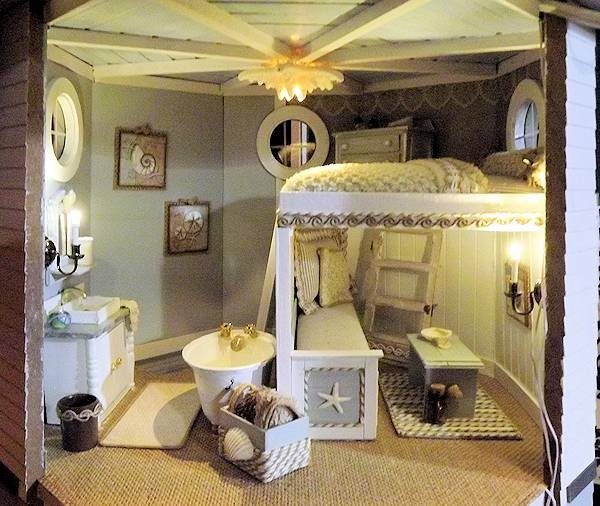
These are bright white in color and give off lots of light but not glaringly so. Nice light color.
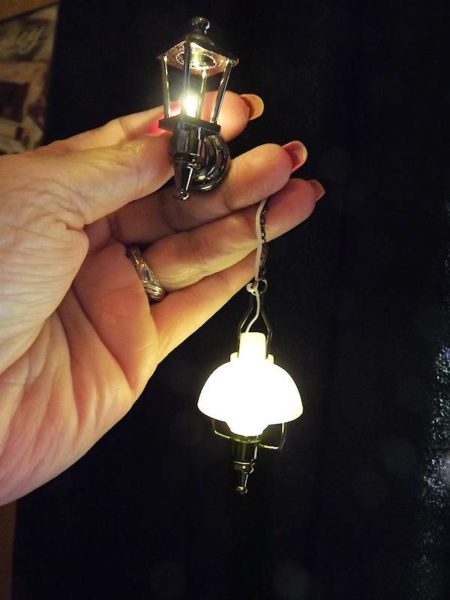
Don’t you just love the Carriage light and the swag ones!!
Before I get started, here’s a little video you can watch, to see how these all go together. I’ll have all the lights connected to a power strip and then plugged into a wall adapter. This way I can have them all come on and off at once and only have to plug in or unplug the wall adapter. Kewl huh.
Take note here . . . these battery operated lights are 3Volt. Use of the adapter does not change it to another volt, nor does it make it interchangeable with reg 12V lights. You also can not, according to Miniland, use these lights on a 12v power strip or with a regular adapter/transformer. You must use the power strip and adapter from Miniland made specifically for these lights.
You could use both a 12v and 3v system in the same structure but you would wind up with two different power sources. One for the 3v lights and another for the 12v lights.
Here is another video in case you might need longer wires on your lights. The video shows solder being used on the wires, you can do this but you can also twist the wires together and cover the area with a shrink tube to secure it. The shrink tube method is not as secure as the solder but it will work.
I’ll begin with the entry ceiling light and the carriage light. Remember that I created the bead board ceiling for the entry but did not glue it down? This is why, I’m now able to remove it to set up the light!

First I unscrewed the base from the light and removed the cell battery. Next, slip the wire through the lamp base.
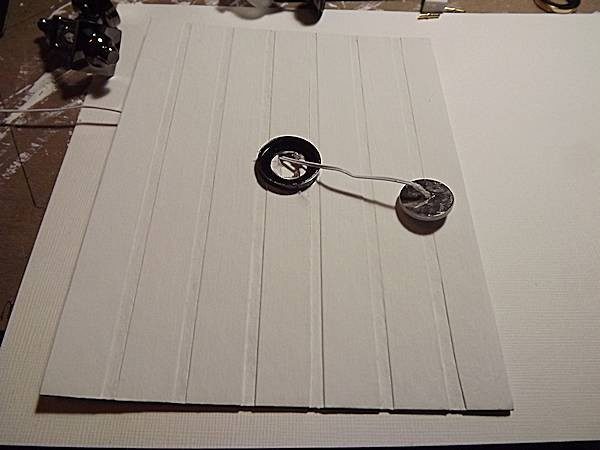
Glue the lamp base to the center of the ceiling and make sure it’s good and dry before going any further.
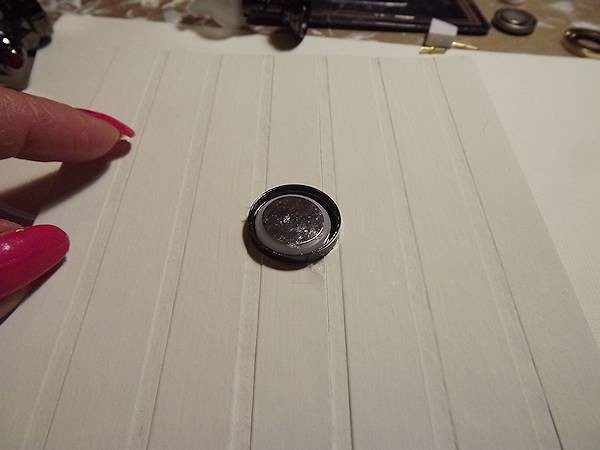
Now fish the wire through the ceiling hole till the connected battery lays in the lamp base. Oh and I mention this . . . if you need longer wire, you can extend the wires with shrink tube. There is a video about this on the Half Scale Miniatures facebook group. Fortunately for me, the kind people at MiniLand.CA sent three of my lights with long wires! This one will reach all the way to the back opening with lots of wire left over.
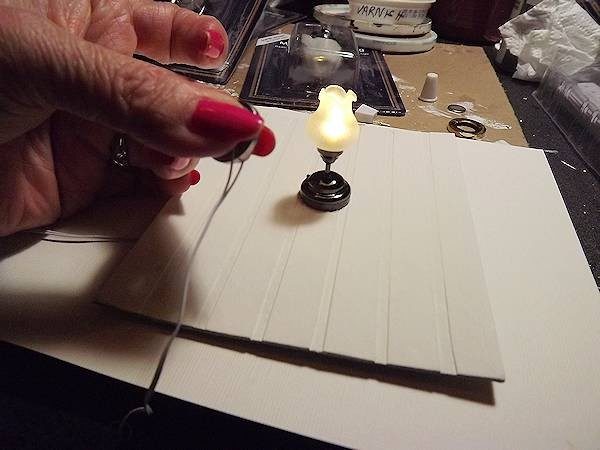
Now take the end of the wires, strip a bit off the ends and hold them tight against the original battery that came out of the light. Turn the light on and it should light up. If not, turn the battery in your hand around the other direction and try again.
NOTE: When the light works, note which wire is on the + side of the battery. Mark the wire with a black sharpie. When you add the plug back onto the wires, mark on the plug outside which side has the + wire in it. It makes a difference which side of the power strip the + wire is plugged into!
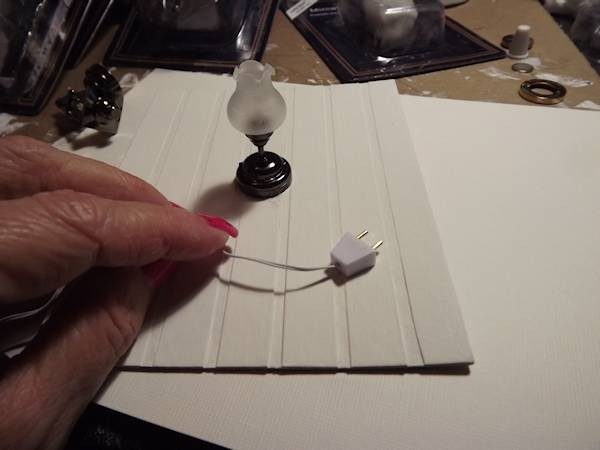
The tricky part is getting this little plug on or back on to the end of the wires. Place one wire, the copper parts, into the small hole on the right or left of the plug and while holding it in place, you need to push one of the metal tubes into the same hole as the wire is in. Sometimes these go in easily, sometimes it takes a bit of pushing and wiggling lol. Repeat with the other wire and metal tube then make sure the wires are pulled from the bottom, snug against the plug by the metal tubes.
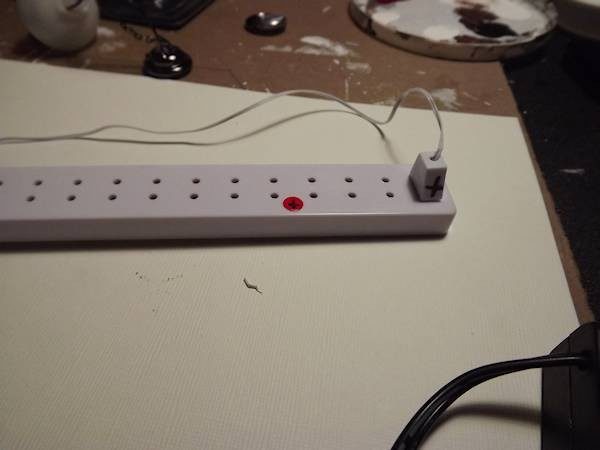
NOTE: The plus side of the strip is marked with a red dot. I’m marking the strip as well, in case the red dot falls off at some point.
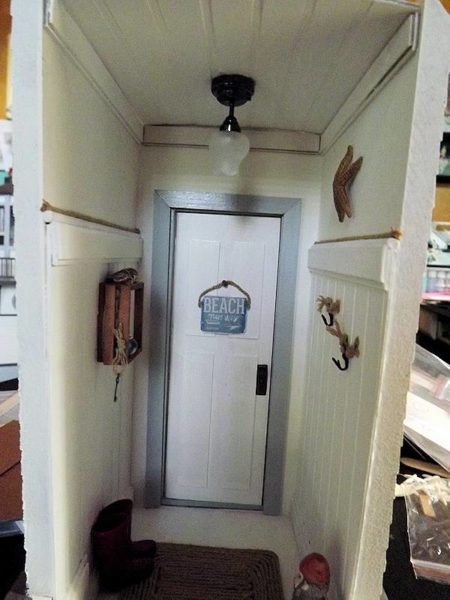
Above you can now see my entryway light installed! The wire runs across the upper side of the ceiling, so you can’t see it and then into the lighthouse to be hidden by upper wall trim, and out the back of the lighthouse to the power strip.
All of the lights are added in this same manner. Below you can see the outside Carriage lamp installed. I simply drilled a hole, with the bit at an angle so it exited above the entry ceiling, ran the wire through the hole and screwed on the lamp.
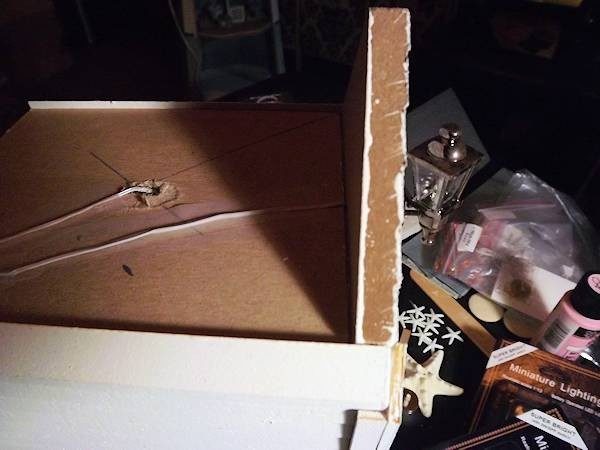
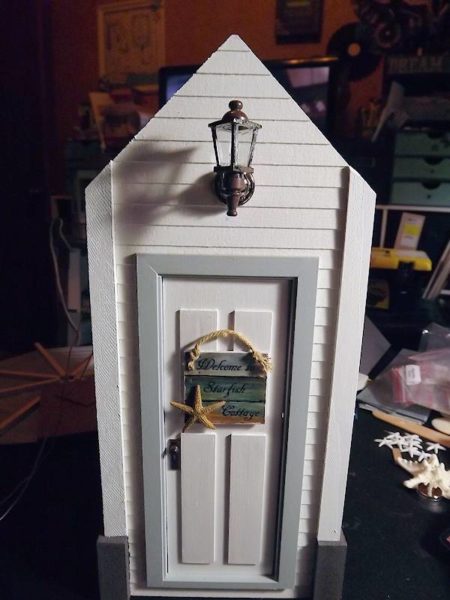
NOTE: You will want to be sure that all your lights are turned off before plugging them into the strip and attaching the strip to wall adapter. Once everything has been plugged in, turn the lights all on and then use the switch on the power strip to turn them on and off as desired.
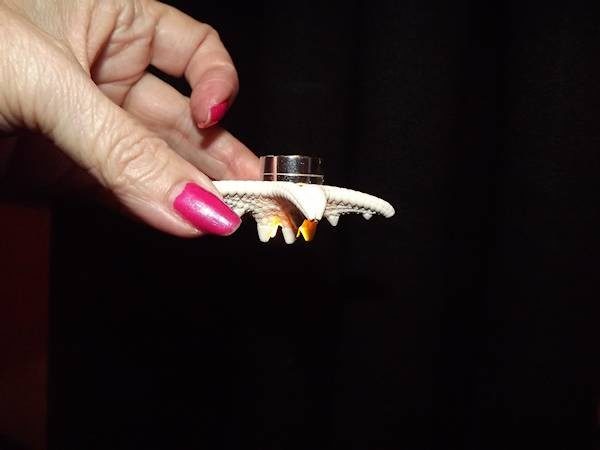
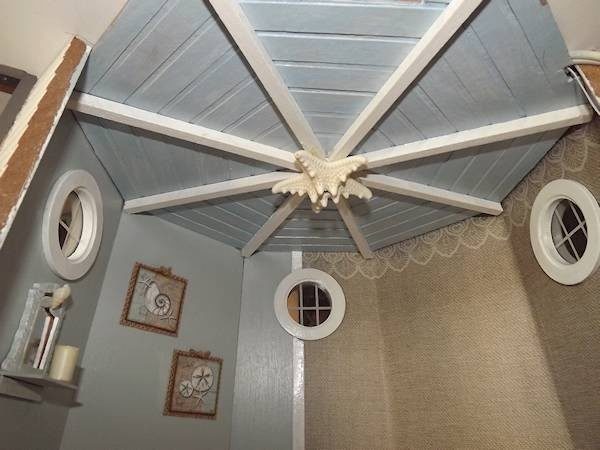
Next up is the upper floor, bedroom/bath, area ceiling light which I’ve created with a special light base and Starfish shell. Because this is the floor where the beacon light cord comes out, there is a faux ceiling to cover the cord and hide the wires of the ceiling light. The ceiling was created in the same way I made the beacon walkway flooring but with white painted beams added at each intersection. The base light was added to the center, a hole was drilled into the shell, and the shell was placed over top of the light.
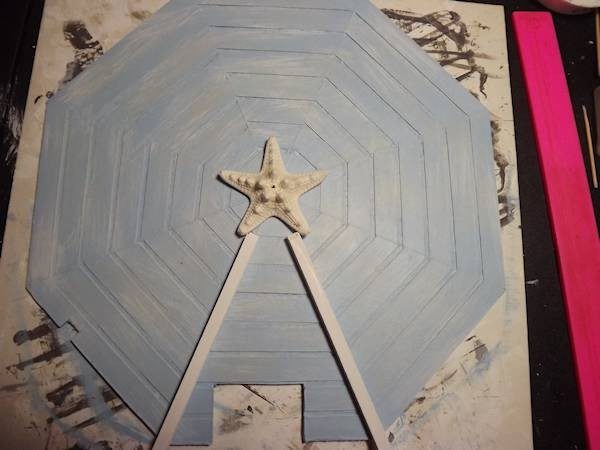
Here’s what the light and starfish set up looks like.
And here’s the finished ceiling . . .
And next, the second floor ceiling . . . drill a hole in the ceiling so that the wires are run through the hole and onto the floor above where they will be hidden by the upper flooring.
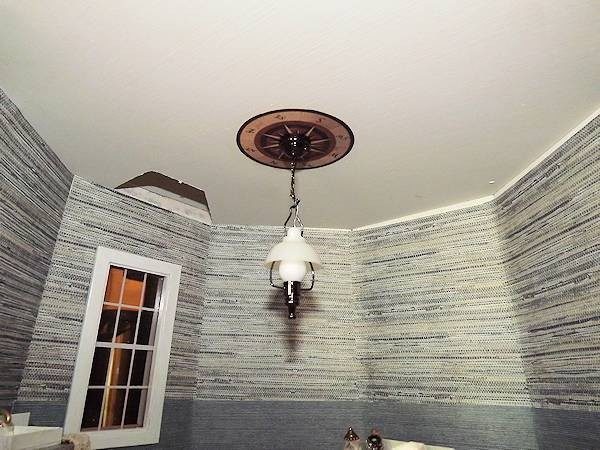
And here are the lights after they have been installed . . .
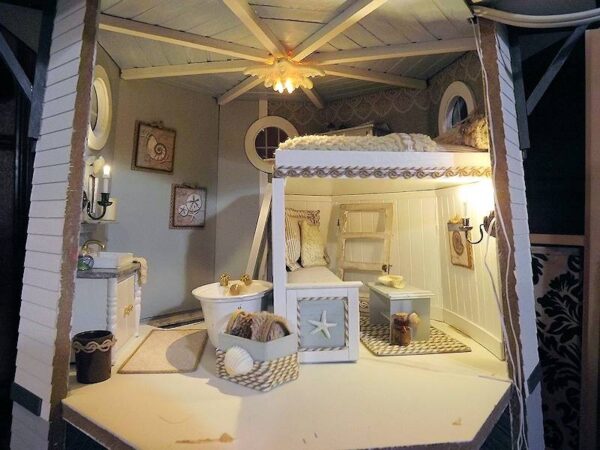
I did want to mention here that the sconce on the left side was left as is and is being held in place by a magnet glued to the wall. Because there is no paper on that wall and because I wanted the light close to the mirror above the sink, there is no way to hide the wire. I may change this at a later time, which is easily done by adding the adapter to the light but for not it works for me.
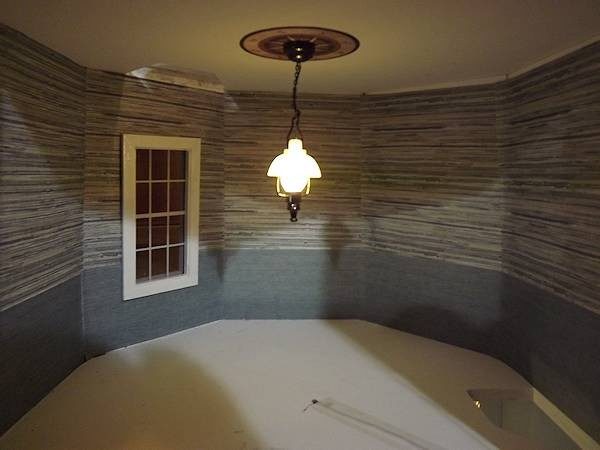
In the other two rooms, wiring will be hidden behind trim, wallpaper or flooring and possibly a false wall.
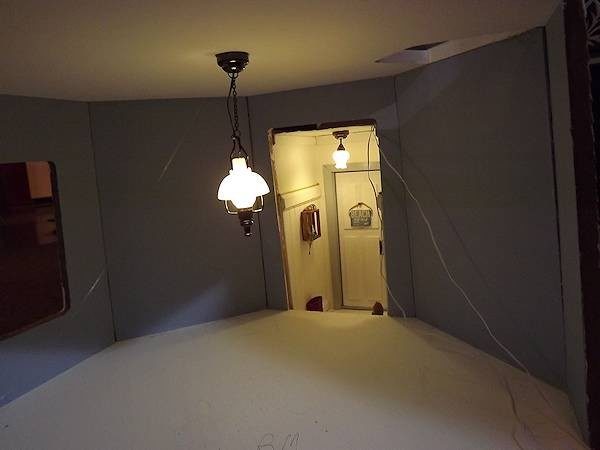
I’ll be adding some more sconces and table as well as floor lamps as I begin to work more on the other two rooms. I do hope you enjoyed the post and that you learned something new along the way!


Leave a Reply
You must be logged in to post a comment.