Welcome back to my Haunted House project! With this post we will be finishing up all of the construction part so that you can begin on the finishing. Use the cutting file link below and cut all base pieces from either medium weight chipboard or the Cricut heavy chipboard.
(12A and 12B in SVG files)
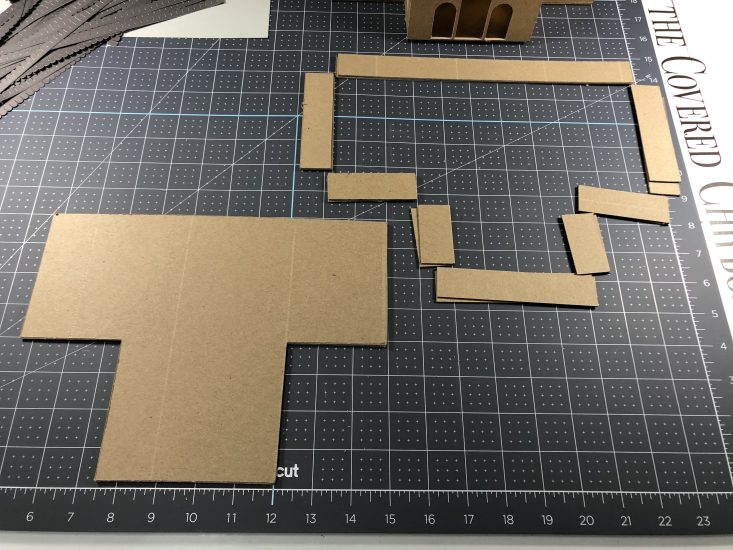
Follow the video to construct and attach the house base.
Her’s a look at the finished base section as well as the base attached to the house.
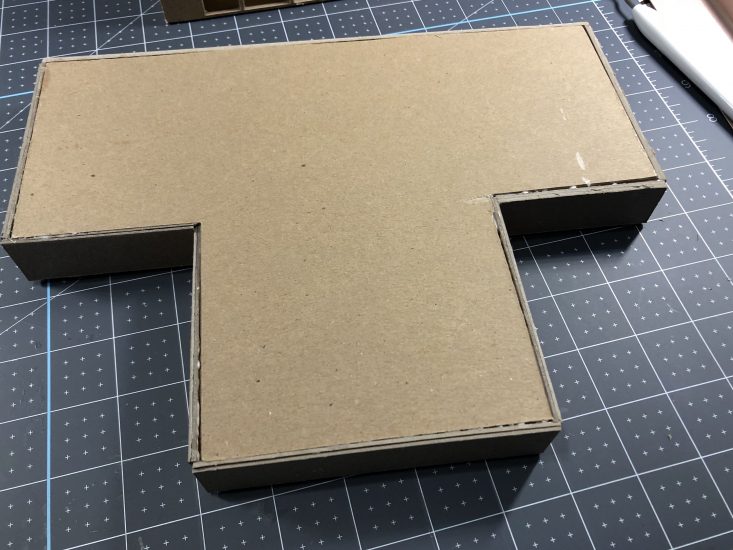
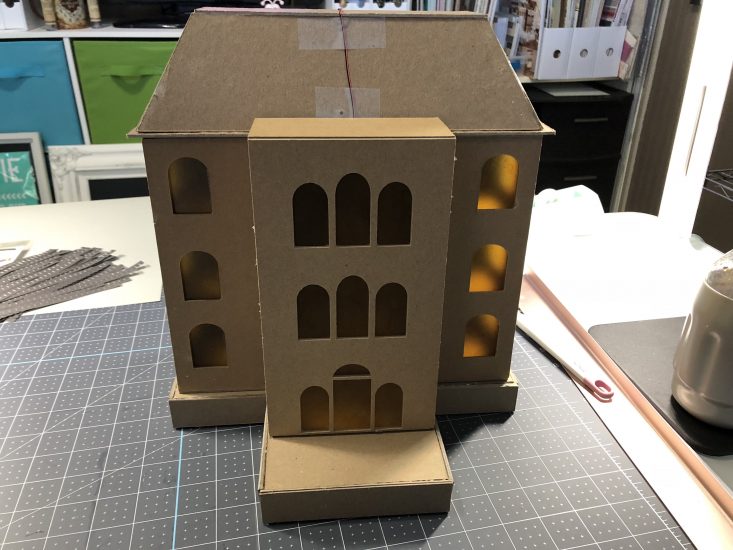
There will be a front porch attached but we first need to attach the siding. Here’s a link to the cut file for the siding sheets. These are cut from Cricut corrugated cardboard in white (you could use the grey if you prefer). Since time is running out I’ve decided this is a quicker way to add siding to the house. You will need three sheets of the corrugated cardboard. If needed you can use a different color for the backside or just leave it unfinished.
You will also need some Acrylic paint in a dark grey, medium grey, black, white, mossy green for painting the siding.
(SVG files O1, O2, O3 and O4)
The siding can be attached with either score tape or glue as you wish. You will need to make one slight adjustment to the front section left and right sides as seen below. This is to allow for the roof overhang that juts out on to the sides.
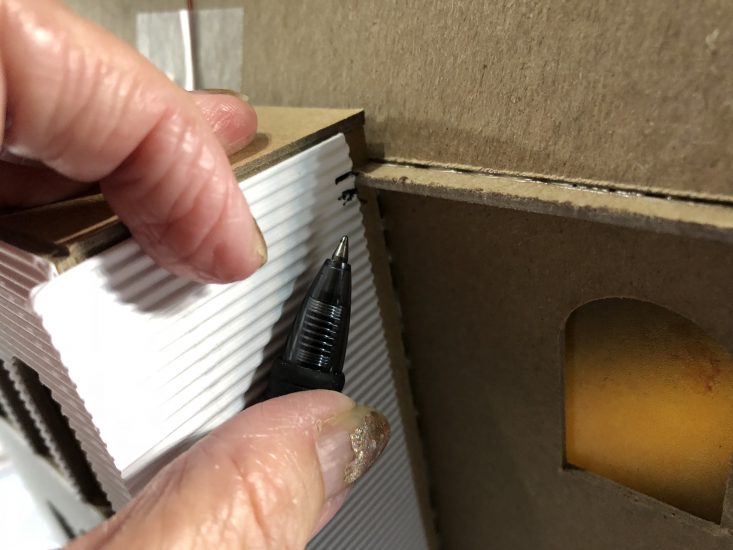
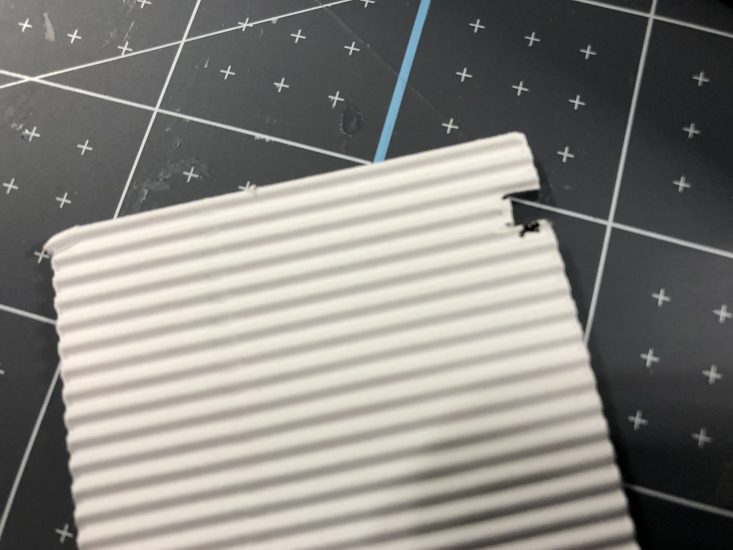
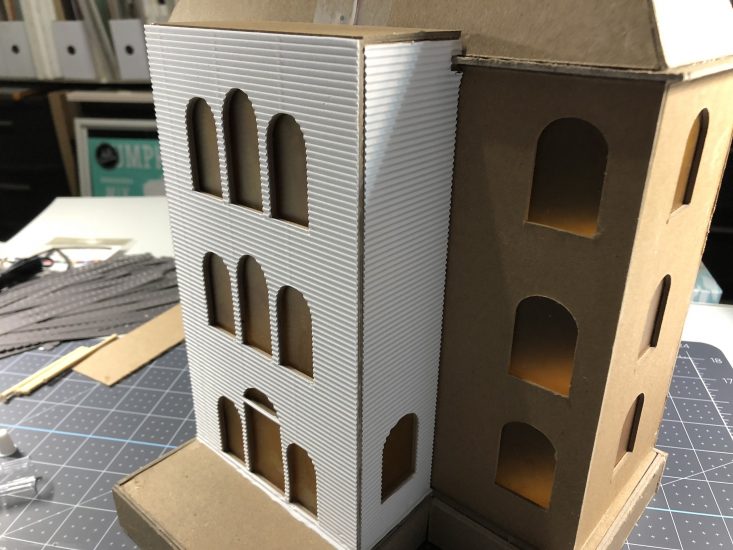
Now finish attaching all of the siding. Always test fit a piece before attaching!
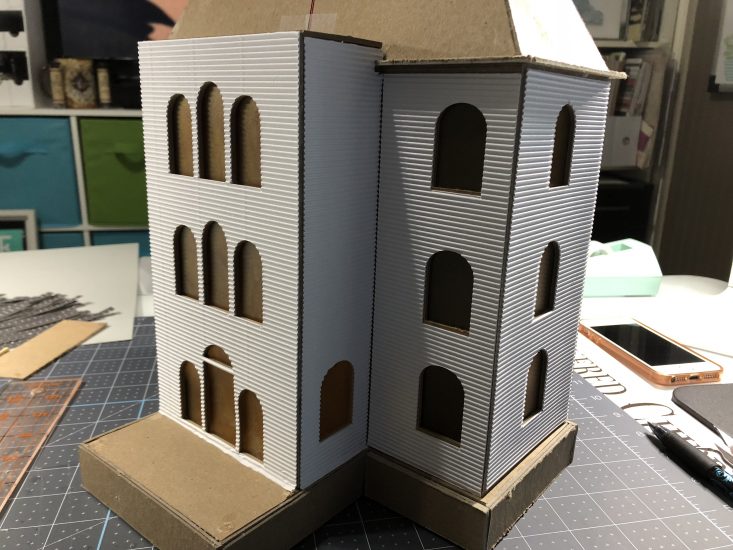
I’m leaving the backside alone for now as I have to make holes for the light wires to come thru. If you have used tea lights, you can go ahead and add your back siding at this time. Just make little openings in the siding for the flaps to open.
That’s it for this time. Next time we will add the windows and front porch then begin finishing the roof.




Leave a Reply
You must be logged in to post a comment.