While doing a bit of pre-spring cleaning, I ran across this old small suitcase I’ve kept for years thinking I’d use it for something one day. Immediately it looked like a fun item to turn into a dollhouse and the following is a record of this transformation. Enjoy . . .
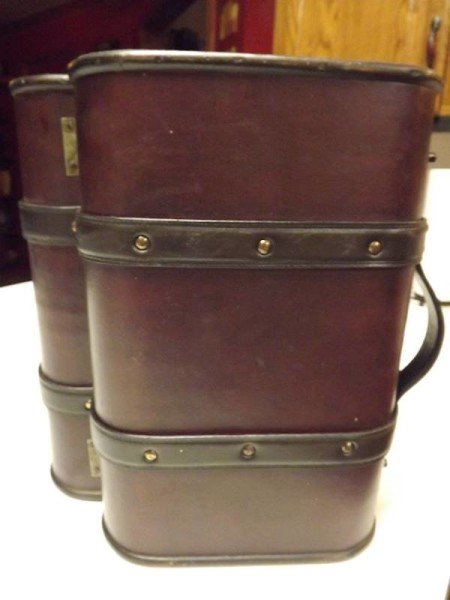
The case stands about 14″ tall with one side being 9-1/4″ wide and 2-1/2″ deep. Opened up it’s about 16″ wide.
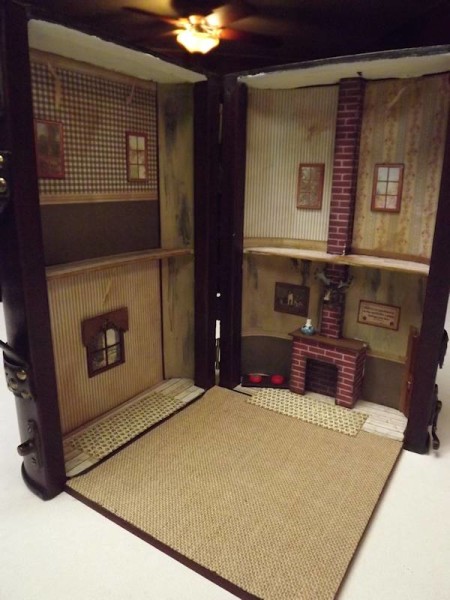
Knowing the depth was not enough to do much with, I added a base and an upstairs loft using two pieces of medium weight chipboard, sandwiched together.
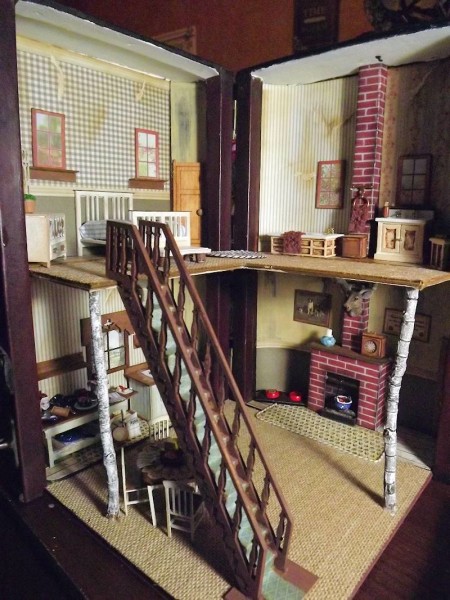
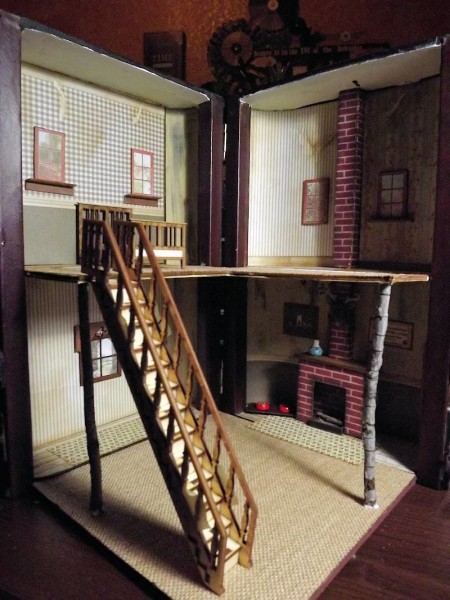
Two tree branches were perfect for beams, holding up the loft extended floor. The staircase was left over from my large laser cut dollhouse and worked out perfectly! Thick burlap scrapbook paper made a nice carpet for both levels.
One side of the case had a thick divider running through the middle and had to be covered up. A fireplace was created from chipboard and covers the divider up through both floors. Since this was going to be a rustic cabin retreat, in the woods, the fireplace serves as a cook stove and heating source.
Walls were covered with wallpaper, printed off my computer, as well as acrylic paint. I wanted the cabin to look old and a bit neglected so I crumpled, tore, and aged the paper as well as distressed them with Vintage Photo distressing ink. Paint was wiped away in areas to look like pealing paint.
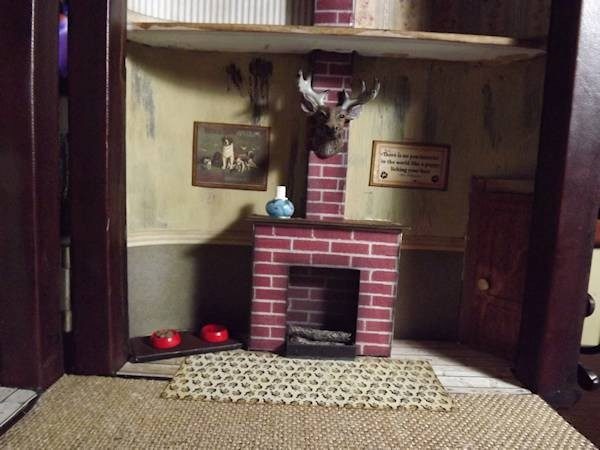
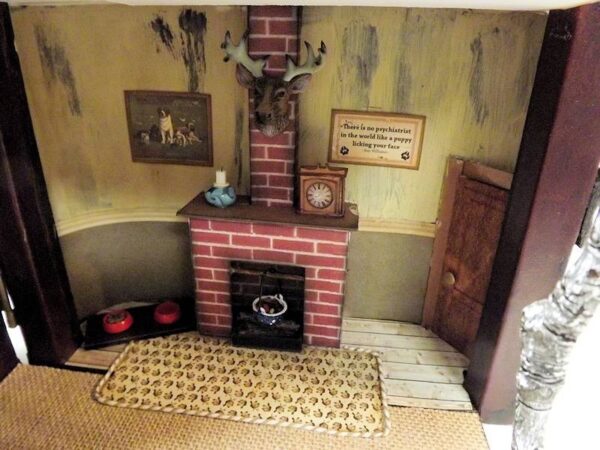
Here’s a close up of the fireplace and the deer head mini I’ve been dying to use! Perfect place for her isn’t it. (No deer were harmed in the making of this house).
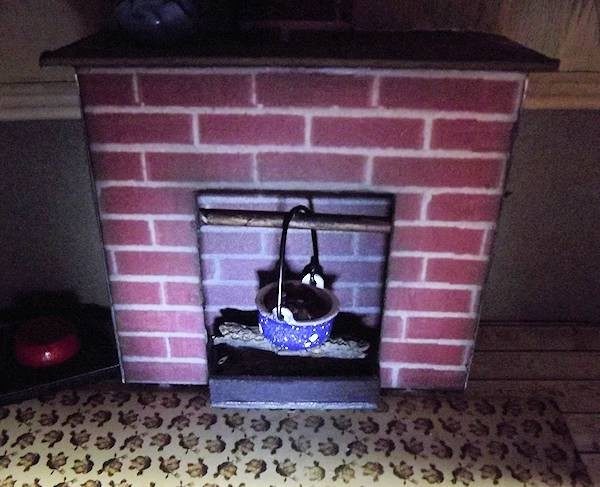
Finally . . . managed to find a blue spatterware pot to use in the fireplace . . . bonus . . . it’s a hanging one!
Now for some furniture . . .
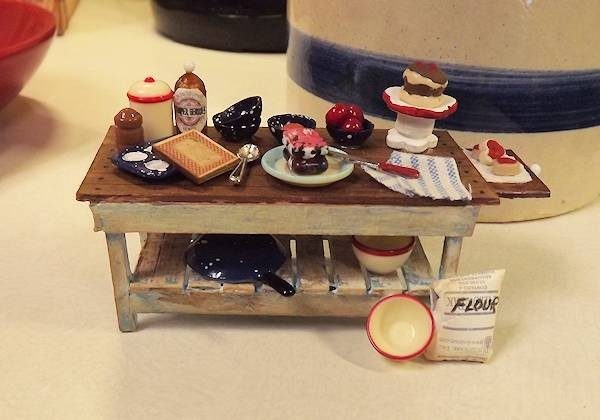
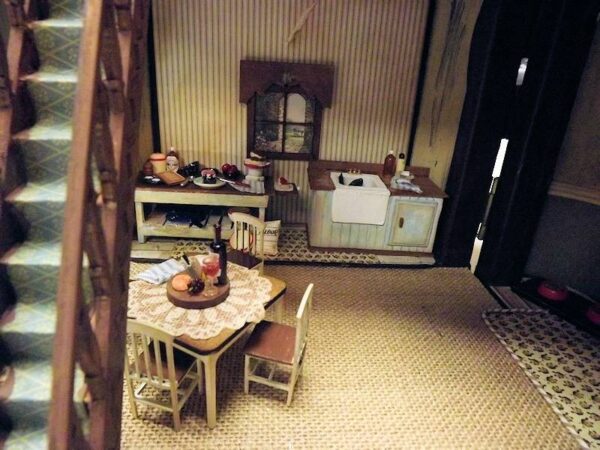
Here’s a little work table created, originally, for my big house, that just seemed to fit better in the cabin. Beyond the dishes, everything else was created from buttons, beads, an old shirt, a silicone packet from ?? as a sack of Flour, and mini printables found online. The base was first painted blue, then whitewashed and then aged with the distressing ink. I seal all items with a matte spray sealer to protect them from the elements.
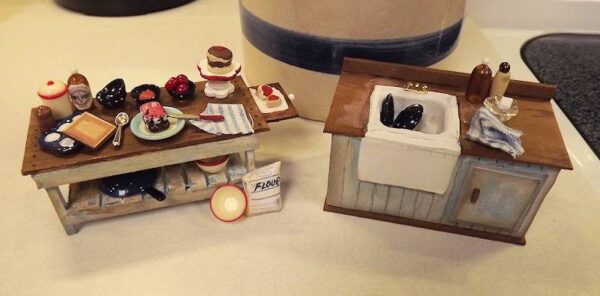
Next I needed a sink! The sink was made from the plastic part of a two pill medicine packet. Hard to see in the photo, there is actually a divider in the plastic making it look like a two basin sink. The cabinet was made from chipboard and painted in the same manner as the work table. Plastic buttons create a soap dish and beads make bottles.
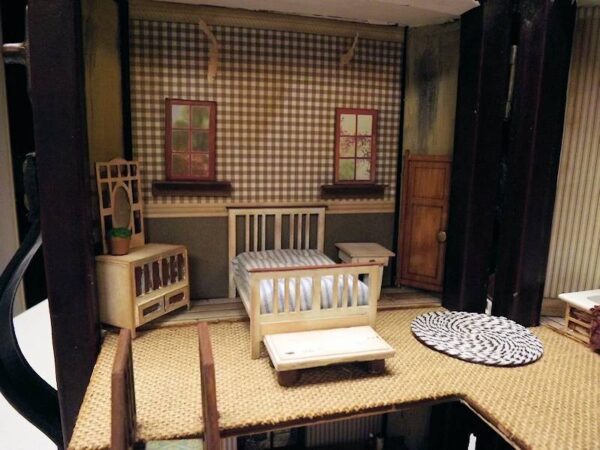
Upstairs we find a bedroom and bathroom. I purchased a few furniture kits from Petite Properties for the big house but again, thought they looked better in the cabin. With white paint and stained wood, also distressed, the furniture looks old and like it was cast off from a main house. A mattress was created using foam core and material from an old pin striped shirt.
The dresser in the corner is comprised of two different pieces of furniture (from the kits), a baby bed and hall tree. The hall tree was to small for the big house and I wound up using different furniture for the nursery in the big house. I enclosed the crib to form the bottom half of the dresser then cut off the top of the hall tree and used it as a mirror on the dresser!
The nightstand I made up from chipboard. Simple but does the job. Then a small stool from chipboard and beads at the end of the bed.
Lastly, a rug was created with Bakers Twine, simply wrapping it around in a circle and then attaching it with glue to a piece of cardstock.
I’ll be adding some goodies to the room soon so be sure to watch for an update!
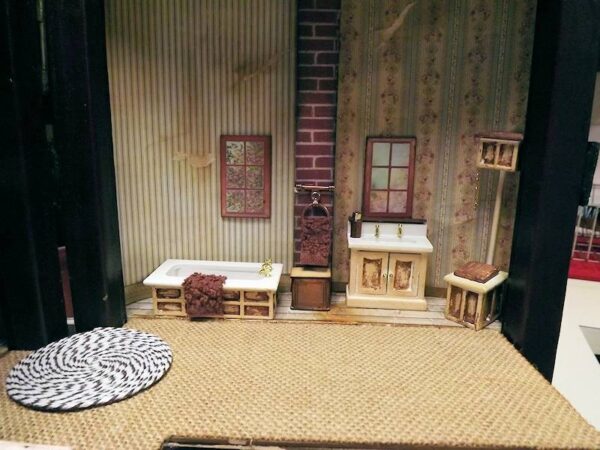
The Bathroom . . . the furniture I found on ebay, was some type of wood and painted all white. I’ve used brown paint and distressing ink to age the wood portions of each piece. The laundry basket, at the bottom of the chimney, is the bottom of a grandfather clock that was to small for the big house! Above it is a towel holder made from jewelry findings and a piece of an old washcloth I cut up. A similar towel hangs on the side of the tub.
I’ll be adding some more goodies to this room soon so be sure to check back for an update post!
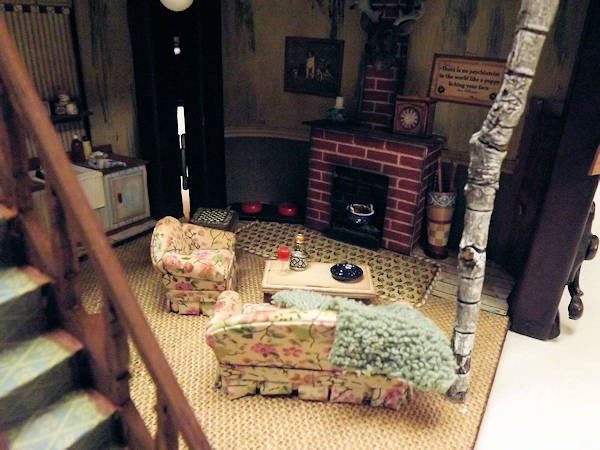
Downstairs includes the entry, kitchen and a sitting area, open floor plan just like a lot of smaller cabins are built. I’ve explained how I made the work table and the sink cabinet earlier. The table and chairs were a Petite Properties kit, the table cloth a printable doily and the wine/cheese display I picked up at Michaels.
I’m currently waiting on a couch and chairs to arrive for this area and will post an update when that gets done.
Last but not least, the Entryway . . . on the fireplace mantel I created a candle with a large hole bead and one of those little plastic pegs used in adjustable shelves. One end of the peg is shoved inside the bead hole, the other end becomes the candle and tiny black wire creates a wick when glued in the center of the peg. The clock is the top portion of the grandfather clock I mentioned earlier. Just goes to show you . . . if you get a piece of furniture and it doesn’t work like you thought it would . . . hang on to it!!! Never know what it might come in handy for in the future!
And what is a cabin or home without a dog, but looks like he’s outside at the moment. He’ll be back soon when he gets hungry and will find his food and water bowels in the corner, in a nice warm area.
So that’s it for now but stay tuned as I’ll be adding a lot more over the next few weeks!
Till then . ..
UPDATE 01
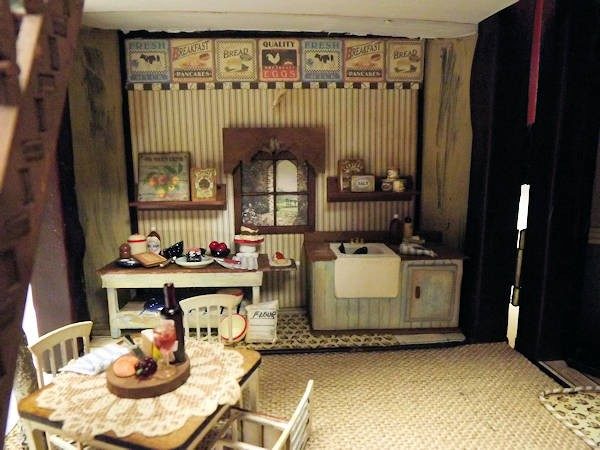
Kitchen is finished! Cans and food boxes plus a crate advertising picture on shelves added. Wallpaper border also added to top of the wall.
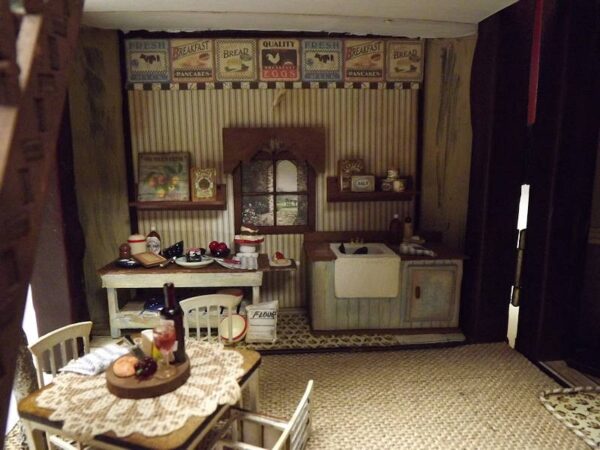
Update 02: Finished except for a chair upstairs (on the rug) and a few more things inside the shelves!
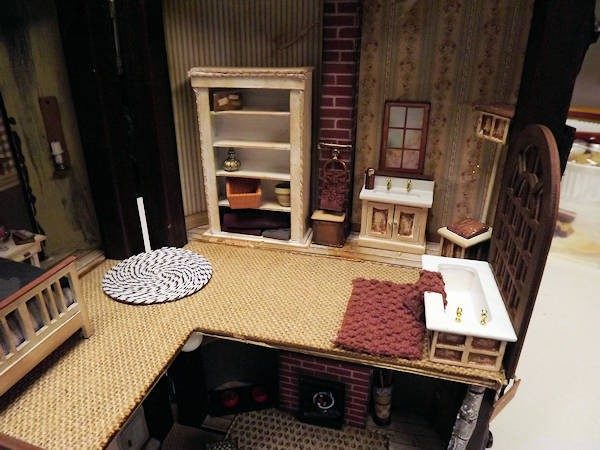
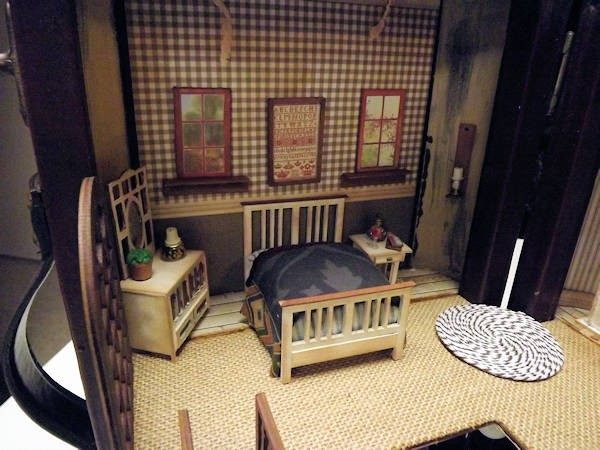
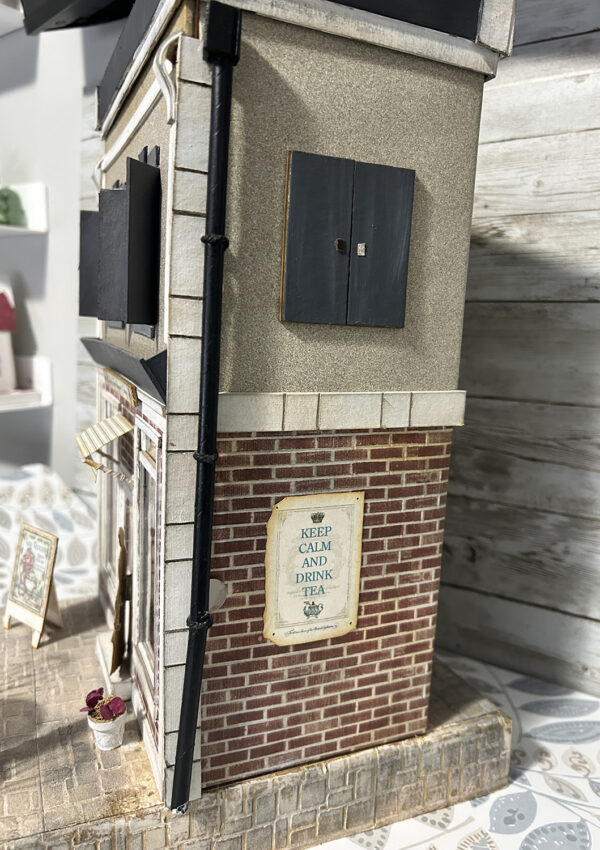
Few more touches . . . added gramps in his comfy chair with the cat, no wonder the dog is hiding! Had these windows leftover from my large laser cut house and decided, why not use them. I rather like the whimsy of them.
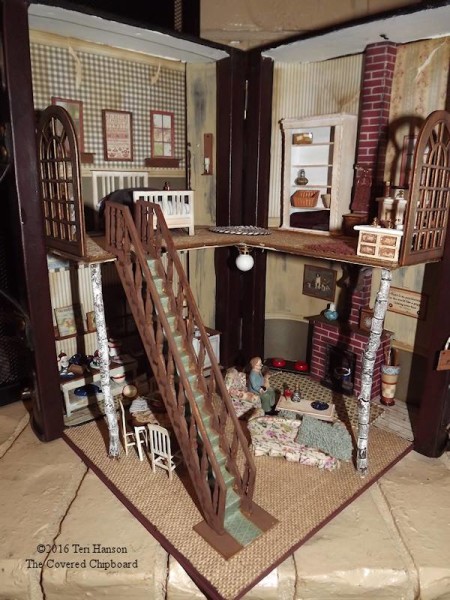
This has been such a FUN project and was nice to complete without taking a long time. Makes me think I’d love making room boxes so I just might give those a try! Maybe even come up with some houses you all could build as well!
Enjoy and stay crafty . . . .


Leave a Reply
You must be logged in to post a comment.