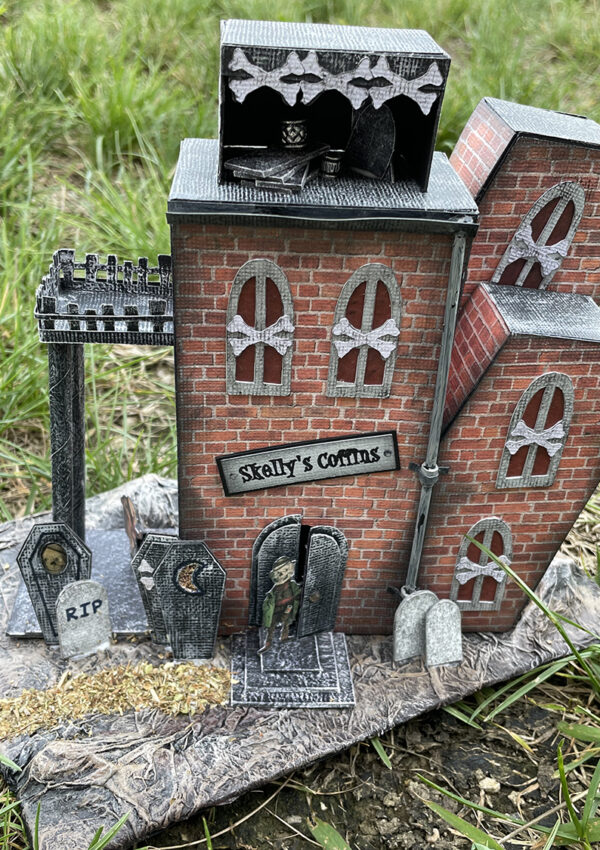
Welcome back to my Haunted House project! Originally I had thought I might finish the inside of the house but after much debating I’ve decided not to. For one, the place where I’ll be using my own makes it difficult to remove the front to see the inside and secondly because I’ll be plugging it into the wall for the lighting I’ll be using. Again, finishing the inside is totally up to how much work you put into the project.
For those who want to finish the inside you can get tons of ideas from my other posts on this blog, under the miniatures section. Specifically the Ravens Perch Build which is close to the same size as this project. If you need any help or have questions, please don’t hesitate to contact me!

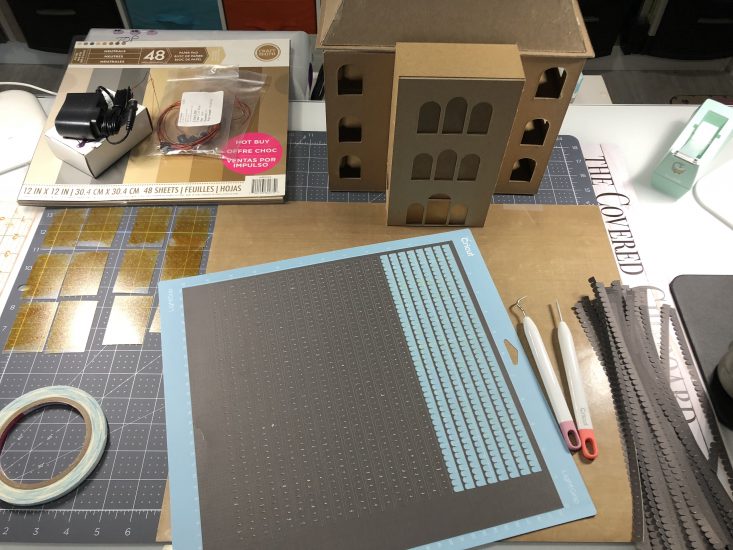
I’ve created a file in Cricut Design Space for both the shingles and siding. You should go ahead and get those started cutting. When done, set them aside for later use.
ALTERNATE FINISHING IDEA – Instead of glueing on all the paper strips for the siding, you could use my cricut design space file and cut Cricut Corrugated Cardboard to glue on top in larger pieces. This would give you a similar look and take less time.
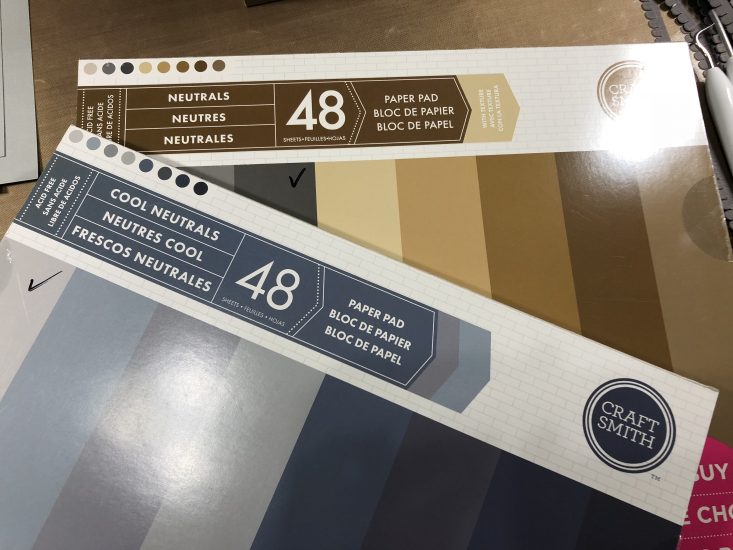
You want to pick two shades, a dark and light, of the same color. You can see that I’m using grey for my house. The shingles will be the darker of the two colors. Here’s a look at the materials I’m using – found at Michaels Crafts for $5 per pad. The paper is close to the weight of Bazzill cardstock and also has a texture to it. You will need about 3-4 sheets of cardstock per color.

Now let’s turn our attention back to the house itself. When we last left off you should have finished the main structure and roof. We need to glue some more of these sections together but first will need to decide on what type lighting you want to use.
There are several options for lighting depending on what your preferences are.
- simple led tea lights – just place them inside the house then place the front section of the house in place
- single strand led fairy lights – just place inside the house then place the front section of the house in place
- led miniature lighting system – this is my choice for all mini structures
Pros and cons for each of the above are that with both the tea and strand lights, you have to leave the front of the structure unattached or make an opening in the back of the structure so that you can get to the lights. Both will use batteries and thus have to be changed out – a lot. While they do give you the freedom of placing the house anywhere you like, you will have to contend with replacing batteries.
With the led mini lighting system I use, you also have the choice of using battery power but like myself, you can use the DC power adapter that simply plugs into the wall. No messing with batteries but it does limit where you can place the structure.
So give some thought to how you will use your house and where you might want to place it. Also think about changing batteries as opposed to a simple plug in. Here’s a little video about the mini lighting system with a link to the site for purchase and some other videos on using these types of lights.
Model Train Software Lighting Videos
Links to what I’ve used on the project …..
3V LED lights – 3mm – cool white or warm – 14″ wire – solid
3V Adapter Transformer – 1 Amp w/Switch – No battery
Adding the led lights to your structure . . .
That’s it for this post. I’ll be working on the remainder of the construction over the next two days so watch for Part 4 coming real soon!
Thanks for joining me!!!


Leave a Reply
You must be logged in to post a comment.