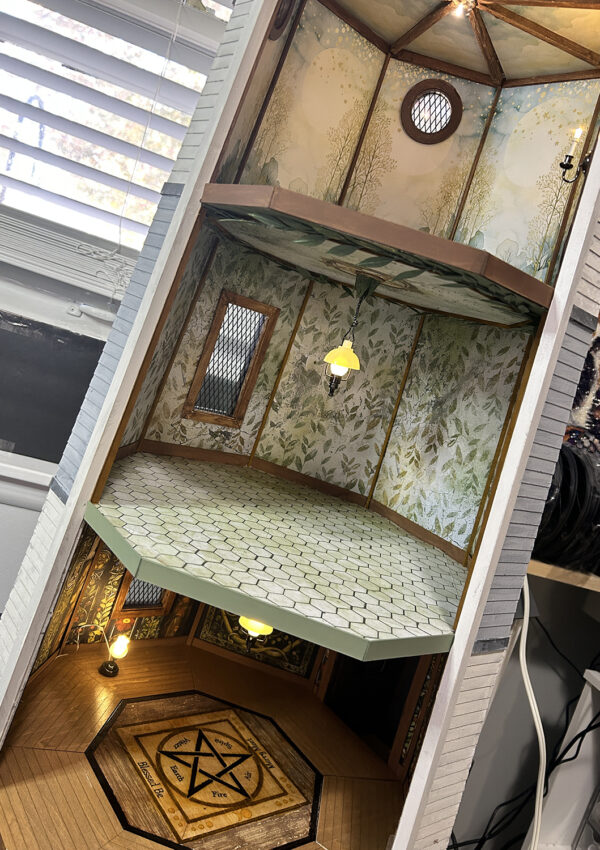
Ok so I last left off with the lights installed and from there had to finish up the wallpaper and flooring for the remaining two floors. Here’s a look at that part finished.
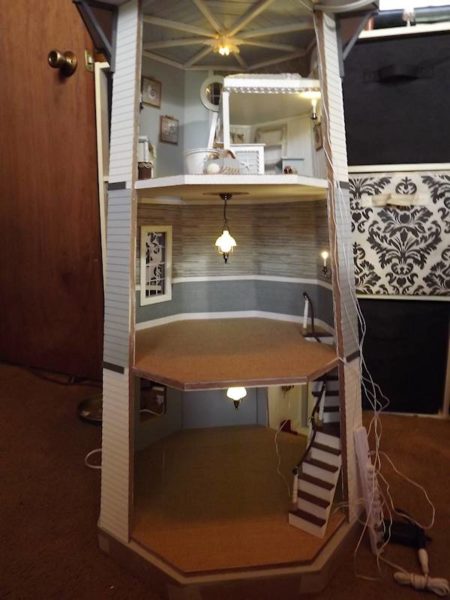
The wallpaper is a burlap textured paper image I found online. I actually pieced it together to cover an entire 8.5×11 size paper then printed it onto white 80 lb canvas textured paper. All of the trim is white chipboard and the flooring is a paper backed burlap paper from Die Cuts With A View that comes in an 8 sheet 12×12 pad. If you use this paper, you will have to piece it for the middle and bottom floors.
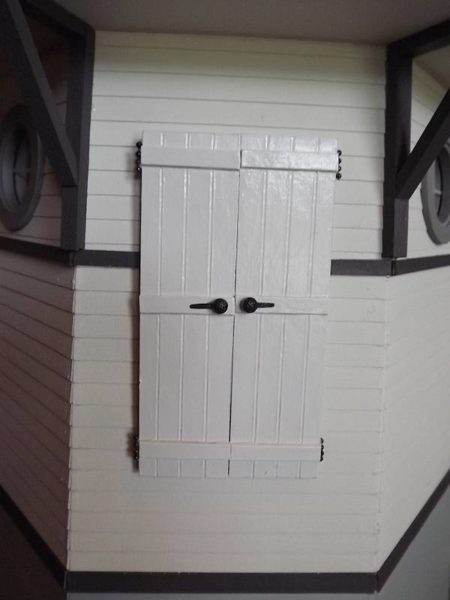
A few things to show before I get started with the entry framing and attachment . . . remember on the top floor where the bed goes there was originally a window there because I put the wall on wrong? On the inside I covered the window opening with masking tape and then this was covered by the wall of the nook and the wallpaper. For the outside I placed the window frame as it should be but then added closed shutters on top.
Shutters made from chipboard in two sections. Bead chain was used for the hinges and a decorative brad with one flap removed, became the latches. To create the bead board look I simply scored the piece of chipboard and then ran a ball end tool down the scored line to indent the chipboard on those lines.
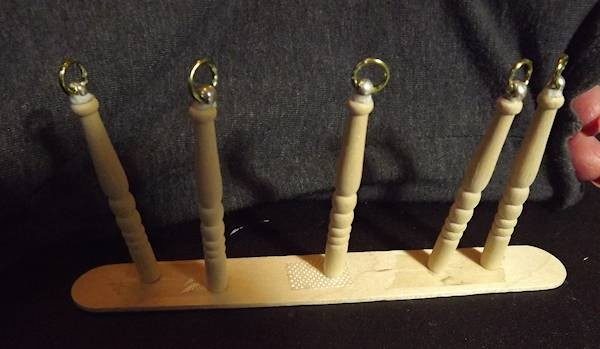
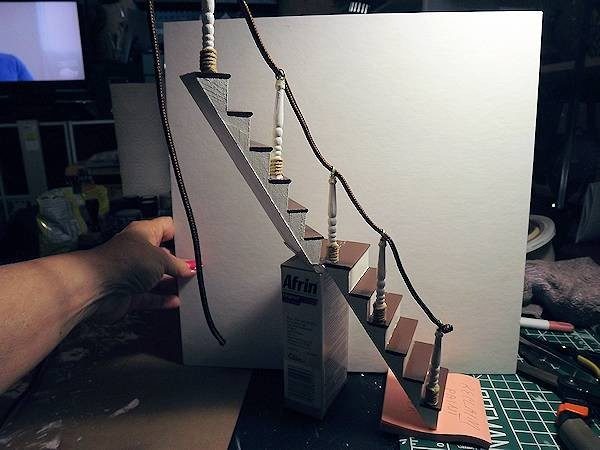
Another thing to show you is the stair case on the bottom level. I used 1:12 scale porch spindles for the stair spindles, with just the smallest ends cut off. A jump ring was attached to a bead then the beads were glued to the spindles.
Spindles painted white with bakers twine wrapped on the bottom sections and glued to the stairs.
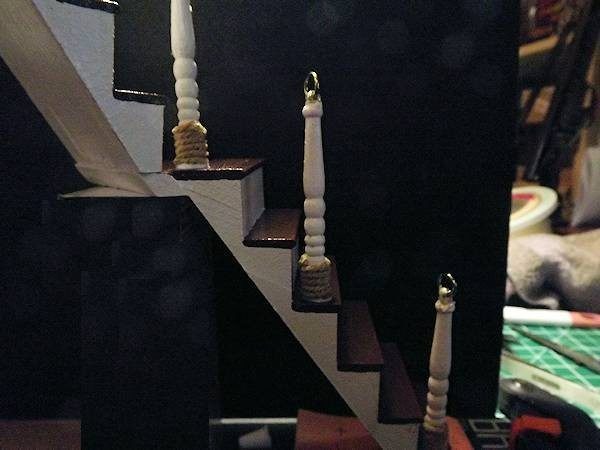
I found boot shoestrings in the grocery store that worked perfectly for the hand rails!
And here are the stairs all set in place . ..
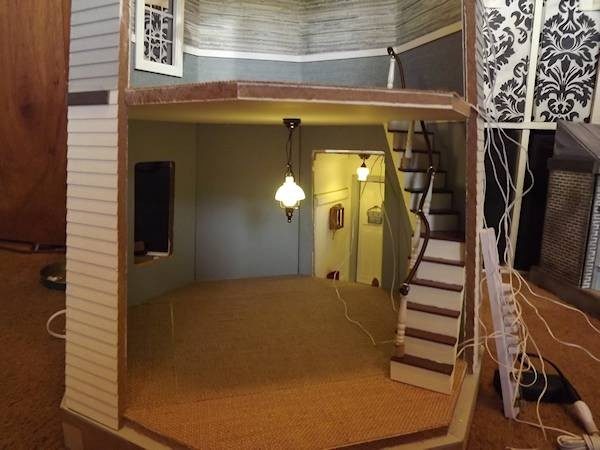
My plan now is to build a false wall, for the opening into the entry, to hide the wires coming from the front entry area.
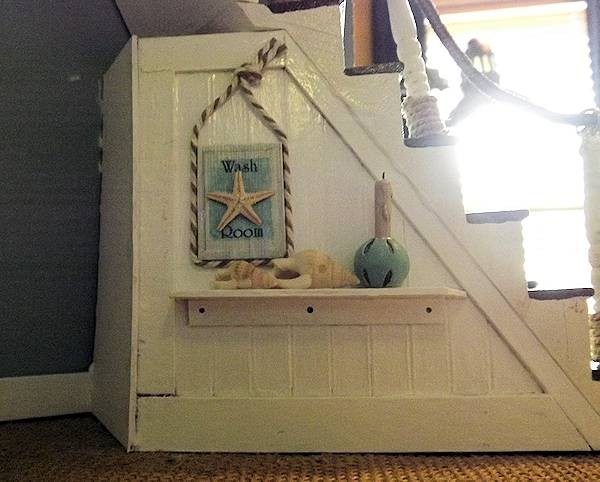
To further hide the wires and because there still needs to be a potty . . . I’ll be creating a wash room under the stairs. Here’s a look at the main wall that faces out into the room.
The candle is made by wrapping cardstock tightly around the large end of a toothpick. Add a bit of glue drops for drips down the side of the candle and a bit of wire for the wick. Paint and seal.
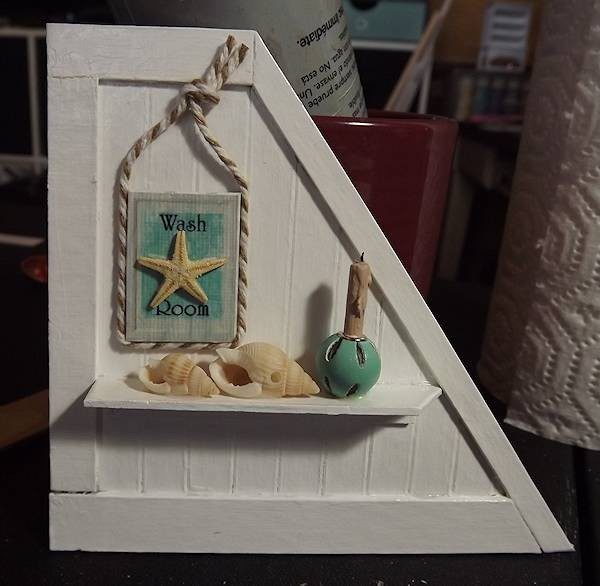
This wall will be attached to the stairs, facing the room, while another wall will be added to the stairs facing outside and finally a wall facing inward with a door on it.
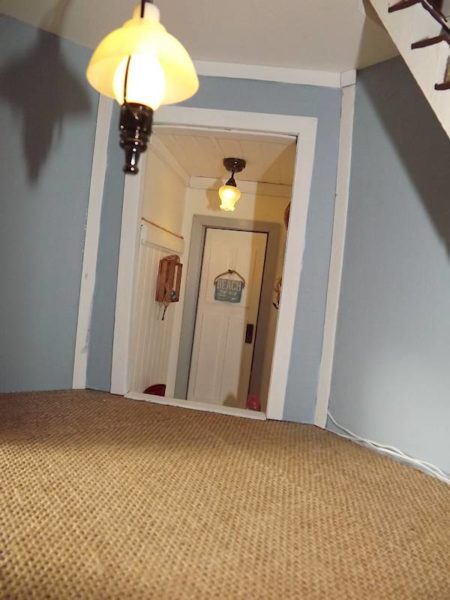
Forgive the blurry photo . .. was a very hard angle to get a shot from. Here’s the final wall in the wash room. I’ll add a door once the wall has dried.
Now on to the final top and bottom trim and the room will be ready to decorate.
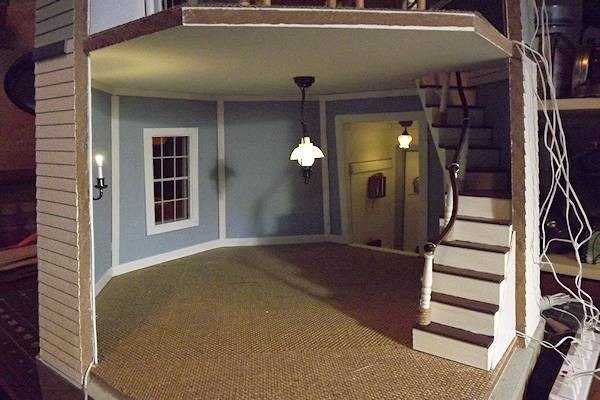
For those asking or rather thinking at this point, any wires showing now will be hidden by two channels, one on the left and one on the right. These will be added after a few touch ups.
So that’s it for this post. I’ll be back soon with decorating on the middle floor, the kitchen!


Leave a Reply
You must be logged in to post a comment.