2017 Haunted House Event
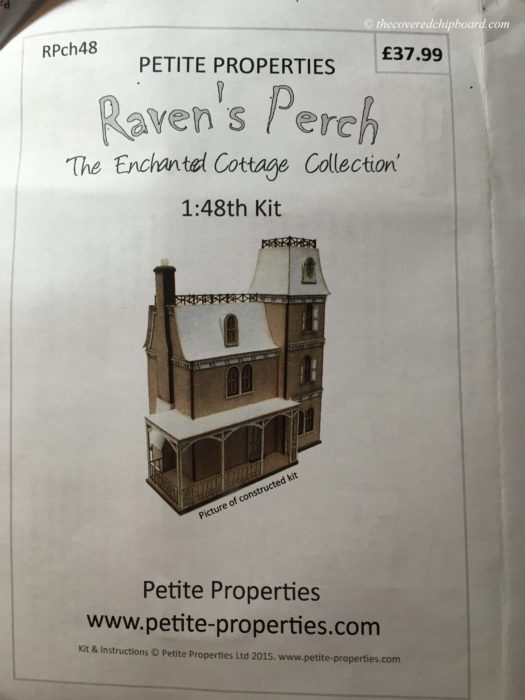
Once again I’ve decided to delve into the miniature world of 1:48 (quarter scale) size and try my hand at creating a haunted house! The project I’ve chosen is from Petite Properties, the Raven’s Perch.
To begin any project, open the package and spread out all the pieces. Read the instructions all the way through and get familiar with all the different pieces and how they go together. Some like to do a dry build, putting the pieces together with painters tape, ahead of time but I’m not one of them. I prefer to just jump right in and get started.
One note with this scale, you will most likely need to do your painting and finishing as you move from step to step so that you can reach everything. You will also either want to have all your furniture to install as you complete a floor – or – make removable flooring so you can attach the furniture to the floor then slide it into the finished house. If not, you will find it very difficult to add your furniture later.
I’m one of those people who have a difficult time deciding how I want to finish the inside, without seeing the main structure put together. Because of this, I generally construct then decorate in stages. With my first quarter scale structure, the rooms were much larger than they are in the Raven’s Perch. Due to the size, I’ve decided to build partial boxes for each room that will then simply slide into the rooms.
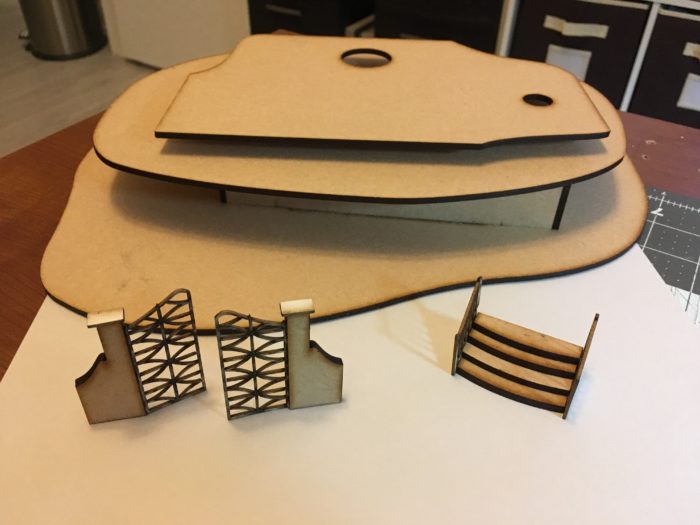
As you can see below, I’ve completed base, steps, gate and main house structures.
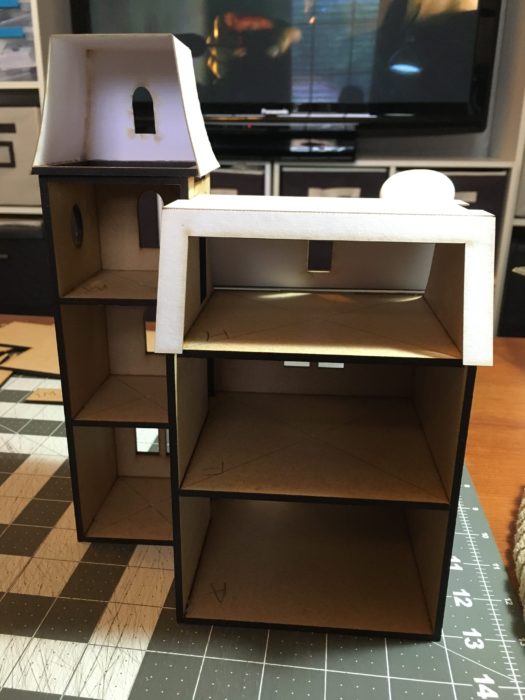
Everything went together nicely until I got to the smaller roof section. Don’t misunderstand, the kit pieces were cut perfectly. I simply found it a bit difficult to glue two thin pieces of curved card together (grin). No tips here, just keep pressing the two parts together, add glue as needed, and hold firmly till the glue dries! I might suggest glueing one side at a time perhaps.
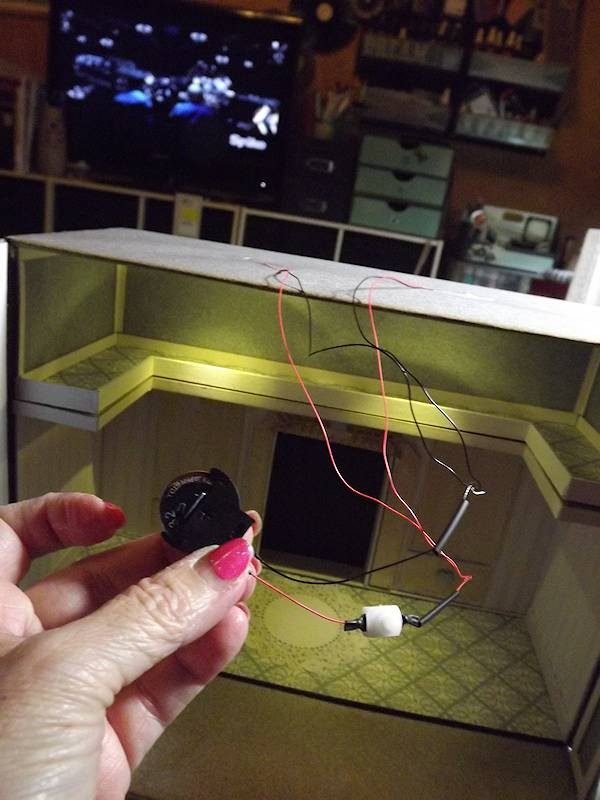
As with my other structures, I’ll be adding lights to this one. You can find several previous posts on lighting, here on my blog. For starters, take a look at the lights I used on the Inn of the Prancing Pony (Woodnook Cottage) build. I’ll be using the same type of lights on this project.
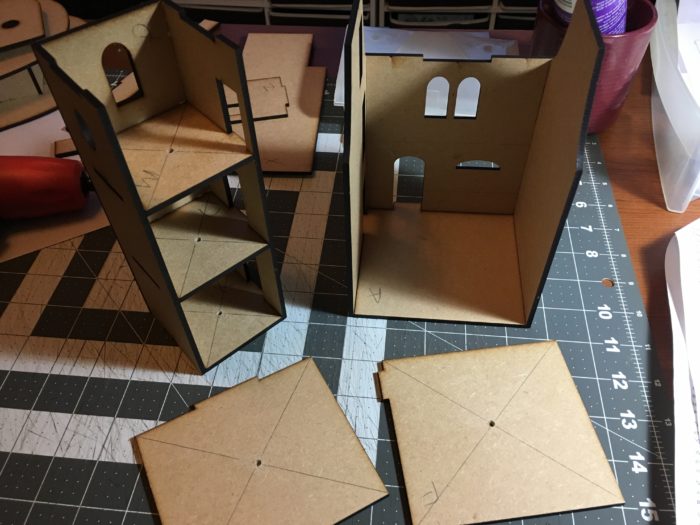
Looking below you can see where I’ve drilled holes for the lights to fit into. I’ll be sure and add more pics on hiding the wires and installing the lights when I get to that section. For now, I’ve left both of the roof sections unattached. I’ve also left the three inside chimney breasts unattached as those will be glued to the inner box sections that slide into each room.
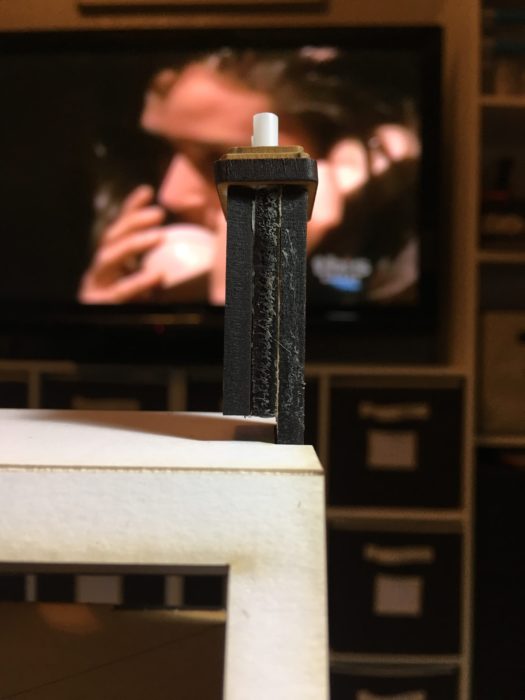
One place I was confused about . . . the chimney. If you find yourself wondering how the top fits together, here’s a look at mine completed.
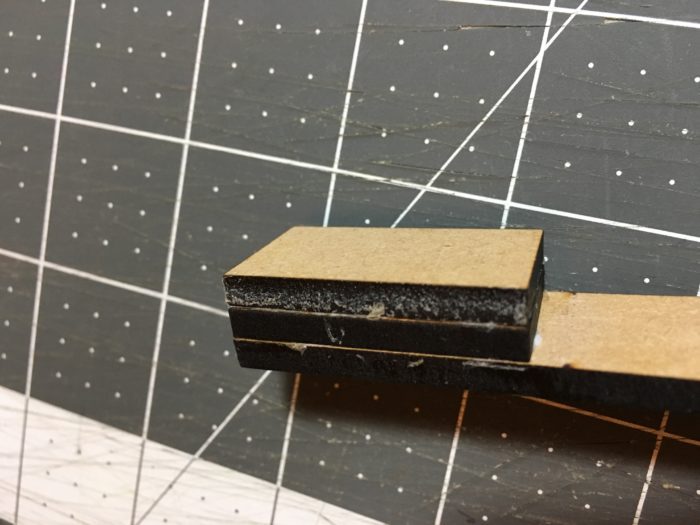
I’m still wondering at this point why there is a gap at the bottom, between the chimney and the roof top. Maybe it will be clear later on or maybe I’ll be filling it with something? I’ll be sure and let you know!
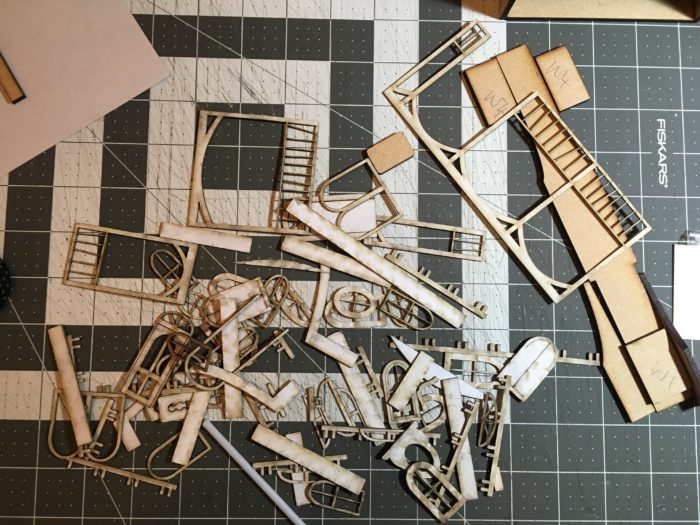
Now . . . on to building windows and the doors. Lots of little pieces . . .
And here they are all done! I used both Vintage Brown and Black Soot distressing inks, pounced onto each piece till they were pretty dark. Next I washed the tops with white.
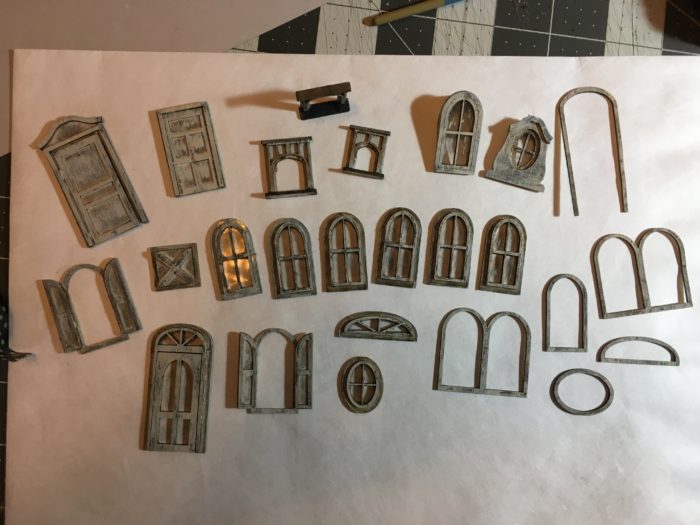
I’ll have to do more on the house before I can attach these.
So that’s all for today. Be sure and watch for additional posts as I continue working on the project!
Thanks for stopping by!



Leave a Reply
You must be logged in to post a comment.