The Woodcutter’s Cottage is a 1:48 scale miniature kit from Petite Properties. I adore their kits and with complete instructions as well as numbered pieces, they are very easy to build. Another plus is that they have bases, scaled furniture kits and landscaping materials for all of the structures so you can order everything you need for a finished project at once. Next time you are surfing the net, stop by and check out everything they offer.
For those not familar with 1:48 (quarter scale), the photo below should give you an idea of size. Do keep in mind that this particular house is one of the smaller cottages they offer. One thing to consider, when working with this small scale, is that you will need to finish each floor before the one above it. If not, you will find it difficult to decorate in such a small space. You also will need to plan a bit before you just take off putting the structure together.
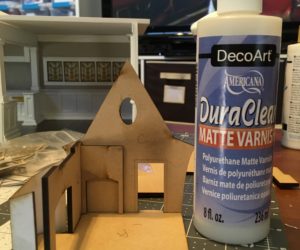
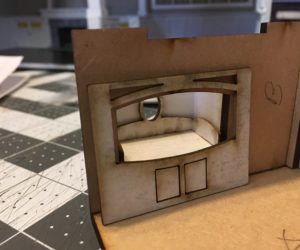
For this little house I decided to have simple off white painted walls. This allowed me to go ahead and construct the lower floor partially. You can see that I’ve also constructed the window seat/daybed area in preperation for finishing.
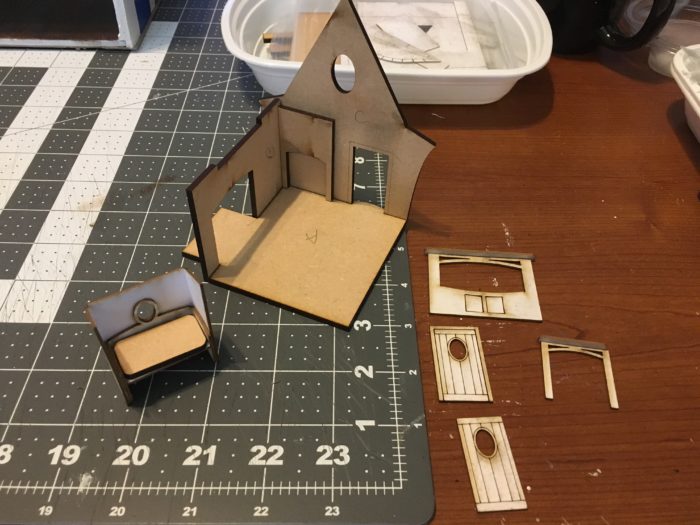
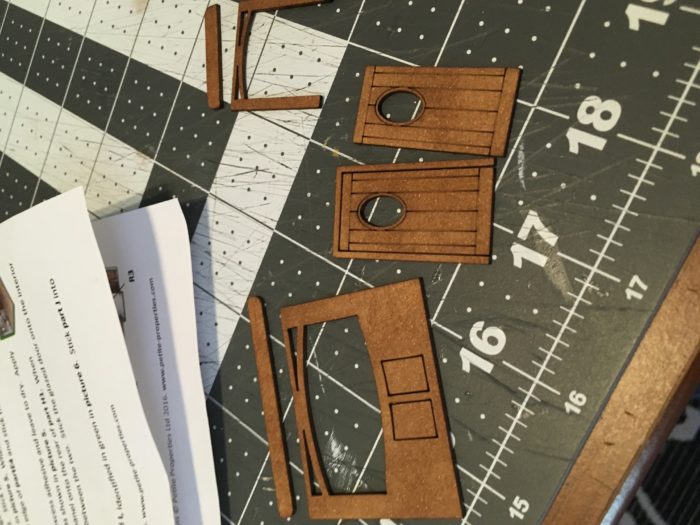
For wood finishes I’ve used a watered-down brown acrylic paint. Using one coat of paint or stain on these pieces allows the engraved areas to remain easily seen.
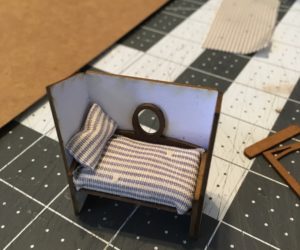
Next I’ve added a little bed and pillow to the window seat area after doing a test fit.
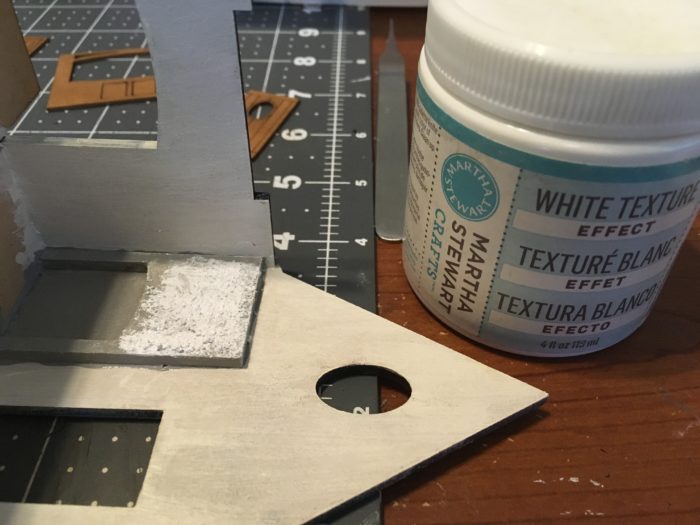
A texture was added to the fireplace using Martha Stewart White Texture Effect. I’ve also added a coat of paint on the walls.
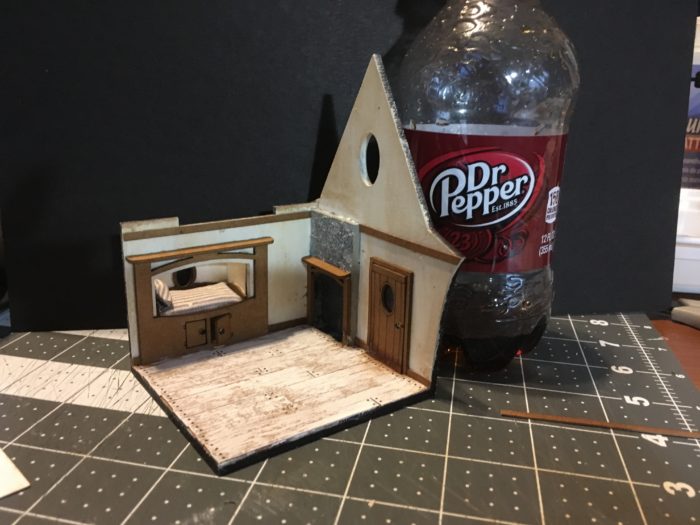
Below you can see everything attached and painted. The flooring, created from a cereal box – cut into strips, was added before the other pieces were glued into place. To get the look of aged wood flooring, I simply dry brushed white paint on top of the cereal box after all strips were glued into place.
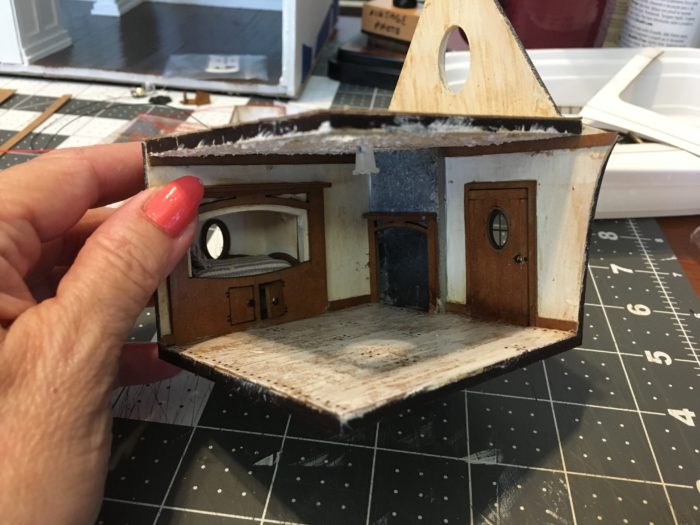
Next, I need to add lighting in the ceiling of the first floor. Using the white texture effect I’ve covered the entire ceiling, let it dry, then drilled a small hole in the center. The light was attached with the wires running up through the hole onto the upper floor area.
Light wires were easily covered with the upper level flooring.
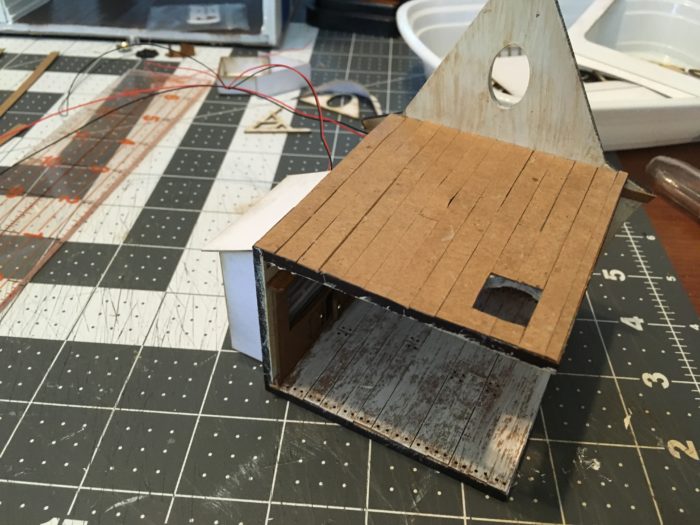
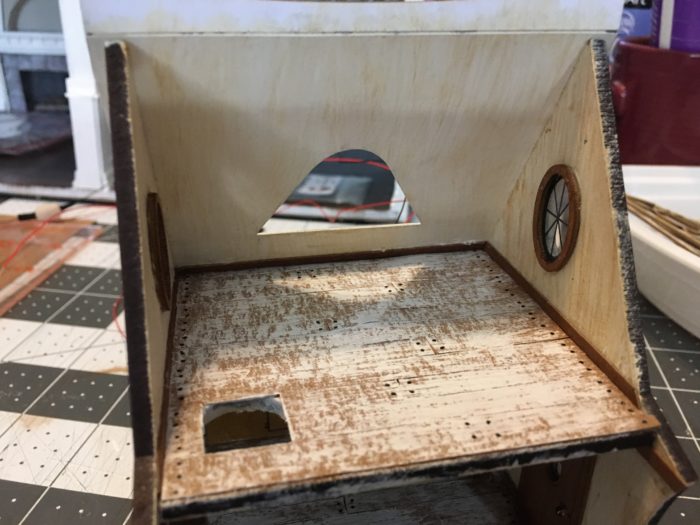
Here the upper walls have been painted and attached.
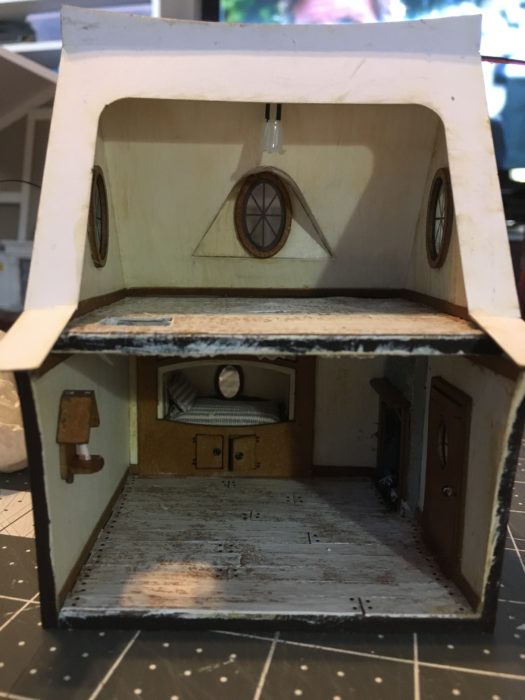
The roof has been attached and a light has been added to the ceiling with the wires run between the very top section, where two roof pieces meet. Wires are then run down along the side of the roof on the outside and will be hidden by the outside trim pieces.
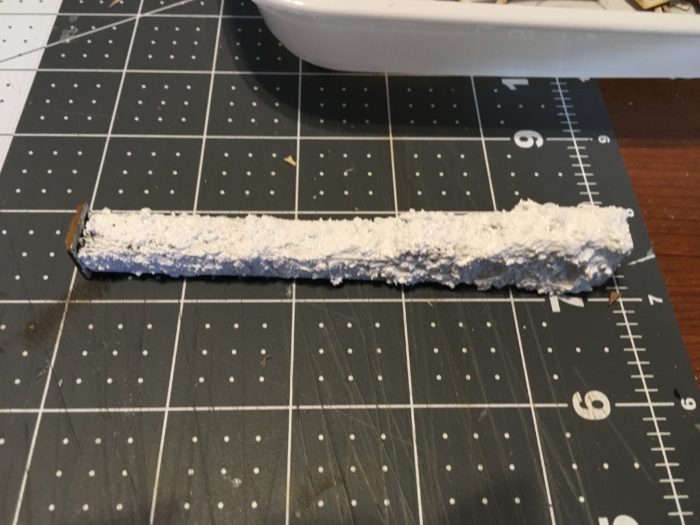
Once again, using the white texture effect, I’ve coated the entire chimney. Once dry, it will be painted dark gray then dry brushed with a lighter gray and finally white.
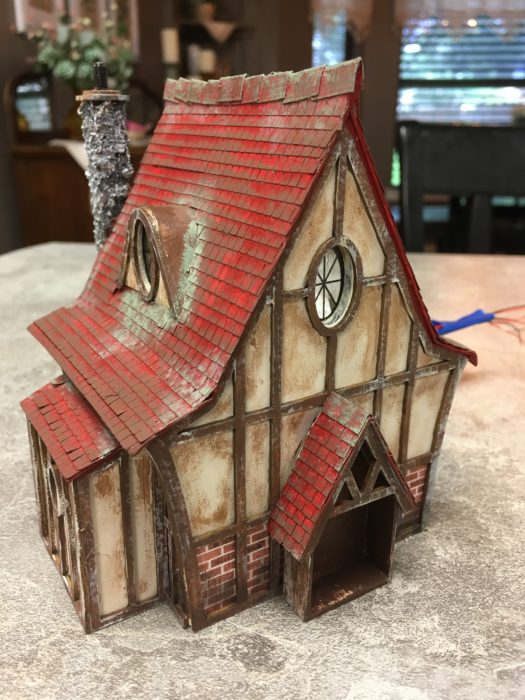
The house has now been painted, trim and extra sections attached and the chimney is in place.
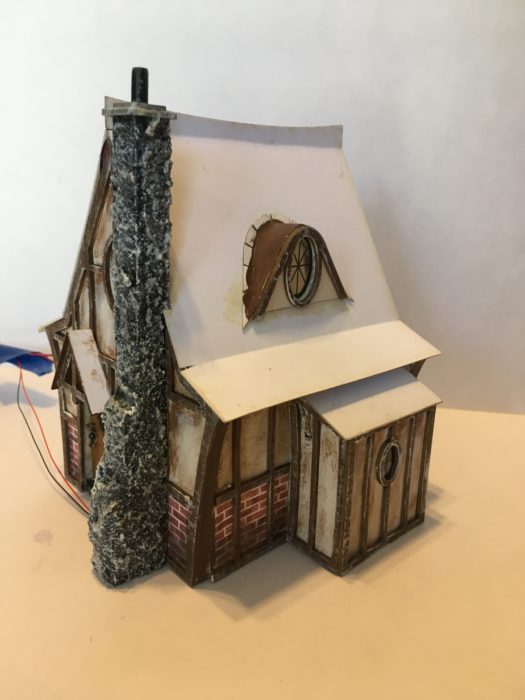
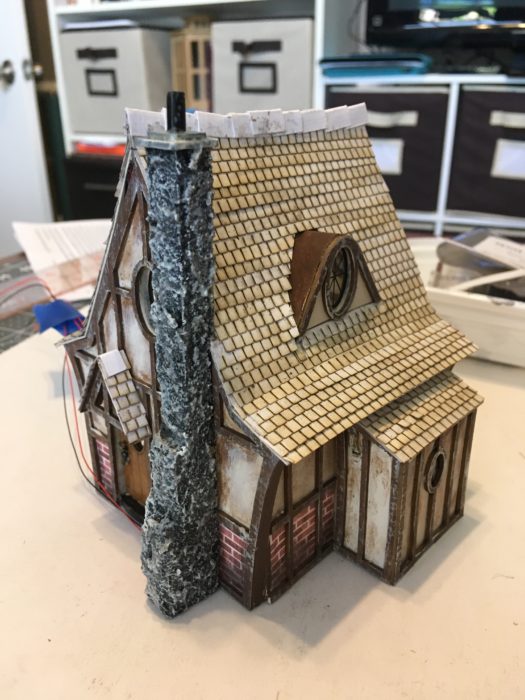
This was the first time that I’ve used the Petite Properties shingle strips and I fell in love with them! Super easy to trim with scissors and apply. At the very top, I’ve used cut pieces of white textured cardstock across the roof.
Lastly, I’ve painted the roof and added touches of various colors to age the roof.
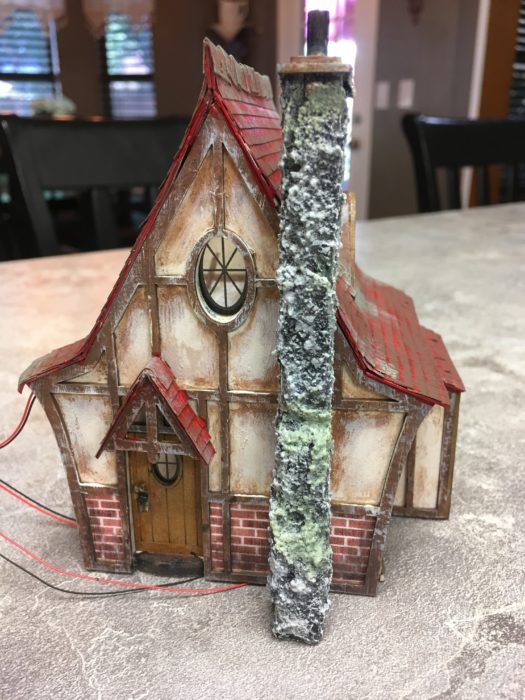
The brick on the bottom of the house is a pattern printed on white textured cardstock then glued to the house before the trim was added.
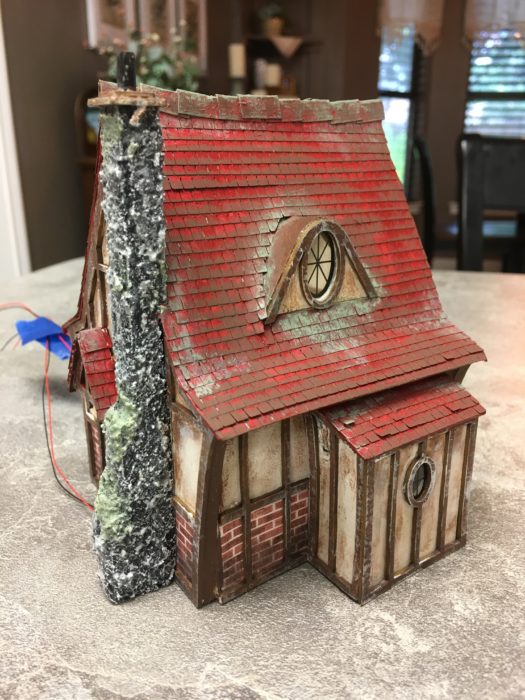
Don’t forget . . . when you finish your house, or along the way, to add a coat of clear matte sealer to preserve the finishes! You can see the type of sealer I prefer to use in the very top photo.
On a final note . . . I have plans to create the Robin’s Nest house to compliment the Woodcutter’s Cottage then attach them both to a single base. So be sure to watch for another post in the future on the Robin’s Nest!!!
UPDATE . . . 7/26/20
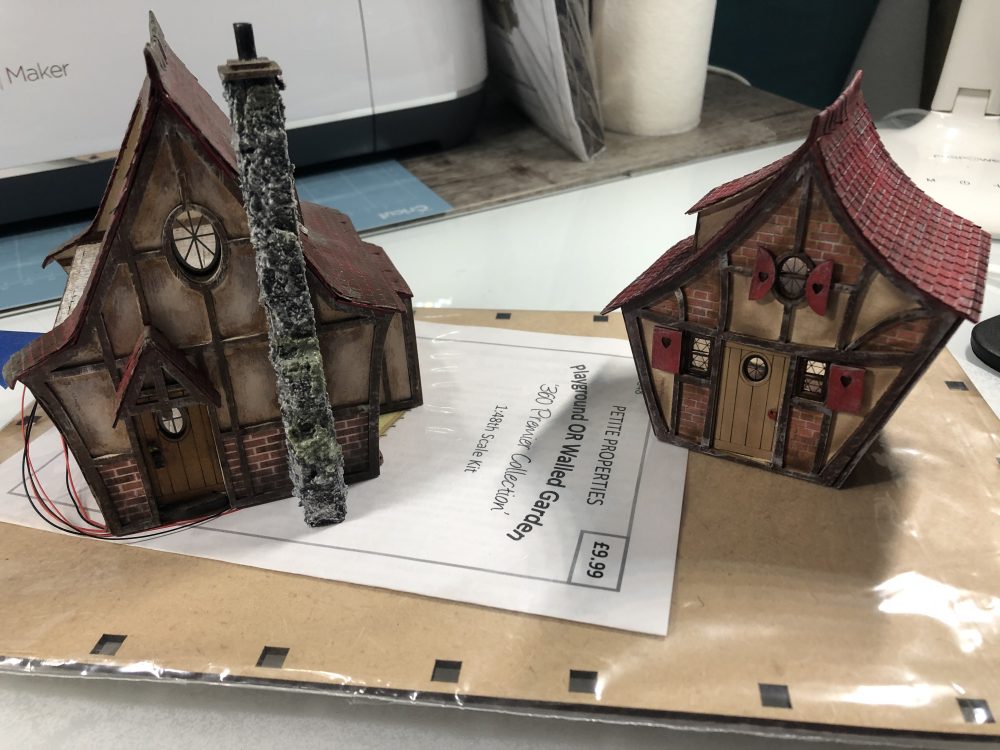
I’ve finally finished the Robin’s Nest little house! Both houses will eventually be placed on the base shown below.


Leave a Reply
You must be logged in to post a comment.