Cricut Design Space Project Idea
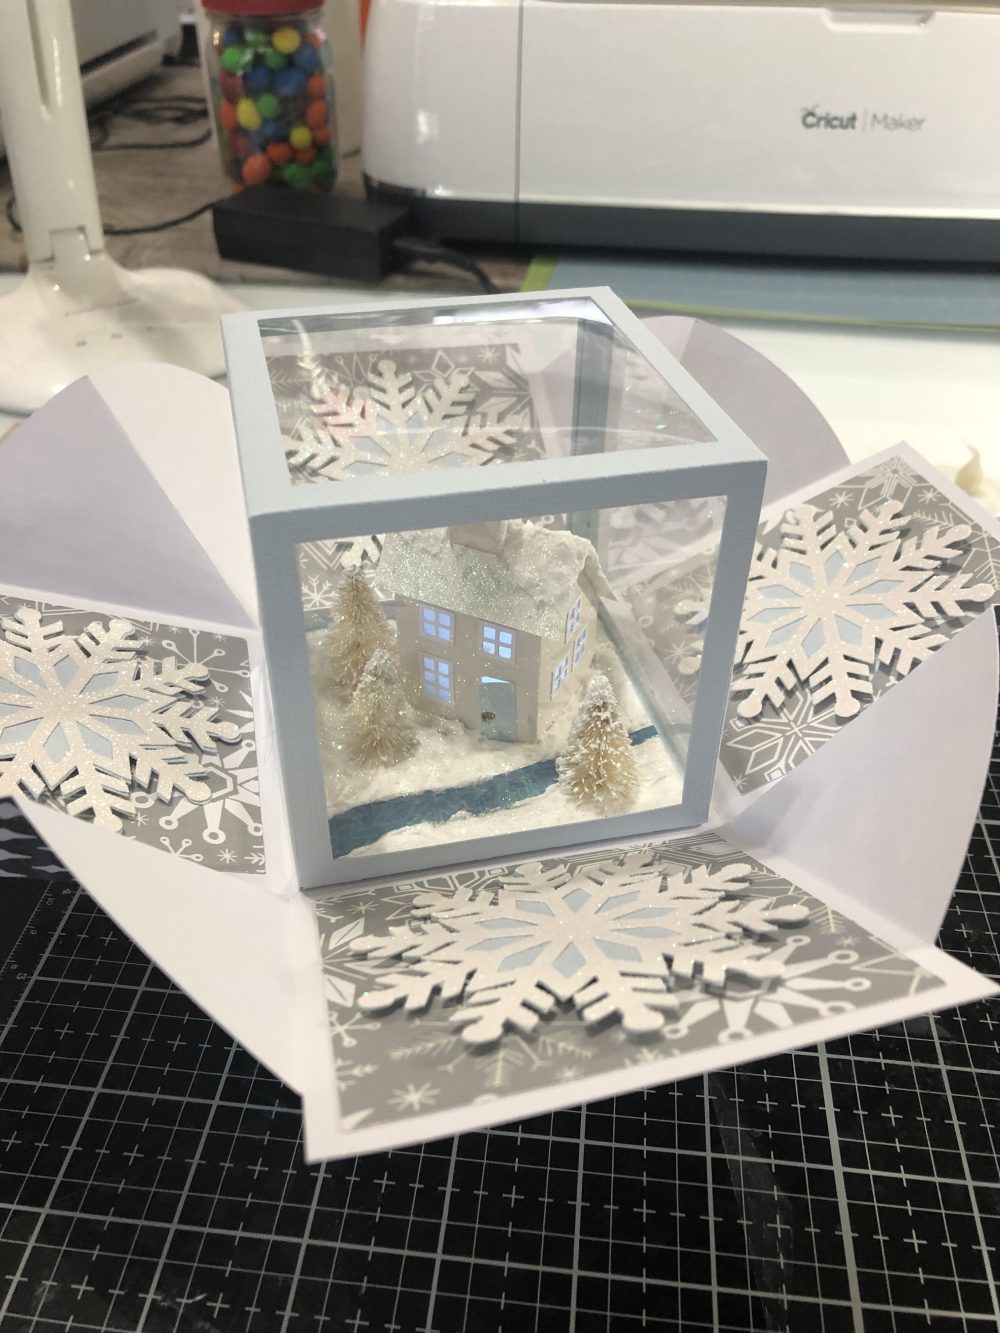
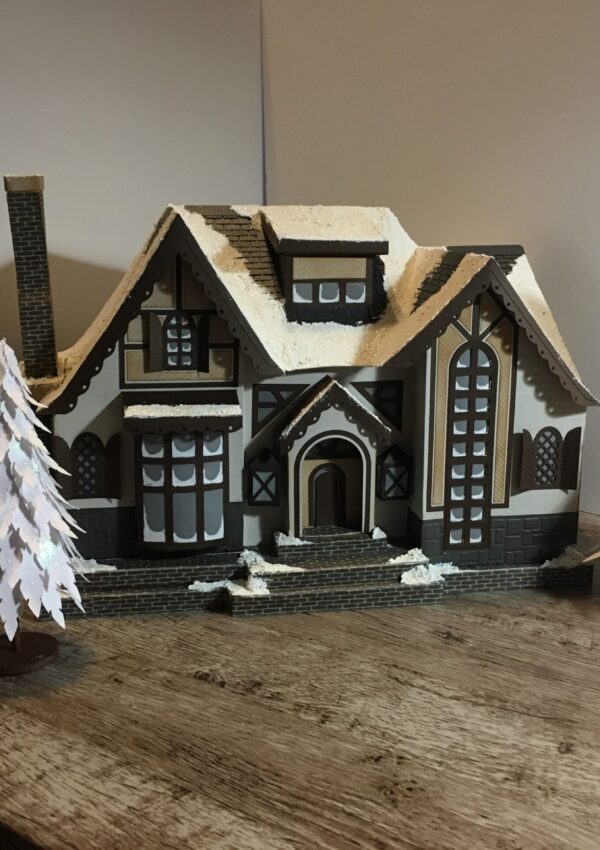
I was recently inspired by a similar project posted in a Facebook Group that I belong to and set out to create my own mini house in a box. Enjoy the video and information. Hope you are inspired to give this a try!
Materials . . .
- Cricut White Kraft Board
- Cricut Foil Embossed paper
- Cricut Patterned Paper – Nordic Christmas
- Cricut Glitter Cardstock
- AC Cardstock – Rain
- Clear Acetate
- Scotch Quick Dry Tacky Glue
- Mini Bottle Trees
- Aleene’s Glitter Snow
- Glossy Accents
- Remote Control Light
Cricut Design Space: Merry Christmas Exploding Box #MEOE748
Mini House: 3D Cuts – Tea Light Village Classic New England Buildings
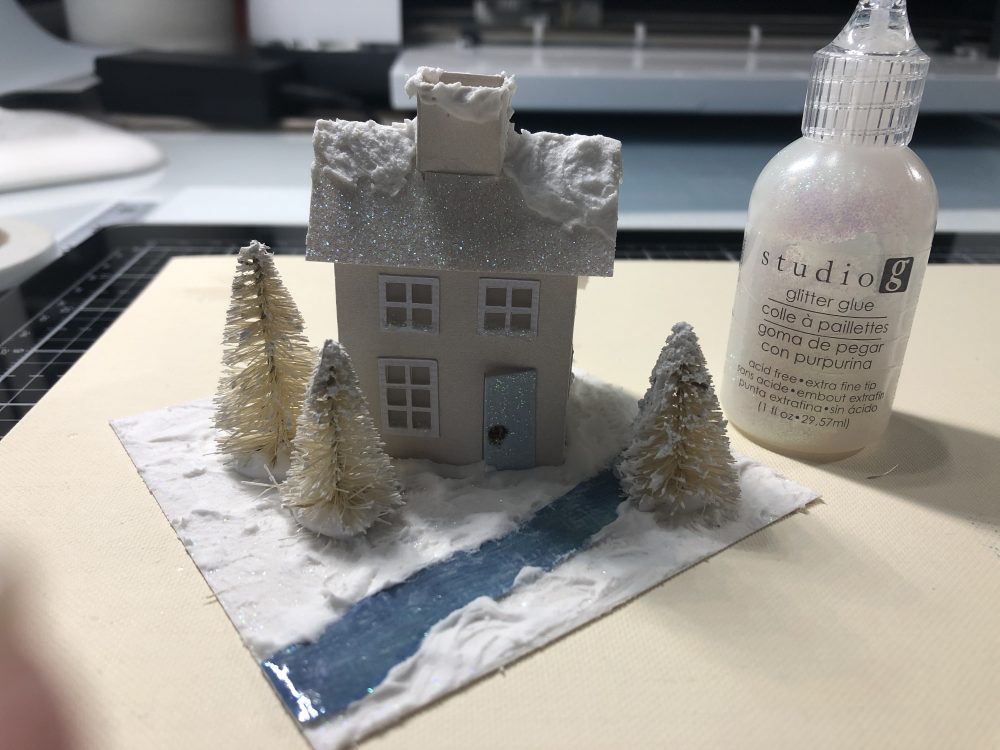
Optional supply: either extra glitter to add to the glitter snow (I personally don’t think it’s near glittery enough lol) – or – Studio G glitter glue to brush over the top of the glitter snow when it’s dry.
Notes . . .
You will need to size the mini house down to a height of 2.5″ to fit inside the box.
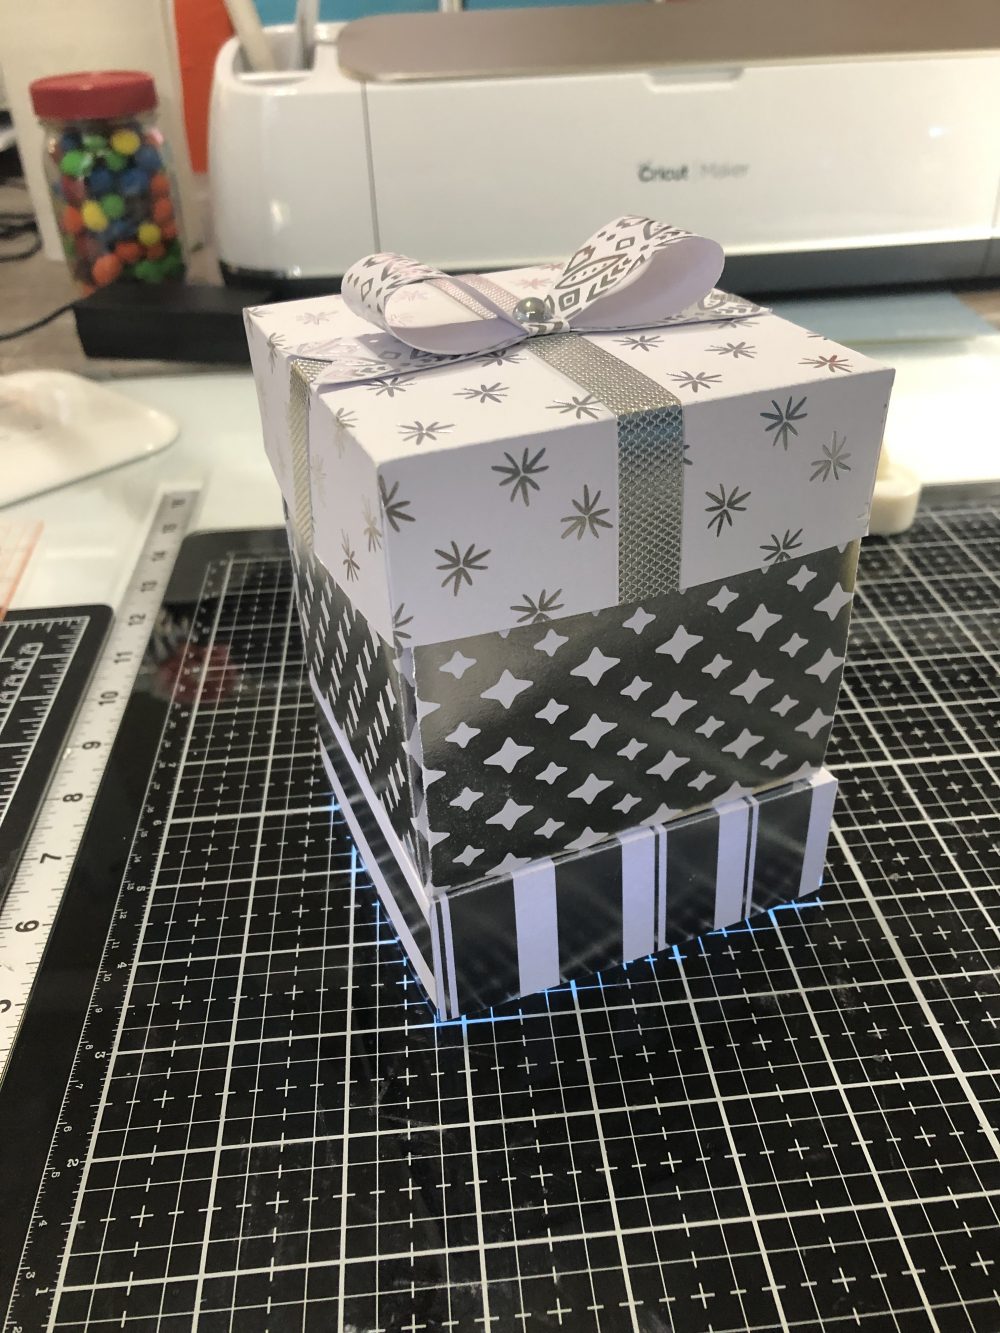
VIP: if you want to use any kind of light as I’ve done, you will need to cut a 1/2″ hole in the base, box and base support as seen below.
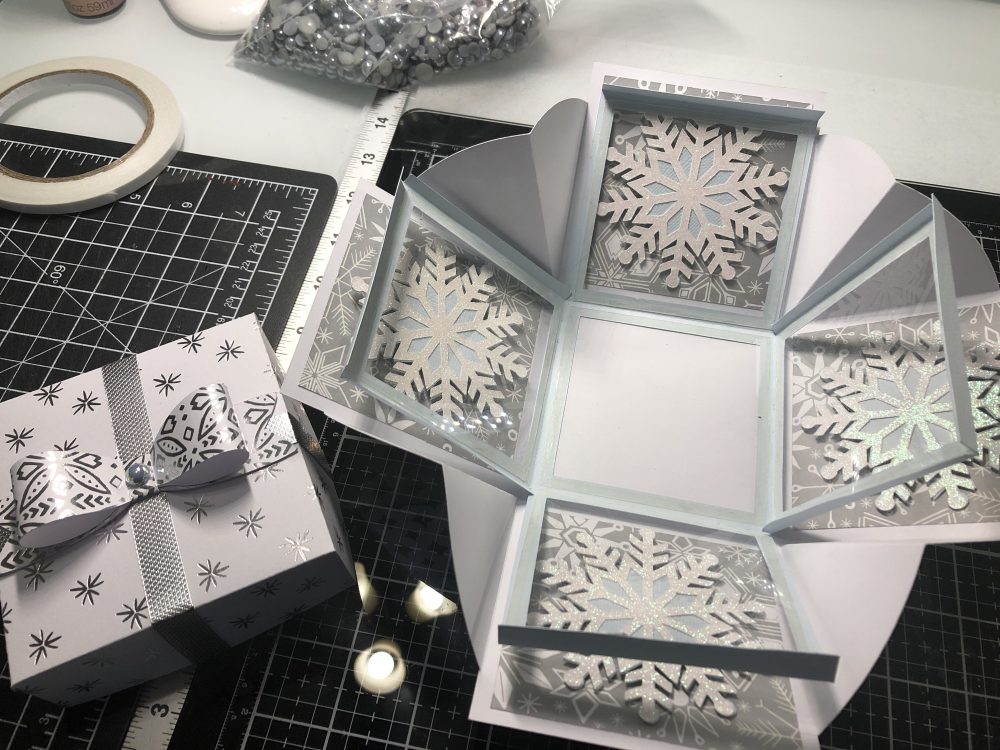
I simply followed the Cricut directions for the explosion box. Cut an extra bottom square from the kraft board for support as the glitter snow will warp when you apply it to the first bottom square.
The river was created by cutting the shape from white cardstock then inking it with distressing ink. Apply a single coat of glossy accents and set aside to dry. Once it’s dry you can glue it to the base square and apply the glitter snow.
TIP: use the glitter snow to attach the house to the base!
The bottom base that hides the light is simply a second box top constructed!
Have fun . . . .



Leave a Reply
You must be logged in to post a comment.