Last I left off, I had just added the second floor and broke my light wiring lol. Still have not fixed that but . . . did get the third floor, attic space on! Lots of progress since then! Had some furniture from Petite Properties arrive, built those, roof sheets arrived, painted and added those as well as the final roof trim. Some pitfalls along the way but all in all not to bad.
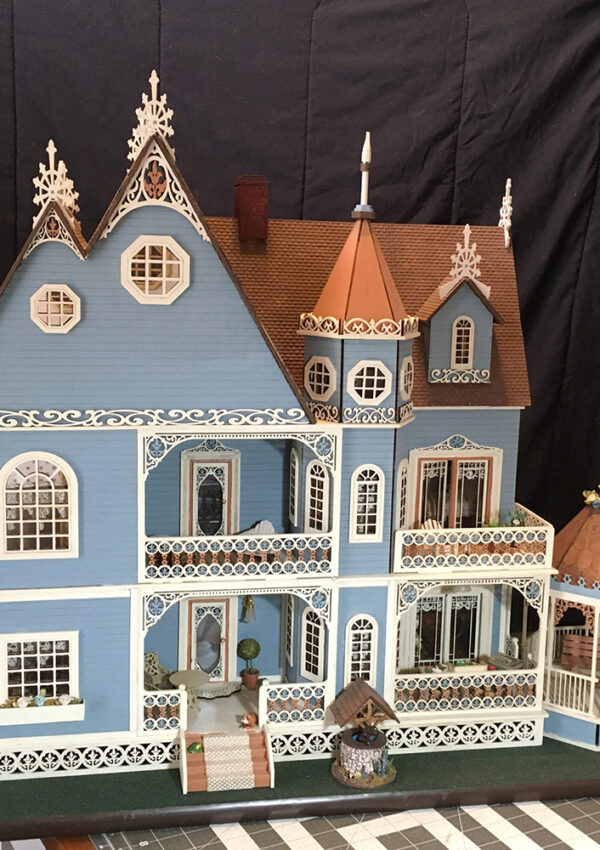
Just a few trim boards need to be added to the outside and then it will be done!
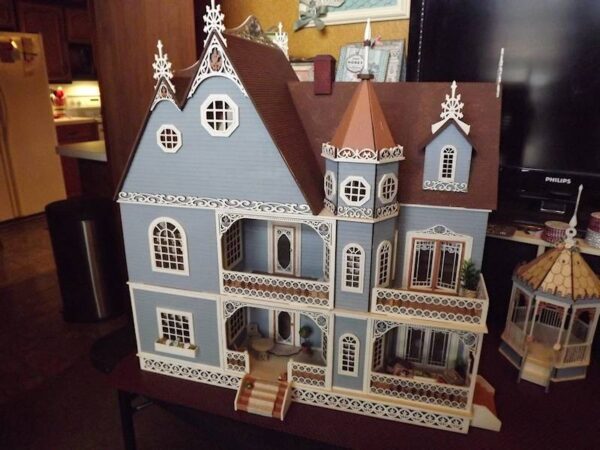
The roof was made using plastic sheets that are pre-formed into tiny shingles. I love the look and a single coat of paint left various darks and lights all over the roof. I had intended to add a second coat of paint but found that I liked the look of the varied color. A single coat of matte spray sealer was added to the entire roof. Time will tell how well the glue will hold the roof on and how well the paint will hold up on the plastic!
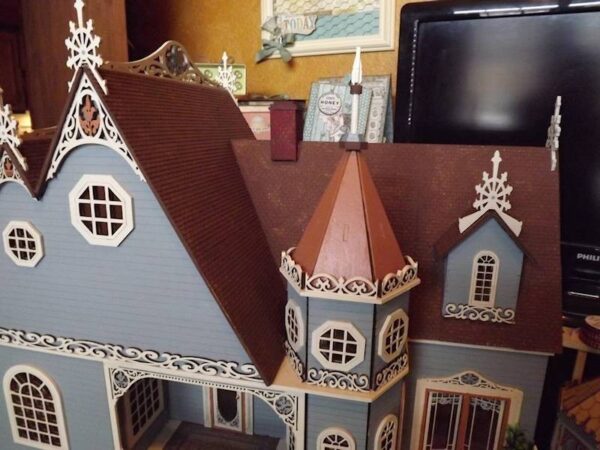
Here’s a look at the Petite Properties furniture I ordered . . . these little cuties are made from mount board and easy to put together with just glue. They offer furniture in several scales as well as darling little houses you can build.
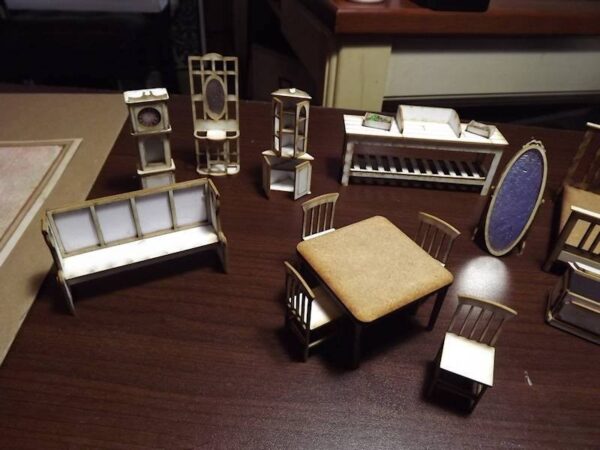
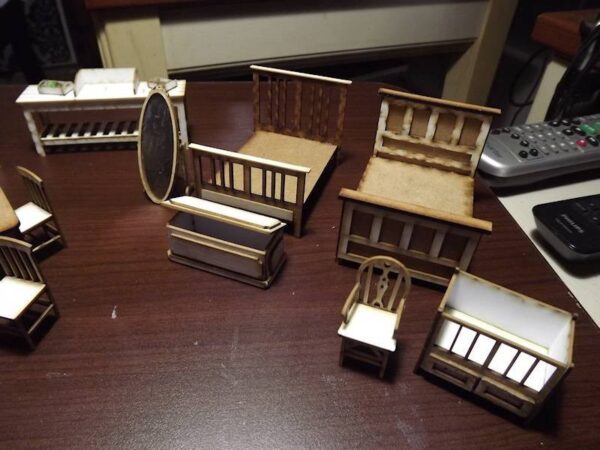
And here’s a few of the pieces finished . . . Potting Bench, Dinning Table and Chairs.
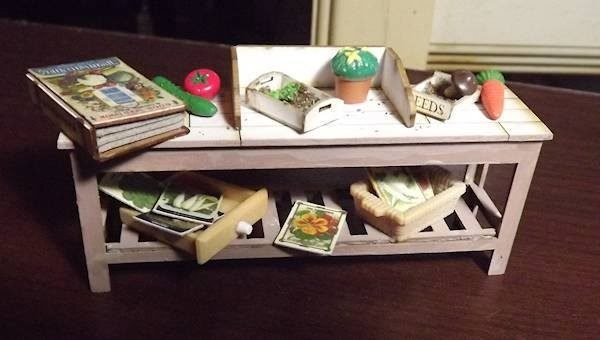
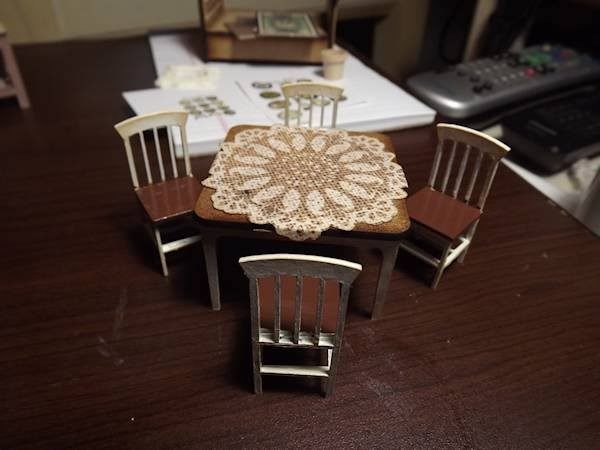
Just paint with Acrylic paints and seal with a clear matte or gloss spray sealer to finish.
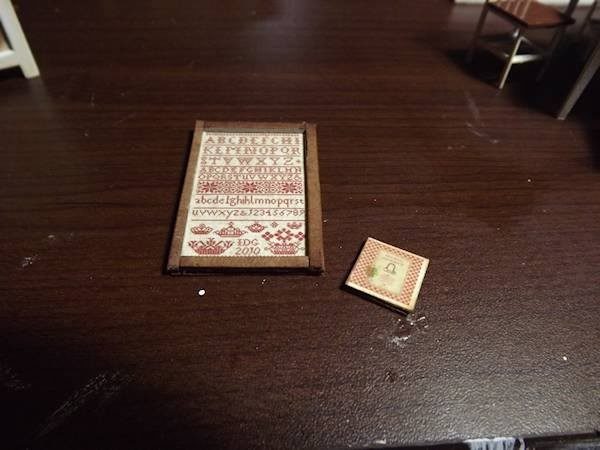
Remember I mentioned the printables you could find online in an earlier post? Here’s a few things made with some I found and printed . . .
Framed Cross Stitch piece and little cookbook. The cookbook was just printed and wrapped around two pieces of chipboard cut to size then glued shut and aged.
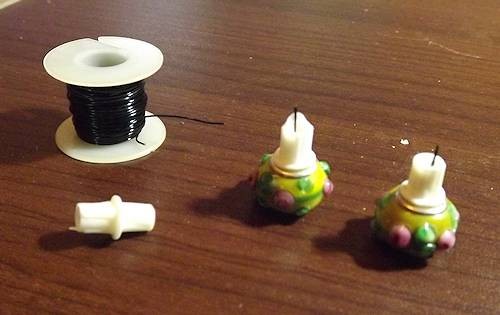
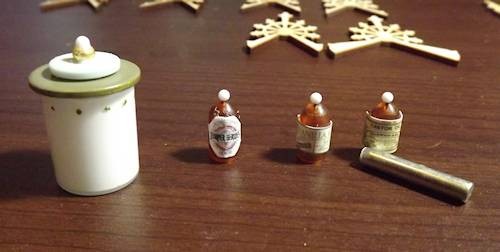
Not a printable but fun DIY project . . . I’ve used large hole beads, black jewelry wire and those little white plastic pegs that go in a set of adjustable bookshelves . . you know, they hold the shelf up! Put them all together and you have a couple of pretty candles!!
Little kitchen labels were printed and applied to rubber tips that were on another set of shelf holder pegs. Ball head pin pushed in top as a stopper. The diaper pail was made with one of those little clear caps that go on bottles with press and spray tops. Add two buttons, a bead and ball head pin to create the lid.
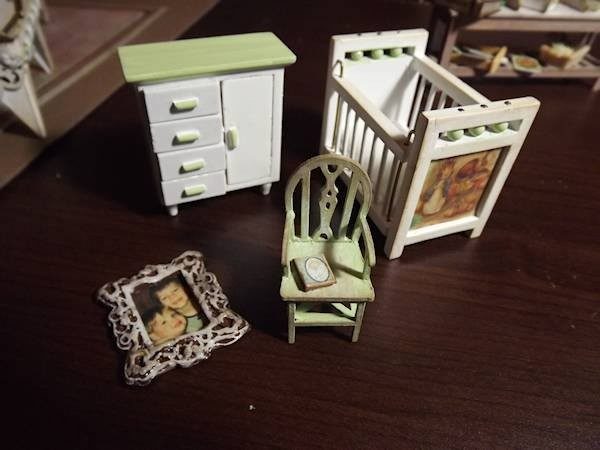
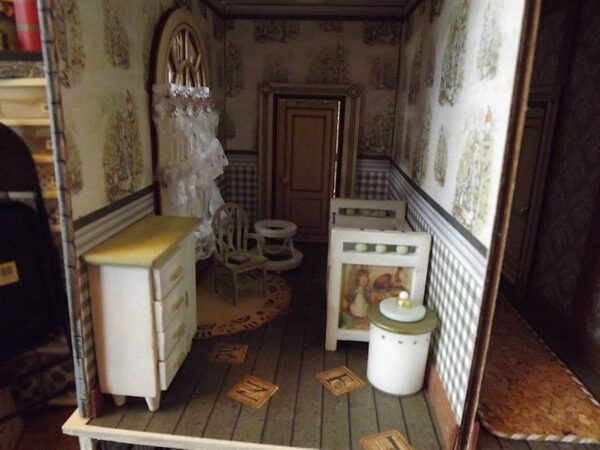
And here’s a set of furniture for a Nursery I ordered and dressed up a bit with paint and a Petter Rabbit image printable. The little chair is another Petite Properties piece. A printable baby book sits on the chair. The framed pic is of my boys and the frame was created with hot glue and a mold.
Back to the house . . .
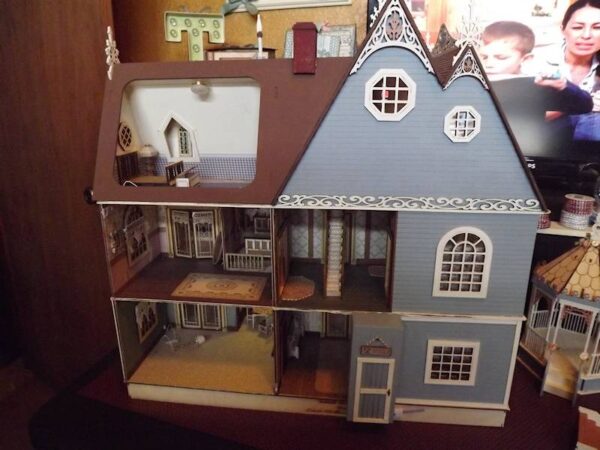
Here’s a look at the inside of the rooms so far. I managed to fix my lights somewhat, and covered it all up with the addition of the Tool Shed on the back.
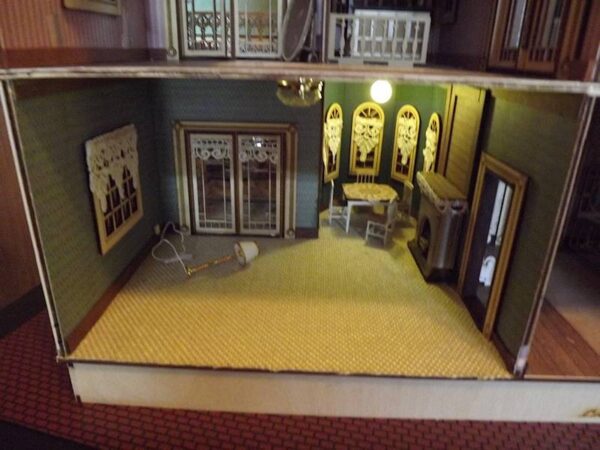
Master Bedroom . . . will add some lights and make a sitting room in the larger area I think? Needed room to put dressing table and upright dresser as well so switched the bed to the back of the room in the alcove.
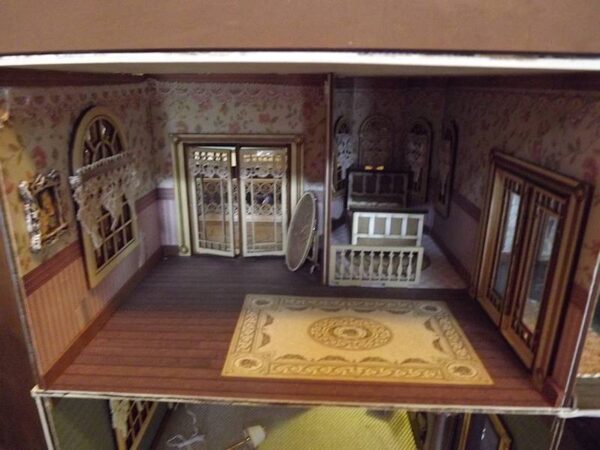
Waiting on a couch and chair to arrive and added a little floor lamp.
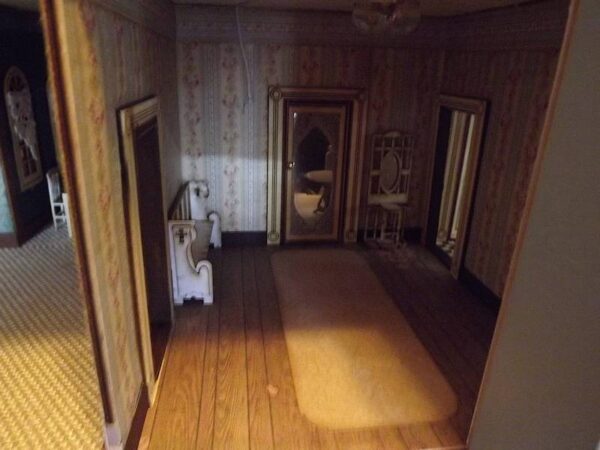
Entry – Need to cover the rewiring cord. Added a church pew and hall tree, still need to paint these. Also have a circular staircase to build and add! Lots of glueing lol.
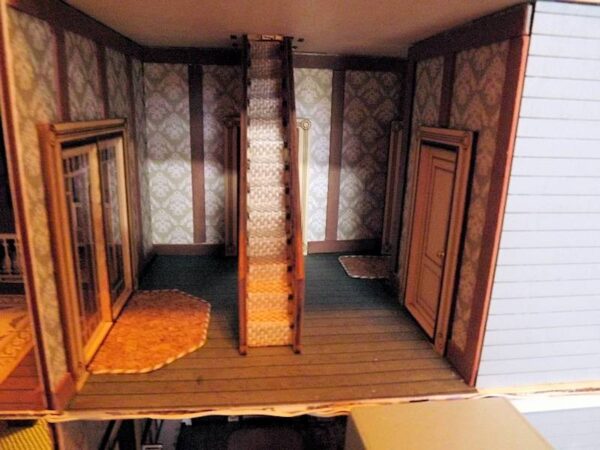
Second floor sitting hall area
Attic teen girls room. Made a lamp out of beads (in the corner) and need to paint and dress furniture. I’ve added seperate wiring up here and will use a plug in strip if I can hide it?
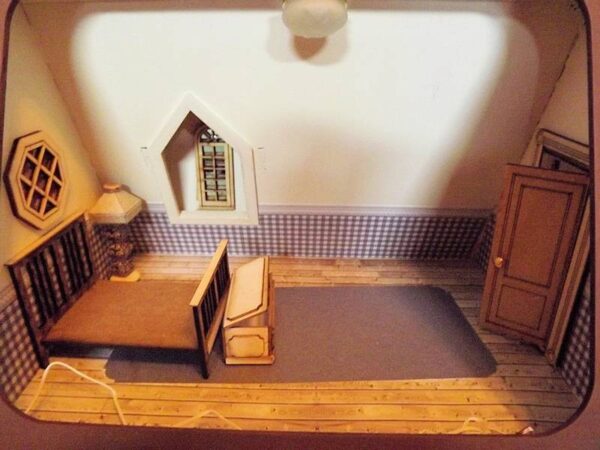
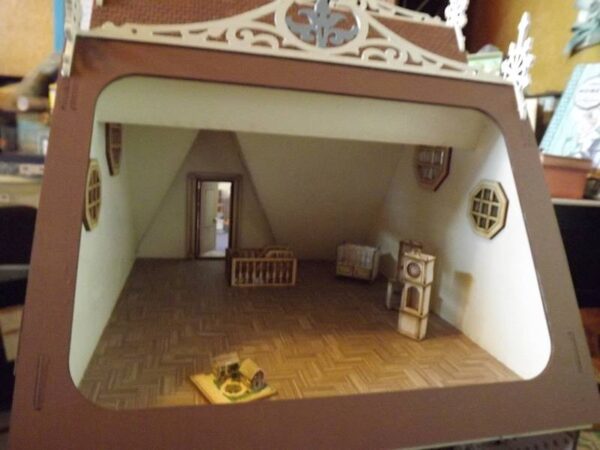
Large attic area . . . debating on what to do with this room. Thinking might section it off for a spare bed or boys room and rec room?
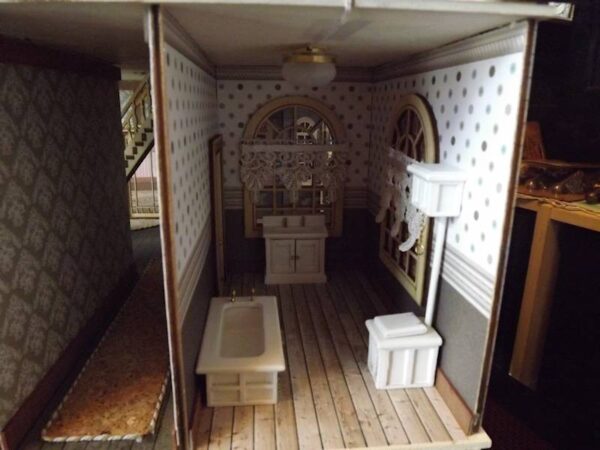
Moved the bathroom to it’s own room on second floor.
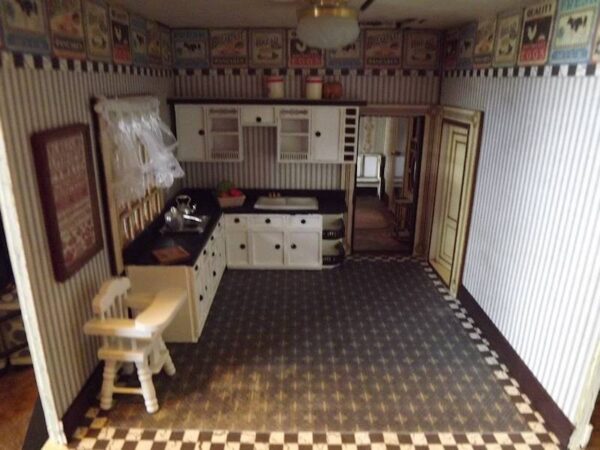
Few little touches added to the kitchen and upper cabinets added. They are still to wide so not sure if I will keep that set in this house or not?
The most complete room is the Nursery.
And that’s it for now!
While waiting for this and that to arrive and working out the lighting issues, I’ve done a LOT of looking at Victorian dollhouses on Pintrest. Oh my, some are just wonderful and I’ve discovered I love the ones with all the pretty trim and fret work inside. So I’m now thinking . .. I just might do some rooms over, a little fancier and . . . can fix the lighting along the way.
From here on out, it will just be updates in the form of room progression as well as an update on the Gazebo AND . . . I picked up a little Guest House that I will be building soon! Last but not least, the house will be moved to a more permanent spot in our house and I’ll be able to start on the outside landscaping.
Thanks for following along this journey with me and I hope you will check back often to see the updates!



Leave a Reply
You must be logged in to post a comment.