When I last left off, the tower shell and front door section had been built. I’ve determined that it would be easier to finish the inside of the entry area before attaching it to the house so I’ll be creating the bead board for the walls next. Search on Pinterest under: tall bead board entry for tons of inspiration!
You have probably seen me make bead board from chipboard before but just in case . . . I’m using a medium weight chipboard. With see-thru ruler and craft knife, begin the first cut 1/2″ from the left edge of the chipboard. Make 2-3 slices thru the chipboard but DON’T cut all the way through it. Move the ruler 1/8″ over, using the first cut line as a guide and make some more slices. Move the ruler 1/2″ and slice then 1/8″ again and continue to the end of the board.
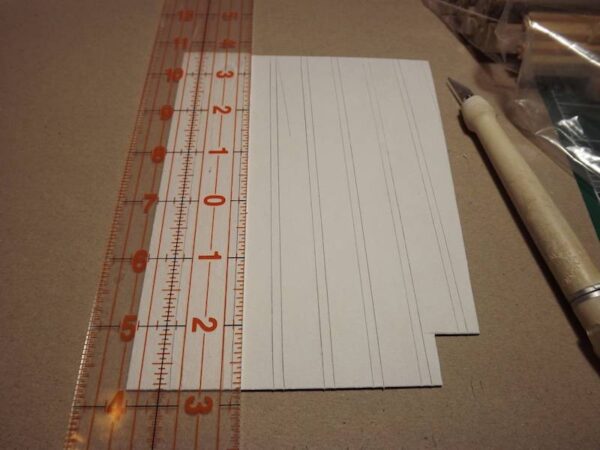
Use the knife to pick up and remove the chipboard top layer in each of the channels. If the channel is not deep enough, score them again and remove another layer of the chipboard.
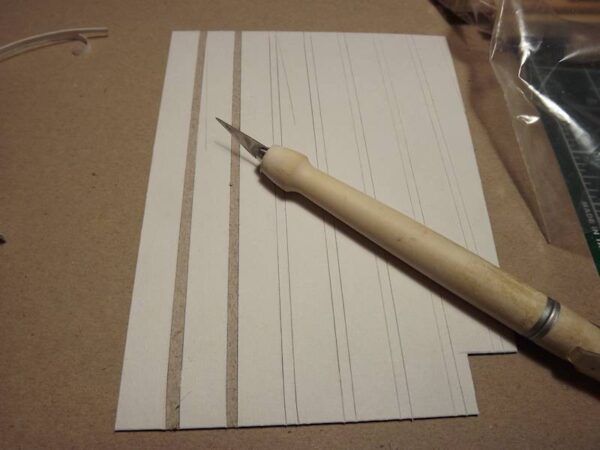
Now paint the entire piece with two good coats of white paint and let dry. Paint any edges that might show.
Cut two strips of chipboard that are 1/2″ x 12″ and two strips 7/8″ x 12″ for the bottom trim. The bottom trim will have to go around the steps so you have the option of making miter cuts on this area or square it off (the easy way). Since this area won’t be that visible, I’m going to go the easy way and just square it all off.
Paint the strips with two good coats of white before you cut them. You will want to paint at least one edge as well.
Using one piece of the wider trim, lay it in place on the wall where the first step would be. Glue the other wider trim in place and trim off the excess on the left end. Add a piece of the narrower trim on top and trim off the excess. Next add the piece that goes on the far right side of the wall and place the third piece for a test fit. Cut, glue and trim off the excess. Add the narrower piece of trim to the far right side as well. Next add the middle piece of wider trim but first, you will need to notch it to follow the drop of the narrower piece. See finished trim below . . .
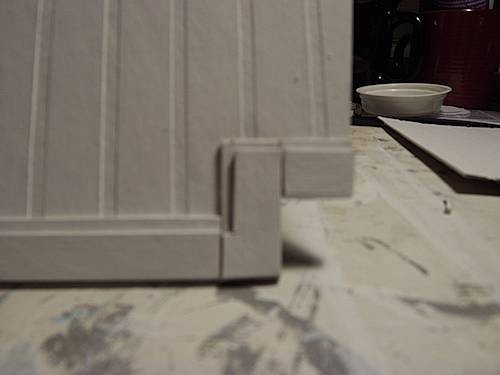
Now fill any gaps with glue, let dry, and touch up these areas and any raw edges with paint. When that is completely dry, use your craft knife and a ruler to simulate mitered corners as seen below. Note: the second wall, I ran the narrower trim across the entire length at the bottom and think it works better that way.
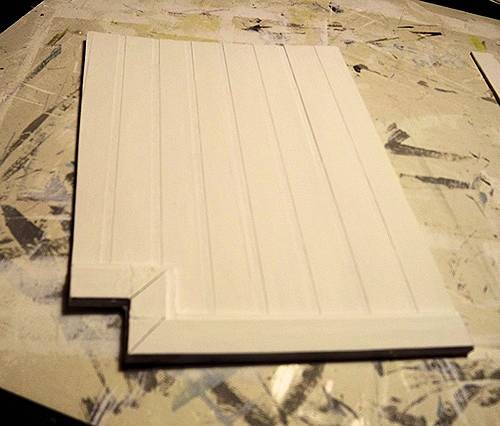
Now add the same trim to the tops of the walls, first the wider trim, then the narrower trim on top. You can leave the trim like this or add a round dowel on top to look more like real trim. I suggest adding the dowel trim after you have attached the bead board walls to the entry walls. That will prevent the dowel from rolling and causing gaps. So add the dowel and then a bead of glue between dowel and the board, just like you would caulk a wall. Paint and let dry.
And here’s the finished wall . . .

Everyone must wipe their feet before they enter my Lighthouse so I had to make a rug. Chipboard backing with bakers twine glued on top.
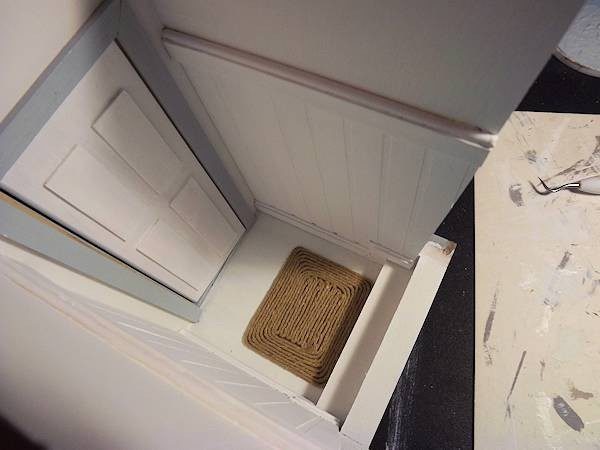
Now I’m off to shop for some decorations! Will add a final photo when it’s all finished so be sure to check back.
Here’s the entry with the final decorations . . .
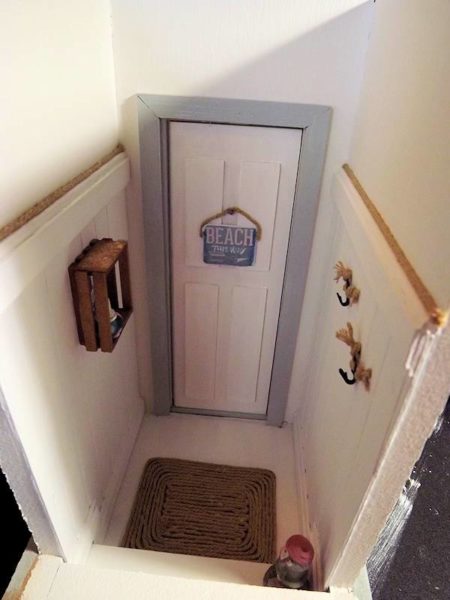

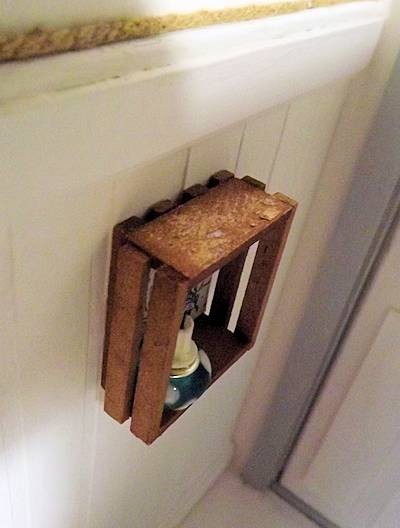
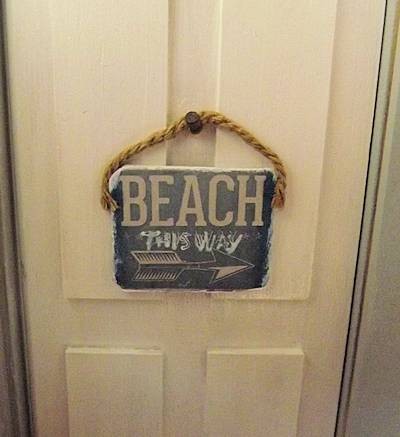
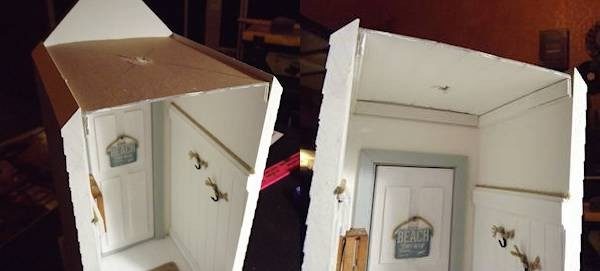
Lastly, I’ve decided to add a light in the entry because it will most likely be dark once attached to the house. Without the light that I want here now, I’ve added a ceiling to hold the light and where the wires can be hidden above the ceiling. Here’s a look at the set up. Once I have the light, the ceiling will be attached to the molding below. Hard to tell from the photo but the ceiling is bead board, the same as that on the walls below.
There will also be more posts in this category as I progress with the rest of the Lighthouse so keep watching!!



Leave a Reply
You must be logged in to post a comment.