So today I’ll be working on the Beacon Housing part of the Lighthouse. At this point I need to make a final choice of my accent colors. The walls on the beacon housing will be white, the trim will be grey to match the front door trim and the railing and other trim will be the same color as the roof . . . blue or red?
Instructions say to paint all the pieces before assembly so I’ll be doing that next however . . . I need to be very careful and not get any paint on the sides of the walls or in any of the channels or I have the feeling things won’t go together easily, like I ran into on the walls of the tower! For this reason, I’m stopping the paint on the walls about 1/16″ from the left and right sides, the same on the top of the larger wall pieces and on the bottom of the smaller wall pieces as this is where the walls attach to the channels.
Here’s what a single wall will look like
![]()
Now the instructions tell you to build the entire unit around a 7″ bowl and use string to hold it in place. Tried it …. ugh way more trouble than it was worth! I found it easier to build one wall at a time, connecting it to the next wall.
One issue I found was that the “sills” were so long that they kept the walls from going all the way into the channels. It was stated that the plexiglass had to float in the channels because it expands with heat from the light. This could be the reason for making the channels a specific length. That’s great but if so, they should have made the walls wider.
Here’s the completed unit, sitting to dry as I’m not going to attempt to move it at all till I’m very sure it’s dry!
![]()
Next up would be the Beacon stand to hold the light but . . . I’m going on to building the rails first and get them painted so they can dry, then will come back to the beacon stand.
The rails took some time but, it was nice having the full size pattern in the instructions that help you place, and keep straight, all the spindles in the railing! Very helpful.
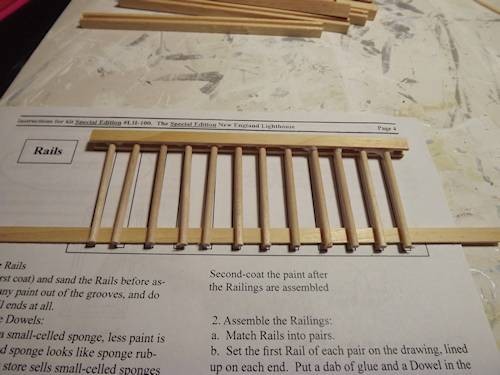
With the rails finished, I’ll move on to the beacon housing and stand. This will all be painted white after it’s assembled and because I don’t want the finished light area to look like this, I’ll be adding chipboard, painted white, around the uprights section to enclose it. The roof is left so that it can be removed and you can change the bulb as needed.
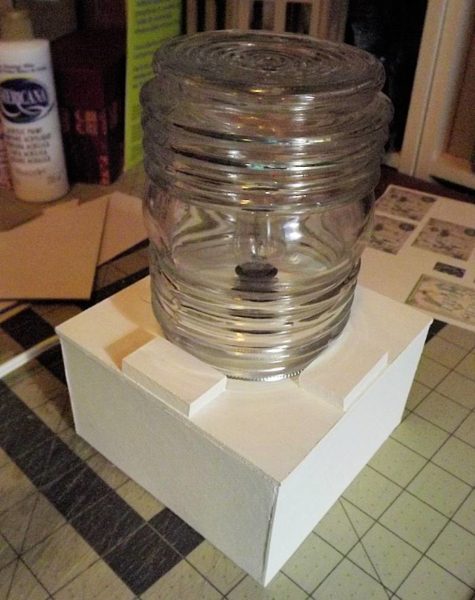
Next, before attaching any of the top units, I’ll need to do the top flooring. I’m going to use chipboard again to create the flooring for this area. To begin, I’ve pieced together a complete shape of the floor as seen below. This was because the floor is larger than a 12×12 piece of chipboard. I then placed the beacon housing on top and traced around it, on the inside, with a pencil.
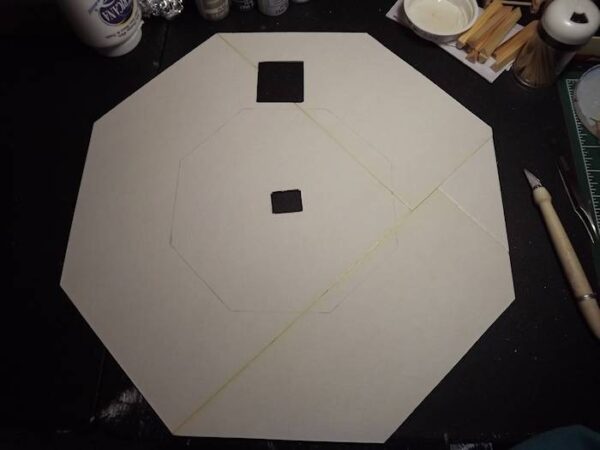
I’ll create the floor boards only on the outside of the drawn line, leaving the inner floor plain as it won’t show much at all.
Begin by scoring a line from one outside corner to the inside corner of the drawn line. Use some type of tool to make a depression in the scored line. Repeat around the diameter of the floor.
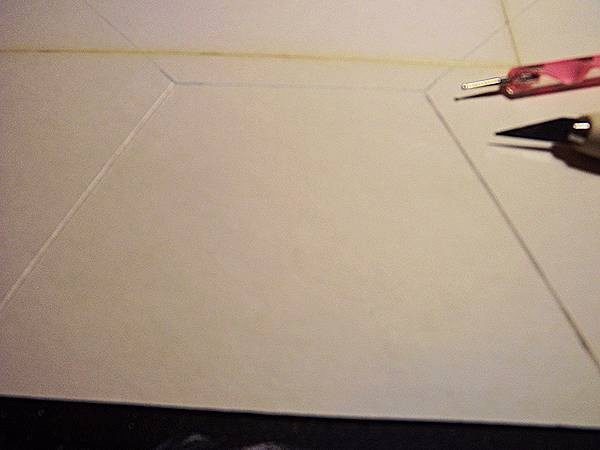
Now, working with one section at a time, measure 1/2″ from the outside edge of the chipboard and score two lines about 1/32″ apart from one previous scored line, across to the next line and like creating beadboard, remove the top layer of the chipboard.
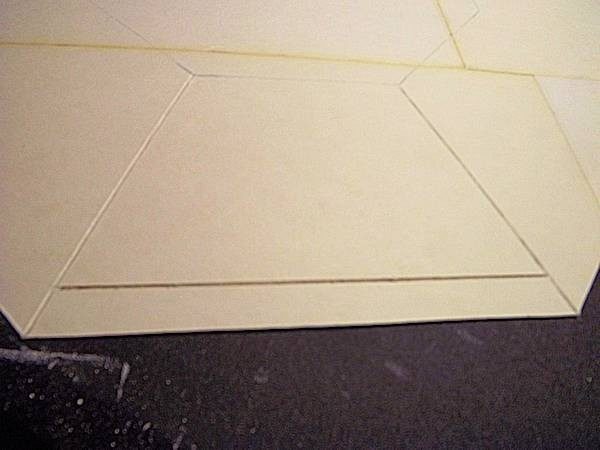
Repeat for the entire section as seen below, creating 6 scored channels.
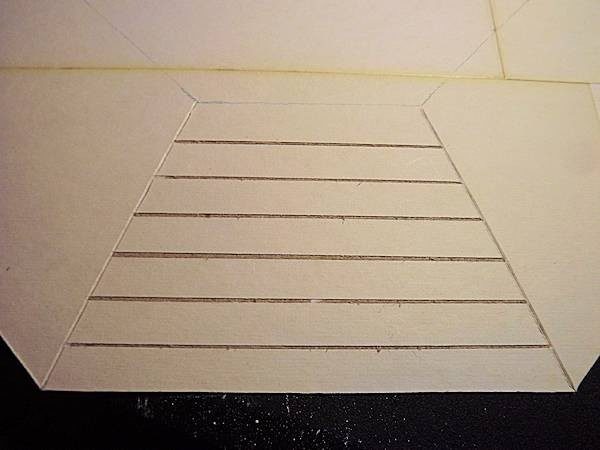
Repeat for all eight sections.
I’ve painted the entire piece with a coat of white paint then brushed the piece with a watered down medium grey and then dove grey and finally a very faint brush on of white.
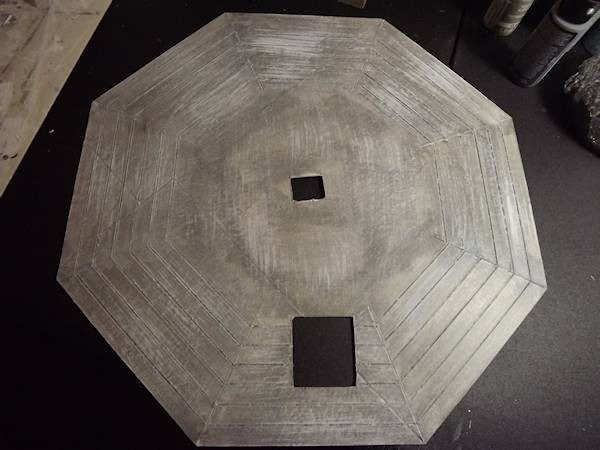
The flooring gets attached to the roof area, the beacon stand gets attached to the middle with the cord running through the center opening, and the beacon housing gets attached to the floor around the beacon.
![]()
I’ve used a dark grey for the roof on top and over the door and am leaving the beacon roof unattached so that the light bulb can be changed when needed.
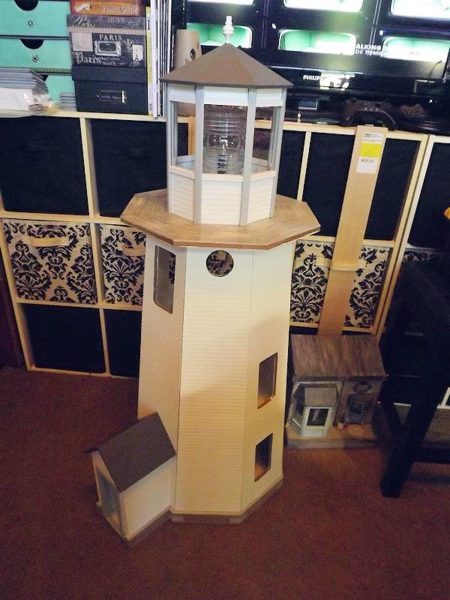
Next I’ll move on to the walkway railings and all of the trim!
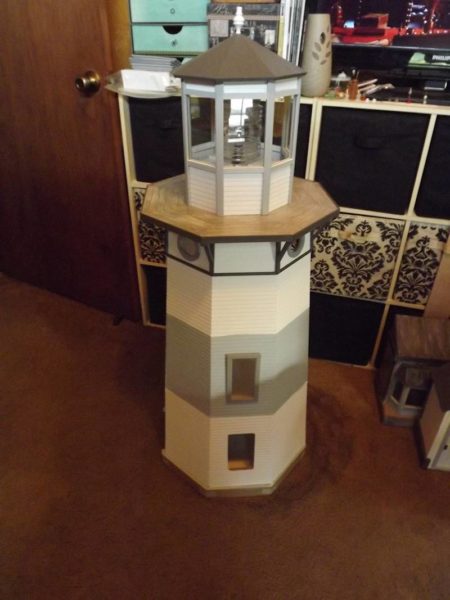
I will say that at the price RGT charges for kits, some of the trim and the railings could and should have been pre-built. There isn’t a lot of extra trim pieces and if you mess up, you could find yourself short on trim. So be very careful!!!
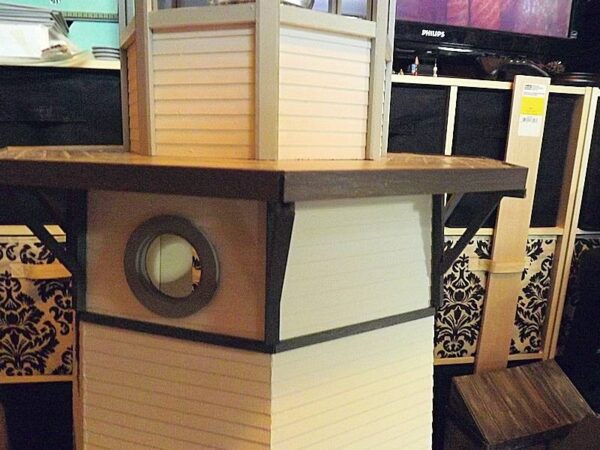
Railings . . . well . . . lol . . . these were NOT fun. The channels have straight edges/ends and I found it impossible to connect all the railings without putting an angle cut on one end. Not sure why?
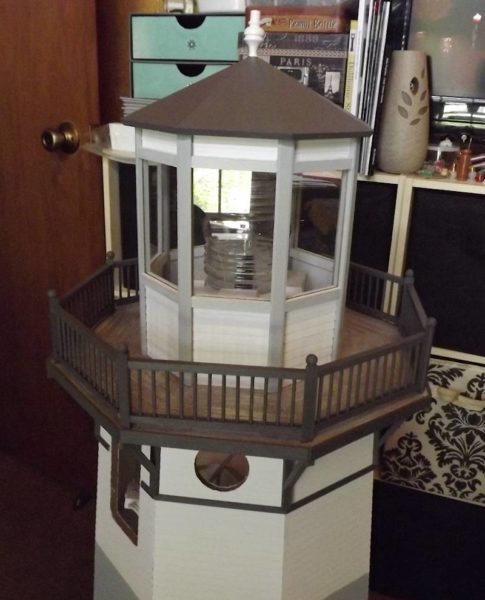
Next, the final bands of color on the tower. These I created from 1/4″ by 12″ strips of chipboard cut to fit each side wall.
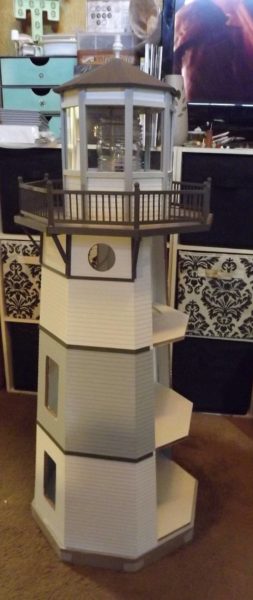
At this point the only thing left to do is to paint the bottom support a dark grey and add side trim at the opening areas, after lights have been run.
I hope these posts have given you some insight into building the Lighthouse and maybe some ideas for finishing. Stay tuned for more posts as I begin to work on the inside areas.




Leave a Reply
You must be logged in to post a comment.