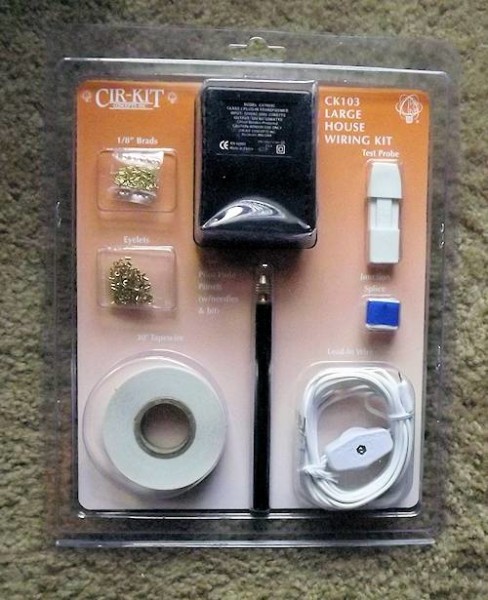
Woohoooo . . . I got a surprise in the mail last night!!! My lighting kit arrived earlier than expected!!! This means I’ll be able to proceed on the house and start adding the tape wire to the walls.
The kit is from Cir-Kit who make all types of Dollhouse lighting kits as well as light fixtures. Visit their site and check it all out when you get a chance.
The kit shown below – Wiring Kits
Tons of light fixtures to choose from
Here’s a nice page of tips for wiring your house!
I may have mentioned this before but here it is again, since I’m now starting the wiring process . . . here’s a great video to show you how the wiring process goes. Once I’ve started mine, I’ll make a new post
So several days later, the wiring is finished on the first floor, I’ve left a lead wire for the second floor and the rooms have been finished with flooring and wallpaper or paint! My suggestions and thoughts . . .
- I strongly suggest that you make a plan and plot out where you will have all lights before you begin to run the tape! If you make a mistake and forget a light, you can always add a tape run but not thinking ahead can make that difficult if you don’t have room to add the run or can cause you to have to make two tape run connections instead of one. And let me say . . . depending on the type of wood your house is made from, this can wear your hands out!!! Ultimately, you want as few tape runs as possible, for the number of lights you will be using. The fewer connections you have to make the better.
- With a house like mine, with many rooms, it can be a job running the tape wire AFTER you have glued in the walls, doors and windows! On my house, the doors are slid into place from the bottom of the wall upwards. This made it a bit difficult to run the wire from room to room, not being able to run it through a doorway. Instead, I had to run the tape around the outside edge of a room wall to enter the next room.
- MAKE SURE when drilling the holes for the connector brads/eyelets, that you do NOT get the hole to large!!! Take your time! If the hole is to large, you won’t get a good connection and will have to start over! I ran into this situation a couple times lol. It does get easier to judge how deep to make the holes once you have completed a couple of tape runs though.
- I forgot about connecting to the second floor and by the time I remembered, I couldn’t connect a wire in the kitchen where the stair opening to the second floor was! You can see in the living room photo below where I’ve added the lead wire for the second floor, on the left side wall. I’m not sure how I will wire the second floor yet but will update this post when I get to that point. My next step will be to add the second floor base on top of the first floor.
- The wiring kit includes a tiny drill bit to be used in the pilot hole punch. Once I put that in a small electric drill, things went a lot smoother! I used a sharpie pen to mark a line on the drill bit showing me how far to drill into the wood and this saved me some headaches along the way.
NOTE: They don’t tell you this on the package but . . . the hole punch needle and drill bit are INSIDE the pilot hole punch tool!
Here are some pics showing my wiring of the first floor . . . Each room will have it’s own ceiling light but those are added later.
Living room – left side wall has tape wire running up the wall and way beyond is a strip of unattached tape wire for the second floor. Sconce on left side of the right side doorway and wall plugs to the left and right of the left side window.
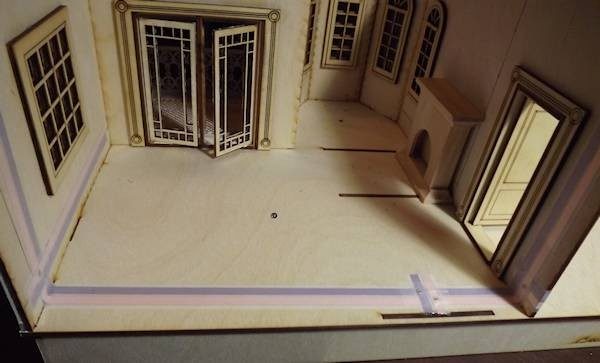
Entry way – sconce by the front door, wall plugs on right of left side doorway, as well as on the right side wall.
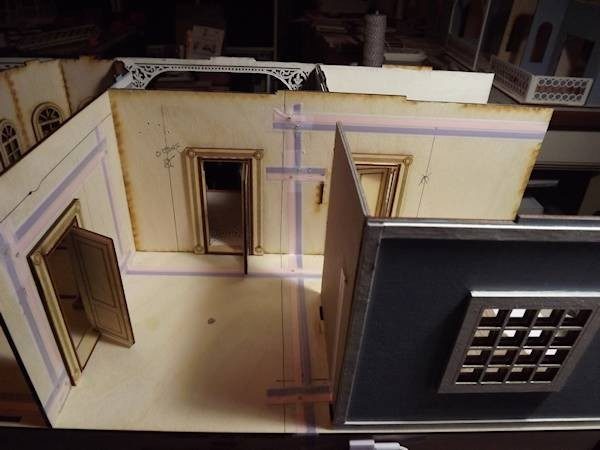
Library – wall plug for a desk lamp under the window.
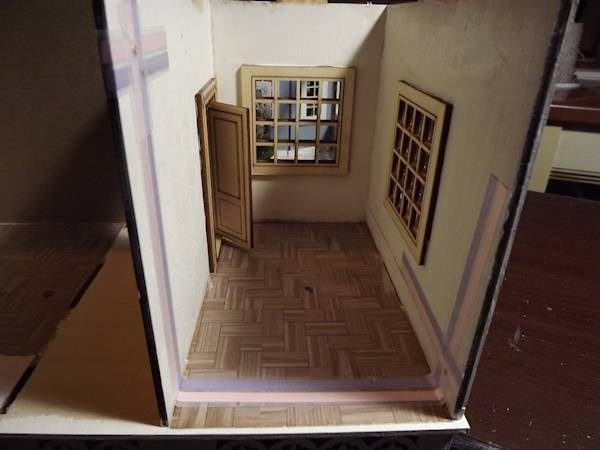
The kitchen is not shown because there will only be a ceiling light in that room.
Again . . . just take your time, try to plan the best you can, ahead of time, and TEST each run after you add it!
My thoughts on wiring a dollhouse . . . would I do it again, YES. I’ts scary at first but once you get started, it becomes easier and isn’t near as difficult as you think it will be the first time you do it. Remember, if you make a mistake or a run doesn’t work, you can remove the run and add a new one or add an additional run if needed. This has to be easier than running round wire through the house and then trying to hide the wires along the way.



Leave a Reply
You must be logged in to post a comment.