After several miniature projects, I’ve found that initial plans for how you will work on a project, rarely pan out. Something doesn’t work out right, or you find that a step has to be finished before you can proceed. This is what happened to me last night.
My original plans were to begin on the inside of the structure before the outside. Unfortunately, the lights I had on hand were to large and I had to order more, and those need to go in before the walls and such. So ok, plan B . . .
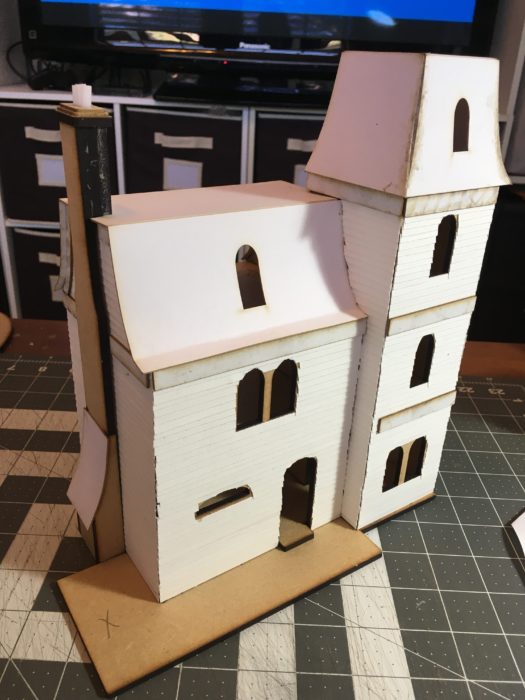
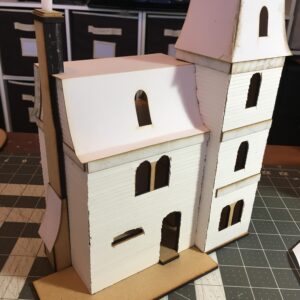
NOTE: I’ve not attached the chimney nor the house to the base. They are simply sitting there for the photo only.
To start, remember I was questioning why the chimney didn’t rest flush on the roof top? A case for always reading through the entire set of instructions . . . its that way because while the house rests on a small base, for the front porch, the chimney bottom doesn’t.
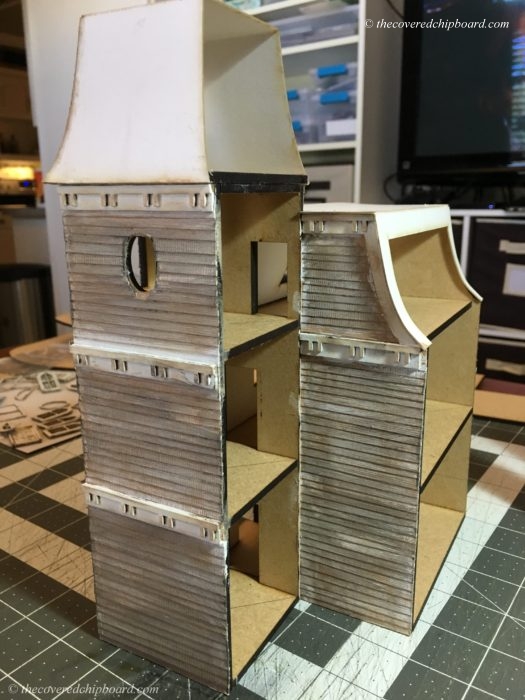
That settled, I decided to make clapboard siding from a textured cardstock cut into small strips. Each strip was 3/16″ wide. To attach the strips I used double sided tape (score-tape). Tape was applied directly onto the structure then the strips were applied.
Peel off the tape backing then start applying cardstock strips at the bottom.
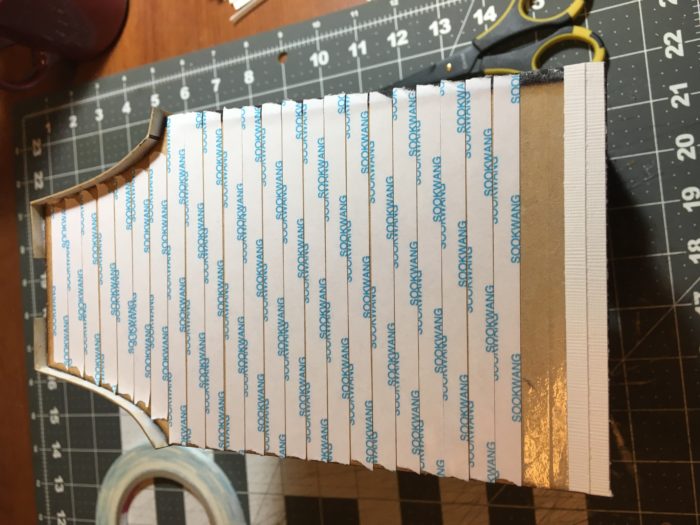
Overlap each strip as you work to create the look of siding. Trim strips as you work. Work on each side, one at a time.
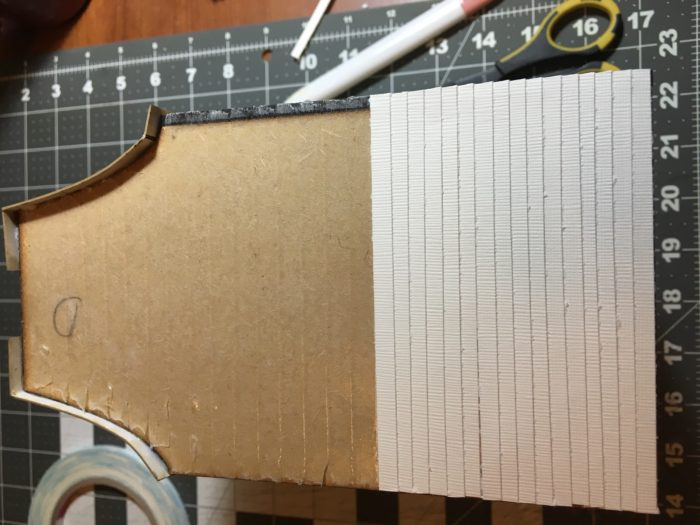
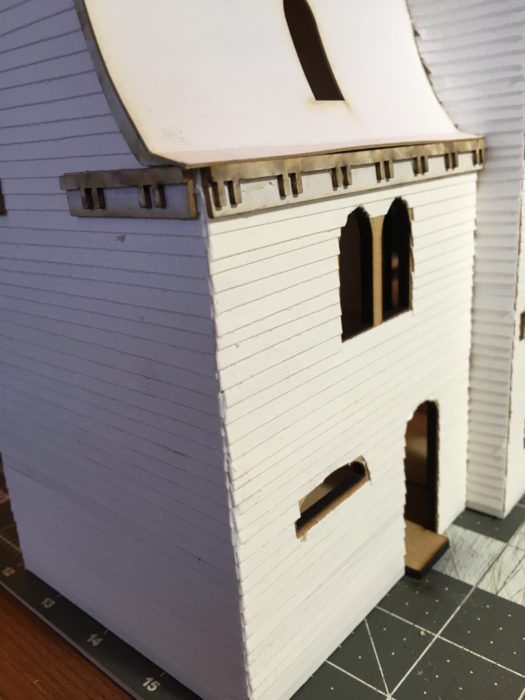
When all of the siding has been attached, glue on the larger trim pieces, then the detailed trim.
Now run a bead of glue down all edges where the cardstock siding meets, to cover any gaps, as seen below.
Now I’ll paint the exterior to look weathered and old.
Paints used: (Acrylics)
- Americana – Fawn
- FolkArt – Medium Gray
- FolkArt – White
First, I covered all of the siding areas with the Fawn color. Next I’ve dry brushed on the White and finally, a watered down dry brush of the Medium Gray color. Just play and keep adding the dry brush colors until you get something you like.
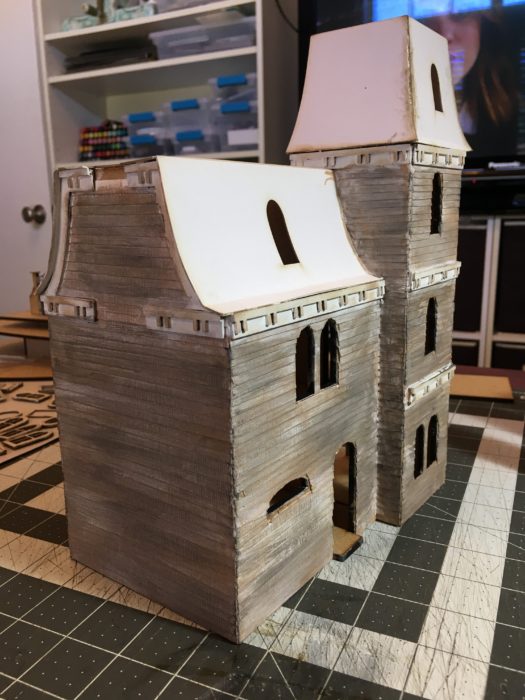
All of the fancy trim was painted white then a very light wash of watered down Fawn was added on top.
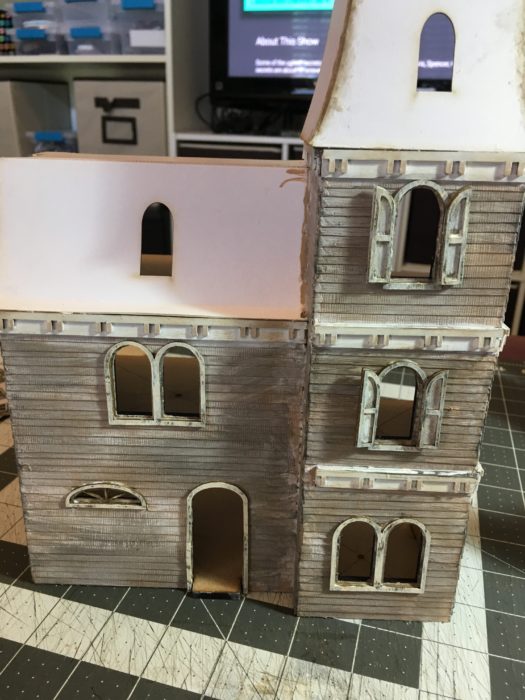
Lastly, I’ve attached all of the outside windows and door frame as seen below.
The instructions would have you move on now to the porch build and base. I’ve built the porch railing but still need to paint it, decide on flooring for the porch floor and finish the chimney.
I’m now waiting on paper clay, roof tiles and lights to arrive before I can do more.
Thanks for stopping by and watch for the next installment. I’ll add a link button when it’s ready.


Leave a Reply
You must be logged in to post a comment.