It’s been a few days since I posted about the Ravens Perch. Time to catch up!
Shingles have arrived and I’m in love with them! Super easy to apply and paint. Petite Properties has various options for shingle style. I’ve chosen the plain roof tiles.
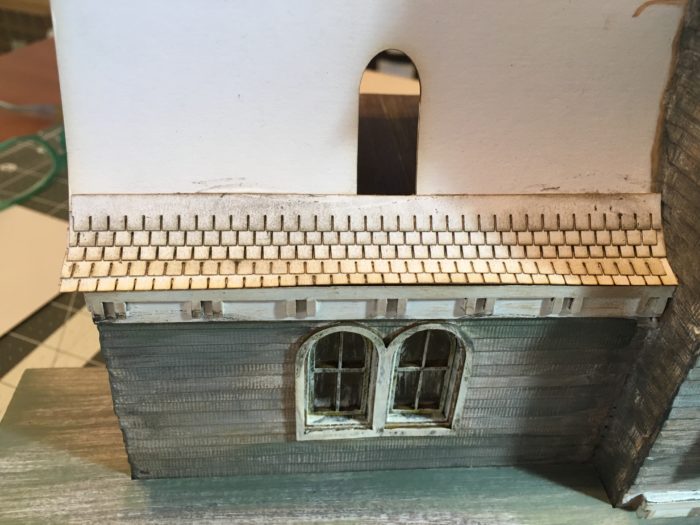
You can see how I’ve applied the roof tiles, one strip at a time, cutting ends as needed to stager the tiles.
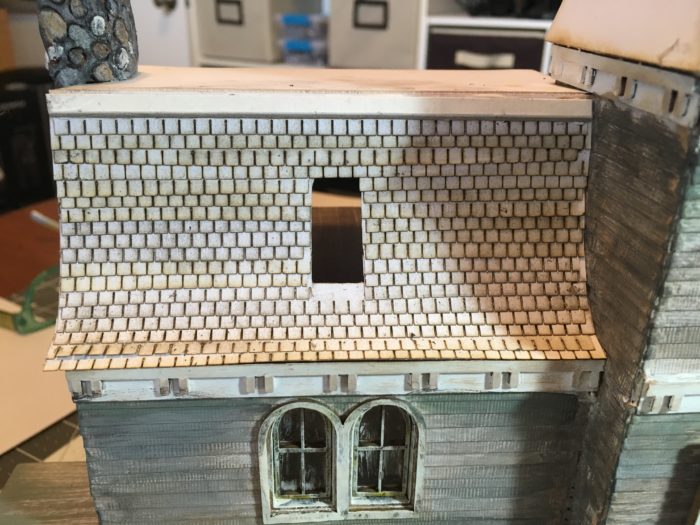
On the corners, I’ve wrapped the strip around to the other side.
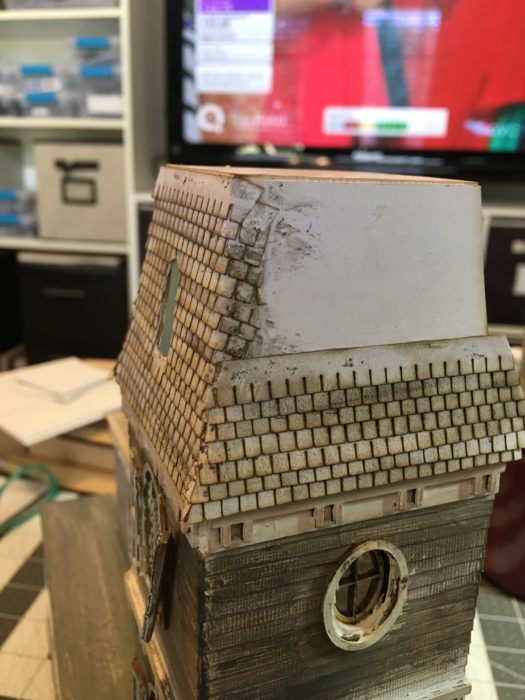
Here’s a look at the finished roof . . .
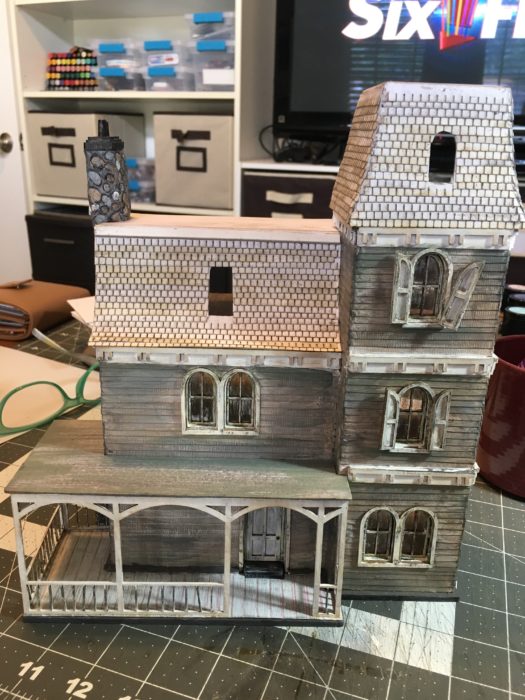
And the finished chimney . . .
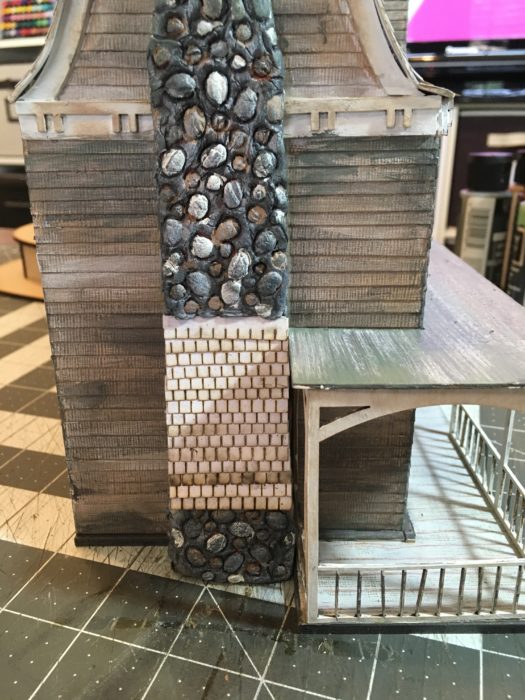
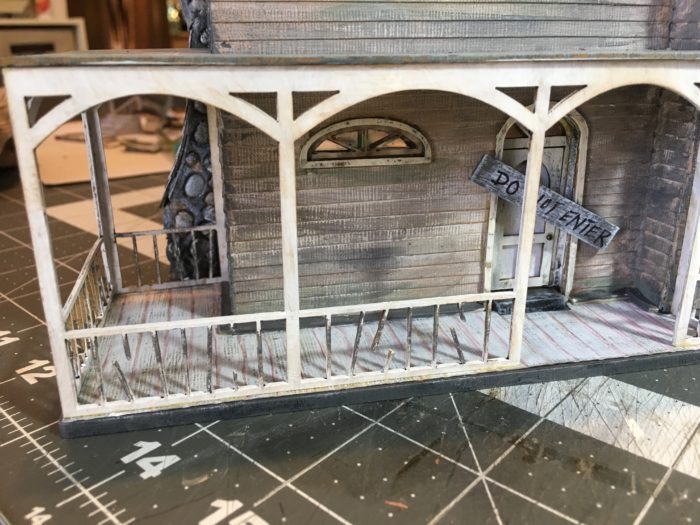
Once the tiles were attached and painted, I made a few little changes to the outside . . .
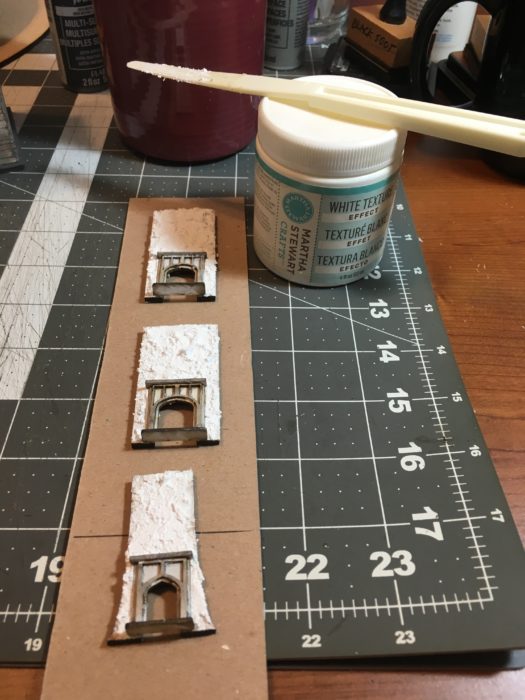
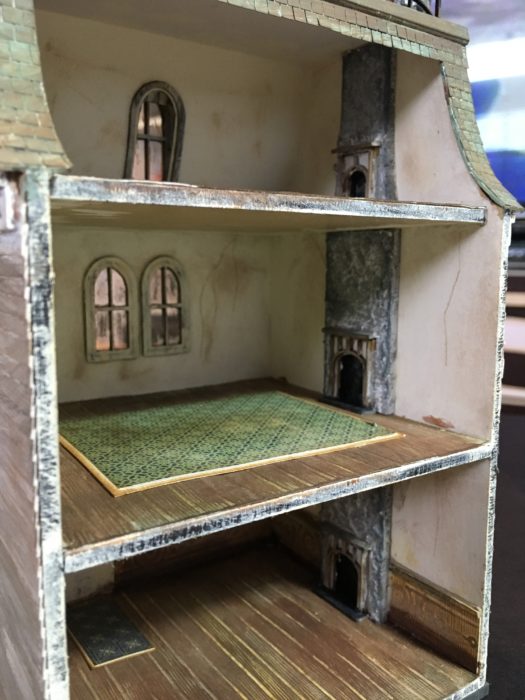
Back to the inside . . . I’ve used Martha Stewart White Texture Effect to create a rough concrete look to the chimney breasts. Applied with a palette knife and left to dry overnight.
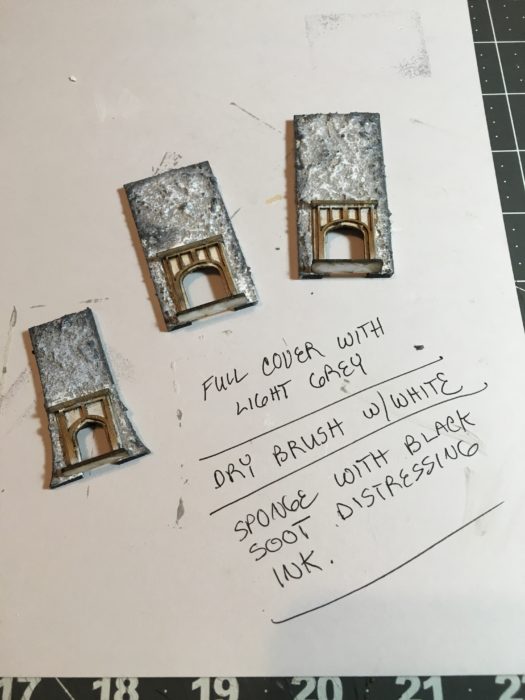
Add a coat of grey paint with black sponged on top to finish the look.
Attached to the inside . . .
Next up is the lighting. In a previous post it was mentioned that I’d be using the mini LED lights from model train software. These are very easy to install and hood up with options for a flat battery, 9volt, AAA or wall adapter, depending on what lights you choose. In my other post you can find links to the light set up I’ve used here.
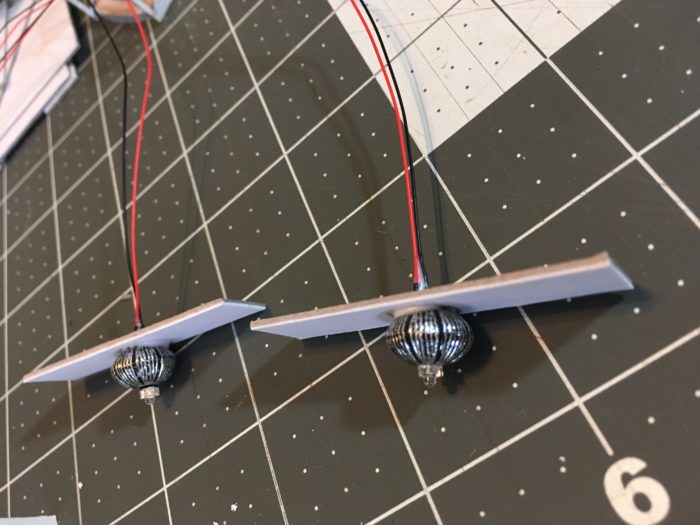
First I created faux beams, attached a bead or a shade/ceiling fixture and ran the light thru the center. These were then glued to the ceilings in all of the rooms.
Once attached, I used small coffee stir sticks to create faux drain pipes and ran all of the wires thru the straws, coming out at the bottom. Straws were glued to the edges of the house.
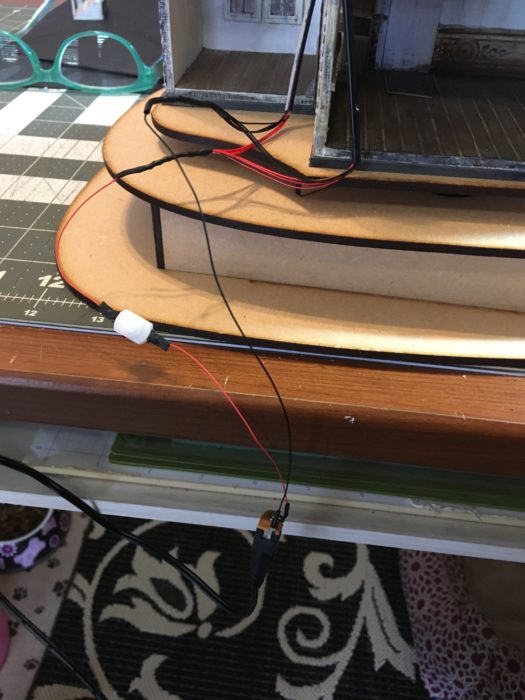
To hook up the lights . . . twist the ends of all black wires together, then all of the red ones, creating two groups of wires – black and red. These groups will them be twisted to the black and red wires coming from the switch plug. The switch plug is then connected to the wall adapter.
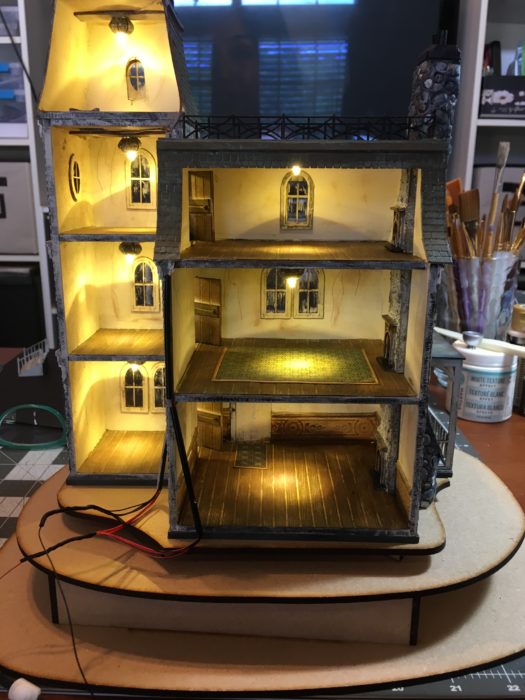
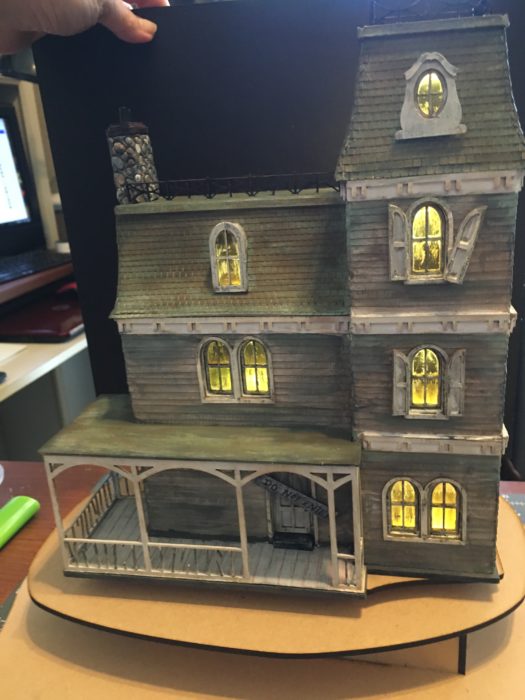
And we have lights . . .
TIP: If the lights are leaving a circle on the floor, lightly sand the bottom of the light with an emery board and the light will be deflected outward. Just sand easily till you get the look you want.
Thanks for following along and check back for my final post when I’ve finished the interior decorations!


Leave a Reply
You must be logged in to post a comment.